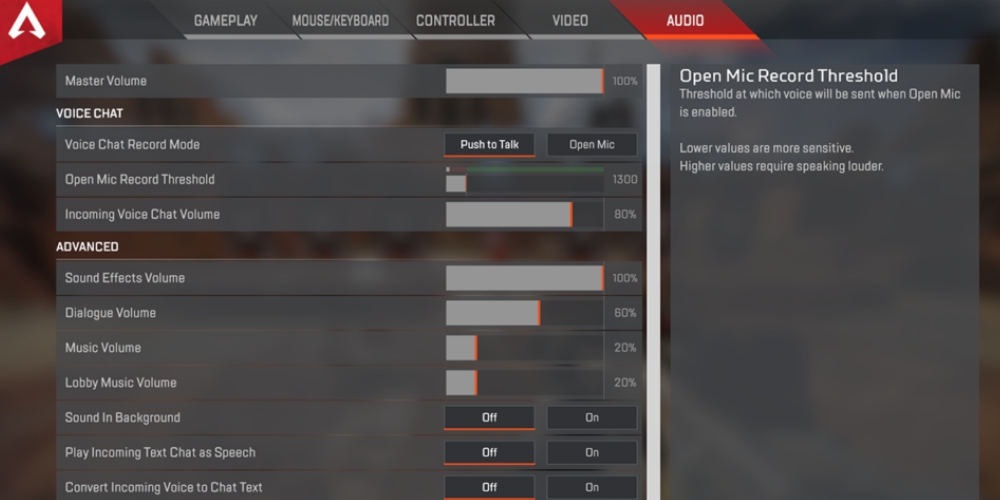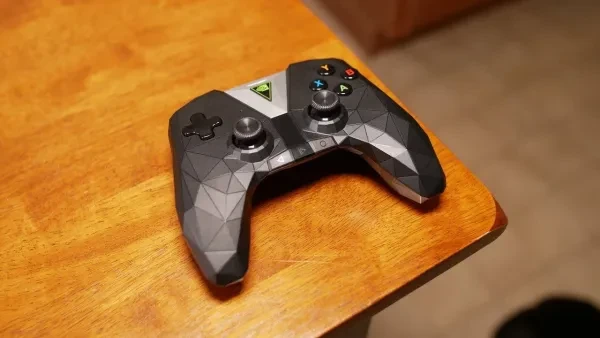
These settings are only available for controller on PC, mouse, and keyboard does not have this option. Also, to adjust any of these settings you have to enable ‘advanced look controls’ under controller settings in the settings menu.
1. Deadzone
Ever feel like your controller just does not move when you want it to? Well, it could be that your dead zone is at the wrong level.
How the correct dead zone settings will help you:
- Setting your dead zone to the correct level will allow you to achieve optimum results when you look with your controller. (It’ll actually move as you move your finger)
How to set your dead zone:
- Set your dead zone to the lowest possible setting for the highest responsiveness your controller can achieve.
- Adjust it according to your personal preference and controller abilities.
2. Response curve
Do you struggle because your crosshair jerks before you even rest your thumbs on the sticks? Or maybe it takes a century for the crosshair to move when you drag the stick as far as it can go? Guess what! Your response curve is set incorrectly.
How the correct response curve settings will help you:
- Your crosshair will actually move at the speed and sensitivity you want it to move, which should make your aim better…
How to set the response curve:
- The lower the value on the response curve bar is, the more sensitive your crosshair will be to input. In other words, the faster it’ll respond to your input.
- Play around with adjusting this setting until you get to the point where the crosshair moves exactly when you want it to based on your input.
3. Yaw Speed
Does your crosshair spin a 360 whenever you try to look 2 degrees to the right? I know why! Your yaw speed is WAY too high!
How the correct yaw speed will help you:
- Keeping your yaw speed at the correct place will allow you to look left and right as fast, or slow, as you prefer. This will greatly benefit your aim, after all, who can hit a shot if the crosshair is bouncing around the screen like a ping-pong ball?
How to set your yaw speed:
- If you put your yaw speed at 16 notches to the right of 0 then you should have a pretty balanced look speed.
- You can fiddle with the setting until you get it to what works best for you, because, as with all these settings, personal preference will differ.
4. Pitch Speed
Pitch speed is how fast your crosshair moves up and down when you push or pull your stick. If it’s too fast then your setting is too high and if it’s too slow... Well, then it’s too low!
How the correct pitch speed will help you:
- The right pitch speed will make all the difference between whether or not you manage to control recoil, look up and down fast enough to hit jumping enemies, and anything else related to looking (or aiming) up and down.
How to set your pitch speed:
- A pitch speed of 8 goes quite well with a yaw speed of 16 so if you have no clue what to do, start there.
- From there you can adjust the pitch speed as you prefer. And the ratio of pitch speed to yaw speed isn’t cast in stone… You can set them to whatever works best for you! After all, everyone’s different, thank goodness!
5. ADS Yaw Speed
You miss easily when you ADS and try to strafe or track? You should change the ADS yaw speed.
How the correct ADS yaw speed helps you:
- It will improve the horizontal control of your crosshair when you Aim Down Sight.
How to set ADS yaw speed correctly:
- Try starting at 1 notch up from default, from there you can adjust it as you prefer.
6. ADS Pitch Speed
Do you struggle to look up and down while ADS’ing? Your ADS pitch speed definitely needs tweaking!
How the correct ADS pitch speed helps you:
- It will let you track vertically moving targets easily while aiming down sights AND it will help you stay on target when you are jump strafing. Also, it’ll help with recoil control.
How to set correct ADS pitch speed:
- Start with 1 notch up from default and tweak it according to your preference as you play. In the end, it’s all about what works for you and only you will know what THAT is!
7. Extras and Ramp-ups
The ‘extra’ and ‘ramp-up time’ settings you can leave at 0. Unless of course, you want to fiddle with them and see how they work for you, but by my knowledge, you can just leave them be.
8. Per Optic ADS settings
Do you ever find it harder to hit shots with on optic than another? Well, because they have different ranges they may feel different if they all have the same sensitivity!
How the correct per optic ADS settings will help you:
- Setting these correctly will allow you to have your preferred ADS sensitivity on every optic and will let them feel the same despite using them at different ranges.
How to set per optic ADS settings:
- With this, it is really just personal preference.
- For 1x try setting the sensitivity to 1.
- For 2x try 1.2
- 3x to 10x can all go at 1.4
Again, all this is up to you. No one group of settings is the alpha and omega. Do whatever you want! (BTW, alpha and omega mean beginning and end, for those who don’t know ANY Greek!)
Also be sure to check out:
- Apex Legends Weapon Tier List 2020 [Apex Legends Best Weapons]
- Apex Legends Best Drop Locations for Each Map (Season 5)
- Apex Legends Best Kills Ever Compilation
- Apex Legends Best Weapon Skins for Every Weapon
Apex Legends Best Iron Sights for Every Weapon - Apex Legends Best Attachments
- Apex Legends Best Banners And How To Get Them
- Apex Legends - Best Weapon Combos
- Apex Legends - Best Legends
- Apex Legends - Best Areas to Land
- Games like Apex Legends
- Apex Legends Best Advanced Look Controls
- [Top 10] Apex Legends Best Caustic Skins That Look Freakin' Awesome


