Let's get technical.
Rocket League is a game that requires precision and good timing in order to grow in the ranks. Split second decisions have to be made while flinging your car around in the air, and control is key. But if you haven’t actually switched around your settings you could be putting yourself at a massive disadvantage. It may not have crossed your mind when you first booted up the game, after waiting hours for it to download, but if you’ve been playing long enough now may be the best time to step up your game.
15. Resolution/Video Settings
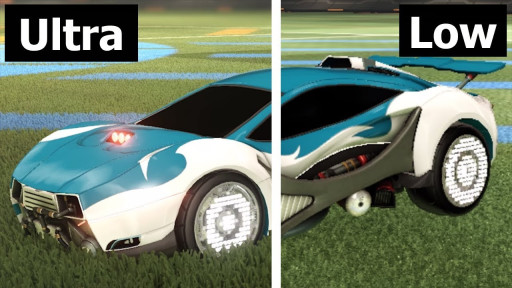
What you see is what you get.
The Problem: Slow, Choppy Gameplay,
Which is more distracting? Playing a game at a lower resolution, or playing a game at a lower framerate? In Rocket League, every frame counts, especially in online matches where if one person’s lagging, everyone is.
The Benefits of a Lower Resolution:
- Faster gameplay
- Less distracted by lag spikes
- More fluid motion in game
How to Apply:
- At the main menu, click on options
- Go over to Video
- Change your resolution (play around with this until you find one that fits your monitor)
- If absolutely necessary, switch to Windowed Mode. It’s better to play Fullscreen, but if you’re desperate for frames Windowed can do the trick.
14. Motion Blur/Depth of Field
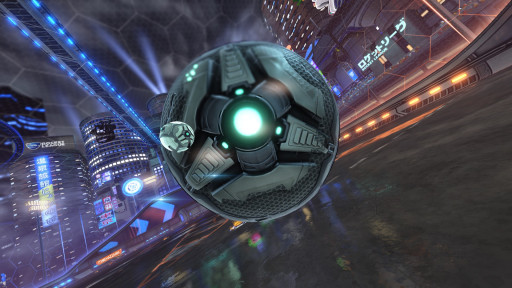
Blurry vision? You may need glasses.
The Problem: Blurred Movement/Video,
Motion blur in any videogame is looked down upon by most people. You especially don’t want it on while trying to find the ball. The same goes for Depth of Field, which blurs things Stay sharp, and keep your image sharp
Why Sharpness is Key:
- Clearer image of the ball
- Easier to focus/pick a direction
- Less of a headache (it can be super confusing)
How to Apply:
- Go to options
- Go over to Video
- Uncheck the Depth of Field and Motion Blur boxes
13. Anti-Aliasing
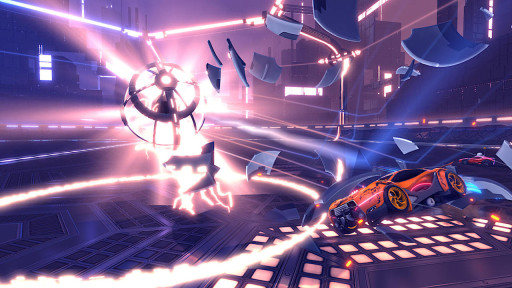
Anti-Alien Singing? That's just rude.
I’ll try and dumb down the graphics mumbo jumbo in case you don’t understand what Anti-Aliasing actually is, but it smooths any jagged lines in the game and makes the game look better. This can impact performance drastically, demolishing your FPS and overall performance.
The Benefits:
- Faster gameplay
- Less distracting graphics
- Less frames dropped
How to Adjust:
- Go to Options
- Go over to Video
- Click the Anit-Alias dropdown menu
- Select either FXAA low or FXAA high (high is only if your system can handle that)
12. Lens Flare/Light Shaft
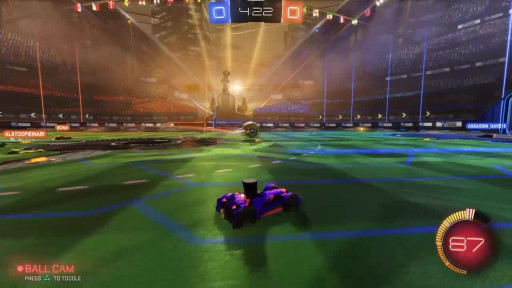
Don't go towards the light.
The Problem: Blinding Lights,
Sure, they make the game look better, but they don’t make you play better. If you’re looking to better yourself as a player, pretty lights aren’t all that needed. And, they can be distracting and block parts of the screen. It’s just better to turn these off, and as an added bonus your game will run faster.
Benefits of not going into the light:
- Less distractions means more focus
- Prevents the light from blocking the ball or other players
- Relatively pointless settings anyways
How to Apply:
- Go to options
- Go over to settings
- Uncheck the Lens Flare/Light Shaft boxes
11. Render Quality
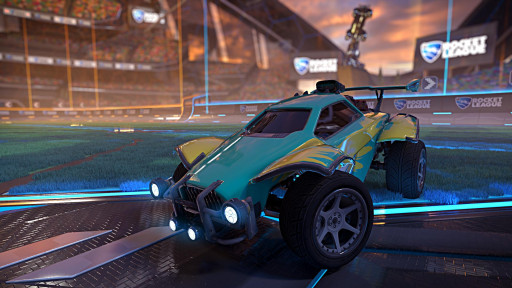
This level of quality is used for image purposes only.
The Problem: Grainy Gameplay:
Going back to the video resolution, there is a threshold where a game becomes unplayable if the quality is low. You’d have to squint just to try and figure out where the ball really is, and no pro has time for that. Making out shapes and players is essential, so it’s best to set your render quality on High.
Why the High Road:
- Makes the game easier on the eyes
- Clears up video
- Doesn’t push your machine too hard
How to Apply:
- Go to options
- Go over to Video
- Set the Render Quality to High
- Don’t worry about Render Detail
If your poor computer is still losing frames, keep the Render Quality on High, and flip off these settings instead.
- High Quality Shaders
- Ambient Occlusion
- Dynamic Shadows
10. Max FPS
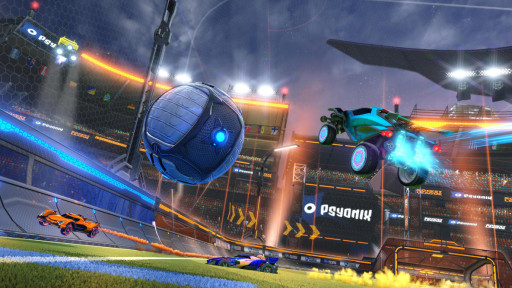
All the frames. You wan't all the frames.
After fiddling with the settings to maximize your framerate, you want to make sure the game is doing just that. The smoother the framerate, the more accurate your inputs will be. Every move you make will register because of it, and your timing will improve.
Benefits of Max FPS:
- Smoother gameplay
- Accurate inputs/real time controls
How to Apply:
- Go to options
- Go over to Video
- Move the Max FPS Slider
9. Type of Controller
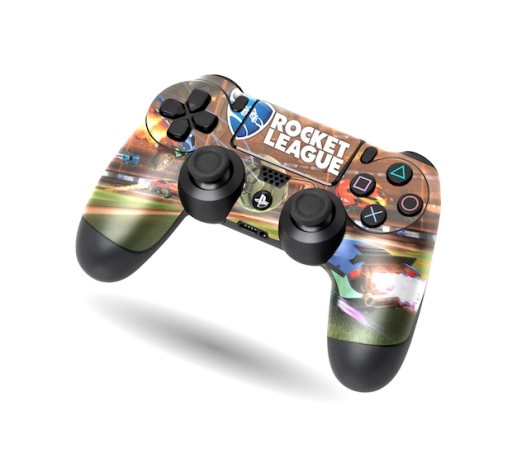
Rocket League x Dualshock.
If you’re playing on PlayStation already, you’ve already solved this problem. For the PC gamers however it’s worth it to invest in a USB controller of sorts. It doesn’t have to be fancy. I bought an Xbox 360 controller from Gamestop for 20 bucks and it’s worked just fine for years.
Why to have the right tool for the job:
- More precise controls/reaction times
- Easy to use
- Comfortable to hold
Where to buy:
- Gamestop
- Amazon
8. Controller Vibration
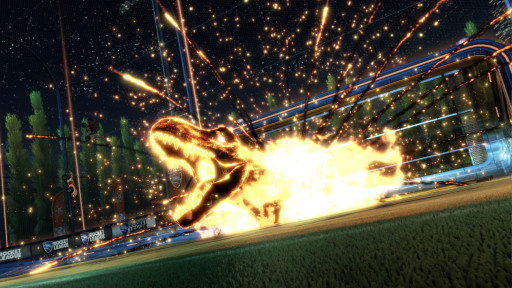
VVVVVVVVVVVVVVVVVVVVVVRRRMMMM *rumble noises*
Now that you’ve bought your controller, you need to configure it to your liking. There are benefits to having the vibration on. It adds a sense of realism in the game, but it also drains the controller battery and can be distracting. It’s really up to the player.
Why to Disable it:
- Can be distracting during a match
- Tickles the fingers/messes with your grip
- Keeps the controller battery alive longer
How to disable:
- Go to options
- Go over to Misc.
- Uncheck the Controller Vibration box
7. Controller Deadzone
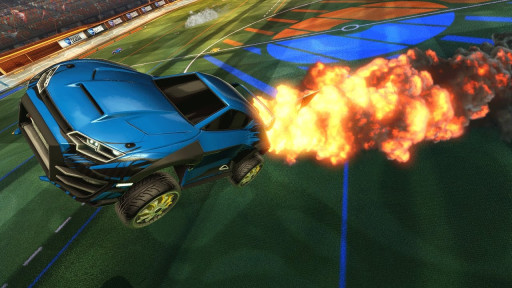
No your controller isn't going to die.
This is a very technical setting, dealing with percentages rather than absolutes. It’s a small detail that can make a world of difference. This is essentially the sensitivity of your controller and will affect how your car handles. Changing this can make it easier to make small, precise adjustments. Some pros make their deadzone incredibly small, allowing for micro adjustments, and as you get better you can do the same.
Why to fiddle with the deadzone:
- Precise movement and control
- Accurate responses in game
- Feel more in touch with the game
How to Apply:
- Go to your Steam Library
- Click on Rocket League
- On the right side of the page click on Controller Configuration
- Ckick on Joystick Move
- Additional Settings
- Mess with the deadzone shape and the inner and outer deadzone scroll bars until you find what’s right for you
6. Camera Sensitivity
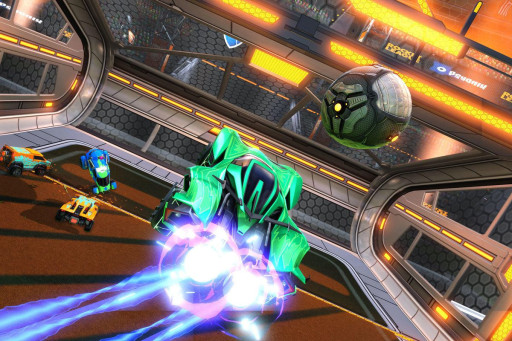
Be nice to the camera, it has feelings too.
The last thing you want is to lose track of the ball while it’s flying across the arena, but you don’t want the ball to get ahead of you either. The swivel speed can be tampered with in order to best suit your gameplay. The pros tend to average a swivel speed of 5.3, but it’s really up to you.
The Benefits:
- More focus on the game
- Comfortable on the eyes
How to apply:
- Go to options
- Go over to Camera
- Adjust the swivel speed scroll bar to your liking
5. Ballcam
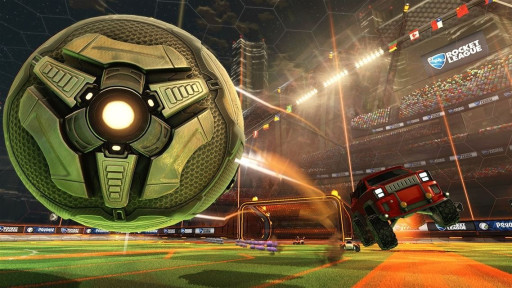
Eyes on the prize.
This setting should be adjusted on a play by play basis while you’re in cam. What it does is lock your focus onto the ball at all times, but that isn’t always good. It’s best to make sure you can toggle this setting at will in a game, so if you need to get your car back on track you can.
Effectively using Ballcam can:
- Direct your attention between the ball and your location
- Able to aim better, whether you’re targeting boost pads or the ball
How to enable:
- By default, Ballcam can be switched mid game by either using the Y button on a controller or the spacebar on keyboard.
4. Camera Stiffness
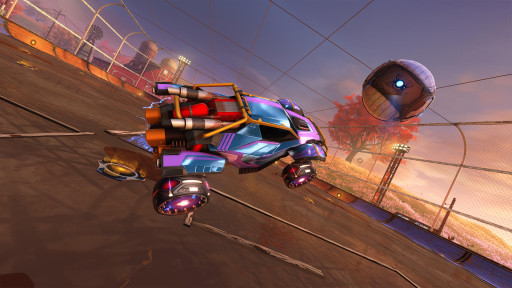
Target locked.
This little setting moves the camera depending on your speed. The faster you go, the further away your camera may fly. However, lowering the stiffness can help you pinpoint your location in space, especially while performing aerials.
The Benefits:
- More awareness of the space
- Know your position and align shots better
How to Adjust
- Go to options
- Go over to Camera
- Adjust the Camera Stiffness scroll bar (the pros average a camera stiffness of .43, but it’s really up to you)
3. Camshake
Camshake = Bad.
It’s a major distraction. The Camshake does exactly what it says it does: it shakes the camera and can disorient the player dramatically. Pros have this setting off 10 times out of 10, and if you’re looking to play like one you should to.
The Benefits:
- Less distracting
- Easier to target the ball
How to Disable:
- Go to options
- Go over to Camera
- Uncheck Camshake
2. Camera Position
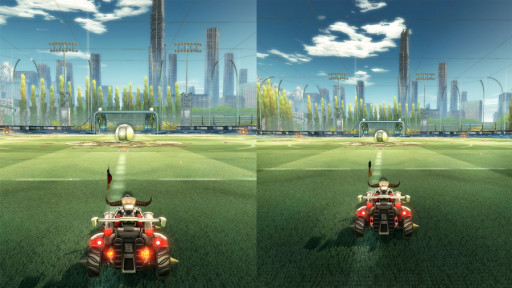
The camera's either breathing down your neck or giving you some space.
This includes the camera distance, height, and angle. This setting is never a one size fits all deal, but there are some averages to base your decision on. Camera distance distances you from your car, camera angle angles the camera up and down, and camera height raises or lowers it.
The Benefits:
- Better view of the game
- More visibility and control of what you see
- Very adjustable
How to Adjust:
- Go to Options
- Go over to Camera
- Adjust the Camera Height scroll bar (average is 110)
- Adjust the Camera Angle scroll bar (average is -3)
- Adjust the Camera Distance scroll bar (average is 270)
1. Camera Field of View
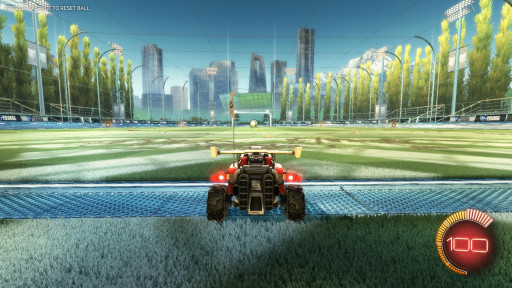
I... see... everything.
Field of View (or FOV) is essential in order to see the entire playing field. The recommended average is a FOV of 110, none of the pros go any lower than 100. Otherwise they wouldn’t be able to see the ball, they’d have tunnel vision.
The Benefits:
- Able to see more of the arena
- More visibility = more accuracy
How to Adjust
- Go to Options
- Go over to Camera
- Adjust the FOV scroll bar (110 advised)
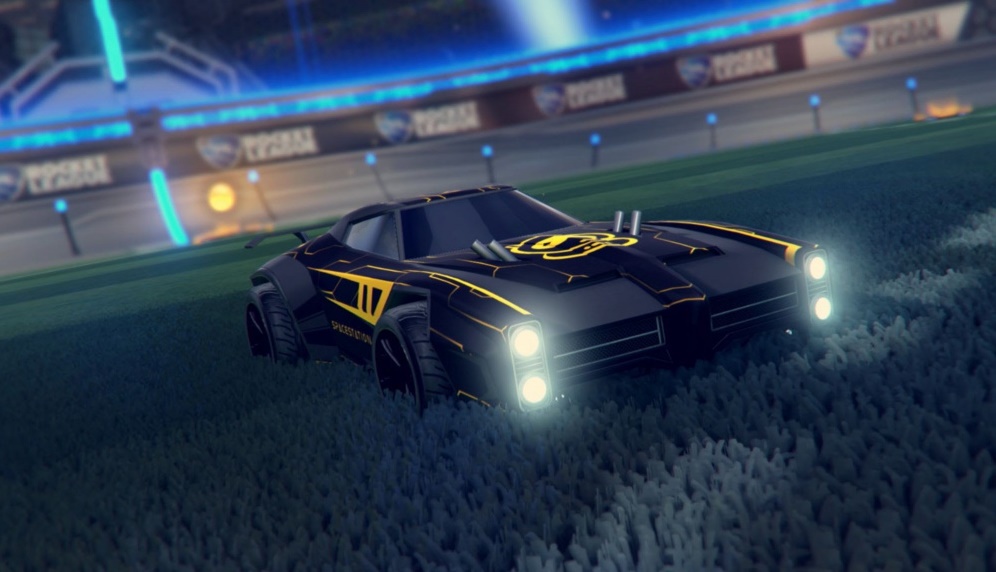
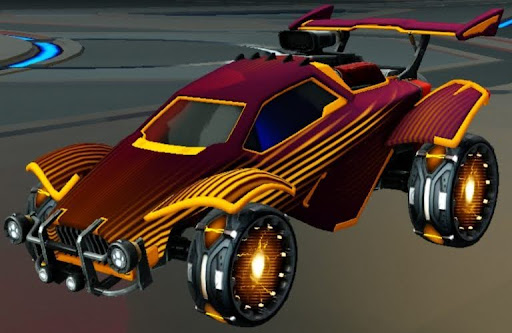
There is one more “setting” you should consider when playing: the car you drive. You may not realize it, but the cars in the game aren’t just for style. Every car has its own hitbox, some are larger than others. It all depends on whether you want to hit balls with the top of your car, or dead ahead. The Octane is much taller than the Dominus, but the Dominus is wider. It’s really up to you as a player. Personally, I love the Backfire. It’s not too tall, but it’s fairly wide in comparison to cars like the Venom. Choosing the right tools for the job, whether it’s your car or your settings, can give you a significant step up from the vast majority of people still playing on default settings.
Similar Articles:
· Top 15 Rocket League Tips For Outplaying Your Opponents: https://www.gamersdecide.com/articles/rocket-league-tips
· Top 5 Rocket League Best Cars: https://www.gamersdecide.com/articles/rocket-league-best-cars
· Rocket League to Fight In-game Player Harassment with New 20-word Language Ban: https://www.gamersdecide.com/pc-game-news/rocket-league-fight-game-player-harassment-new-20-word-language-ban
- Top 15 Rocket League Tips For Outplaying Your Opponents
- 15 Best Rocket League Settings That Give You an Advantage
- Top 10 Rocket League Best Plays (2020)
- [Top 10] Rocket League Best Players In The World Today
- [Top 10] Rocket League Best Car Designs
- Top 5 Rocket League Best Cars
- Best Wheels In Rocket League That Look Freakin Awesome
- Top 5 Rocket League Best Crates

