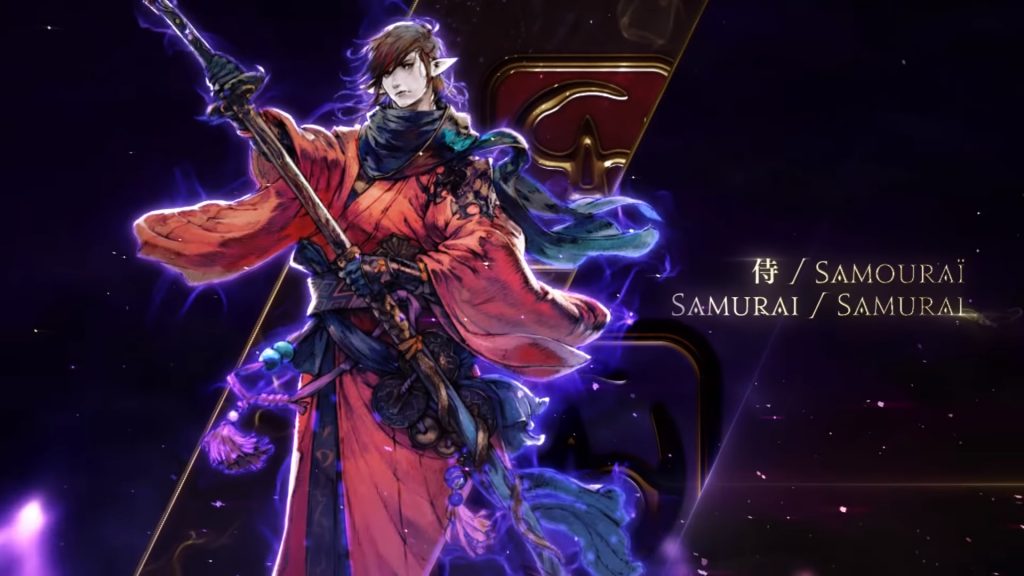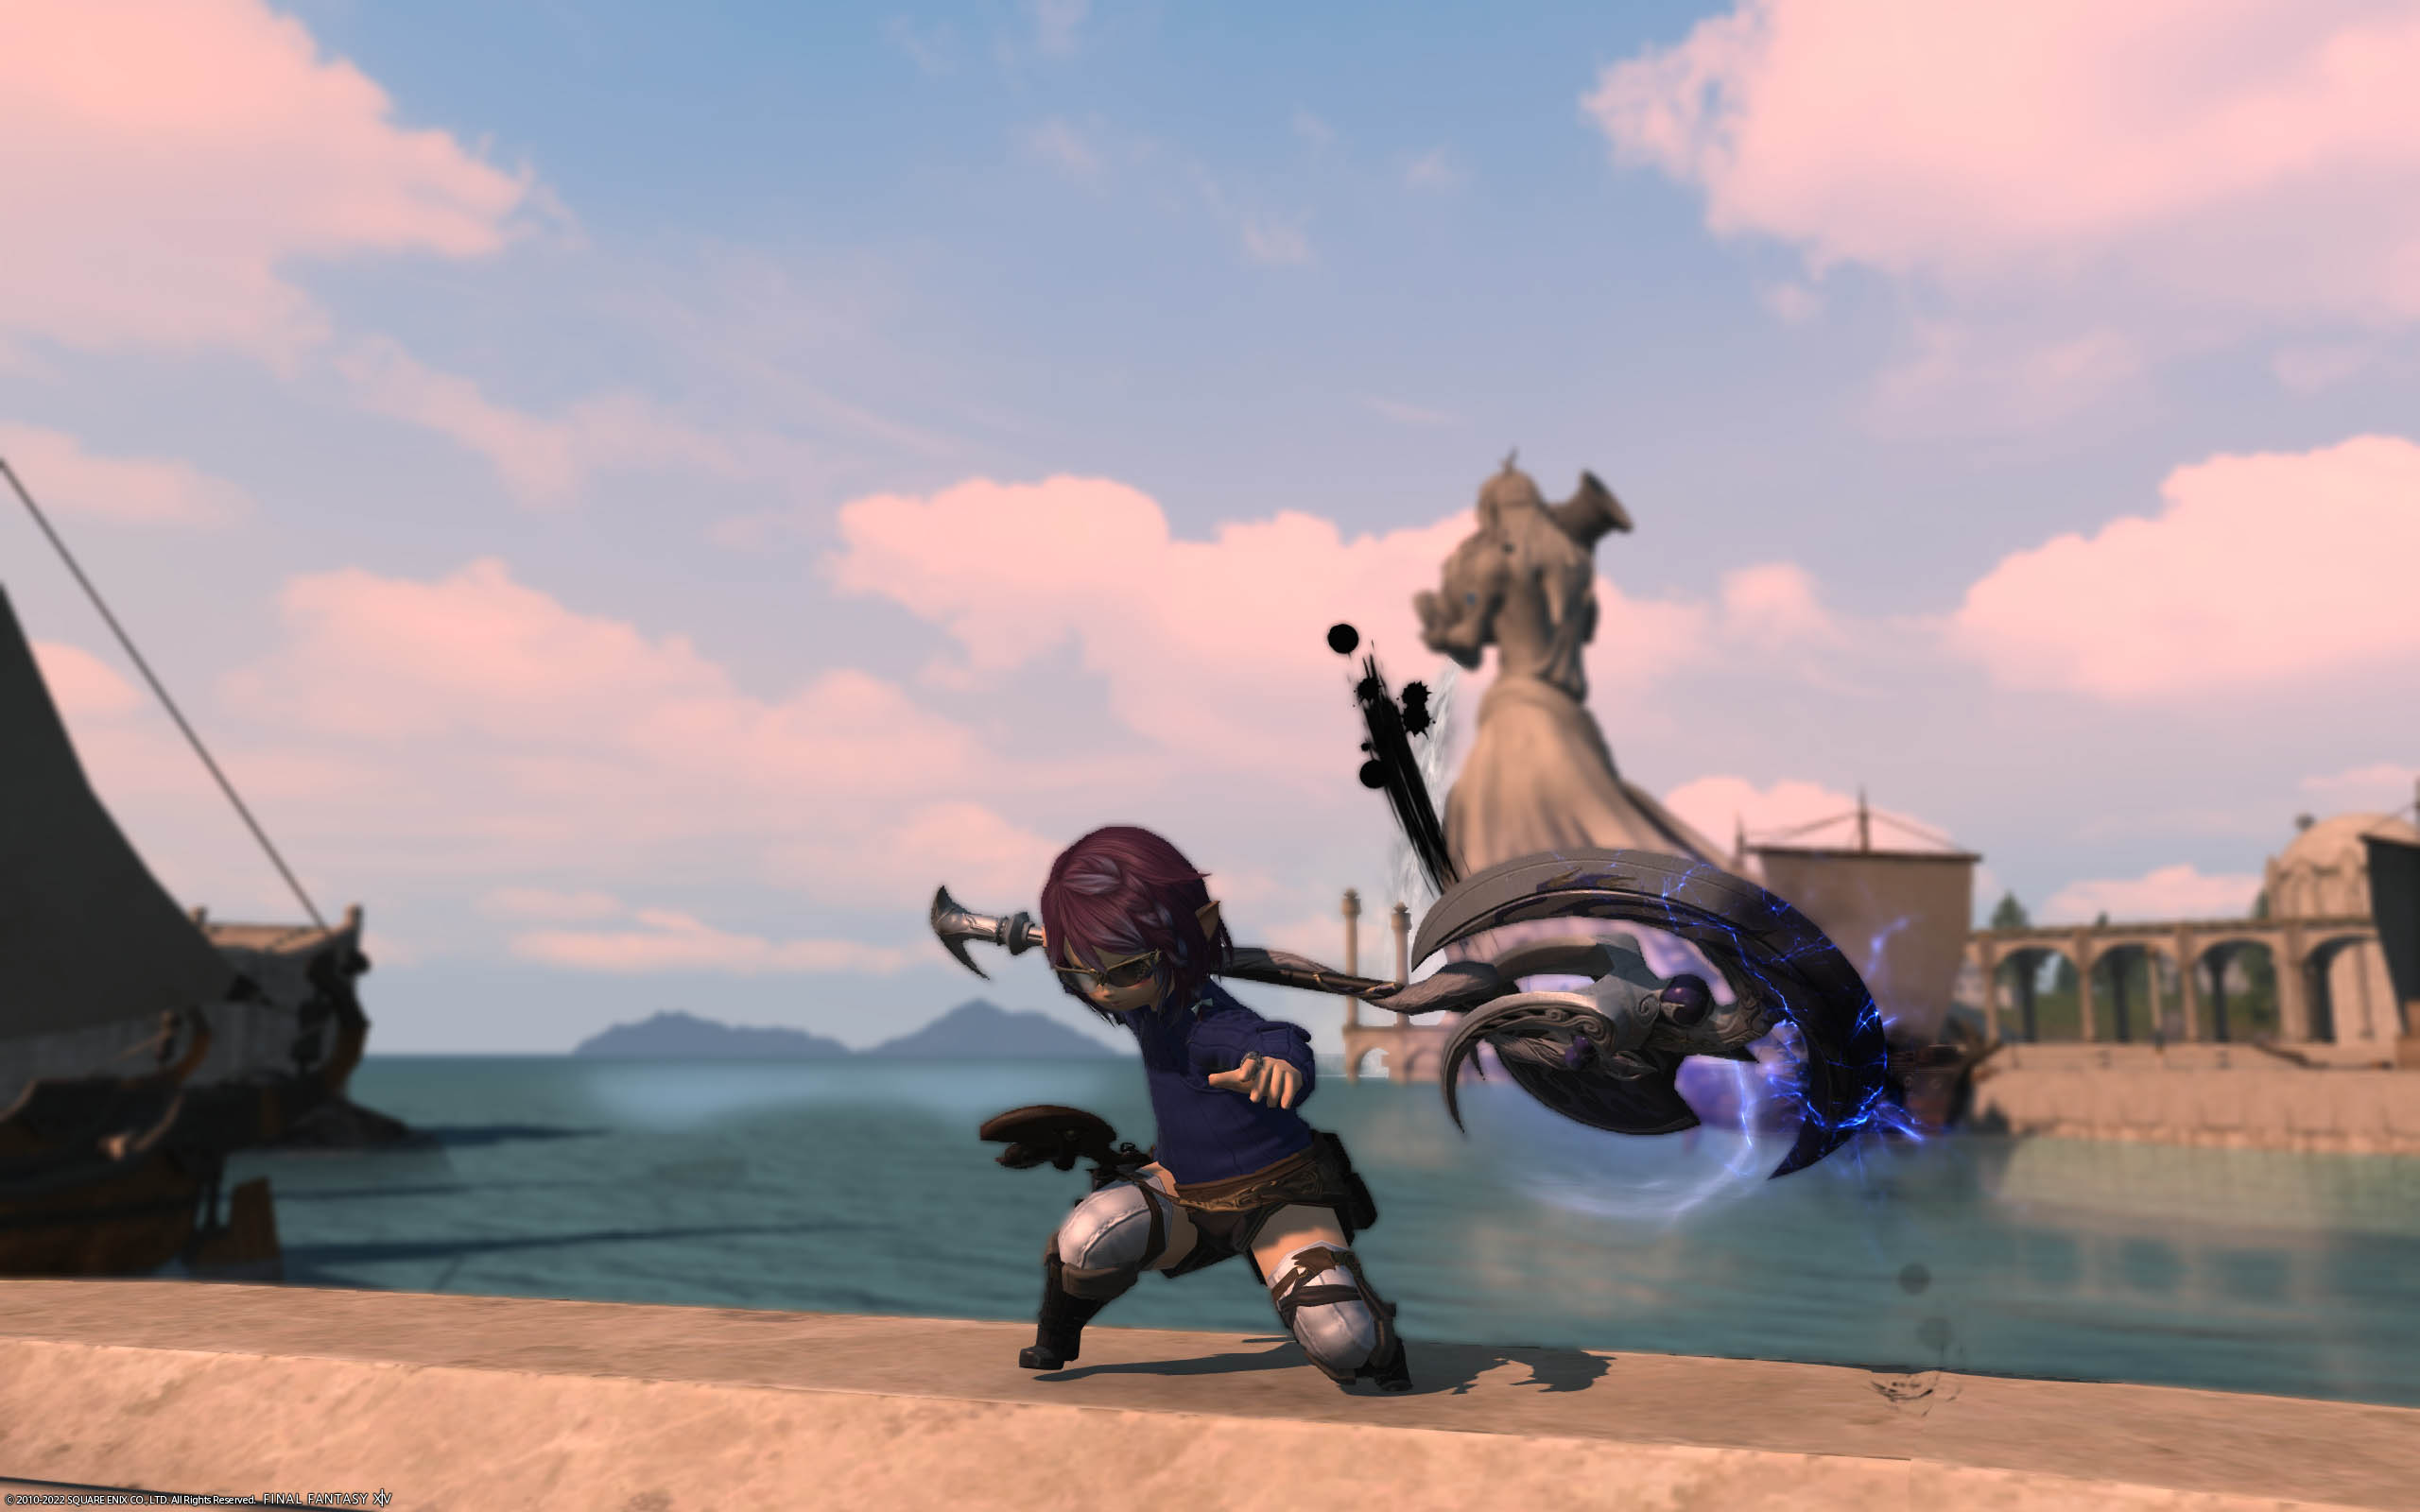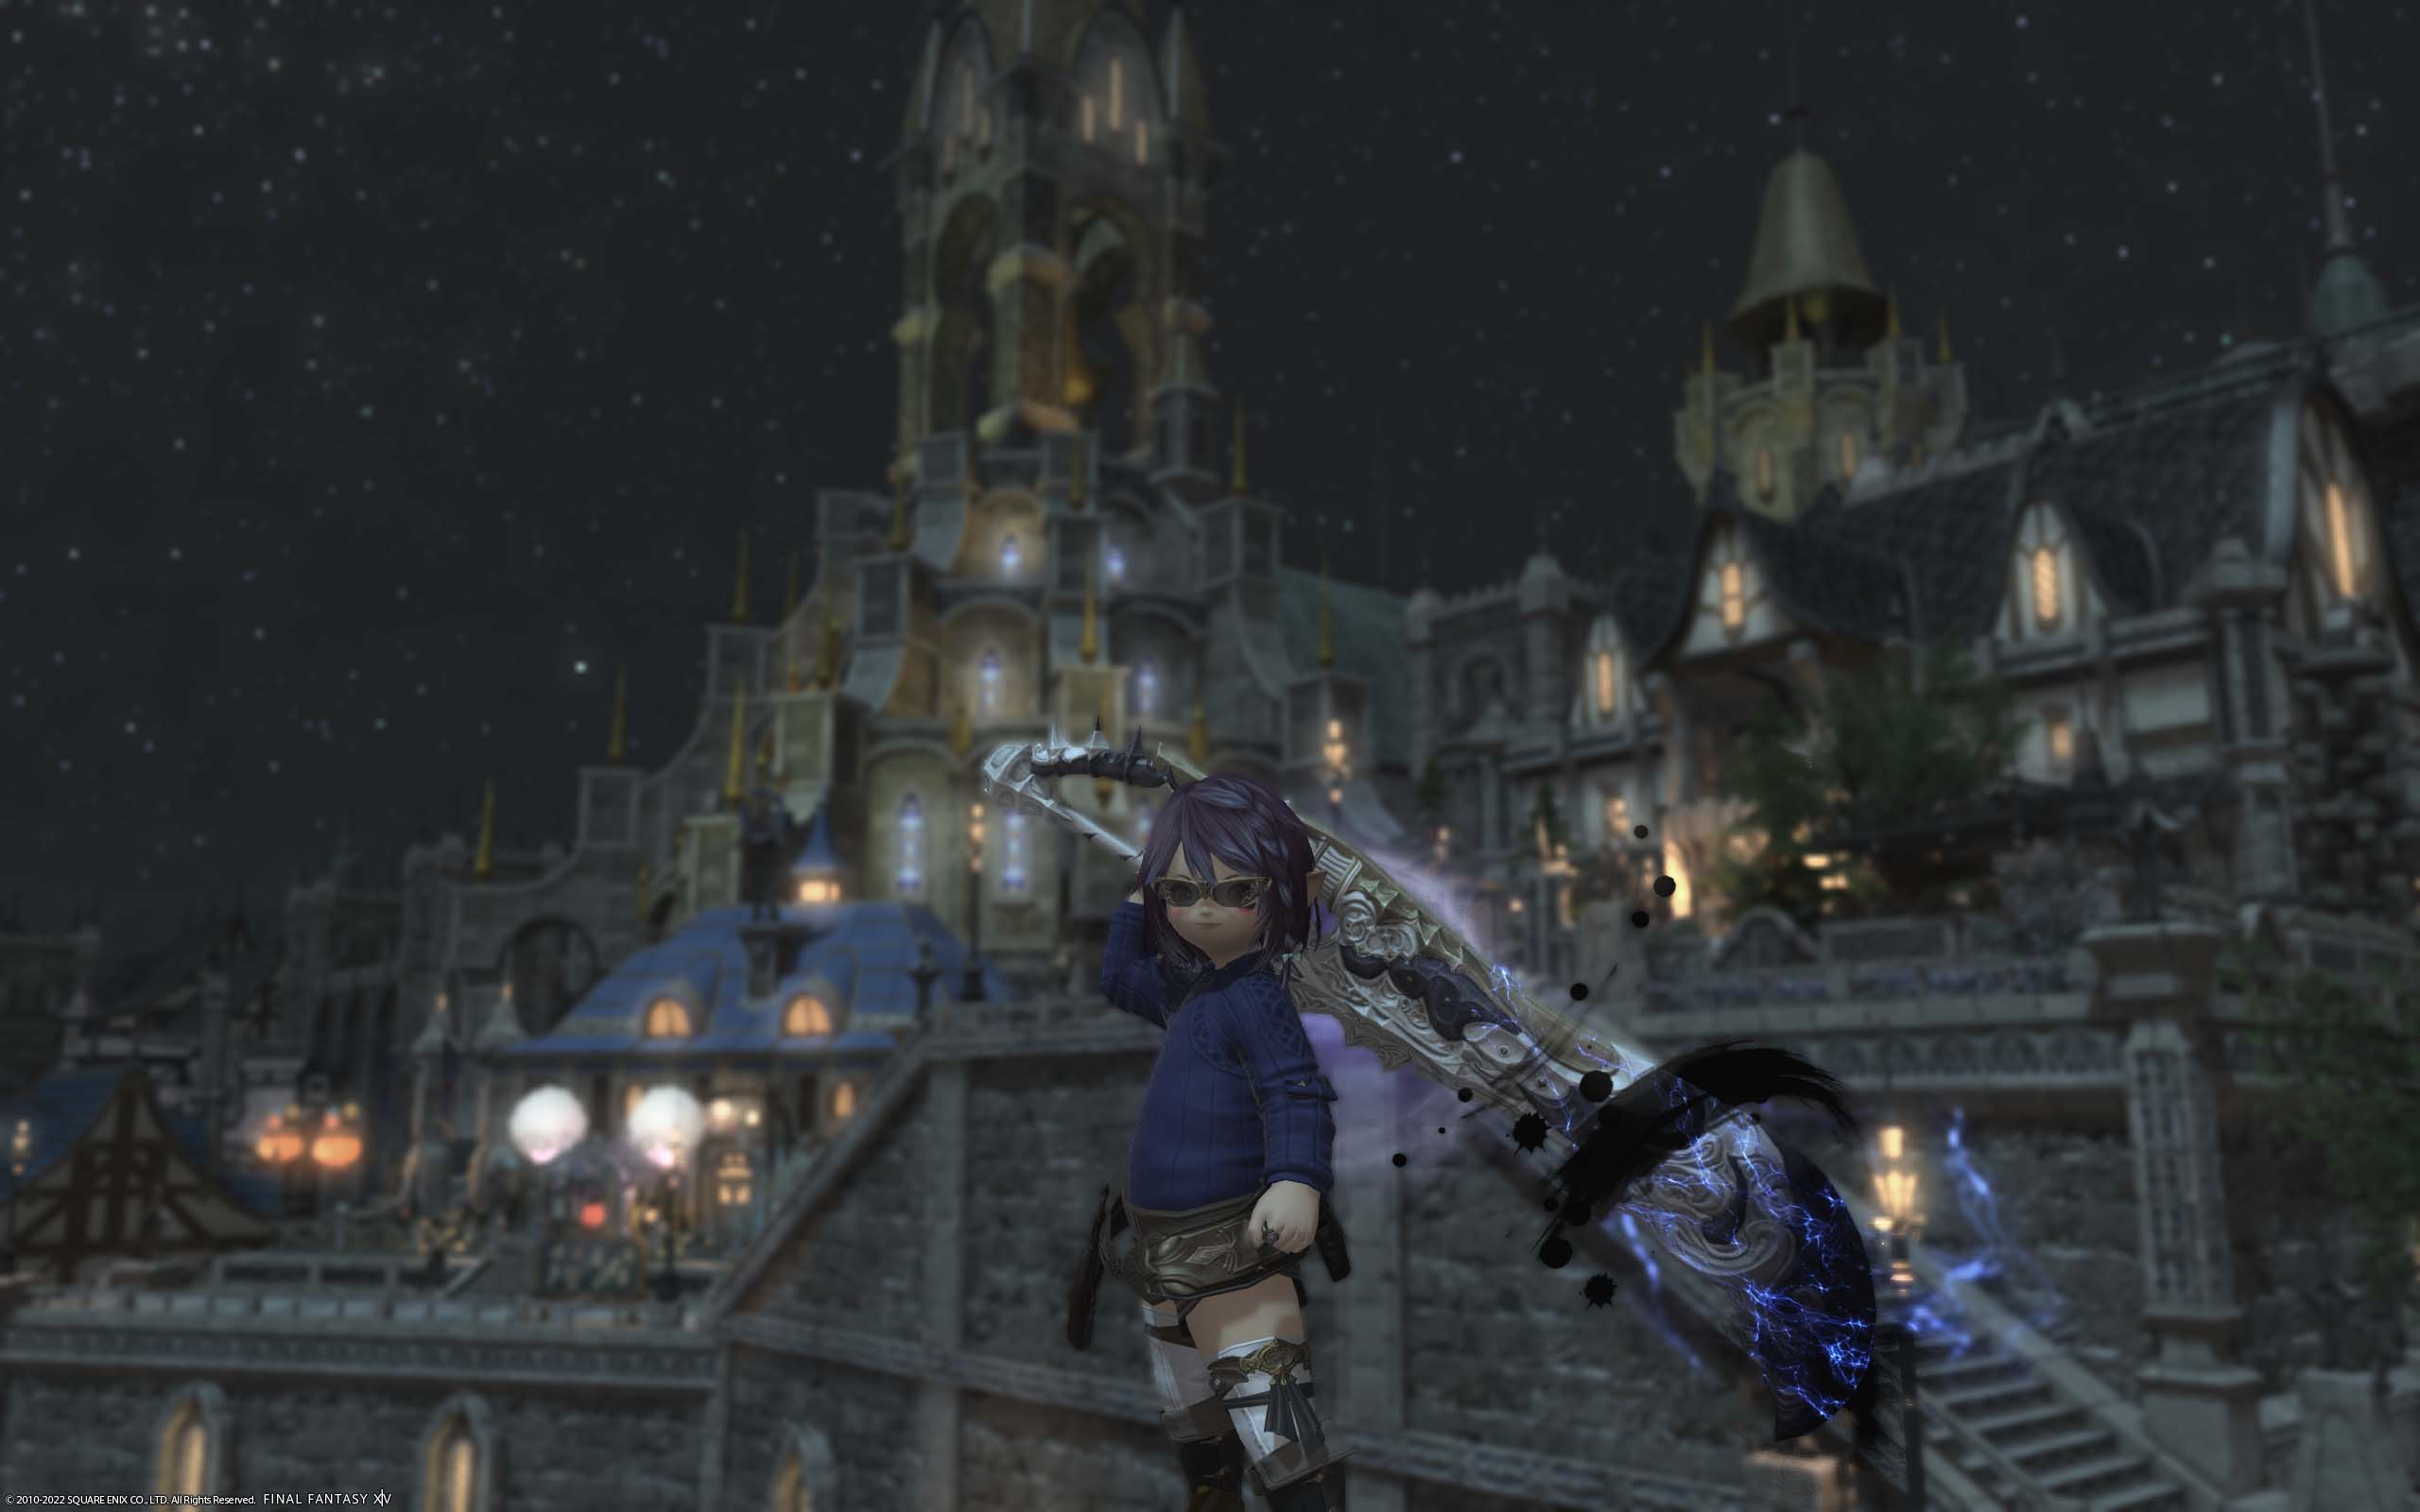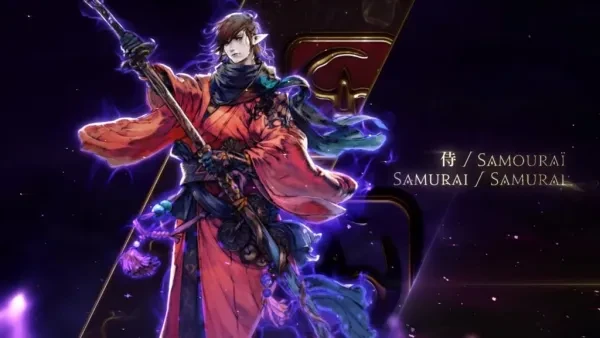
Make way for the current holder of the highest damage dealer, Samurai!
Far across the rolling waves, towards the rising sun, there lies the island nation of Higashi, hails the art of Samurai. These warriors once used their Katana to fight bloody conflict under great lords who vied for supremacy over its seagirt confines. As the nation united, their katana was no longer wielded as part of an army, but upon streets as protectors of the peace. But as a neglected blade grows dull with rust, so too do men forget their purpose. Amidst waning memories of the old ways, a determined few hold fast to their convictions, hands by katana grips, awaiting the moment for steel to sing. Such ways are known as the way of Samurai, but Eorzea knows them as the selfish DPS, for they offer no party utilities. Does this description sing well with you? If yes, then this is the class for you, and I shall help you master your katana!
Single Target Rotation
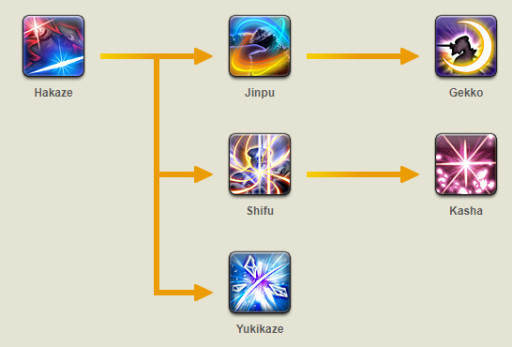
Every Melee DPS has combo rotation, so is Samurai, they have 3 different combos, that starts with one skill. Each completion of a combo will grants you a Sen, and more about Sen will be discussed in the Gauges section. Now, the rotation, let us be about it.
- Hakaze: Delivers an attack with a potency of 200. Increase your Kenki Gauge by 5.
- Jinpu: Delivers an attack with a potency of 100. When execute after Hakaze, damage potency increases to 320 and grants damage buff by 13% (Jinpu) for 40s. Increase your Kenki Gauge by 5.
- Gekko: Delivers an attack with a potency of 100. When execute after Jinpu, damage potency increases to 480. Grants the Getsu Sen. Increase your Kenki Gauge by 5. Add additional Kenki Gauge by 5 when hitting from the rear.
- Shifu: Delivers an attack with a potency of 100. When execute after Hakaze, damage potency increases to 320 and reduces weaponskill cast time and recast time, spell cast time and recast time, and auto-attack delay by 13% (Shifu) for 40s. Increase your Kenki Gauge by 5.
- Kasha: Delivers an attack with a potency of 100. When execute after Shifu, damage potency increases to 480. Grants the Ka Sen. Increase your Kenki Gauge by 5. Add additional Kenki Gauge by 5 when hitting from the flank.
- Yukikaze: Delivers an attack with a potency of 100. When execute after Hakaze, damage potency increases to 360. Grants the Setsu Sen, increases Kenki Gauge by 15.
AoE Rotation
If you observe carefully, most DPS AoE’s combos are high-likely stick to one type of radius. Like Dancer being around the user, or Dragoon’s straight line. Samurai has all kinds of AoE attacks, for the combo, there is a cone shape and a circle shape, around the user, just like Dancer’s. There are only 3 skills for the combo and here it is:
- Fuga: Delivers an attack with a potency of 100. Increases Kenki Gauge by 5.
- Mangetsu: Delivers an attack with a potency of 100. When execute after Fuga, damage potency increases to 160 and extend the Jinpu’s effect by 15s to a maximum of 40s. Increases Kenki Gauge by 10 and grants the Getsu Sen.
- Oka: Delivers an attack with a potency of 100. When execute after Fuga, damage potency increases to 160 and extend the Shifu’s effect by 15s to a maximum of 40. Increases Kenki Gauge by 10 and grants the Ka Sen.
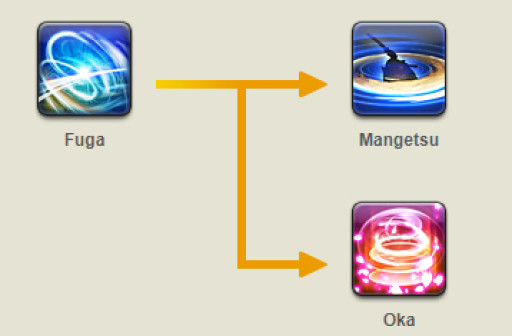
The combo is simple, Fuga, then followed by either Mangetsu or Oka, depends on which Sen you need, and/or the buff you need to extend. The AoE of most classes is more efficient to use when facing 3 or more enemies. Now we move to Iaijutsu.
Iaijutsu
Iaijutsu is a skill to make use of the Sen you have collected. The Iaijutsu differs depends on how many different Sen you have. As you know there are 3 Sen, and regardless of which Sen you have, a sum of 2 or 3 of any will result with the same respective skills. The skill icon “Iaijutsu” will change depends on how many Sen you have at that moment. All this skill requires 1.3s of casting time.
- Hinganbana: Delivers an attack with a potency of 250, also giving damage over time (DoT) for 60s. Grants a stack of Meditation.
- Tenka Goken: Delivers an attack with a potency of 360 to all enemies in a cone before you. Grants a stack of Meditation.
- Midare Setsugekka: Delivers an attack with a potency of 800. Grants a stack of Meditation.
With Iaijutsu already giving Samurai huge damages, Samurai also have the skill called “Tsubame-gaeshi” that will allow you to repeat the previously executed Iaijutsu with increased potency, giving Samurai massive damages. This skill can only be executed immediately following Iaijutsu, and have a cooldown of 60s. Just like Iaijutsu, the skill icon will change depends on the Iaijutsu you previously execute. Unlike Iaijutsu, the skill doesn’t require casting time.
- Kaeshi: Hinganbana: Delivers an attack with a potency of 375, also giving damage over time (DoT) for 60s. Grants a stack of Meditation.
- Kaeshi: Goken: Delivers an attack with a potency of 540 to all enemies in a cone before you. Grants a stack of Meditation.
- Kaeshi: Setsugekka: Delivers an attack with a potency of 1200. Grants a stack of Meditation.
A tip when using Tsubame-gaeshi. Unfortunately “Kaeshi: Hinganbana” will not give the enemy an extra DOT, instead replace your previous Hinganbana, so I highly advise you to refrain from using this Tsubame-gaeshi. To put it up with the previous combo, collect 2 Sen to deal more AoE damage, and 3 Sen for single-target. Next, let’s talk about Samurai’s Gauge.
Gauges
Samurai have 3 Gauge, the Sen Gauge, the Kenki Gauge, and Meditation Gauge. Like all the other Gauge, Samurai’s gauge will allows you to activate different skills that of course deals heavy damage.
Sen Gauge: Using certain combo actions will accumulate up to three Sen: Setsu (top), Getsu (left), and Ka (right). Sen is required to perform Iaijutsu, the number of Sen accumulated determining which can be executed─one for Higanbana, two for Tenka Goken, and three for Midare Setsugekka.
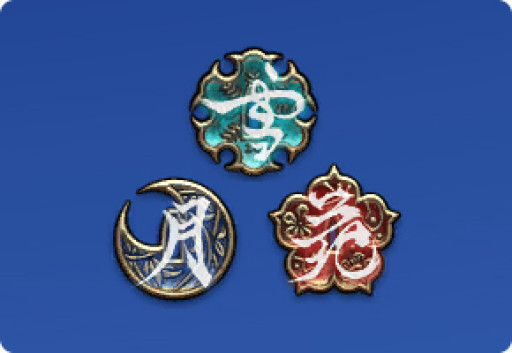
Sen Gauge.
Kenki Gauge: Kenki is accumulated upon executing certain weaponskills, and can be used to execute certain actions (skills that start with “Hissatsu”).

Meditation Gauge: Upon learning the action Shoha, the Meditation Gauge will be displayed, indicating the number of stacks of Meditation you have accumulated while in combat. Stacks are acquired by executing Iaijutsu, Tsubame-gaeshi, or Meditate, and are expended after executing Shoha.


All Gauge Simplified Version.
Now, let us take a peek at the skills you can use with Kenki Gauge.
Kenki Skills
There are several skills that can be executed from Kenki Gauge, some will add to your Single Rotation Combo, and others for the AoE.
- Hissatsu: Gyoten: Rushes to target and delivers an attack with a potency of 100. Kenki Gauge Cost: 10. Recast in 10s.
- Hissatsu: Yaten: Delivers an attack with a potency of 100. Gives 10-yalms back step and grants Enhanced Enpi. Kenki Gauge Cost: 10. Recast in 10s.
- Hissatsu: Seigan: Delivers an attack with a potency of 220. Kenki Gauge Cost: 15. Can only be executed while under the effect of Eyes Open. Share recast time with Merciful eyes.
- Hissatsu: Kaiten: Increases potency of next weaponskill by 50% between 10s. Kenki Gauge Cost: 20.
- Hissatsu: Shinten: Delivers an attack with a potency of 320. Kenki Gauge Cost: 25.
- Hissatsu: Kyuten: Delivers an attack with a potency of 150 to all nearby enemies. Kenki Gauge Cost: 25.
- Hissatsu: Senei: Delivers an attack with a potency of 1100. Kenki Gauge Cost: 50. Share recast time with Hissatsu: Guren.
- Hissatsu: Guren: Delivers an attack with a potency of 850 to all enemies in a straight line before you. Kenki Gauge Cost: 50. Share recast time with Hissatsu: Senei.
When playing Samurai, you have to make sure that the Kenki’s bar does not overflow, which means, you have to make sure to execute the skills that best fit the situation for best damage outcome. I personally like to use “Hissatsu: Kaiten” before hitting either the 2 or 3 Sen Iaijutsu/Tsubame-gaeshi, or Hissatsu: Senei/ Hissatsu: Guren. Then, we proceed to the other skills that you need to know.
Other Skills
As I have mentioned before, Samurai is the selfish DPS, you don’t have any party utilities, but to yourself. And here it is:
- Third Eye: Reduces the amount of damage taken by the next attack between 3s by 10%. Grants Eyes Open when hit for 15s. Recast in 15s.
- Merciful Eyes: Instantly restores own HP. Cure potency: 200. Can only be executed while under the effect of Eyes Open. Share recast time with Hissatsu: Seigan.
- Meditate: Gradually increases your Kenki Gauge for 15s. Grants stack of Meditation when used in combat, up to a maximum of 3. Kenki Gauge not affected when used outside battle. Effect ends upon using another action or moving (including facing a different direction). Cancels auto-attack upon execution. Recast in 60s.
- Hagakure: Converts Setsu, Getsu, and Ka into Kenki. Each Sen converted increases your Kenki Gauge by 10. Can only be executed if under the effect of at least one of the three statuses.
- Ikishoten: Increases Kenki Gauge by 50. Can only be executed in combat. Recast in 60s.
- Enpi: Delivers a ranged attack with a potency of 100, potency increased to 320 when enhanced. Increases Kenki Gauge by 10.
- Meikyo Shisui: Execute up to 3 weaponskill combos without meeting combo prerequisites between 15s. Does not affect Iaijutsu. Recast in 55s.
- Shoha: Delivers an attack with a potency of 400. Can only be executed after accumulating 3 stacks of Meditation.
The skills to note are Ikishoten, Meikyo Shisui, and Shoha. You can also pay attention to Third Eye and Merciful Eyes, if necessary. However, you don’t want to reduce your damage output over the need to reduce damage input or healing yourself, especially when your healer is still able on keeping up. Use these skills when you can already weave!
Role Actions
Like every other class, Samurai have their Role Actions, which are shared between the Melee DPS:
- Second Wind: Instantly restores HP, cure potency: 500. Recast in 120s.
- Leg Sweep: Stunt target for 3s. Recast in 40s.
- Bloodbath: Coverts a portion of physical damage dealt into HP for 20s. Recast in 90s.
- Feint: Lowers target’s strength and dexterity by 10% for 10s. Recast in 90s.
- Arm’s Length: Creates a barrier nullifying most knockback and draw-in effects for 6s. Additional effect: Slow+20% when barrier is struck for 15s. Recast in 120s.
- True North: Nullifies all action direction requirements for 10s, with 2 maximum charges. Recast in 45s.
You can use Feint to help reduce the damage input to the tank. Second Wind and Bloodbath when you need to recover your own HP. True North to nullify all directions requirements, especially if your boss has no rear or flank. Arm’s Length to avoid knockback. Leg Sweep is useful in the early dungeons when you can stun almost everything.
Be the DPS
This is where we put everything to practice!
- Do your single-target or AoE rotation. For the single-target, collect 3 Sen. For AoE collect 2 Sen. If it is a single-target, you may also use Hinganbana.
- Execute “Iaijutsu”, followed by “Tsubame-gaeshi” when available. If you are feeling magnanimous, you can also use “Hissatsu: Kaiten” before the two skills. Then followed by Shoha if available.
- Continue with the execution of Meikyo Shisui to collect quick Sen, then repeat the second point.
- Remember, do not let your Kenki Gauge overflow. For single-target, you have these options: “Hissatsu: Shinten” or “Hissatsu: Senei”. As for AoE, you have these options: “Hissatsu: Kyuten” or “Hissatsu: Guren”. “Senei” and “Guren” are more preferred than the others, for they deal more damage than using “Shinten” or “Kyuten” twice despite spending the same amount of Kenki. Important note: Guren is a straight line AoE!
- Repeat and enjoy those massive damage potencies!
This is how you optimize your damage output as a Samurai! To complete the guide, a few tips and tricks will suffice, right?
Tips & Tricks:
Avoid AoE. Being a Melee DPS doesn’t give you a free pass on not avoiding AoE.
Position yourself. The safe place is most likely behind the mobs and highly unlikely beside the tank. Especially during dungeon pulls, stay behind the mobs. By doing this, you are doing yourself a favour of not having a painful death being stab by a lot of mobs and helping your healer to focus on healing the tank. Also, Melee DPS have some bonuses when hitting the enemy from the rear or flank.
Be observant. If you are new, and especially if you are new to the dungeon, let the people know, and observe carefully the monster’s mechanic! Being alive and deal moderate damage is better than being able to deal heavy damage but ends up dead.
Starting at level 50 may overwhelm someone from taking the Samurai class. However, as the current holder of the highest damage dealer, Samurai is indeed fun to play. It is satisfying if you are up for high damage, and the good part, Samurai is not too complex once you get a hold of it! With a little bit of practice, everyone can be a good Samurai.
You May Also Be Interested In:
- Top Five Best FF14 Solo Classes
- FF14 Best Class - What's the Best Job to Play?
- FF14 Top Three Tanks
- FF14 Best Healer - What's the Best Job For Healing?
- [Top 15] FF14 Best Addons Everyone Should Use
- FF14 Best Ways To Make Gil (Top 10 Methods)
- FF14 Best PvP Class That Are OP
- FF14 Best Potions And How To Get Them
- FF14 Best Ways To Level Up Fast
- [Top 3] FF14 Best DPS Class
- [Top 3] FF14 Best Starting Classes for Beginners
- FF14 Most Fun Classes (Top 3)
- [Top 3] FF14 Best Crafting Class And Why They're Great
- FF14 Best Dungeons [Top 10]
- FF14 Best Tanks (All Tanks Ranked Good To Best)
- [Top 10] FF14 Best Armor Sets
- [Top 10] FF14 Best Food And How To Get Them
- Top 10 Best FF14 Mounts And How To Get Them
- [Top 5] Final Fantasy 14 Best Solo Classes
