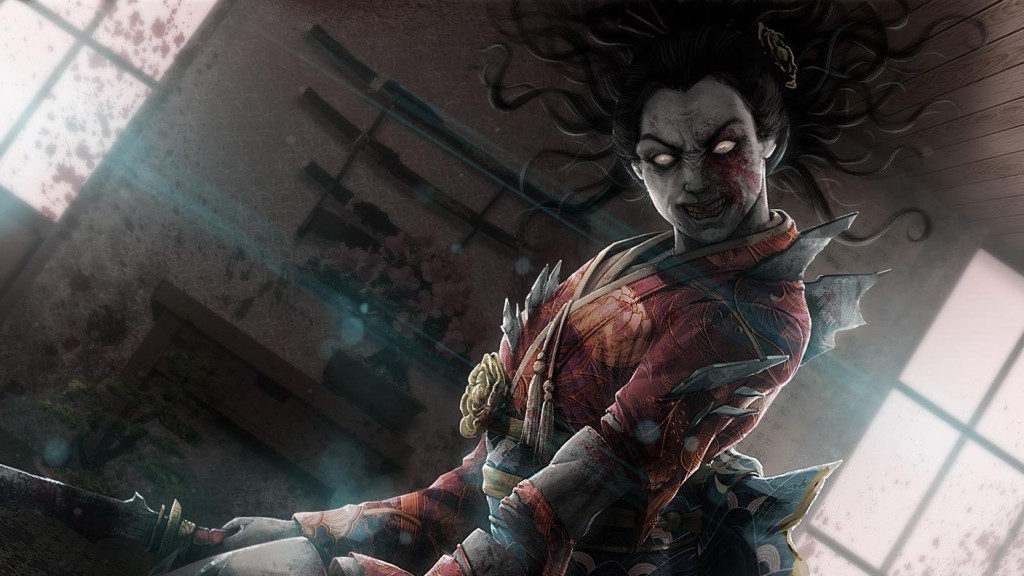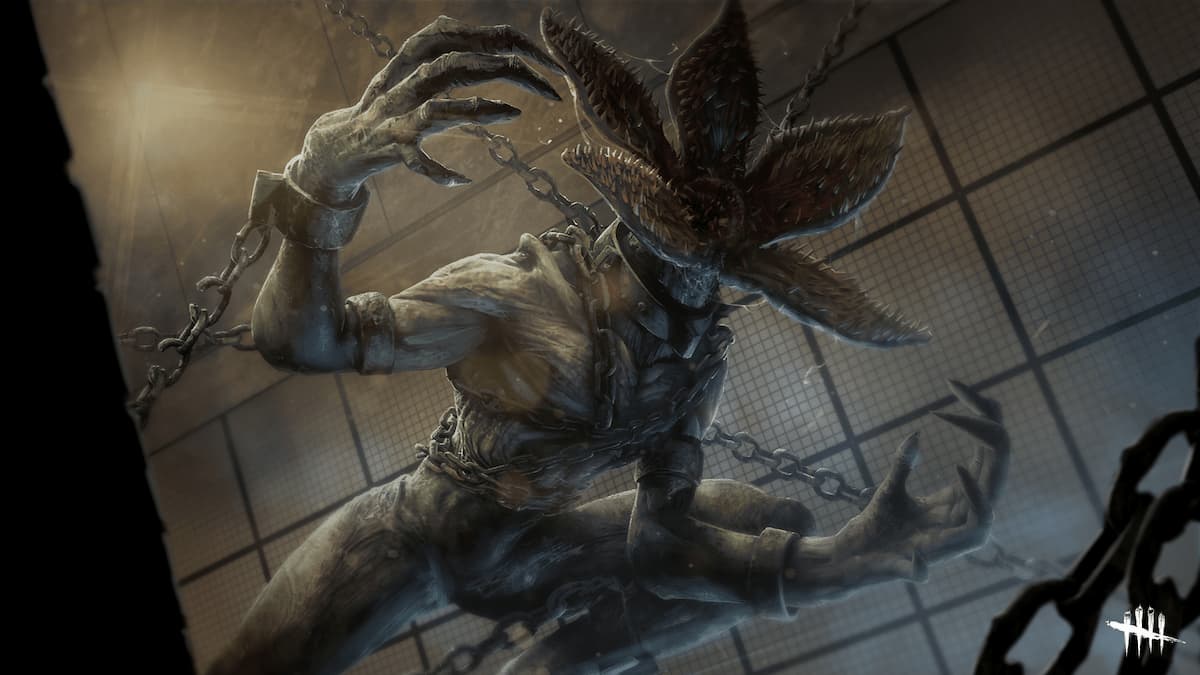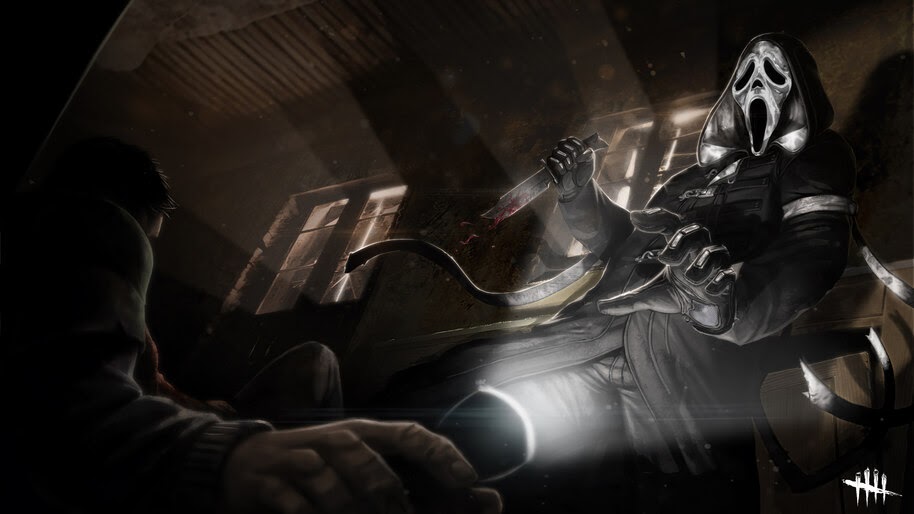
Philip Ojomo, also known as "The Wraith", is one of the earliest killers that was introduced in Dead by Daylight. One of the main abilities that he has in the game is the ability to cloak and uncloak himself, and whilst cloaked, he is able to move much faster in-game whilst being nearly invisible. He can be described as a predator who can efficiently hunt survivors with his speed, and at the moment of ringing his bell, causing pressure on the survivors, and of course, sometimes jump scares. Nevertheless, we will complete and describe the best build that is suitable for the killer such as a wraith to make hunting more efficient and fun.
5. Quick & Hungry Wraith Build
Dead by Daylight gameplay by notOtzdarva
The Quick & Hungry Wraith Build might be 5th on this list, but this doesn't mean that the build is weak; however, it is described as a build that can be used in different opportunities, and these opportunities do not come up and work in every game. Nevertheless, one of the greatest combinations in this build is with the perks 'fire up' and 'agitation', which allows you to create faster movements with the killer towards the survivors and other objects in the game, creating a faster-paced environment and therefore decreasing the time of escape for the survivors.
It is a build that is recommended for speed and therefore with his cloaking abilities, the speed can reach even faster with 'play with your food' and 'save the best for last', making it an ultimate speed build.
What The Quick & Hungry Wraith Build Excels In:
- With the perk agitation, you have the ability to carry survivors at a faster speed, therefore having more time to hook the survivors before their wiggling progress, and at the same time, able to catch other survivors much faster.
- With the combination of the perks, fire up, and agitation, you have the ability to perform actions much faster, especially in situations where you want to hook the survivors as fast as possible, having a maximum of 4% speed boost in picking up, and at the same time 18% in movement speed in order to hook the survivor.
Build details & Perks:
- Play with your food: Each time you chase your Obsession and let them escape, Play with Your Food receives 1 Token, up to a maximum of 3 Tokens: Each Token applies a stack-able 3/4/5 % Haste Status Effect, up to a maximum of 9/12/15 %. Performing Basic Attacks, or Special Attacks that can damage Survivors, consumes 1 Token. Play with Your Food has a cool-down of 10 seconds on Token-accumulation. You can only be obsessed with one Survivor at a time.
- Save the best for last: Each time you hit a Survivor other than your Obsession with a Basic Attack, Save the Best for Last gains 1 Token, up to a maximum of 8 Tokens: Gain a stack-able 5 % Cool-down reduction on successful attacks per Token, up to a maximum of 40 %. Each time you hit your Obsession with a Basic Attack, Save the Best for Last loses 4/3/2 Tokens. When the Obsession is sacrificed or killed, you can neither gain nor lose any more Tokens. You can only be obsessed with one Survivor at a time.
- Fire Up: Each time a Generator is completed, Fire Up grows in power. Gain a stackable 3/3.5/4 % Action Speed bonus to picking up and dropping Survivors, breaking Pallets and Breakable Walls, damaging Generators, and vaulting Windows, up to a maximum of 15/17.5/20 %.
- Agitation: While carrying a Survivor you benefit from the following effects: Increases your Carrying Movement speed by 6/12/18 %.Increases your Terror Radius by 12 metres.
4. The Distressing Devotion Wraith
Dead by Daylight gameplay by SpookyLoopz
The Distressing Devotion Wraith build is a build made for pushing pressure on the survivors, and therefore creating a deadly, realistic-like environment making the survivors think as if the game was a life or death situation. It is a build that at the same time is an anti-healer build, creating a slower-paced environment for healing of survivors whilst in the radius, and a potential exposed environment where there is a chance of a survivor being caught up in the perk 'starstruck' and therefore being exposed, often happens when a survivor wants to go for a flashlight save as it is very close, but in this build, as the build consists of distressing, the perk 'starstruck' can happy to anyone as the radius is much greater.
Therefore it is an amazing build for creating pressure in different situations, which at the same time creates different opportunities for the killer.
What The Distressing Devotion Wraith Excels In:
- The combination of the perks 'distressing' and 'Coulrophobia' allows for the ability to increase the radius and, at the same time, create a more extensive range of slower actions for the survivors allowing them to heal much slower.
- The combination of the perks 'starstruck' and 'distressing' allows you to have a greater ranger for the exposed status ability on the survivors, great for the wraith, as he can move much faster around the map and catch up on survivors in the longer distance.
Build details & Perks:
- Distressing: Increases your Terror Radius by 22/24/26 %. Grants 100 % bonus Bloodpoints for all actions in the DeviousnessCategory.
- Starstruck: When carrying a Survivor, Starstruck activates: Survivors suffer from the Exposed Status Effect while in your Terror Radius. The Status Effect lingers for 26/28/30 seconds after leaving your Terror Radius. After hooking or dropping the carried Survivor, Starstruck deactivates: The Status Effect persists for 26/28/30 seconds for any Survivor inside your Terror Radius at that moment. Starstruck has a cool-down of 60 seconds once the Survivor is no longer being carried.
- Coulrophobia: For all Survivors within your Terror Radius, the following effects apply: Reduces the Healing speed by 30/40/50 %. Increases the Rotation speed of Healing Skill Checks by +50 %.
- Dark Devotion: You become obsessed with one Survivor. Whenever the Obsession loses a Health State by any means and thus enters the Injured State, Dark Devotion activates: Your Terror Radius transfers to the Obsession for 20/25/30 seconds, and its radius is set to 32 metres. Grants the Undetectable Status Effect for the same duration. The Obsession with your transferred Terror Radius is also considered to be 'inside the Terror Radius' for other purposes. You can only be obsessed with one Survivor at a time.
3. The Anti-Healer Ruin Wraith
Dead by Daylight gameplay by RedsGamingGears
The Anti-Healer Ruin Wraith is basically a build that is made for catching survivors who are healing each other, creating greater pressure on the survivors. The perk that does this job in this build is Nurses calling, where you can see the survivors' aura within a maximum of 28 metres Nonetheless, apart from the healing aura readability, another power in this build that is great against the survivors is the anti-generator build which is similar to the build 'The Dragon's Brine Generator Build', that is described in rank 2 of this build review.
This small sector has the same capability except with the substitution of Hex: Ruin, which enables the regression to keep working until the hex is cleansed which overall is a pretty powerful perk. Nevertheless, it is a build great for finding survivors and keeping track of generators and generator regression.
What The Anti-Healer Ruin Wraith Excels In:
- With the perk 'pop goes the weasel' and 'hex: ruin', you have the ability to regress and slow down the generator progression in multiple ways, either letting 'ruin' do all the work or when cleansed, let 'pop goes the weasel' do the regression.
- With Nurses Calling, you have the ability to see survivors who are healing within a maximum 28-meter range, letting you take the chance and get them once the survivors are immobile at the time they are healing.
Build details & Perks:
- Discordance: Any Generator within a range of 64/96/128 metres that is being repaired by 2 or more Survivors is marked by a yellow Aura. When the Generator is first highlighted, Discordance triggers a Loud Noise Notification on the Generator. After the Generator is no longer within range or is being repaired by just 1 Survivor, the highlighted Aura will linger for another 4 seconds.
- Pop Goes the Weasel: After hooking a Survivor, Pop Goes the Weasel activates for the next 35/40/45 seconds: The next Generator you damage instantly loses -20 % of its current Progression. Regular Generator Regression applies afterwards and Pop Goes the Weasel deactivates.
- Nurses Calling: Unlocks potential in your Aura-reading ability. The Auras of Survivors, who are healing or being healed, are revealed to you when they are within a range of 20/24/28 metres.
- Hex:Ruin: A Hex that affects the Generator Repair progress of all Survivors. Whenever a Generator is not being repaired by a Survivor, it will immediately and automatically regress its Repair progress at 50/75/100 % of the normal Regression speed. Once any Survivor is killed by any means, Hex: Ruin deactivates and reverts its Hex Totem into a Dull Totem.
2. The Dragon's Brine Generator Build
Dead by Daylight gameplay by Dallousional
The build "The Dragon's Brine Generator Build' is also known as one of the most toxic and powerful generators builds in the whole game for the killer, as all the perks have literally the ultimate anti-generator repairing technique, making the survivor unable to repair the generators at all costs. The build can be used in a situation where when kicking a generator, the generator regresses 200% of its normal speed, at the same time the generator is affected by overcharge and dragons grip, where the survivors are faced with the difficult skill check, and at the same time, will scream once touching and suffer from exposed status effect.
In the meantime, when downing a survivor, the perk eruption is active and therefore the generator will explode and regress, and if anyone is repairing it, they will scream as well. Ultimately, making this build an overall ultimate anti-generator build is recommended to everybody, especially against gen-rushing survivors.
What The Dragon's Brine Build Excels In:
- The combination of all these perks in the build creates an overall connected negative atmosphere for the survivor, immobilising the survivors on repairing the generators at the maximum capacity making it one of the most toxic anti-generator builds in the game.
- With dragon's grip and overcharge, you will have the ability to see the auras of survivors, and at the same time let the generator regress more with the perk overcharge.
Build details & Perks:
- Call of Brine: After damaging a Generator, the Call of Brine activates for 60 seconds. The Generator regresses at 150/175/200 % of the normal Regression speed and its Aura is revealed to you. Each time a Survivor completes a Good Skill Check on a Generator affected by Call of Brine, you receive a Loud Noise Notification.
- Overcharge: Overcharge a Generator by performing the Damage Generator on it: The next Survivor interacting with that Generator is faced with a difficult Skill Check. Failing the Skill Check results in an immediate Progression loss of 3/4/5 %. Succeeding the Skill Check grants no bonus Progression, but prevents the Generator from exploding. After Overcharge is applied to a Generator, the following effect applies: Increases the Regression speed from 100 % to 400 % over the next 30 seconds.
- Dragon's Grip: After kicking a Generator, for the next 30 seconds, the first Survivor interacting with it will scream, revealing their location for 4 seconds, and suffers from the Exposed Status Effect for 60 seconds. Dragon's Grip has a cool-down of 120/100/80 seconds.
- Eruption: After kicking a Generator, its Aura is highlighted in yellow. When you put a Survivor into the Dying State by any means, every affected Generator explodes and starts regressing, removing the highlighted Aura. Applies an immediate -10 % Progression penalty. Any Survivor repairing a Generator when it explodes will scream and suffer from the Incapacitated Status Effect for 15/20/25 seconds. The eruption has a cool-down of 30 seconds.
1. The Pretentious Overcharge Thana Build
Dead by Daylight gameplay by Chomperzz
The Pretentious Overcharge Thana Build is a build that deserves to be in the number one spot, mainly because it consists of perks that have been going around for a while, and is described as being consistent throughout, for instance with the perk, thanatophobia, you will slow down the game and therefore have more time to chase the survivors and finish kicking some generators whilst the survivors are healing, which would be their priority in the game as they would avoid being affected by the perk of thanatophobia.
Nevertheless, other perks such as pop goes the weasel would also affect the game substantially, slowing down the progression of generators. Overall making this build a great build for performance and time-gap letting the killer have more choices.
What The Pretentious Overcharge Thana Build Excels In:
- With the combination of pop goes the weasel and overcharge, you will have the power to damage a generator up to -20% of its progression, and at the same time, create a difficult skill check for the survivor once coming back on the generator.
- With the perk, thanatophobia, you will slow down the game exponentially as a killer, as every affected survivor in any means of damage, will create a stackable penalty charge slowing down the game and creating more time for the killer.
Build details & Perks:
- Thanatophobia: Each injured, dying, or hooked Survivor incurs a stackable 4.5/5/5.5 % penalty to all Survivors' Repairing, Sabotaging, and Cleansing Action speeds, up to a maximum of 18/20/22 %.
- Pop Goes the Weasel: After hooking a Survivor, Pop Goes the Weasel activates for the next 35/40/45 seconds: The next Generator you damage instantly loses -20 % of its current Progression. Regular Generator Regression applies afterwards and Pop Goes the Weasel deactivates.
- Overcharge: Overcharge a Generator by performing the Damage Generator on it: The next Survivor interacting with that Generator is faced with a difficult Skill Check. Failing the Skill Check results in an immediate Progression loss of 3/4/5 %. Succeeding the Skill Check grants no bonus Progression, but prevents the Generator from exploding. After Overcharge is applied to a Generator, the following effect applies: Increases the Regression speed from 100 % to 400 % over the next 30 seconds.
- Scourge Hook: Gift of Pain: At the start of the Trial, 4 random Hooks are changed into Scourge Hooks: The Auras of Scourge Hooks are revealed to you in white. Each time a Survivor is unhooked from a Scourge Hook, the following effects apply: The Survivor suffers from the Haemorrhage and Mangled Status Effects until healed. Upon being healed, the Survivor suffers from a 10/13/16 % Action Speed penalty to Healing and Repairing until they are injured again.
You May Also Be Interested In:
- Dead by Daylight Survivor Guide: Top 25 Tips
- Dead by Daylight Killers Guide: Top 25 Tips
- [Top 10] DbD Best Killer Builds That Are Great!
- [Top 100] Dead By Daylight Best Names
- [Top 10] DbD Best Survivor Builds That Are OP!
- [Top 10] DbD Best Killers And Why They're Good
- [Top 15] DbD Best Killer Perks And Why They're Good
- [Top 15] DbD Best Survivor Perks And Why They're Good
- [Top 10] DbD Best Survivors And Why They're Good
- [Top 10] DbD Best Survivor Builds That Are Great
- [Top 15] Ghost Games To Play Today
- [Top 15] Horror Movies That Were Books
- [Top 15] Best Horror Movies That Were Banned
- [Top 5] Dead By Daylight Most Fun Survivors
- [Top 5] Dead By Daylight Best Jane Romero Builds
- [Top 5] Dead By Daylight Best Meg Thomas Builds
- [Top 5] Dead By Daylight Best Claudette Morel Builds
- [Top 5] Dead by Daylight Best Jake Park Builds
- [Top 5] Dead By Daylight Best Nea Karlsson Builds
- [Top 5] Dead By Daylight Best Laurie Strode Builds
- [Top 5] Dead By Daylight Best Bill Overbeck Builds
- [Top 5] Dead By Daylight Best Feng Min Builds
- [Top 5] Dead By Daylight Best David King Builds

