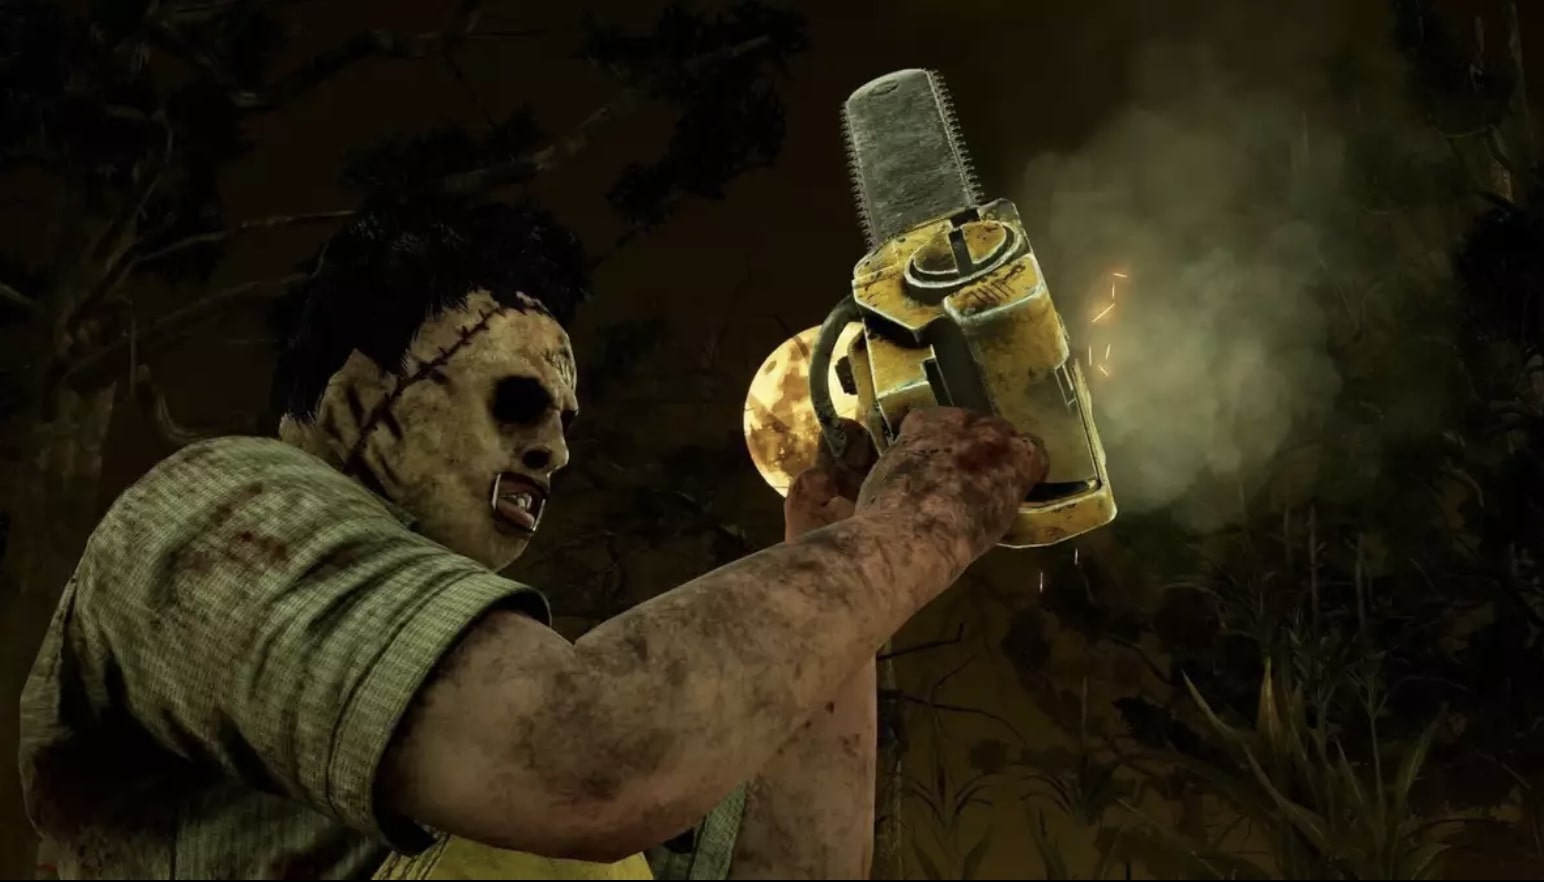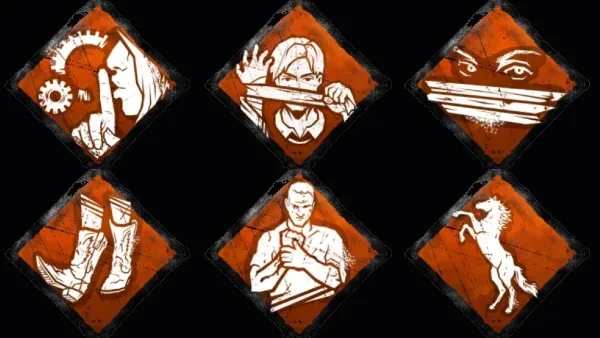
In the horrifying world Dead by Daylight, your ability to survive – or kill – is greatly impacted by your perks. Some make you scream, or get you downed in one hit, and others help you crawl around at Sonic the Hedgehog speed – the important thing is making sure the perks you choose work well together.
In this Top 15, I’ll be listing some of my favourite perk combinations as a Survivor and Killer. The individual perks will be explained, and you’ll get a few pointers to put the combinations to good use in your games. If that sounds good, get your blood-filled wallets ready – you’ll want to go on a spending spree to test them all out after this.
15. Iron Grasp + Insidious
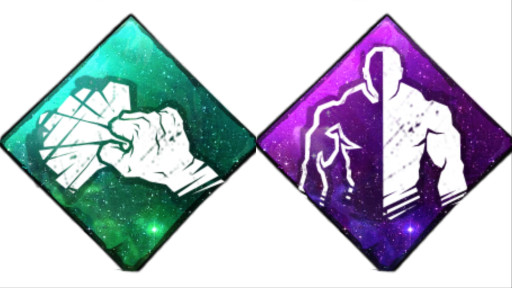
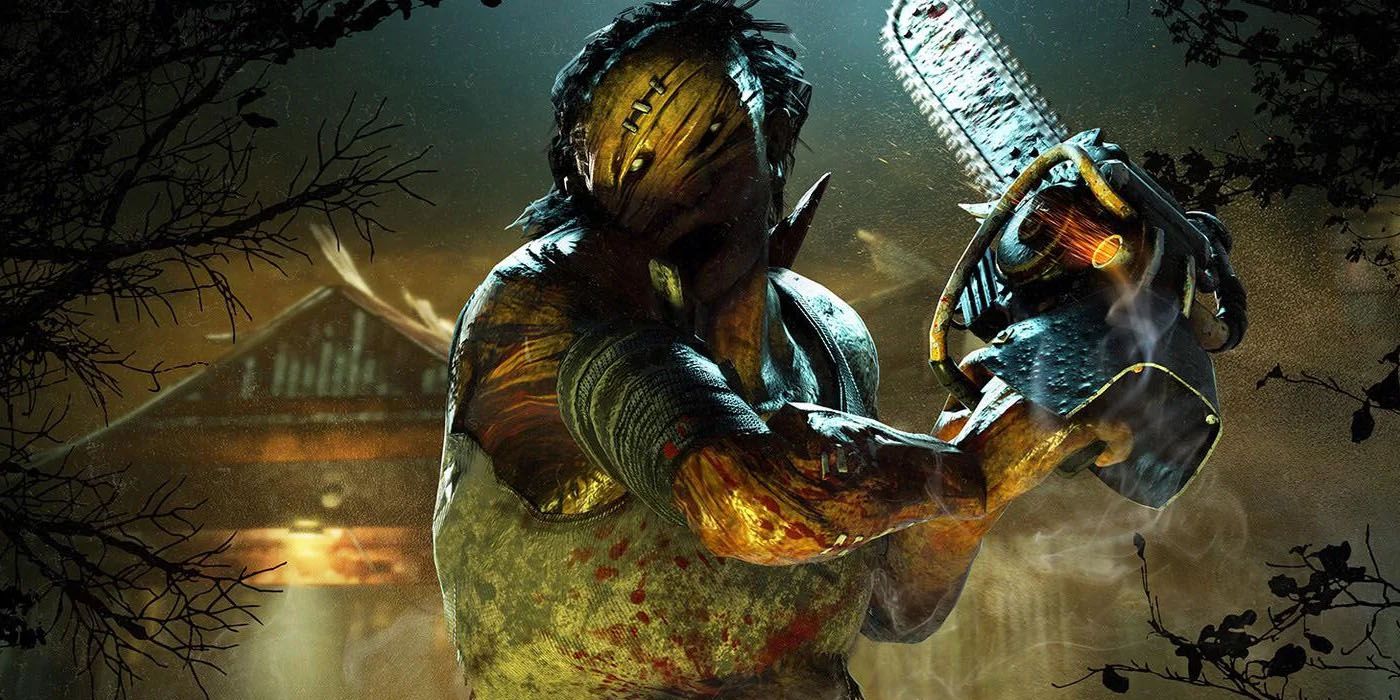
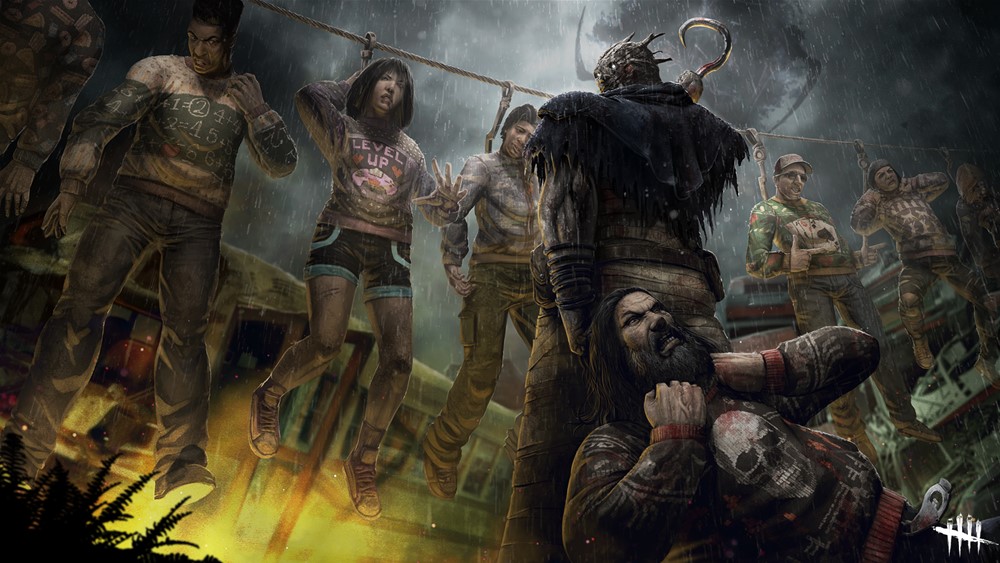
The Leatherface players in the crowd are going wild right now, because this combination is all about the basement. Every map has one – it comes with a chest, a few lockers, and four hooks. When a survivor is taken to the basement, they may as well give up hope – and that’s exactly what this combo aims to do.
Our first perk, Iron Grasp, lets you carry survivors further – it also makes their wiggles less effective. The second perk, Insidious, completely stops your terror radius (the heartbeat that survivors hear when a killer is nearby) and even blocks survivors’ ability to see your aura. Put these two perks together when playing as a killer that can down survivors in one hit – like Leatherface – and you’re in for a great time as soon as the first survivor goes down those dreaded basement stairs.
Granted, the survivor counterplay is simple – just leave a teammate to die – but many won’t let that happen, and a whole team can quickly tumble into your lap by trying to save their friends. Even beyond the basement, many maps offer some excellent hiding spots for you to jump out and attack when survivors try to save a teammate.
Best of all, both of these perks are ‘general’, so you won’t need to prestige anyone to unlock them!
What Makes This Combo Great?
- Iron Grasp makes it easier to take survivors down into the basement
- Insidious tricks survivors into thinking the basement is safe to enter
- A one-hit-down killer like Leatherface can quickly punish any survivors that get close
- You get to chill out in the basement with some snacks – it’s a very passive combo!
14. Teamwork: Power of Two + Bond
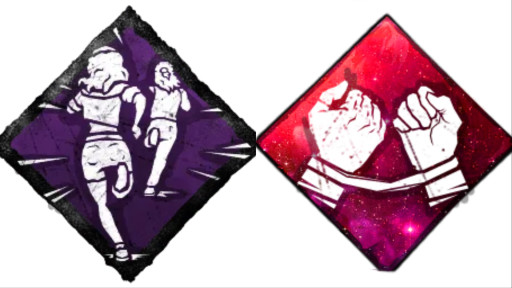
When playing a game like Dead by Daylight, it’s only natural to want to keep your fellow survivors close. There’s strength in numbers, and you can always stand in your friends’ path to hope the killer targets them and leaves you alone. This combo assumes you’re a bit of a better teammate than me, though.
The first perk, Teamwork: Power of Two comes to us from Thalita Lyra from the Tools of Torment chapter. Whenever you heal a teammate, both you and the teammate are given a whopping 5% speed boost that lasts until you’re further than 12 metres from each other. Complimenting this is our second perk, Bond, from Dwight Fairfield – it shows you the aura of survivors that are within 36 metres of you at maximum level, showing you where they are even through walls!
Put these two perks together, and you’ve got a consistent speed boost to help you reach the next generator or run from a killer together. It isn’t quite as effective against the speedier killers, or ones with ranged attacks – taking damage also stops the speed boost - but it can be a real life-saver in a chase.
What Makes This Combo Great?
- Bond is always active, and shows you where the nearest teammate is
- Teamwork: Power of Two activates when you heal a survivor, which will happen naturally
- The speed boost it gives will persist as long as you stay close
- You’ll always know where your speed buddy is with Bond!
13. Spies from the Shadows & Sloppy Butcher
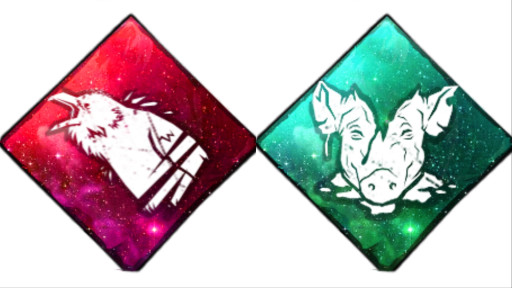
In a game like Dead by Daylight, where perks are always changing and new maps are constantly being introduced, it’s nice to return to old perks to get a lot of mileage out of some simple tools. This combo can help new and returning killers to keep up with their targets during a chase.
Spies from the Shadows provides some much-needed use to the many crows in the game; when a survivor startles a crow by getting too close, the killer gets a noise notification like the ones they get when a skill check is failed or rushed action is performed. Most survivors don’t pay any attention to birds, and won’t suspect that you’re using this rarely-seen perk.
Sloppy Butcher has a few uses, like making healing progress deteriorate if a survivor stops healing themselves, but is most useful in chases as it makes survivors produce more pools of blood. Put them together, and you’ll have a better idea of where survivors are during a chase as they leave a lot of blood behind and startle birds.
Best of all, both of these perks are ‘general’, so you won’t need to prestige anyone to unlock them!
What Makes This Combo Great?
- Survivors will give away their locations more often
- Extra blood trails make injured survivors easier to track
- Survivors take longer to heal, and lose progress if they stop healing
- You get an extra chance to find a survivor that got away from you
- If you’re nearby, you get a heads up when a survivor is running for a hook or generator
12. Quick & Quiet + Head On
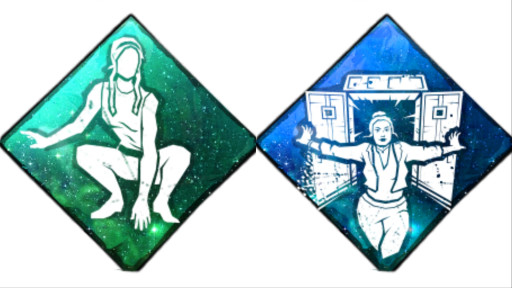
If you have a passion for scaring people but simply prefer playing as a Survivor, this combo is for you. It’s rare for survivors to startle or scare the killer, but a combination like this is sure to get their hearts racing – a survivor disappearing before leaping out at them with a loud noise effectively gives Michael Myers and Ghostface a taste of their own medicine.
Quick & Quiet is one of Meg Thomas’ perks, and gives you opportunities for stealth by muting the sound effects made when quickly vaulting over a pallet or window – it does the same for lockers, too. It also blocks the notification that killers get whenever a fast action is performed.
Head On is Jane Romero’s iconic perk, and will definitely give me a heart attack one of these days. Survivors using this perk need to hide in a locker for three seconds – if they then jump out when a killer is nearby, they’ll be stunned for a few seconds and drop a survivor if they were carrying one.
Admittedly, a lot needs to go right for this combo to work; the killer can’t see you prowling around a locker or it’s game over. Still, Quick & Quiet helps add a bit of stealth to overcome the hard part and set up a thrilling save that the killer will never see coming.
What Makes This Combo Great?
- Head On can be used to save yourself in a chase
- It can also be used to save survivors that are being carried or chased
- Quick & Quiet can help you escape a chase as it makes you harder to track
- Silently entering a locker in an area full of them and charging Head On as the killer looks for you can make you feel like a criminal genius
11. Hex: No One Escapes Death + No Way Out
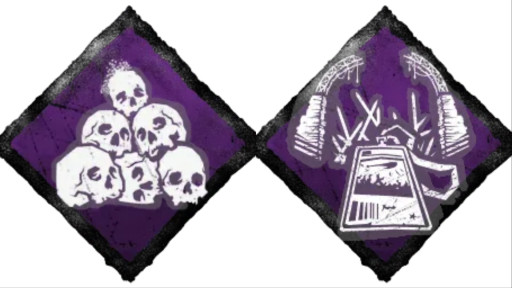
Killer mains know that the end of a game can be the most important part of it. One or two survivors left, they’ll die on the hook, and that tantalising 4-kill game hangs in the balance. This combo gives you a second wind to secure those last few kills before the doors open and the survivors get away.
Hex: No One Escapes Death hardly needs an introduction, as it’s been upsetting survivors since version 1.0.0, but is the ultimate in end-game comebacks. When all 5 generators have been repaired, a dull totem becomes a hex totem, and the killer can down survivors in one hit. They also move 4% faster at the perk’s maximum level.
No Way Out is one of The Trickster’s perks, and is active throughout the game – every time you hook a survivor, you get a token. When the exit gates are powered and a survivor tries to open them, you’re notified, and the gates are blocked for at least 12 seconds. Each token you have blocks them for an additional 12 seconds at the perk’s maximum level.
Put them together, and the survivors will be in trouble – not only do you know which gate they’re opening, but you can get over there super quick and down them in one hit. It’s absolutely devastating when executed well.
There is a counter in the form of just breaking dull totems, but most survivors in the games I play are more concerned with generators and staring at walls, so you’ll get a bit of mileage out of this combo in every game – and blocking the exit gates for several seconds is great for last-minute kills, even without NOED.
What Makes This Combo Great?
- Survivors have no way to see either perk coming
- NOED gives a speed boost and one-hit downs while No Way Out keeps them trapped
- Both perks activate at the same time, and complement each other
10. Lithe + Windows of Opportunity + Dance With Me
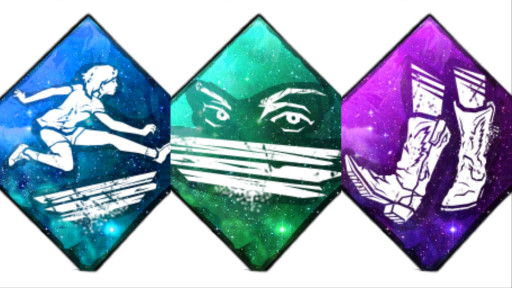
These perks are for the runners; when you’ve played dead by daylight long enough for the horrors to become the norm, the real fun comes from seeing how long you can keep the killer chasing you without getting caught.
The first perk, Lithe, is one of Feng Min’s. When you quickly vault a window or pallet, you run at 150% speed for just 3 seconds, but those precious seconds can put a great deal of distance between you and the killer.
Windows of Opportunity is a Kate Denson perk, and while it’s not strictly needed when you’re familiar with a map, it is perfect for all kinds of players. Pallets, breakable walls, and things you can vault over all glow to become visible through walls. It’s a great perk for planning your next moves during a chase.
Dance With Me is one of Kate’s other perks, and works a bit like Lithe – when you quickly vault a window / pallet (or leave a locker!), you won’t leave any scratch marks behind for 3 seconds. If a killer isn’t literally breathing down your neck, it’s a great way to quickly disappear from a chase.
What Makes This Combo Great?
- Lithe and Dance With Me activate at the same time
- You can plan a chase route with Windows of Opportunity
- You’ve got options – run as far as you can, quickly get to a hiding spot, or get to a pallet.
9. Starstruck + Agitation + Thrilling Tremors
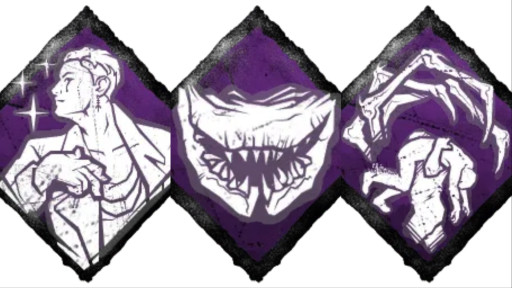
Unless you’re a Pyramid Head prodigy or very bloodthirsty Michael Myers, a good chunk of every killer’s game is dedicated to carrying survivors to a hook. This combo makes that otherwise boring task into a time for deadly hunts through perks that all activate when you carry a survivor.
Starstruck is one of The Trickster’s more interesting perks – if a survivor enters your terror radius while you’re carrying one of their teammates, they can be downed in one hit. Even if they run away, they’ll still be vulnerable for 30 seconds at maximum level.
While you’re carrying a survivor, The Trapper’s Agitation perk makes you move faster – 18% faster, at maximum level. Your terror radius is also increased by 12 metres – normally, this perk is used to quickly get a survivor to a hook, but it can also be used to chase a survivor at terrifying speed.
Finally, The Ghost Face’s Thrilling Tremors perk blocks generators that aren’t being worked on when you pick a survivor up. In essence, it shows you which generators are currently being repaired, and blocks the ones that aren’t for several seconds.
Survivors may quickly learn not to come near you after a friend is downed, but if you can capitalise on the confusion caused by this build early on, you can have a four-kill game very quickly.
What Makes This Combo Great?
- All three perks activate at the same time
- Thrilling Tremors shows where survivors are, and Agitation gets you over to them quickly
- Starstruck has a large radius of effect complimented by Agitation’s terror radius boost
- It makes an otherwise boring part of the game into an exciting hunt
8. Boil Over + Flip Flop + Power Struggle
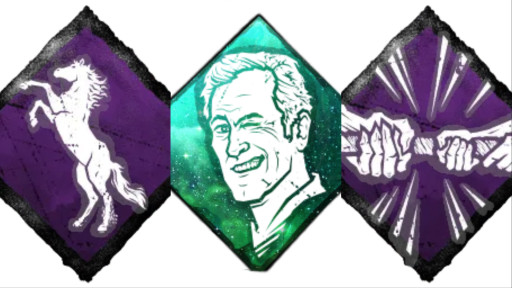
While killers might find it boring to bring survivors to a hook, it’s always a frustrating time getting hauled off like a sack of potatoes. If you’re tired of almost filling the struggle bar before being thrust onto the hook unceremoniously, this combo may be for you.
Boil Over is one of Kate Denson’s perks, and its specific job is to make the killer’s decision to pick you up a bad one. At maximum level, your struggling effects are 80% more effective, and the killer won’t be able to see hooks through walls when they’re within 16 metres.
Flip Flop comes to us from the Evil Dead series’ leading man, Ash Williams. It’s niche, but punishes the killer for leaving you on the ground; 50% of your recovery progression becomes wiggle progression when the killer picks you up, letting you wiggle off faster.
Finally, Power Struggle. One of the game’s most hit-or-miss perks comes to us from Élodie Rakoto, and thanks to its situational nature, killers never see it coming. If you’ve wiggled enough to fill 15% of the bar at maximum level, you can slam down a pallet that the killer walks near – stunning them and letting you run off, giggling all the while.
Put these perks together, and the killer will regret both picking you up and leaving you on the ground. It’s a win-win – for you!
What Makes This Combo Great?
- Killers can’t hook you as easily, giving teammates more time to repair generators
- Being left on the ground gives you more time to charge Flip-Flop
- Killers never expect Power Struggle, so it can act as your secret weapon
- They’ll also take direct routes – through pallets – as a result of Boil Over
7. Hex: Devour Hope + Hex: Haunted Ground + Monitor & Abuse
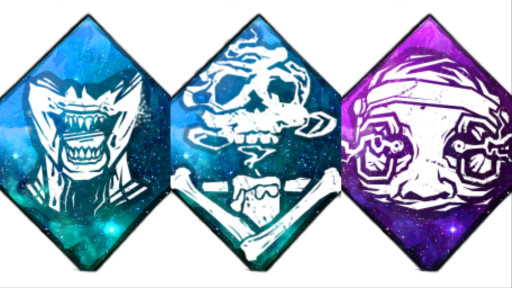
When it comes to Hex totems, Killers have a lot of choices – some more effective than others. By using them, you also place a lot of trust in the game to not spawn your precious totems right next to a survivor’s spawn point – and often come to regret that decision. Still, when they’re used right, certain hex totems complement each other nicely; something this combo explores.
Hex: Devour Hope features the lovely smile of The Hag, as it’s one of her unique perks. It discourages camping, as you gain a token when the survivors you hook are unhooked while you’re far away. With 2 tokens, you get a speed boost. At 3 tokens, you can down survivors in one hit. At 5 tokens, you can straight-up murder a survivor as if you’d brought a Memento Mori.
Hex: Haunted Ground is less complicated, and is one of The Spirit’s perks. When a survivor breaks one of two hex totems spawned by this perk, all survivors can be downed in one hit for 60 seconds at maximum level.
Finally, Monitor and Abuse provides opportunities for stealth and punishment. It’s one of The Doctor’s unique perks, and focuses on your terror radius – in a chase, it’s increased by 8 metres, but you’re otherwise given a terror radius 8 metres smaller that will help you get closer to survivors before they know you’re coming. This perk also allows you a slightly larger field of view – 10 degrees at maximum level.
What Makes This Combo Great?
- Hex: Devour Hope punishes survivors for not breaking hex totems
- Hex: Haunted Grounds punishes survivors for breaking hex totems. Win-win, for you!
- Monitor & Abuse lets you get closer to a survivor before they know you’re coming, which is perfect when they’re Exposed by the two other perks
- Survivors cleansing a totem while you’re nearby may be scared off by your larger terror radius, thinking you’re closer than you actually are
6. Hope + Adrenaline + Dead Hard
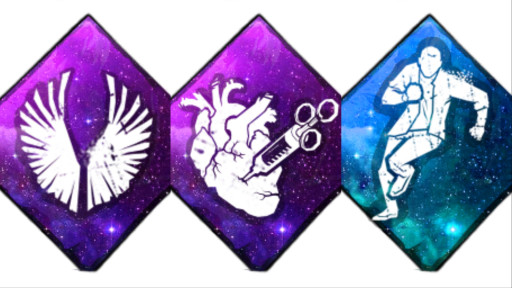
Killers aren’t the only ones with tricks up their sleeves in the end game. While there’s sadly no survivor perk that lets you knock the killer out with one hit after the exit gates are powered – not yet anyway – you can still plan ahead with the perks in this combo.
First up, Hope – it’s available to all survivors, and is fairly simple. When all five generators have been completed, your speed is permanently increased by 7% at maximum level. It may not sound like much, but every percentage counts when Leatherface is within chainsaw distance!
Next, Adrenaline. It’s one of Meg Thomas’ perks, and when all five generators are completed, you’re healed (from downed to injured or injured to healthy), and can run at 150% of your normal running speed for 5 seconds. This perk is best used when playing with friends in voice chat, as you can let a killer down you just to immediately get back up on your feet and catch them off guard.
Finally, Dead Hard acts as a bit of insurance when you’re injured. It’s one of David King’s perks, and while it’s often getting changed by the developers, the general idea is that you can tank an attack if you dodge at the right moment. It currently only activates when you’ve unhooked a survivor, but you should be doing that anyway, assuming you’re not terribly selfish.
Put them together, and you’ve got a solid set of perks for a chase near the end game; you can take two hits thanks to dead hard, get downed, but then quickly get up and sprint off at a stupid speed if the final generator gets completed before you’re picked up.
What Makes This Combo Great?
- Dead Hard keeps a chase going a little longer, buying time for teammates to do generators
- Adrenaline ignores the Exhausted effect that Dead Hard causes
- Hope and Adrenaline activate at the same time, and both make you run faster
- The speed boost acts like a counter to Hex: No One Escapes Death
5. No Mither + This Is Not Happening + Made For This + Resilience
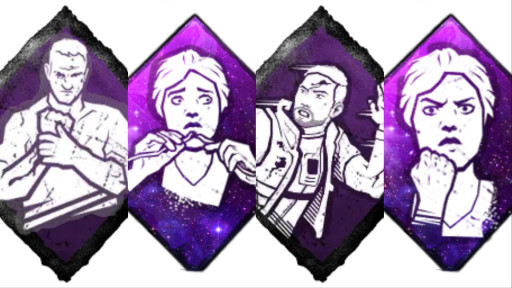
This combo may be a bit controversial – in a game where you’re trying to survive as long as you possibly can, why would you equip a perk that makes sure you’re downed in one hit? Let me explain.
No Mither makes your matches interesting – you’re injured and cannot be healed. It tries to balance this by stopping you from bleeding and allowing you to recover from the dying state on your own, but being injured for the whole game is pretty risky.
This Is Not Happening activates when you’re injured, and makes it easier to get Great skill checks when repairing generators and healing survivors.
When you’re injured, Made For This makes you 3% faster at maximum level. As a bonus, it grants you the Endurance status effect for 10 seconds when you heal a survivor – making it so the killer’s attacks won’t take you down.
Finally, resilience is a flat ‘speed up’ when injured – at maximum level, you get a 9% speed bonus to repairs, hook sabotages, healing, unhooking, opening exit gates, vaulting, and even breaking totems.
Put them together, and your permanent injury makes you a force to be reckoned with. Everything you do is faster, more efficient, and can make the killer’s job harder. It’s best to use this combo only when you’re familiar with each killer’s moves, as it’s not very friendly to newer players, but definitely brings an element of risk-reward that keeps the game fresh.
What Makes This Combo Great?
- Its useful effects are active for the entire game
- You’re more effective at pretty much every action in the game
- You’re harder to track thanks to No Mither’s quieter injured noises and lack of blood pools
- Strategic teamwork can help you tank hits with Made For This
4. Thanatophobia + Coulrophobia + Distressing + Barbecue & Chili
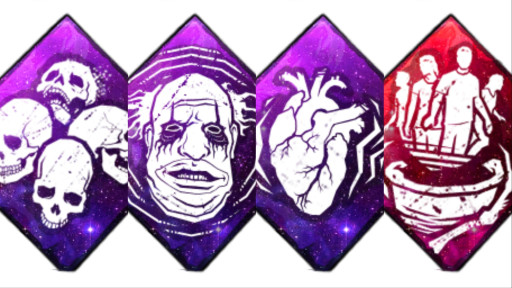
I like to call this combo ‘My Uncle Jimmy’s Barbecue’’. When you use it as a killer like The Legion who’s always running around the map and injuring survivors, this combination makes their lives a misery - like having any of the food at my uncle Jimmy’s barbecue. For you, though, it’ll feel like eating a yummy bowl of chilli, seasoned with survivor tears.
Thanatophobia comes to us from The Nurse, and punishes survivors for being injured. At maximum level, every injured / dying / hooked survivor makes repairs and sabotages 2% slower, with a bonus 12% speed penalty when all four survivors are injured, dying, or hooked.
Coulrophobia means ‘fear of clowns’, and comes to us from The Clown, obviously. Survivors in your terror radius heal 50% slower, and the skill checks they get are 50% faster; unless they’re ridiculously good at skill checks, the survivors are going to have a hard time healing when you’re around.
Distressing is a perk from The Doctor, and is fairly basic – your terror radius is 26% bigger at maximum level. For some killers, this can be a detriment, but it’s a delightfully evil addition to this combo.
Finally, Leatherface’s Barbecue and Chili perk is like a little garnish on our combo. When hooking a survivor, any survivors further than 40 metres from it at maximum level are revealed for 5 seconds.
When you put these perks together, it truly is an annoying barbecue. Survivors are punished for being injured, but healing becomes a huge pain, and healing far away while a teammate is being hooked – normally very safe – will show you exactly where they are and let you apply Coulrophobia ASAP.
What Makes This Combo Great?
- Survivors are in a lose-lose; being injured is bad, and healing gets them caught
- Hooking survivors shows you where the others are, letting you interrupt their healing
- Distressing makes you a constant presence on the map, putting survivors on edge
3. Hyperfocus + Stake Out + Fogwise + Scavenger
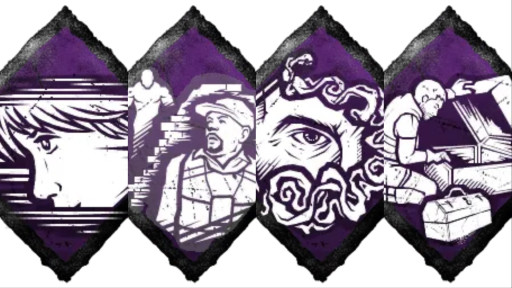
Despite playing this game since 2018, I’m still usually hitting Good skill checks rather than Great ones. This led to me looking into perks that make it easier, and I stumbled into some very effective pairs that can treat both low-level and high-level players alike.
Hyperfocus comes to us from Resident Evil’s Rebecca Chambers, and works with tokens. Every great skill check gives a token, and tokens increase the chances of a skill check appearing by 2%. That’s not all – skill checks get faster, and great skill checks give 30% more progress than usual at max level. This effect only stops when you get a good skill check, fail, or stop repairing / healing.
Stake Out is one of Detective Tapp’s perks, and rewards you with tokens when you’re in the killer’s terror radius for several seconds without being chased. These tokens turn a good skill check into a great skill check, with all the benefits that would entail.
Fogwise is one of Vittorio Toscano’s simple perks – every time you get a great skill check, you can see the killer through walls for 6 seconds at maximum level. Very useful against stealthy killers!
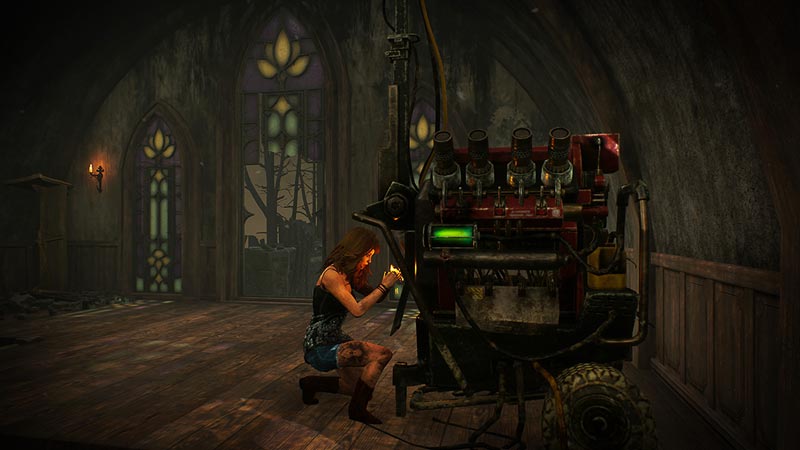
Finally, Scavenger is a Gabriel Soma perk. When you’re holding a used-up toolbox, each great skill check on a generator gives you a token; the toolbox is then fully repaired at 5 tokens. As a nice little bonus, you can search an opened chest to guarantee a basic toolbox.
Put those perks together, and not only are great skill checks easier, but there are a whole bunch of positive effects that activate for each one. Most effects are focused on generators, but that’s hardly a bad thing – the sooner the generators are done, the sooner you can go!
What Makes This Combo Great?
- Great skill checks show the killer, repair a toolbox, and trigger more skill checks
- Great skill checks get easier with Stake Out, and you’ll know when the killer is close
- Generators can be repaired much faster, letting you escape sooner
2. Discordance + Trail of Torment + Dragon’s Grip + Claustrophobia
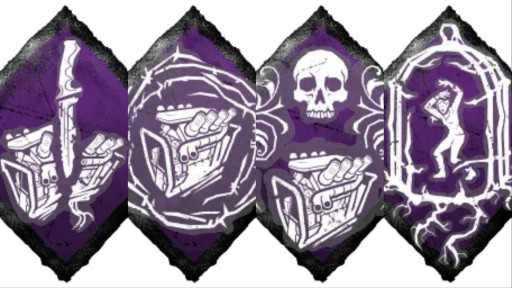
In high-ranked games of dead by daylight, your ability to succeed as a killer is closely tied to how long you can keep the survivors away from generators. With this combo, you’ll be keeping a close eye on each generator and punishing survivors heavily when they work on them. It pairs well with killers like The Nurse or The Mastermind.
Discordance is a perk from The Legion that counters team play; when two or more survivors work on a generator together, it gets marked by a yellow aura and alerts you. It’s a simple but effective way of figuring out where survivors are and estimating how many are in a certain area.
Trail of Torment is a perk from Pyramid Head, rewarding you for damaging generators. While the generator is regressing - hasn’t been repaired or the bar hasn’t fully emptied - you become Undetectable, and the generator appears with a yellow aura for survivors. With perks like Blast Mine also showing generators in yellow, it’s a very sneaky perk that rewards ambushes.
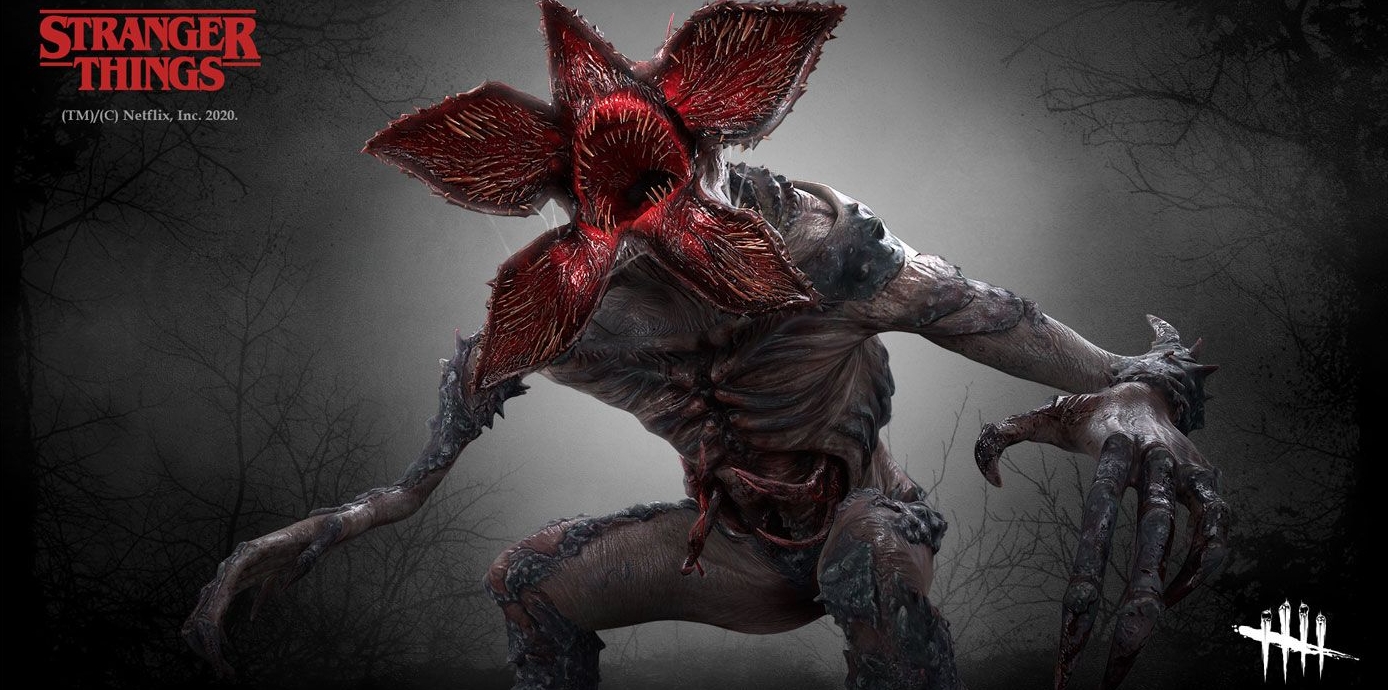
Dragon’s Grip is a perk from The Blight. When you damage a generator, the first survivor to touch it within 30 seconds will scream and become vulnerable to one-hit downs for 60 seconds. Best of all, it has a cooldown and can be activated multiple times in the same match.
Finally, Claustrophobia is a general perk (formerly The Demogorgon’s) and punishes survivors for completing generators. Every window and vault location in the map is blocked for 30 seconds at maximum level, and their auras are revealed to you.
With this combo, survivors really can’t win – you’ll know when they work on a generator together, they’ll be drawn to generators that will get them downed in one hit, and their escape routes will be blocked off when they do complete a generator. Nasty!
What Makes This Combo Great?
- Survivors are punished for doing generators together AND alone
- You’ll know where survivors are and can often down them in one hit
- They’ll be drawn to the generators’ yellow aura, and punished for it
- You can chase them into dead ends after a generator is completed and vaults are blocked
1. Boon: Circle of Healing + Boon: Dark Theory + Kindred + Overzealous
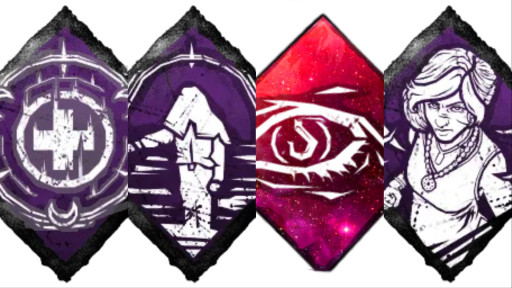
Boon totems are some of the strongest perks in a survivor’s arsenal, and this combo uses them to make you an incredibly strong solo player. You don’t need friends with perks like these – just an idea of where totems spawn.
Boon: Circle of Healing comes to us from Mikaela Reid. When you find a dull totem, you can bless it to increase healing speed by 100% at maximum level while survivors are in its radius. Injured survivors in its radius are also shown to teammates, so you’ll essentially create a ‘healing zone’ for survivors to flock to and regroup.
Similarly, Yoichi Asakawa’s Boon: Dark Theory is activated by blessing a totem. Survivors in its radius get a 2% speed boost that lingers for 4 seconds after leaving the radius at maximum level. Best of all, boon totems stack, so both this and Circle of Healing will be active in the same area.
Kindred is a must-have for any solo survivor; it shows all survivors’ auras to one another, and reveals the killer’s aura if they’re standing close by. It’s a great way to show your teammates that you’re on the hook, the killer’s far away, and what their other teammates are doing so someone knows to come and save you.
Finally, Overzealous is a Haddie Kaur perk that rewards you for blessing and breaking totems. At maximum level, you get a 10% generator repair speed bonus that persists until you’re hurt – since you’re in the business of blessing totems anyway, it’s a win-win.
What Makes This Combo Great?
- You become a credit to your team, boosting healing and running speed
- You keep everyone alive by showing what the killer and other survivors are doing
- You can run faster, heal faster, and repair faster – important in every match
- Boon totems keep a team together, and can be moved around as needed

