As a Dead by Daylight killer, you have a duty to stab, bludgeon, and vomit on survivors as best you can. The evil spider-god in the sky won’t give you any yummy blood points if you aren’t getting any kills, so you’d best come prepared with a strong set of perks if you want consistent sacrifices.
In this Top 15, I’ll be ranking various Killer perks, based on their general effectiveness and standalone power. You’ll also get an overview of the killers that use these perks to their full potential, so get those blades sharpened and stomachs vomiting – it’s time to kill!
15. I’m All Ears
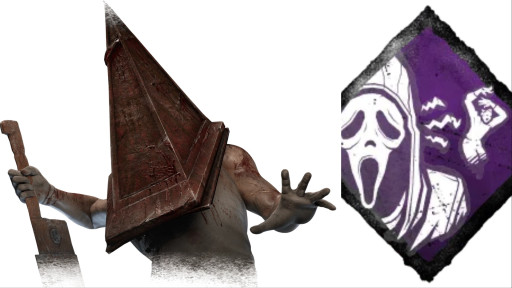
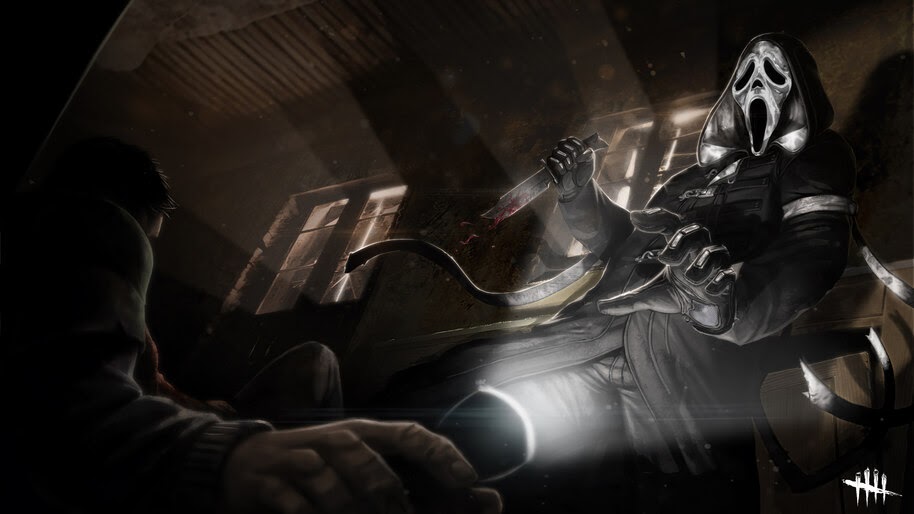
I’m All Ears is a perk from The Ghost Face that’s incredibly powerful in a chase. Whenever a survivor performs a rushed action within 48 metres of you, they can be seen through walls for 6 seconds. This can be done multiple times per match, with the cooldown only being 40 seconds at maximum level.
As a former ghost face main, I’ve always been a fan of this perk; survivors often think they’re safe after vaulting over a window or pallet, and you can show them how unsafe they are by watching their movements and waiting for them on the other side of a wall they’re running for. If you’re lucky, survivors won’t even realise you’re using this perk, and will keep playing directly into your hands.
It’s the first entry to this tier list for the simple reason that it’s overused; survivors are used to seeing it paired with certain killers, and in high-level games, survivors use speed-boosting perks that counter I’m All Ears quite effectively.
Which killers use this perk best?
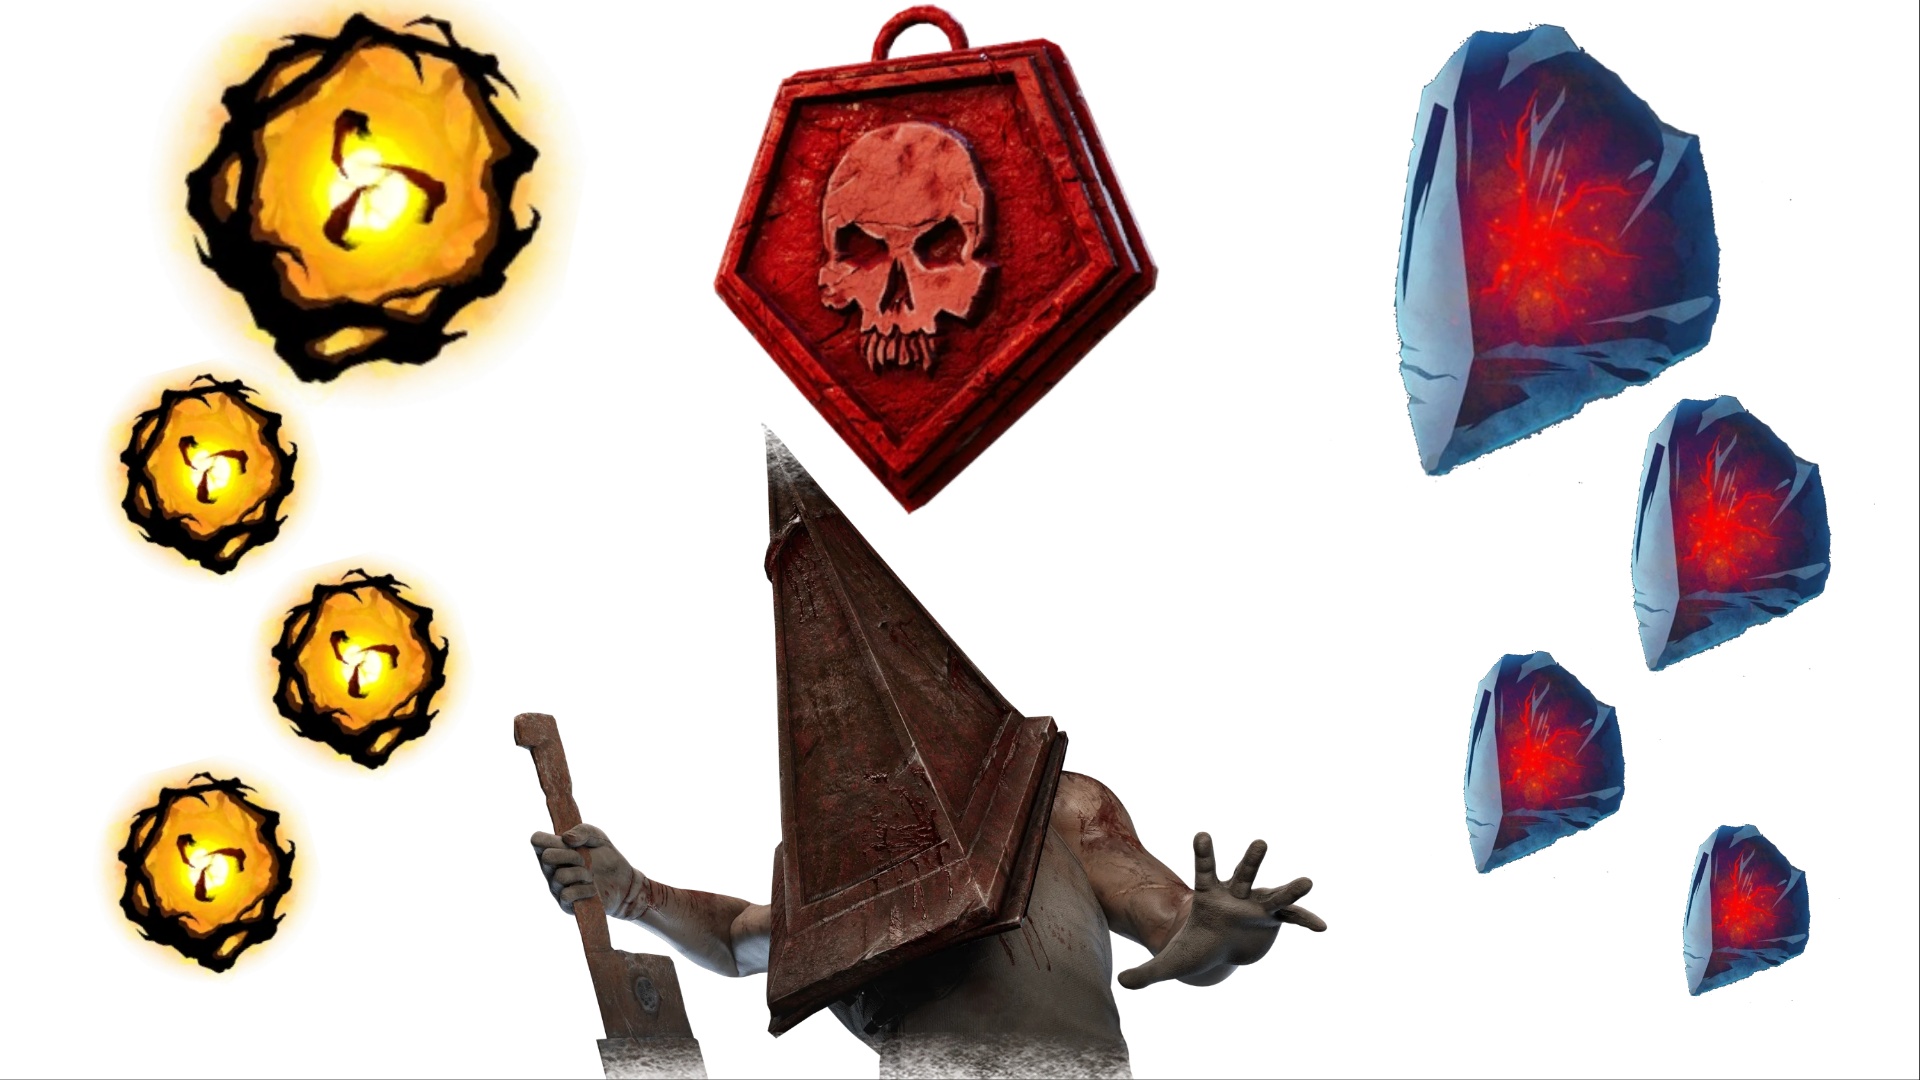
- The Executioner (Pyramid Head) - his ranged attacks go through walls, and seeing the survivors through walls will massively increase your accuracy
- The Nurse – her ability to teleport through walls is wasted when she misses a target, so seeing where survivors are going massively helps with landing successful attacks.
Why I’m All Ears Is Great
- You can track survivors more effectively during a chase
- Even outside of chases, you can see survivors that rush actions from afar
- It’s got a fairly short cooldown time, meaning it’s useful several times a match
14. Lethal Pursuer
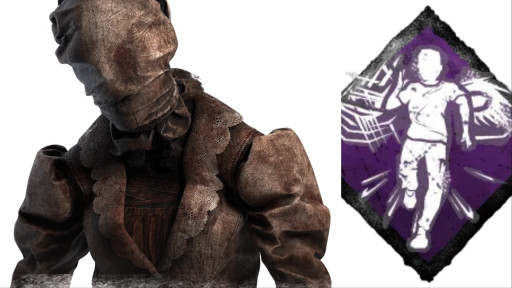
Lethal Pursuer is a perk generously shared by The Nemesis from Resident Evil 3. At the start of a match, every survivor’s aura is revealed to you for 9 seconds at maximum level. If that wasn’t enough, this perk acts as a buff to other aura-reading perks by increasing the time they’re active by 2 seconds.
This perk is only as good as your ability to quickly reach and down a survivor, but can give you a strong start to any match – if the survivors spawn together, you can scatter them and put them on the back foot almost immediately.
It’s easy to squander this perk, so it’s firmly placed at number 14, but pairs well with perks like I’m All Ears and Barbecue and Chili by keeping them active for longer than survivors will expect.
Which killers use this perk best?
- The Nurse can teleport through walls and obstacles, so is very well equipped to reach and injure survivors quickly.
- The Huntress’ hatchets can cross the map, so knowing where survivors are can lead to some crazy trick-shots in the early game.
Why Lethal Pursuer Is Great
- You can start the match with a clear goal instead of trying to find survivors in the wild
- It’s a no-downsides boost to other aura-reading perks
- It can disrupt survivors’ plans to work on generators together
13. Nowhere to Hide
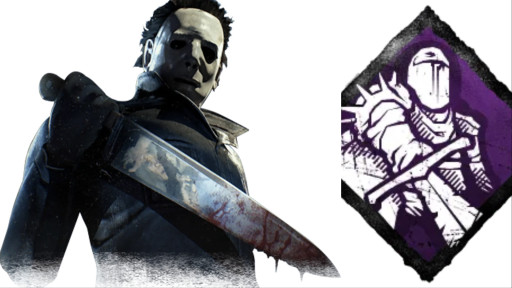
Nowhere to Hide is a perk from The Knight that works well in the ‘generator meta’ the game currently finds itself in. When you damage a survivor, the aura of survivors standing within 24 metres of you are revealed for 5 seconds at maximum level. This can be done multiple times in a match, and has no cooldown.
I like this perk’s simplicity. In a game with a crouch button, I’ve always found it maddening that survivors usually choose to hide by just standing awkwardly behind trees – this perk punishes those standing fools by leading you straight to them, and better yet, the active radius follows you for those five seconds as you move away from the generator.
While it’s an effective perk in theory, survivors should quickly realise that they only need to crouch to stop being found so easily. Still, with a killer that downs them as soon as they’re found, you can quickly destroy a team if they’re all stupidly standing around the generators you kick.
Which killers use this perk best?
- The Shape (Michael Myers) – survivors won’t expect you to kick generators while in Evil Within tier 3, and your boosted movement speed will help you find and down them quickly.
- The Mastermind – your ability to move quickly will help you close in on any survivors you reveal, or move the radius to a spot where you suspect they are hiding.
Why Nowhere to Hide Is Great
- You can immediately see nearby survivors
- Your ‘radius of exposure’ moves with you for several seconds
- It’s got no cooldown time, and will be activated constantly
12. Shadowborn
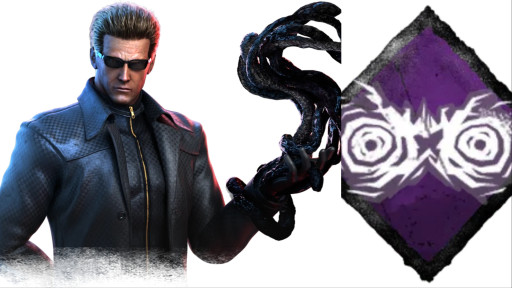
Shadowborn comes to us from one of the game’s OG killers, The Wraith. It’s a simple perk by the game’s modern standards – at maximum level, your field of view is 15 degrees wider than normal. Yeah, that’s literally it. It doesn’t stack with other FOV-increasing perks, however.
While it doesn’t sound impressive on the surface, there’s a lot of potential bubbling beneath the surface. I’m kept awake at night by the survivors I’ve somehow not seen because they were crouched just outside of my line of sight, and a perk like Shadowborn was designed to solve that problem in the simplest way possible.
It’s not useful for every killer – The Hag and The Trapper, for example, are better off leaving traps in strategic areas – but for killers with a focus on mobility, Shadowborn can help them stay aware of their surroundings while zooming around. The best counter-play for survivors is just to ‘hide better’.
Which killers use this perk best?
- The Mastermind (Albert Wesker) – Survivors will try to get out of your line of sight when you dash, and this perk makes that much harder for them. You’ll get more successful slams.
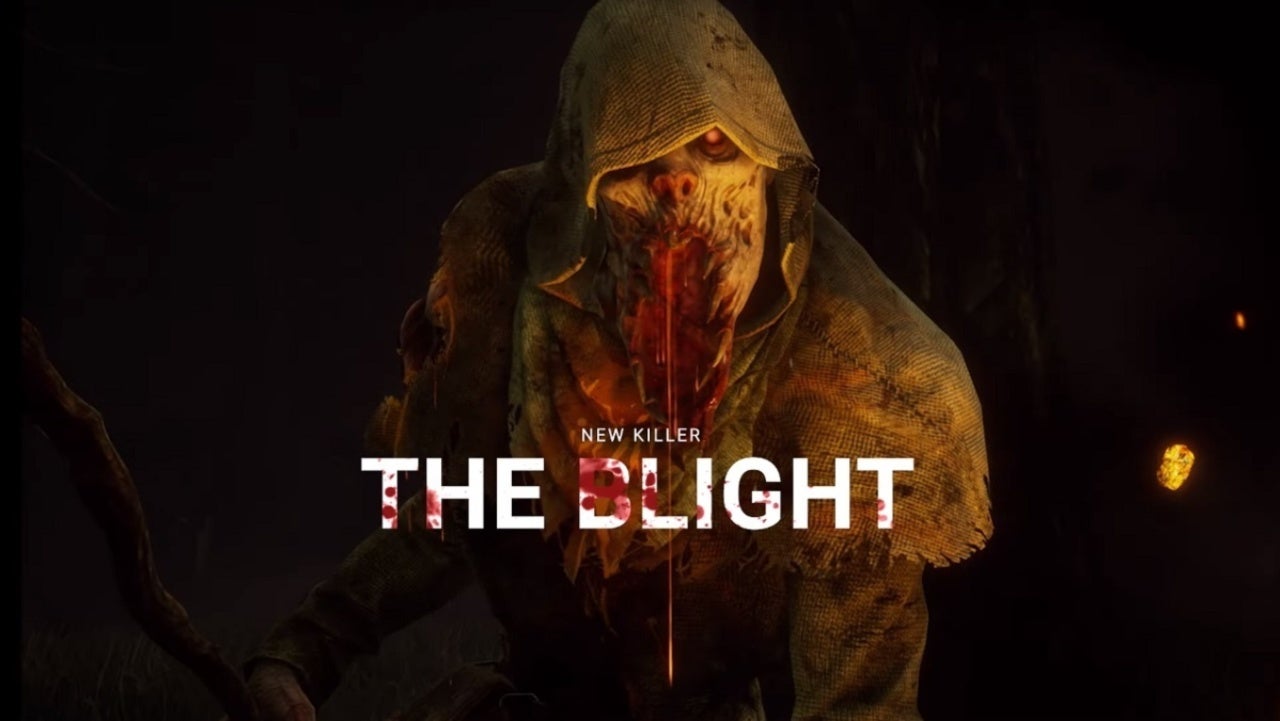
- The Blight – Much like Wesker, The Blight’s power is more effective when you can see what you’re doing and moving towards.
Why Shadowborn Is Great
- You can see survivors that would otherwise be just out of view
- You can see your environment more clearly, making it easier to know when a pallet or window is coming up
- It’s always active, and survivors have no real counter to it
- They may not even realise you’re using it!
11. Overcharge
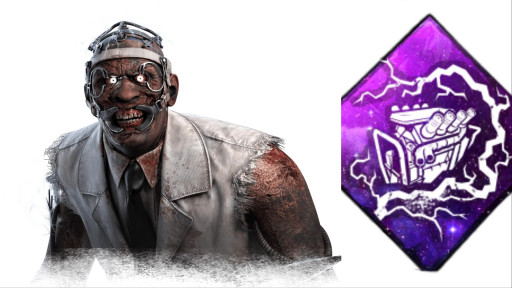
It’s no surprise that an annoying killer like The Doctor would have an annoying perk like Overcharge. When you damage a generator, the next survivor to interact with it has to complete a difficult skill check, or they’ll lose a bunch of progress – an extra 4% than usual at maximum level. That’s not all, either; when you kick a generator, it loses progress faster (from the usual 85% to 130%) for 30 seconds.
Even seasoned survivors can be caught off-guard by a perk like Overcharge, and when games are won or lost by your ability to slow down generator progress, anything that interferes with survivors is worth bringing. Best of all, the perk has no cooldown, and can be activated many times during a match; all you need to do is kick a generator, and you’ll be doing that several times anyway.
Some killers’ time is better spent attacking survivors than kicking generators, and some survivors are simply too quick at repairs for this perk to shine. Still, when it’s paired with a useful power and used often, Overcharge is a nasty perk that deserves its reputation.
Which killers use this perk best?
- The Doctor – If you’re playing as The Doctor, you don’t want survivors to have a good time. This perk pairs well with his power and adds another way to annoy survivors.
- The Skull Merchant – The drone-lady is all about keeping survivors away from generators, and this perk helps keep those generators’ progress low.
Why Overcharge Is Great
- You make every generator a potential trap
- Generator progress is lost faster, making the game last longer
- Even if survivors succeed the skill check, they don’t gain any progress
10. Corrupt Intervention
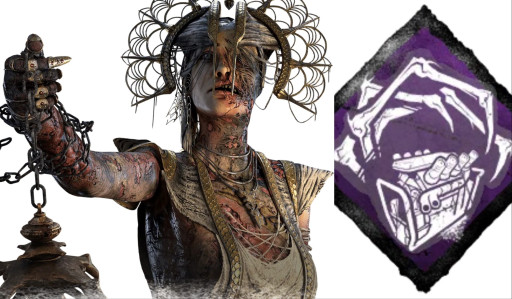
No matter which killer you’re playing as, the start of the game is incredibly important. Set traps, familiarise yourself with the pallet spawns, look for survivors – it’s a busy time, and the last thing you need is survivors doing generators during it.
Corrupt Intervention comes to us from The Plague and is very strong in the current meta. The three generators furthest from you are blocked by the entity for 2 minutes at maximum level at the start of a match. Survivors can’t repair these generators – the ones they’re most likely to spawn near – and the generators are shown with a white aura while they’re blocked. The only downside is that downing any survivor un-blocks the generators.
It should be noted that survivors can still just find another generator to work on; this perk isn’t a guaranteed two minutes of freedom, but for slower killers it can give some much-needed breathing space. There aren’t as many generators to patrol in the early game, too, which is a nice bonus!
Which killers use this perk best?
- The Plague – It’s one of her perks, after all, and the extra time can be used to puke on survivors without downing them. You can also puke on the non-blocked generators to get the map under your control while survivors are spreading out.
- The Trapper – The extra ‘set up’ time at the start of a match is exactly what The Trapper needs to leave his traps everywhere without the stress of survivors popping generators.
Why Corrupt Intervention Is Great
- You can set up traps and get familiar with a map without as much stress
- You can get a rough idea of where one or two survivors are
- Survivors are forced to spread out and get closer to you to find generators
9. Mad Grit
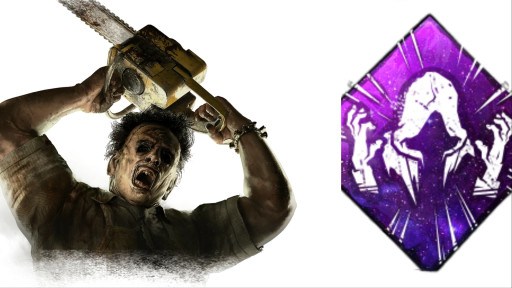
Mad Grit is an annoyingly good perk from one of my least favourite killers, The Legion. When carrying a survivor, your basic attacks have no cooldown, and hitting a survivor while carrying another pauses wiggle progress for 4 seconds at maximum level.
As a survivor, it always catches me off guard; the spammed attacks look ridiculous, and when paired with a perk that makes you move faster while carrying a survivor, you can get downs in the most unlikely circumstances. One of my favourite things to do with this perk is pretend I don’t have it, injure a cocky survivor, then drop the survivor I was carrying to go and finish them off.
It’s a perk that requires you to use it strategically; survivors won’t come near you if they know you have it, so knowing the right time to use it for maximum carnage is recommended.
Which killers use this perk best?
- The Cannibal (Leatherface) – When Leatherface hooks a survivor, it’s over for them. Their teammates know this, and will try to intervene; Mad Grit makes that a very bad idea.
- The Demogorgon – He’s not available to buy anymore, but a Demogorgon with Mad Grit and Agitation looks and sounds absolutely horrifying.
Why Mad Grit Is Great
- Survivors never see it coming, and you can get free hits
- It punishes altruistic survivors and anyone who tries flashlight saves
- When paired with Agitation, you become a fan-blade of death
8. Hex: No One Escapes Death
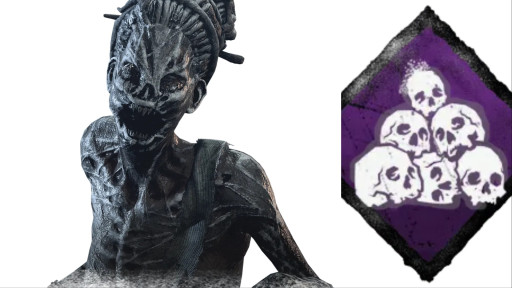
The end of a match is just as important as its beginning, if not more. Survivors will start to relax, thinking they’ve got an escape secured, and a mouth-watering 4-kill game hangs in the balance. Hex: No One Escapes Death gives you a second wind to secure those last few kills before the doors open and the survivors get away.
This perk has been terrorising survivors since the game was released, and is the daddy of all hex perks. When all 5 generators have been repaired, a dull totem becomes a hex totem, and the killer can down survivors in one hit. They also move 4% faster at the perk’s maximum level.
In version 6.1.0, NOED was nerfed slightly; the totem’s aura is revealed to survivors through walls when they get close, and as they take longer to find it, it gets easier to find. I’ll admit that this was a much-needed change, but a killer that can protect their totems or just quickly down remaining survivors won’t find it an issue at all.
There is a counter in the form of just breaking dull totems, but most survivors in the games I play are more concerned with generators and staring at walls, so you’ll get a bit of mileage out of this combo in every game – and catching cocky survivors with a one-hit down always feels amazing.
Which killers use this perk best?
- The Hag – By leaving traps around your hex totem, you’ll know when survivors are coming to break it and can intervene immediately.
- They could crouch to avoid setting off your traps, but are more likely to be running to try and save their team.
- The Wraith – His ability to move quickly while invisible can help secure some speedy kills.
Why Hex: No One Escapes Death Is Great
- A speed boost can help the slower killers even the odds
- One-hit downs help secure last-minute kills
- It can be paired with perks that keep exit gates shut to great effect
7. A Nurse’s Calling
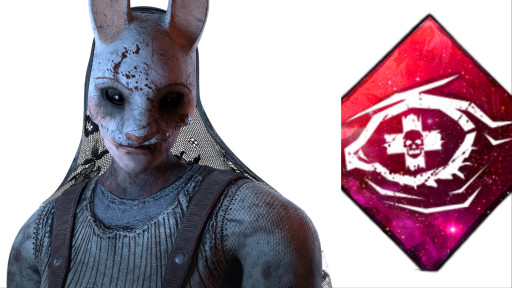
Survivors are clumsy fools – always hurting themselves by walking into bear traps and the wrong end of knives. When they scamper away to get back to full health, A Nurse’s Calling comes in. Survivors who are healing or being healed are revealed to you through walls from up to 28 metres away at maximum level.
This perk comes to us from The Nurse, and it’s one of her best. By quickly returning to a hook when a survivor has been saved, you’ve got a very high chance of catching the survivors unaware and securing another couple of hooks.
Survivors may wise up and stop healing when you’re around, but clever killers will only use it when several survivors are healing together - by using the perk strategically, survivors may not realise you’re using it, and continue healing in dangerous locations.
Which killers use this perk best?
- The Huntress – Survivors stay still when they’re healing, and while a 28-metre shot isn’t easy, you can get some long-range snipes or simply scare survivors and stop them healing.
- The Ghost Face – You can enter stealth mode and begin stalking the oblivious survivors while they heal to get some easy one-hit downs.
Why A Nurse’s Calling Is Great
- It targets survivors when they think they’re safest
- It pairs well with perks like Thanatophobia that makes healing take longer
- It has no cooldown, rewarding strategic and observant killers
6. Coulrophobia
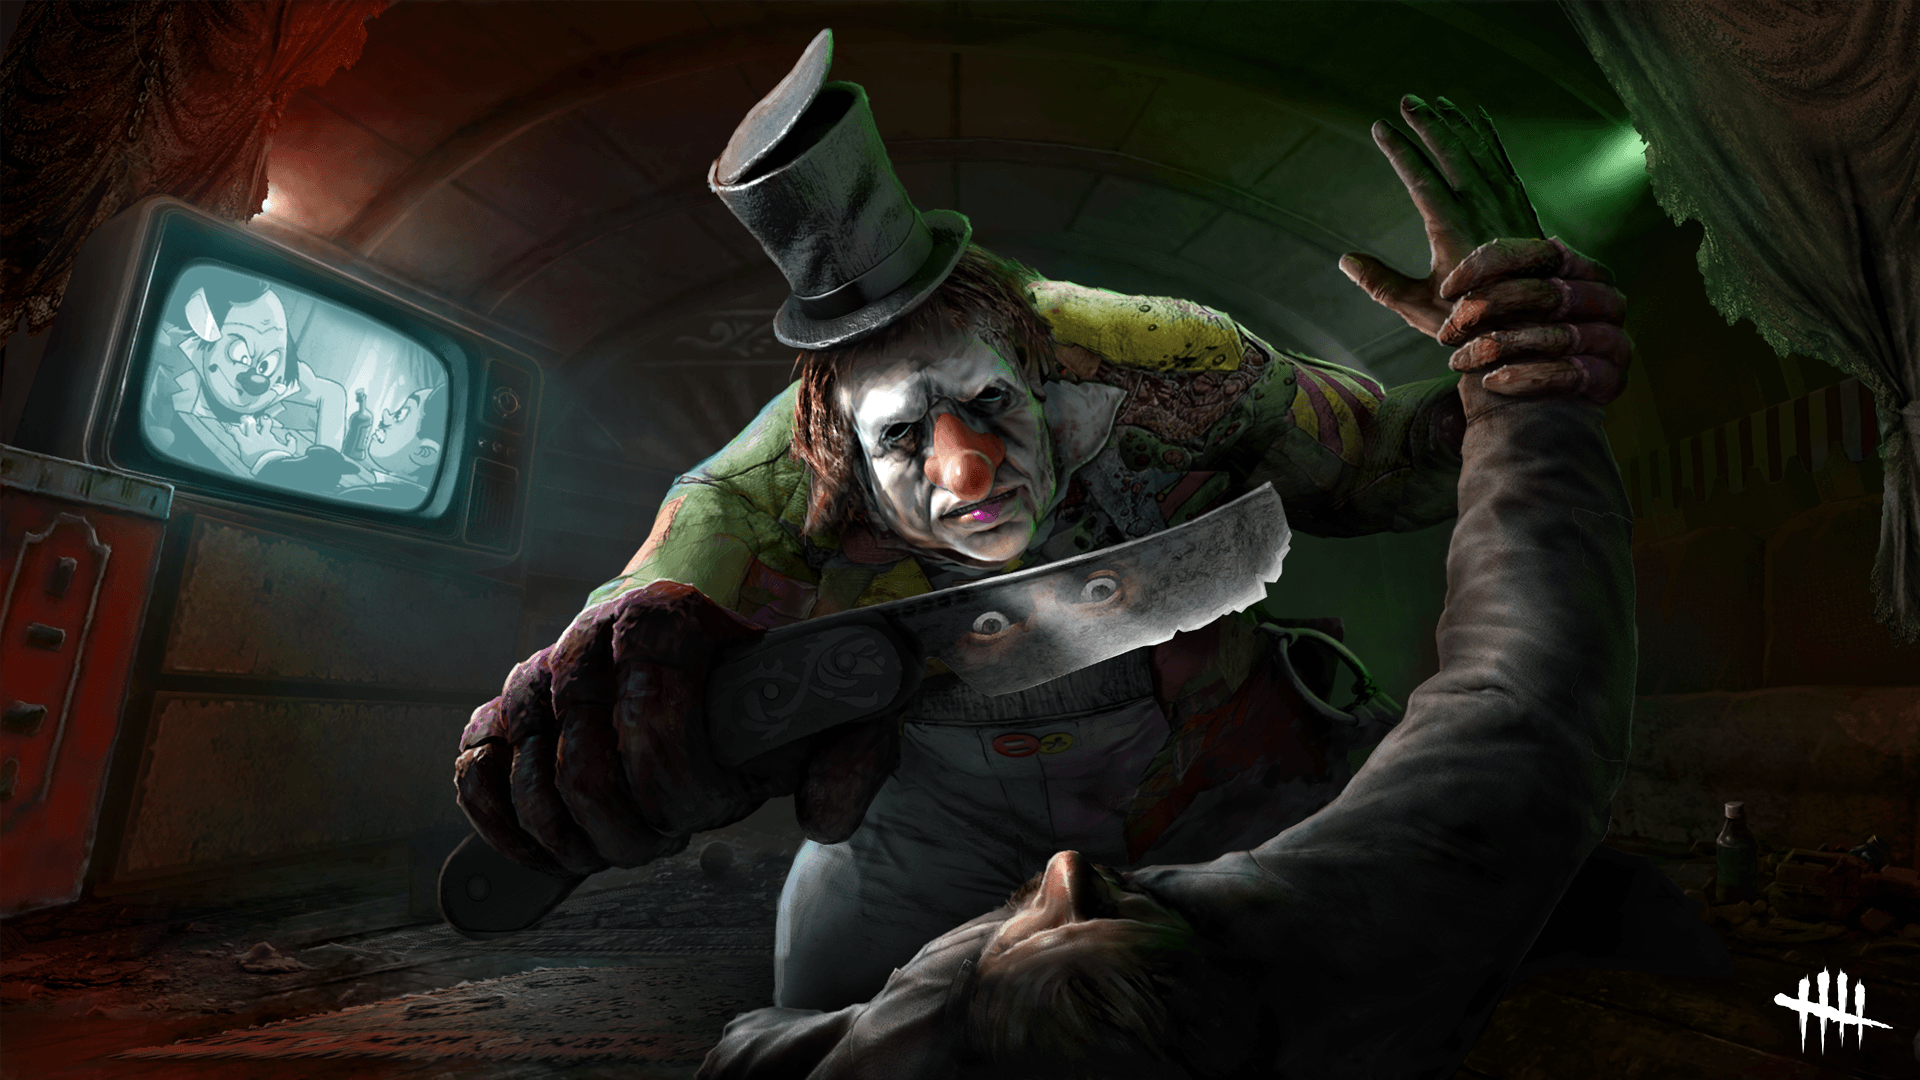
Coulrophobia means ‘fear of clowns’, and comes to us from The Clown, obviously. Survivors in your terror radius heal 50% slower at maximum level, and the skill checks they get are 50% faster; unless they’re ridiculously good at skill checks, the survivors are going to have a hard time healing when you’re around.
When paired with a killer with a large terror radius or ability to get around quickly, you become a menace. Pair it with a perk like Distressing that boosts your terror radius, and non-stealthy killers are having a great time at the survivors’ expense.
The counterplay is to just stop healing whenever you’re around, but as mentioned above that’s a lot easier said than done when this perk is in the right loadout. If you’re always dealing with Boon: Circle of Healing, Coulrophobia may be the perk you’ve been looking for.
Which killers use this perk best?
- The Mastermind (Albert Wesker) – A 40-metre terror radius and power that helps you get around quickly makes this perk a must-have for Wesker.
- The Legion – Injuring survivors is the first page of The Legion’s playbook, and keeping them injured with this perk makes your job much easier.
Why Coulrophobia Is Great
- It makes survivors easier to find as they fail skill checks
- It pairs well with perks like Thanatophobia that makes healing take longer
- Killers with large terror radiuses become even more menacing
5. Call of Brine
Call of Brine was generously provided by the spooky TV lady herself, The Onryō. After damaging a generator, it loses progress at 125% speed at maximum level and is seen in yellow. Any survivor that completes a Good skill check on it triggers a loud noise notification, giving away their position.
This perk acts a bit like Overcharge, but it’s better in some regards – you’re better at making generators lose progress, and you’ll be told when a survivor has returned to it, assuming they’re not incredible at hitting great skill checks.
Survivors’ best hope of countering this perk is just to stop the regression and work on a different generator for a while – perfect for slowing the game down and getting survivors to spread out, or risk having their location revealed.
Which killers use this perk best?
- The Skull Merchant – She’s at her best when patrolling generators and keeping survivors away from them, and this perk helps keep those generators’ progress low.
- The Nemesis – His zombie minions are drawn to the loud noise notifications that survivors create, so you won’t need to babysit the affected generator.
Why Call of Brine Is Great
- Generators losing progress faster means the match will last longer
- Survivors will give away their locations if they aren’t great at skill checks
- There’s very little survivor counterplay, and no cooldown
4. Enduring
Pallets are the worst. It’s a universal truth for all killers – if it wasn’t for those stupid bits of wood, we’d be racking up kills like this was Call of Duty. The best medicine for these wooden headaches is the Enduring perk – it comes to us from The Hillbilly, and reduces the duration of pallet stuns by 50% at maximum level. It has no impact while you’re carrying a survivor, but you really shouldn’t be carrying survivors around pallets anyway.
There’s beauty in simplicity, and if you’re the type of player to lunge for survivors at every opportunity, you’ll know that pallets are the best place to catch an unlucky survivor. By bringing Enduring, you’re less affected when those gambles don’t play off, and can resume the chase sooner before the survivors run off. Pair it with a perk like Spirit Fury that breaks pallets you’re hit with, or Hubris to down survivors in one hit when they get you with a pallet for best results.
Best of all, there’s no counterplay – survivors could just not drop pallets on you, but you’d catch up to them faster or lunge with no punishment. Soon enough, every pallet on the map will be used up, and the sacrifices will be easy.
Which killers use this perk best?
- The Pig (Amanda Young) – The Pig’s ambush is a risky move, and this perk reduces that risk considerably, making you a more dangerous chaser with an otherwise stealthy killer.
- The Spirit – Turning invisible during a chase makes you unpredictable, but survivors will stay near a pallet for comfort. This perk makes that much riskier for them.
Why Enduring Is Great
- It helps you keep up with survivors during a chase
- It’s a lose-lose for survivors; they drop a pallet for little effect, or get hit.
- You can go for risky lunge attacks with less of a punishment if it goes wrong
3. Jolt
After recent changes and nerfs, Jolt has emerged as one of the best generator-related perks in the game. When you put a survivor in the dying state, all generators in a 32-metre radius explode and start regressing – at maximum level, they immediately lose 8% of their progress too. Wow!
As certain maps have generators very tightly packed, and as you’ll be attacking survivors near them anyway, this perk has a lot of bang for your buck. You’ll save time that would otherwise be spent kicking generators, and survivors will need to spread out to hope to counter this perk.
The only downside is that the attack you down them with needs to be basic – no chainsawing, no hatchet throwing, just a regular swing. Survivors’ only hope of counterplay is to stay far away from generators, and with a 32 metre radius of effect, that won’t be easy.
Which killers use this perk best?
- The Dredge – With an element of surprise and targeted teleportation power, the dredge can take full advantage of this perk to surprise and down survivors right next to generators.
- The Knight – Use a minion near a generator to injure survivors, then close in for the finishing blow to make the most use of this perk.
Why Jolt Is Great
- It saves a lot of time – you’re greatly rewarded just for downing survivors
- Survivors can’t do much about it – their team is punished when they’re downed
- It pairs very well with perks that keep survivors injured as much as possible
2. Barbecue & Chili
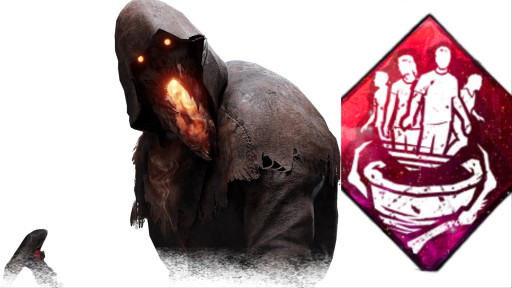
One of the more delicious-sounding perks in the game comes to us from Leatherface. More delicious than its name is its function; when you hook a survivor, their teammates’ auras are revealed for 5 seconds if they’re further than 40 metres from the hook at maximum level.
As an ‘information’ perk, it’s a great way to tell what survivors are doing – if you don’t see any auras, you know they’re close. Like some other perks on this list, it’s best used strategically; if survivors notice you speeding over to them every time a survivor is hooked, they’ll begin to plan around it.
Still, knowing survivors aren’t close is useful – especially when you’re a killer that can quickly close the distance. Even stealthy killers can get in on the fun, as a survivor doing repairs on the other side of the map will be totally oblivious to a Ghostface sneaking up to them, for example.
Which killers use this perk best?
- The Blight – One of the fastest killers in the game, who can quickly get over to a survivor to interrupt whatever they were doing when they got spotted.
- The Artist – Her ranged attacks are more consistent than other killers’, so she can send birds over to interfere without needing to travel over there herself.
Why Barbecue & Chili Is Great
- It’s a great way to know at a glance what survivors are doing
- You’re rewarded for hooking survivors, which you’ll be doing anyway
- It rewards both stealthy and high mobility killers with strategic minds
1. Thanatophobia
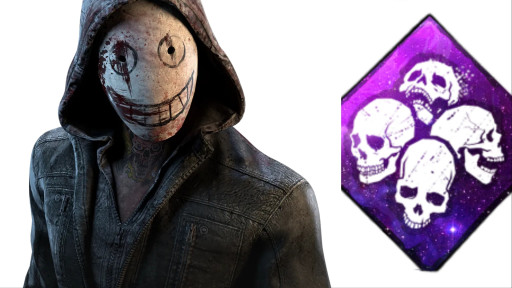
Thanatophobia means ‘fear of death’, and comes to us from The Nurse. Survivors are punished for being injured, and that makes this perk a bloody strong one for competent killers. At maximum level, every survivor that is injured, dying, or hooked makes repairs and sabotages 2% slower for their teammates, with a bonus 12% speed penalty when all four survivors are injured, dying, or hooked.
It has no cooldown, no complicated setup, and a simple reward. Both new and experienced killers can get great benefits from Thanatophobia, and it has lots of synergies with perks from other killers that have been featured on this list already.
The counterplay is fairly simple – just stay healthy – but when used with a killer that makes that difficult, survivors will always be on the back foot and slower than they’d like to be. Perfect, for you!
Which killers use this perk best?
- The Legion – This killer’s power makes it easy to find survivors and injure them, making the perk a direct upgrade. Pair it with Jolt and you have a very strong build in the current meta.
- The Plague – Her power injures survivors, and makes it harder for them to heal. Pair that with everything survivors do taking longer, and plagues using this perk have easier matches.
Why Thanatophobia Is Great
- Survivors are slowed down considerably, making matches last longer
- You’re rewarded for injuring survivors, which is simple to achieve
- It pairs incredibly well with perks like Jolt, Sloppy Butcher, and Coulrophobia
- It’s always active and cannot be broken like a hex totem

