[Top 5] Dead By Daylight Best David King Builds
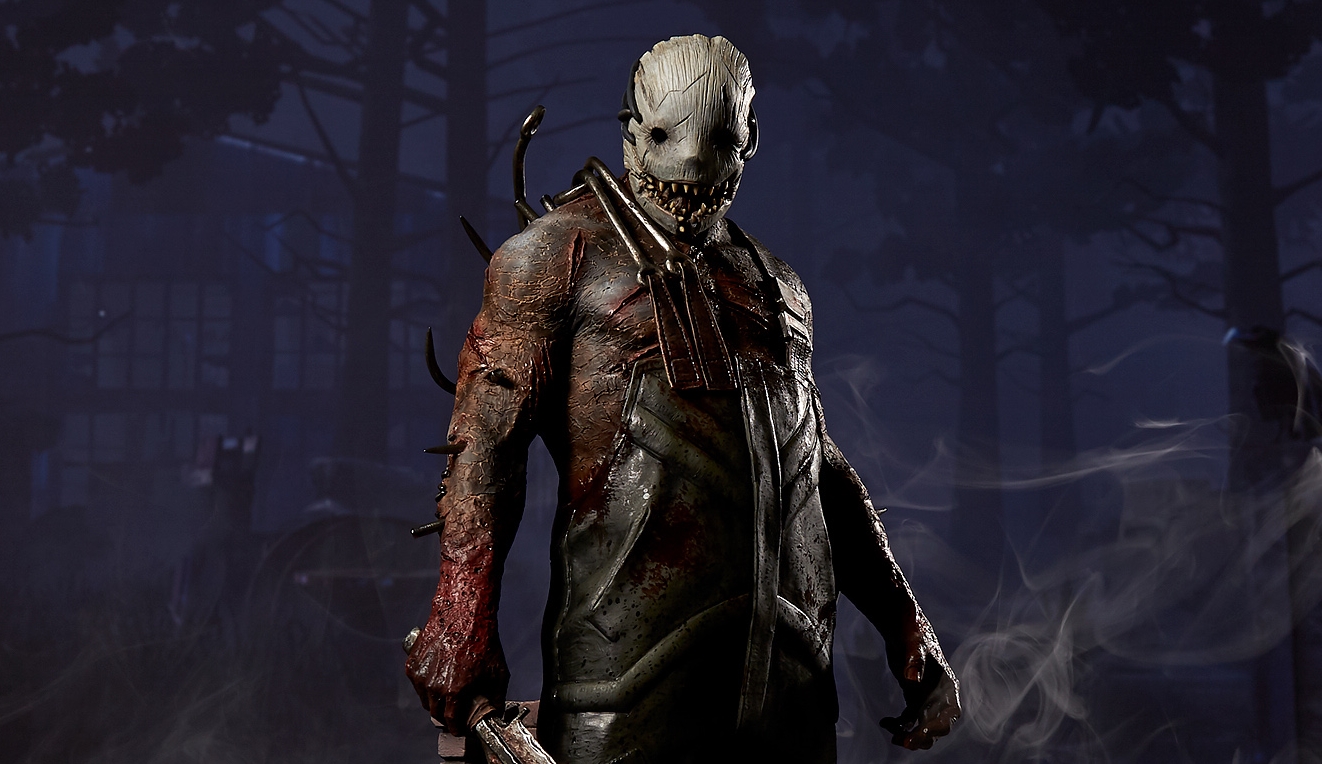
David King was introduced into Dead by Daylight in the Chapter 5: A Lullaby for the Dark DLC along with the killer The Huntress. David King brought with him some pretty powerful perks and one awful perk. Let’s dive right into the best builds you can use with David King’s perks!
5. No Mither Build
The No Mither Build Is Insane - Dead by Daylight
So, we have to get No Mither out of the way. No Mither is probably, the absolute worst perk in the game. All it does is hinder you, and the only positive you get from it, you will basically never get value from. But let’s start talking about the perks.
David King’s No Mither gives us the amazing privilege of always being injured and never being able to heal. Pretty great right? With this we do not leave any blood trails, that’s nice I suppose. As well as our grunts of pain are reduced by half, not so great. But the big thing is, you can pick yourself up from being downed as many times as you like throughout the game! Good luck doing that, however, especially since the killer knows that you have No Mither and won’t even dream of slugging you.
Well, now that we are injured what do we do? Let’s throw in David’s other teachable perk, Dead Hard. David’s best perk, arguably, and one of the best perks in the whole game. While we are injured, which we always will be, when we are running, we can press the active ability button to dash forward with invincibility. Allowing you to make the killer miss a hit or allowing you to get some distance to a pallet you may have not been able to before.
Next, we have Resilience. While we are injured, (you see what we are going for yet?) all of your action speeds are increased by 9%. That is it, just extra speed, pretty nifty.
Lastly, we have Decisive Strike. The great thing about No Mither is that there is no way the killer will slug you, so if you happen to get tunneled, you will get to use your Decisive Strike most likely! Just don’t miss the skill check and use your second chance at escaping.
What No Mither Build Excels In:
- Counters slugging killers.
- Faster action speeds.
- Counters tunneling killers.
- Great exhaustion perk.
Perks Used:
No Mither: You suffer from the Broken Status Effect for the entire Trial.
- Your thick blood coagulates practically instantly:
- Bleeding is suppressed at all times.
- When injured or dying, Grunts of Pain are reduced by 0/25/50%.
- You can completely recover from the Dying State.
Dead Hard: Press the Active Ability button while running to dash forward.
- Avoid any damage during the Dash.
- Dead Hard causes the Exhausted Status Effect for 60/50/40 seconds.
- Dead Hard cannot be used when Exhausted.
Resilience: When injured, your Action speeds in Repairing, Healing, Sabotaging, Unhooking, Vaulting, Cleansing, Opening, and Unlocking are increased by 3/6/9%.
Decisive Strike: After being unhooked or unhooking yourself, Decisive Strike activates for the next 40/50/60 seconds:
- When being grabbed or picked up by the Killer, succeed a Skill Check to automatically escape their grasp, stunning them for 5 seconds.
- Successfully stunning the Killer will disable Decisive Strike for the remainder of the Trial and result in you becoming the Obsession.
While Decisive Strike is active, the following interactions will deactivate it:
- Repairing a Generator.
- Healing yourself or other Survivors.
- Cleansing a Totem.
- Sabotaging a Hook.
- Unhooking other Survivors.
- Increases the odds of being the Obsession.
4. Bloodpoints
The Best Bloodpoints Build Ever
Bloodpoints is all about, you guessed it, getting bloodpoints!
We’re going to use David’s teachable perk We’re Gonna Live Forever, which gives us a token for every time we perform a safe hook, stun a killer that is carrying a survivor or take a protection hit for an injured teammate, to a maximum of 4 tokens. Each token will give us a 25% bonus to all bloodpoint gains in the game, which is awarded after the game. That means you can get double bloodpoints at the end of the game if you are altruistic enough.
Prove Thyself is going to give yourself and everyone within 4 meters of you, a 15% stackable repair speed bonus. For each survivor around you, you will get another 15% bonus to a maximum of 45%. How does this give us more bloodpoints? Well, Prove Thyself also gives you 100% bonus bloodpoints for cooperative actions. That means if you work on about 2, maybe even 1 and a half generators with just one other survivor, you will already have maximum objective points in the game.
Next, we have Deliverance, which will allow you to unhook yourself after you have performed a Safe Unhook on another survivor. Unfortunately, Deliverance will cause you to be broken for 60 seconds after you have been unhooked, meaning you cannot be healed. Also, when you use Deliverance you will get 1500 extra bloodpoints!
Lastly, we have Decisive Strike, so if you have to unhook yourself in front of the killer, you can do so, and they cannot pick you up without risking you stunning them and you getting out for free.
What Bloodpoints Excels In:
- Lots of bloodpoints.
- Self unhooks.
- Faster generator repair speeds.
- Counters tunneling killers.
Perks Used:
We’re Gonna Live Forever: When healing a dying Survivor, your Healing speed is increased by 100%.
Performing any of the following actions has We're Gonna Live Forever gain 1 Token:
- Performing a Safe Hook Rescue.
- Taking a Protection Hit for an injured Survivor.
- Stunning the Killer to rescue a carried Survivor.
- Blinding the Killer to rescue a carried Survivor. Each Token grants a stack-able 25% bonus to all Bloodpoint gains, up to a maximum of 50/75/100%.
- The bonus Bloodpoints are only awarded post-Trial.
Prove Thyself: Gain a stack-able 15% Repair Speed bonus for each Survivor within 4 meters of you, up to a maximum of 45%.
- This effect is also applied to all other Survivors within that range.
- Prove Thyself grants 50/75/100% bonus Bloodpoints for Co-operative actions.
- Prove Thyself does not stack with other instances of itself.
Deliverance: After performing a Safe Hook Rescue on another Survivor, Deliverance activates:
- Your Self-Unhook attempts will succeed 100% of the time.
- Deliverance causes the Broken Status Effect for 100/80/60 seconds after unhooking yourself.
Decisive Strike: After being unhooked or unhooking yourself, Decisive Strike activates for the next 40/50/60 seconds:
- When being grabbed or picked up by the Killer, succeed a Skill Check to automatically escape their grasp, stunning them for 5 seconds.
- Successfully stunning the Killer will disable Decisive Strike for the remainder of the Trial and result in you becoming the Obsession.
While Decisive Strike is active, the following interactions will deactivate it:
- Repairing a Generator.
- Healing yourself or other Survivors.
- Cleansing a Totem.
- Sabotaging a Hook.
- Unhooking other Survivors.
- Increases the odds of being the Obsession.
3. Run The Killer
The Ultimate Running Build - Dead by Daylight
Run The Killer is all about running the killer around to the best of your potential.
First, we have David’s perk Dead Hard which will allow you to dash with invincibility, letting the killer miss an attack on you or allowing you to extend a loop for longer than it would have otherwise lasted.
Next, we have Resilience, which will help you vault windows faster while you are injured, this mixed with Dead Hard will give you a lot of power in a chase while you are injured.
Then we have Iron Will which will get rid of your grunts of pain completely while you are injured, making the killer pinpoint your direction while looping even more challenging.
Lastly, we have Adrenaline which will instantly heal you one health state after the exit gates are powered, as well as give you 150% sprint speed for 5 seconds. If you are mid-chase, this is a surprise for the killer, and even yourself most likely. However, it is a very strong perk when you do get to use it.
What Run The Killer Excels In:
- Running the killer around as efficiently as possible.
- Strong end game perk.
- Strong exhaustion perk.
- Some stealth.
Perks Used:
Dead Hard: Press the Active Ability button while running to dash forward.
- Avoid any damage during the Dash.
- Dead Hard causes the Exhausted Status Effect for 60/50/40 seconds.
- Dead Hard cannot be used when Exhausted.
Resilience: When injured, your Action speeds in Repairing, Healing, Sabotaging, Unhooking, Vaulting, Cleansing, Opening, and Unlocking are increased by 3/6/9%.
Adrenaline: When the Exit Gates are powered, instantly heal one Health State and sprint at 150% of your normal Running speed for 5 seconds.
- Adrenaline is on hold if you are disabled at the moment it triggers and will instead activate upon being freed.
- If playing against The Nightmare, Adrenaline will wake you from the Dream World upon activation.
- Adrenaline ignores an existing Exhaustion timer, but causes the Exhausted Status Effect for 60/50/40 seconds.
Iron Will: When injured, Grunts of Pain are reduced by 50/75/100%.
2. Window Vaults
Windows of Opportunity + Vault Build = Easy Loops | Dead by Daylight
Window Vaults also works on running the killer around as efficiently as possible, but with more perks to help you during the chase.
Our first perk is Windows of Opportunity, which will show you where every window, pallet, and breakable wall is within 20 meters of you. This makes it so easy to see where the next best place to loop the killer is, and you don’t have to run around lost.
Next, we have Spine Chill which will let you know when the killer is staring right at you. When this happens you will get 6% faster action speeds, including vaulting.
Then we have Resilience again, which will give you 9% faster action speeds while you are injured, including vaulting. When mixed with Spine Chill, that is 15% faster action speeds. This will get you through a window much faster, most likely having the killer overestimate their ability to hit you.
Lastly, we have David’s perk Dead Hard, which will let you dash forward with invincibility allowing you to make it to a window or pallet that you otherwise wouldn’t have made, possibly allowing you to loop the killer around that same tile 1 or 2 more times.
What Window Vaults Excels In:
- Know where the best tiles are at all times.
- Counters stealthy killers.
- Faster action speeds.
- Amazing loop potential.
- Strong exhaustion perk.
Perks Used:
Windows of Opportunity: The Auras of Breakable Walls, Pallets, and Windows are revealed to you within 20 meters.
- Windows of Opportunity has a cool-down of 30/25/20 seconds after vaulting or dropping a Pallet during a Chase.
Spine Chill: Whenever the Killer is looking in your direction when within 36 meters of you, Spine Chill activates:
- Skill Check Trigger odds are increased by 10%.
- Skill Check Success zones are reduced by 10%.
- Your Action speeds in Repairing, Healing, Sabotaging, Unhooking, Vaulting, Cleansing, Opening, and Unlocking are increased by 2/4/6%.
Resilience: When injured, your Action speeds in Repairing, Healing, Sabotaging, Unhooking, Vaulting, Cleansing, Opening, and Unlocking are increased by 3/6/9%.
Dead Hard: Press the Active Ability button while running to dash forward.
- Avoid any damage during the Dash.
- Dead Hard causes the Exhausted Status Effect for 60/50/40 seconds.
- Dead Hard cannot be used when Exhausted.
1. Meta Slave
For our final build, we have Meta Slave, which uses the best meta perks for survivors.
First, we have David’s perk Dead Hard, which will allow you to dash forward with invincibility making the killer miss their attack or allowing you to loop the killer around even longer by making it to a window or pallet that you otherwise wouldn’t have made it to.
Next, we have Decisive Strike. A favorite meta perk, giving you a second chance at escaping if the killer decides to pick you up shortly after being unhooked. Just make sure to hit the skill check.
Then we have Borrowed Time, a very strong team-oriented perk, that doesn’t benefit you, but helps out your team tremendously. When you unhook a teammate, you will grant them 12 seconds of protection from being downed again. This can come in handy in a lot of end-game scenarios or against killers that like to tunnel.
Lastly, we have Adrenaline. Adrenaline will allow us to instantly heal one health state and grant us 150% sprint speed for 5 seconds once the exit gates are powered. If you are in a chase while this happens, it is insanely strong.
What Meta Slave Excels In:
- Uses some of the best perks in the game.
- Counters tunneling killers.
- Strong end game perks.
- Strong exhaustion perk.
- Safe unhooks.
- Strong looping potential.
Perks Used:
Dead Hard: Press the Active Ability button while running to dash forward.
- Avoid any damage during the Dash.
- Dead Hard causes the Exhausted Status Effect for 60/50/40 seconds.
- Dead Hard cannot be used when Exhausted.
Decisive Strike: After being unhooked or unhooking yourself, Decisive Strike activates for the next 40/50/60 seconds:
- When being grabbed or picked up by the Killer, succeed a Skill Check to automatically escape their grasp, stunning them for 5 seconds.
- Successfully stunning the Killer will disable Decisive Strike for the remainder of the Trial and result in you becoming the Obsession.
While Decisive Strike is active, the following interactions will deactivate it:
- Repairing a Generator.
- Healing yourself or other Survivors.
- Cleansing a Totem.
- Sabotaging a Hook.
- Unhooking other Survivors.
- Increases the odds of being the Obsession.
Borrowed Time: For 8/10/12 seconds after unhooking a Survivor, the unhooked Survivor is protected by the Endurance Status Effect.
- Any damage taken that would put the Survivor into the Dying State will instead trigger the Deep Wound Status Effect, after which the Survivor has 20 seconds to Mend themselves.
- Taking any damage while under the effect of Deep Wound or if its timer runs out will put the Survivor into the Dying State.
Adrenaline: When the Exit Gates are powered, instantly heal one Health State and sprint at 150% of your normal Running speed for 5 seconds.
- Adrenaline is on hold if you are disabled at the moment it triggers and will instead activate upon being freed.
- If playing against The Nightmare, Adrenaline will wake you from the Dream World upon activation.
- Adrenaline ignores an existing Exhaustion timer, but causes the Exhausted Status Effect for 60/50/40 seconds.
You May Also Be Interested In:
- Dead by Daylight Survivor Guide: Top 25 Tips
- Dead by Daylight Killers Guide: Top 25 Tips
- [Top 10] DbD Best Killer Builds That Are Great!
- [Top 100] Dead By Daylight Best Names
- [Top 10] DbD Best Survivor Builds That Are OP!
- [Top 10] DbD Best Killers And Why They're Good
- [Top 15] DbD Best Killer Perks And Why They're Good
- [Top 15] DbD Best Survivor Perks And Why They're Good
- [Top 10] DbD Best Survivors And Why They're Good
- [Top 10] DbD Best Survivor Builds That Are Great
- [Top 15] Ghost Games To Play Today
- [Top 15] Horror Movies That Were Books
- [Top 15] Best Horror Movies That Were Banned
- [Top 5] Dead By Daylight Most Fun Survivors
- [Top 5] Dead By Daylight Best Jane Romero Builds
- [Top 5] Dead By Daylight Best Meg Thomas Builds
- [Top 5] Dead By Daylight Best Claudette Morel Builds
- [Top 5] Dead by Daylight Best Jake Park Builds
- [Top 5] Dead By Daylight Best Nea Karlsson Builds
- [Top 5] Dead By Daylight Best Laurie Strode Builds
- [Top 5] Dead By Daylight Best Bill Overbeck Builds
- [Top 5] Dead By Daylight Best Feng Min Builds
- [Top 5] Dead By Daylight Best David King Builds

