![[Top 5] Dead By Daylight Best Ace Visconti Builds dbd, dead by daylight, ace, ace visconti, best builds](/sites/default/files/styles/responsive_image_600xauto/public/2021-08/top_5_dead_by_daylight_best_ace_visconti_builds_-_main.jpg.webp?itok=jrKRVyXg)
[Top 5] Dead By Daylight Best Ace Visconti Builds
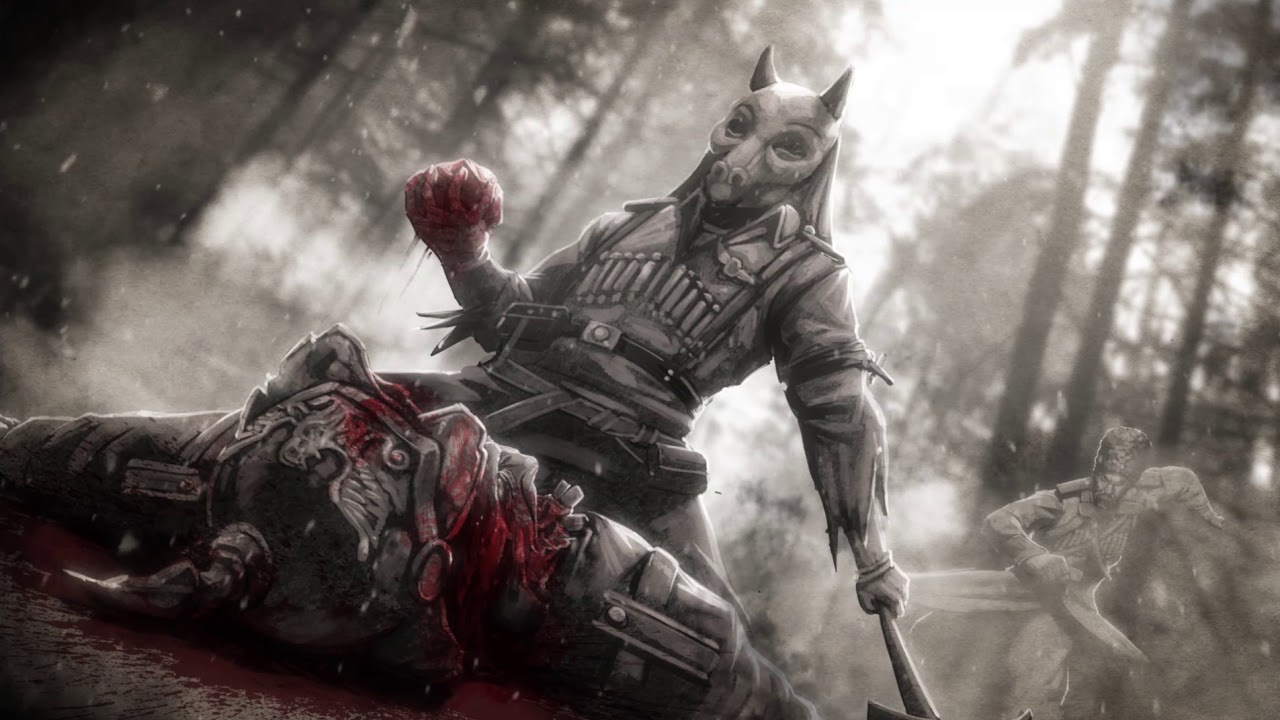
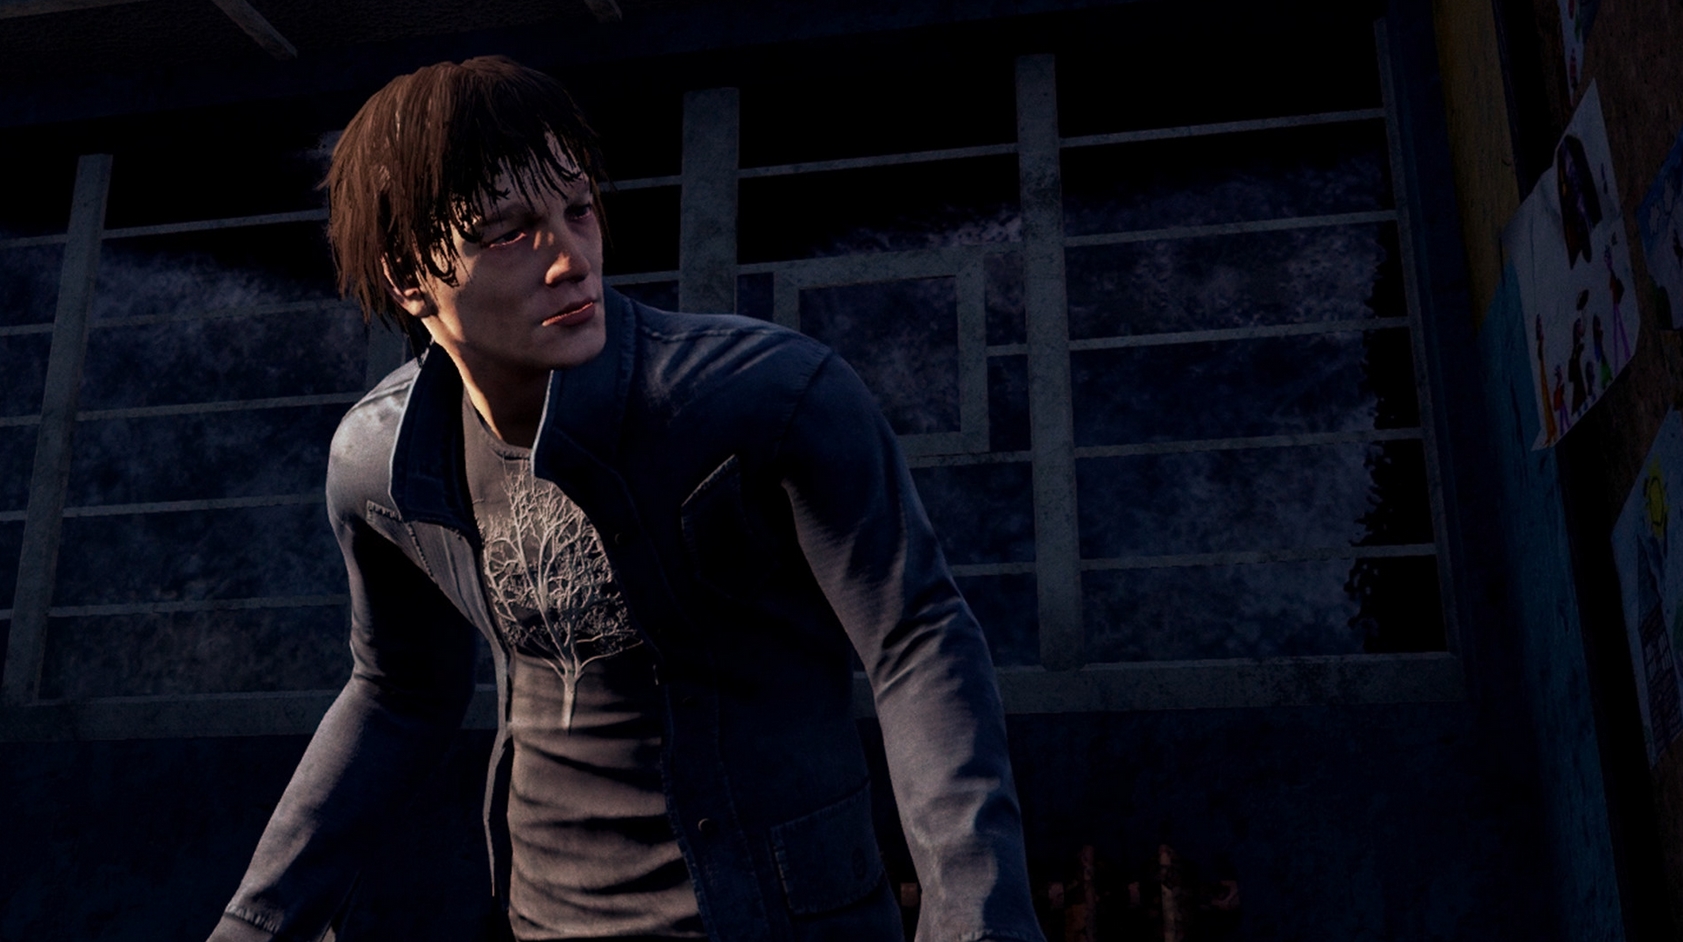
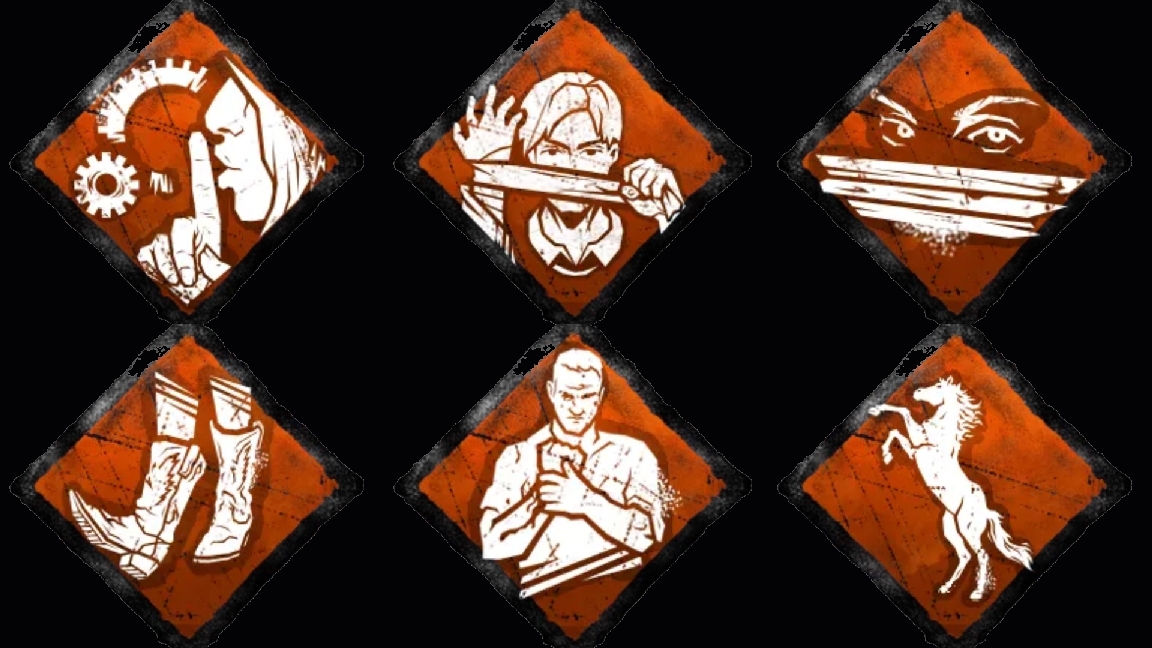
Ace Visconti was introduced to Dead by Daylight in Chapter 3: Of Flesh and Mud DLC alongside the killer, Hag. Accompanying Ace are his three teachable perks: Ace In The Hole, Open-Handed, and Up the Ante. Here are the best builds you can run that use Ace’s perks.
5. Team Tracker
Bond and Open-Handed (Fun Survivor Build) - Dead by Daylight
Team Tracker is all about knowing where your teammates are. What you want to do with that information is up to you.
Bond and Open-Handed synergize very well here. While bong shows you the aura of other survivors up to 36 meters from you, Open-Handed increases that range by another 16 meters. If you are in a chase and don’t want to lead the killer to nearby survivors, you can take a different route, or you can find survivors to heal you when you are injured, or you can just find other survivors that are working on generators and join them.
Dead Hard is used as a very strong exhaustion perk, allowing you to extend chases, sometimes leading you to a whole other tile for you to loop around, wasting the killer's time.
Decisive Strike is used as an anti tunneling perk, allowing you a second chance if the killer decides to down you, and pick you up again, right after getting unhooked.
What Team Tracker Excels In:
- Almost always know where your teammates are at all times.
- Strong exhaustion perk.
- Counter’s tunneling killers.
Perks Used:
Dead Hard: When Injured, tap into your adrenaline bank and dash forward quickly to avoid damage.
- Press the Active Ability button while running to dash forward.
- Avoid any damage during the Dash.
- Dead Hard causes the Exhausted Status Effect for 60/50/40 seconds.
- Dead Hard cannot be used when Exhausted.
Open-Handed: Open-Handed increases all Aura-reading ranges by 8/12/16 meters.
- Open-Handed does not stack with other instances of itself.
Bond: The Auras of other Survivors are revealed to you when they are within a range of 20/28/36 meters.
Decisive Strike: After being unhooked or unhooking yourself, Decisive Strike activates for the next 40/50/60 seconds:
- When being grabbed or picked up by the Killer, succeed a Skill Check to automatically escape their grasp, stunning them for 5 seconds.
- Successfully stunning the Killer will disable Decisive Strike for the remainder of the Trial and result in you becoming the Obsession.
While Decisive Strike is active, the following interactions will deactivate it:
- Repairing a Generator.
- Healing yourself or other Survivors.
- Cleansing a Totem.
- Sabotaging a Hook.
- Unhooking other Survivors.
- Increases the odds of being the Obsession.
- The Killer can only be obsessed with one Survivor at a time.
4. Total Vision (Hatch Variant)
Dead by Daylight: Open Handed Build (Vision Build)
Total Vision (Hatch Variant) is about giving you a lot of information with aura reading perks. What this variant specializes in is, shockingly, finding the hatch when you are the last survivor alive.
Open-Handed has a few synergies here. The first is with Kindred, which allows you to see where every other survivor is while someone else is injured. But the main benefit is seeing where the killer is within a set distance to that hooked survivor. Open-Handed increases the default range of 16 meters, by another 16 meters. Doubling the distance at which you can see where the killer is going or camping out in certain situations. This information is also conveyed to other survivors while you are hooked.
The other synergy Open-Handed has is with Left Behind. Left Behind shows the aura of the hatch to you while you are the last survivor alive. The default range of this is 32 meters, but with Open-Handed you get an extra 16 meters of vision, allowing you to find the hatch faster.
The last perk used is Dead Hard which is a strong exhaustion perk that allows you to extend chases and wasting the killer’s time and buying your teammates more time to do generators, or rescue survivors.
What Total Vision (Hatch Variant) Excels In:
- Know where all of your teammates are when someone else is hooked.
- Know where the killer is going while a teammate is hooked.
- Conveys information to other survivors while you are hooked.
- Strong exhaustion perk.
- Easy to find hatch when you are the last survivor alive.
Perks Used:
Dead Hard: When Injured, tap into your adrenaline bank and dash forward quickly to avoid damage.
- Press the Active Ability button while running to dash forward.
- Avoid any damage during the Dash.
- Dead Hard causes the Exhausted Status Effect for 60/50/40 seconds.
- Dead Hard cannot be used when Exhausted.
Kindred: While you are hooked:
- The Auras of all Survivors are revealed to one another.
- Whenever the Killer is within 8/12/16 meters of your Hook, their Aura is revealed to all Survivors.
While another Survivor is hooked:
- The Auras of all other Survivors are revealed to you.
- Whenever the Killer is within 8/12/16 meters of the hooked Survivor, their Aura is revealed to you.
Open-Handed: Open-Handed increases all Aura-reading ranges by 8/12/16 meters.
- Open-Handed does not stack with other instances of itself.
Left Behind: When you are the last Survivor remaining in the Trial, the Aura of the Hatch is revealed to you when you are within 24/28/32 meters.
3. Total Vision (Loop Variant)
OPEN HANDED + WINDOWS + KINDERED = LOL! - Dead by Daylight PTB!
Total Vision (Loop Variant) is nearly identical to the hatch variant. However, we replace Left Behind with Windows of Opportunity, making this build very strong in chases.
Again, we have the same synergy of Open-Handed and Kindred as with the previous build, allowing you to see the Killer’s aura even further and seeing all other survivors' auras. But now we have the synergy of Open-Handed and Windows of Opportunity.
Windows of Opportunity allows you to see all pallets, windows, and breakable walls (this one isn’t that useful, most of the time you may mistake it for a pallet’s aura) within 20 meters of yourself. Open-Handed extends that range to 36 meters, which is a very large area. Most of the time, you will always be able to see an aura of something for you to loop the killer around. If you don’t see anything around you at all, you are in a very dangerous spot.
The addition of Windows of Opportunity also synergizes very well with Dead Hard. Since Dead Hard allows you to extend loops by making it to a window or pallet when you wouldn’t otherwise, you can find the nearest loopable object, and run straight to it, if you won’t make it, Dead Hard towards it, and have fun looping the killer for 5 gens.
What Total Vision (Loop Variant) Excels In:
- Know where all of your teammates are when someone else is hooked.
- Know where the killer is going while a teammate is hooked.
- Conveys information to other survivors while you are hooked.
- Know where any loops are around you while you are being chased.
- Very strong chase potential.
-
Strong exhaustion perk.
Perks Used:
Dead Hard: When Injured, tap into your adrenaline bank and dash forward quickly to avoid damage.
- Press the Active Ability button while running to dash forward.
- Avoid any damage during the Dash.
- Dead Hard causes the Exhausted Status Effect for 60/50/40 seconds.
- Dead Hard cannot be used when Exhausted.
Kindred: While you are hooked:
- The Auras of all Survivors are revealed to one another.
- Whenever the Killer is within 8/12/16 meters of your Hook, their Aura is revealed to all Survivors.
While another Survivor is hooked:
- The Auras of all other Survivors are revealed to you.
- Whenever the Killer is within 8/12/16 meters of the hooked Survivor, their Aura is revealed to you.
Open-Handed: Open-Handed increases all Aura-reading ranges by 8/12/16 meters.
- Open-Handed does not stack with other instances of itself.
Windows of Opportunity: The Auras of Breakable Walls, Pallets, and Windows are revealed to you within 20 meters.
- Windows of Opportunity has a cool-down of 30/25/20 seconds after vaulting or dropping a Pallet during a Chase.
2. Item Hoarder
Item Hoarder is all about looting chests and getting the best items for yourself and your team. Very rarely does anyone run Plunderer’s Instinct and Ace in the Hole, so if anyone else on your team is looting a chest instead of you, they are harming the team.
Plunderer’s Instinct shows you the auras of chests within 32 meters. It also gives you a much better chance of getting a higher rarity item in the chest. This synergizes with, well, basically all of our other perks.
Appraisal allows you to “rummage” through a chest that has already been searched. So if you don’t like what you got the first time, you can search the chest again.
Pharmacy guarantees your first chest search to have a green med kit in it, which is a pretty fast self-heal, which is good to have.
And finally, we have Ace in the Hole, which gives every chest search, including Pharmacy and Appraisal, a guaranteed add-on on the item, and the possibility of a second add-on as well. That means every rummage, every search, even on the guaranteed medkit, you will get add-ons making the items much better.
Just be sure to share your items with the other survivors.
What Item Hoarder Excels In:
- Know where chests are.
- Get a lot of different items in a game.
- Possibility of finding a key, which can end the game early.
- The first chest guarantees a strong medkit.
- Items you get from chests will have add-ons.
Perks Used:
Appraisal: Start the Trial with 3 Tokens:
- When a Chest has already been opened, consume 1 Token to rummage through it for an Item.
- Rummage through Chests 40/60/80% faster.
- Rummaging is only available once per Chest.
Ace In The Hole: When retrieving an item from a Chest, there is a chance an Add-on will be attached to it.
- 100% chance for an Add-on of Very Rare Rarity or lower.
- 10/25/50% chance for a second Add-on of Uncommon Rarity or lower.
- Ace in the Hole allows you to keep any Add-ons your Item has equipped upon escaping.
Pharmacy: Unlocking Chests is 40/60/80% faster.
- Unlocking your first Chest guarantees an Emergency Med-Kit.
- Pharmacy reduces the audible range of your Chest-unlocking noises by 8 meters.
Plunderer’s Instinct: The Auras of closed Chests and dropped Items throughout the Trial Grounds are revealed to you within 16/24/32 meters.
- Grants a considerably better chance at finding an Item of a higher Rarity from Chests.
1. Item User
Dead By Daylight Best Survivor Chest Build - Survivor Builds 2021
Item User is essentially the same as Item Hoarder, however, this build comes with the intent of you actually using the items you find.
Once again we have the synergy of Plunderer’s Instinct, Appraisal, and Ace in the Hole. Allowing you to see chest’s auras, research each chest once, and have every item you find from the chest have a guaranteed add-on and the possibility of a second add-on.
The difference now is that we have Built To Last, which allows you to have your item refill itscharges 50% after you have depleted it. The downside of this perk however is that it can only occur once per game. So you may want to carefully choose which item you want to be refilled.
What Item User Excels In:
- Know where chests are.
- Get a lot of different items in a game.
- Allows you to use an item even after it’s been depleted.
- Possibility of finding a key, which can end the game early.
- Items you get from chests will have add-ons.
Perks Used:
Appraisal: Start the Trial with 3 Tokens:
- When a Chest has already been opened, consume 1 Token to rummage through it for an Item.
- Rummage through Chests 40/60/80% faster.
- Rummaging is only available once per Chest.
Ace In The Hole: When retrieving an item from a Chest, there is a chance an Add-on will be attached to it.
- 100% chance for an Add-on of Very Rare Rarity or lower.
- 10/25/50% chance for a second Add-on of Uncommon Rarity or lower.
- Ace in the Hole allows you to keep any Add-ons your Item has equipped upon escaping.
Built To Last: Once per Trial, your carried Item will refill 30/40/50% of its Charges 10 seconds after having depleted it.
Plunderer’s Instinct: The Auras of closed Chests and dropped Items throughout the Trial Grounds are revealed to you within 16/24/32 meters.
- Grants a considerably better chance at finding an Item of a higher Rarity from Chests.
You May Also Be Interested In:
- Dead by Daylight Survivor Guide: Top 25 Tips
- Dead by Daylight Killers Guide: Top 25 Tips
- [Top 10] DbD Best Killer Builds That Are Great!
- [Top 100] Dead By Daylight Best Names
- [Top 10] DbD Best Survivor Builds That Are OP!
- [Top 10] DbD Best Killers And Why They're Good
- [Top 15] DbD Best Killer Perks And Why They're Good
- [Top 15] DbD Best Survivor Perks And Why They're Good
- [Top 10] DbD Best Survivors And Why They're Good
- [Top 10] DbD Best Survivor Builds That Are Great
- [Top 15] Ghost Games To Play Today
- [Top 15] Horror Movies That Were Books
- [Top 15] Best Horror Movies That Were Banned
- [Top 5] Dead By Daylight Most Fun Survivors
- [Top 5] Dead By Daylight Best Jane Romero Builds
- [Top 5] Dead By Daylight Best Meg Thomas Builds
- [Top 5] Dead By Daylight Best Claudette Morel Builds
- [Top 5] Dead by Daylight Best Jake Park Builds

