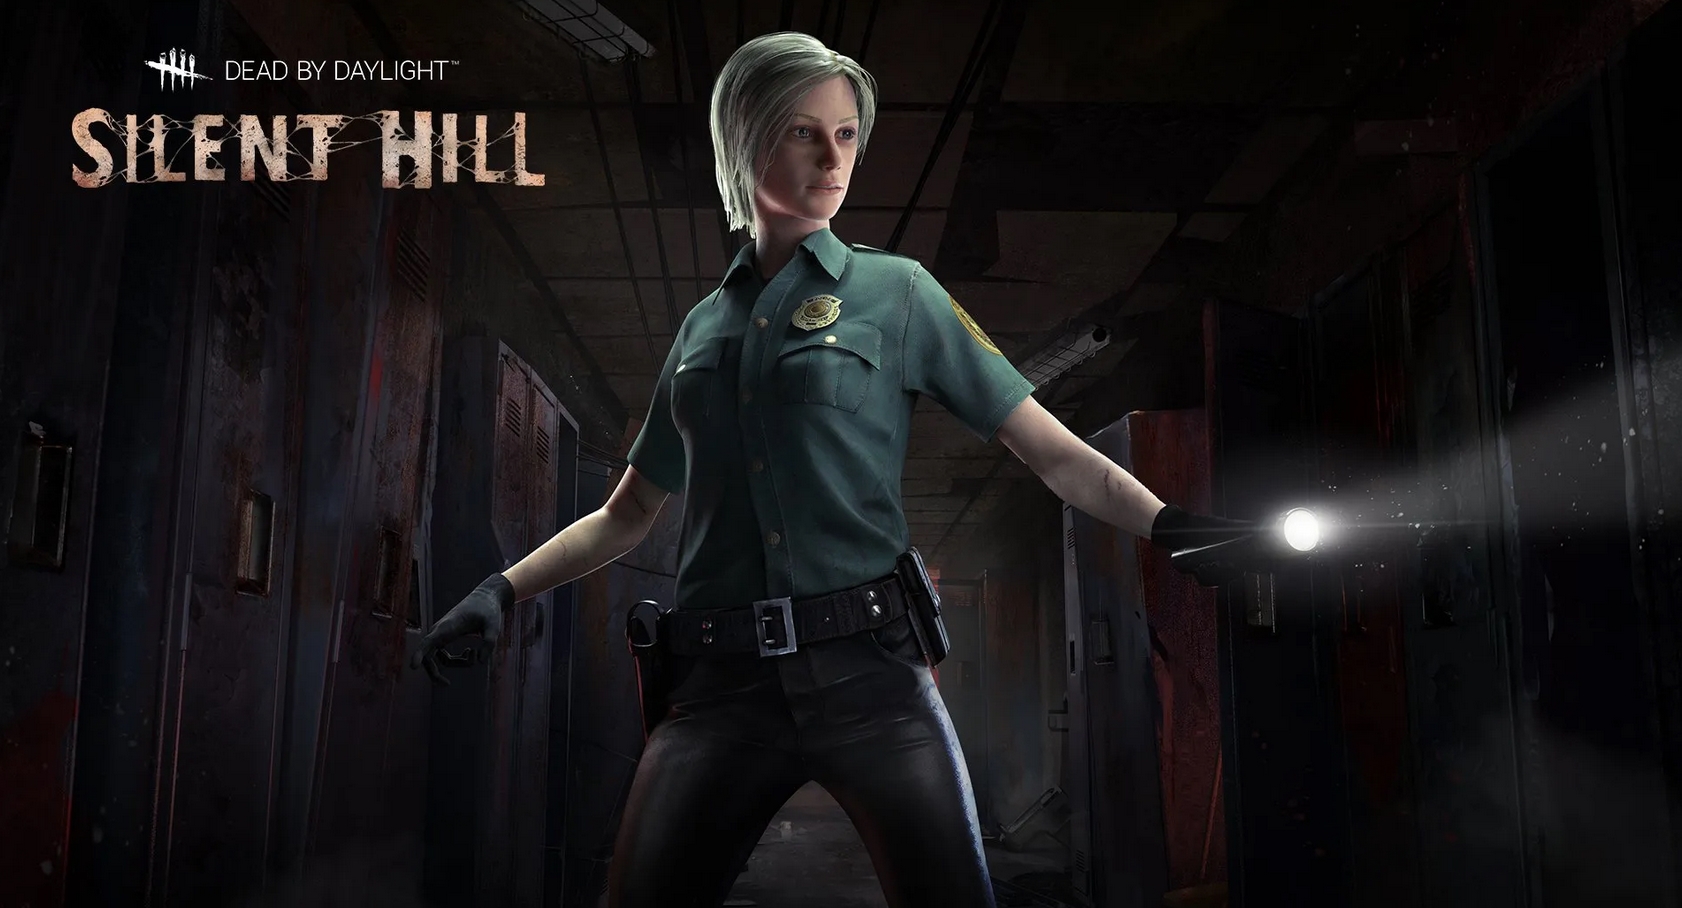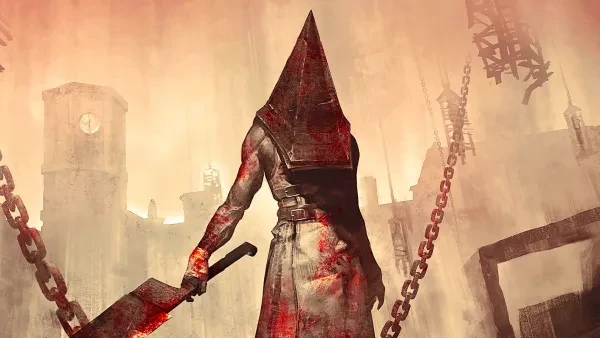
The Silent Hill chapter was a big success. And for once, no one could complain about the newest wimpy Killer. On the contrary, Pyramid Head quickly rose to the A-Tier. And to this day, he remains one of the strong and fun-to-play Killers.
What makes him so strong is his Rite of Judgement ability. With it, the Executioner can unleash a powerful AoE attack that damages all Survivors in its path. Of course, his skill cap is quite high – it isn’t an easy ability to hit. His other abilities are the unique Cages of Atonement that serve as hooks and the Final Judgment. This allows you to instantly kill a Tormented Survivor with two hook states.
To make the most out of his kit, you’ll need Perks that help you use your Power to its full potential. In this article, I’m going to show you the top 5 Pyramid Head (the Executioner) builds that are excellent in different scenarios.
5. The Sneaky Build
5000 Hour Pyramid Head W/ STEALTH BUILD! | Dead By Daylight - Dbd Killer
The Pyramid Head is hardly a stealthy Killer. But what if he could be? The Sneaky Build opens a whole new world of possibilities.
The main advantage of this build is the element of surprise. Since your Power is ranged, you can probe a generator even from behind a wall. If multiple Survivors are working on it, you can injure them all.
The Sneaky build is certainly innovative. If you play Pyramid Head as much as I do, you might get tired of the same old playstyle. In that case, you’ll appreciate the novelty.
What the Sneaky Build Excels In:
- Offers a break from the conventional builds: Most Killers have builds centered around the same Perks. If you’re looking for something original, then this will be your go-to build.
- Opens up new types of plays: The Sneaky builds allow you to snipe Survivors from behind a wall. They won’t see it coming until it’s too late. This is not something you could do with many other builds.
- Fun to use: I’ve had a lot of fun playing this build. Many times, your blind shots land. Even if you don’t expect it. And on indoor maps, it’s absolutely busted.
Build details:
- Trail of Torment: When you kick a generator, you become Undetectable until you either injure a Survivor or the generator stops regressing. All Survivors can see the affected generator in yellow. Trail of Torment has an 80/70/60 second cooldown. Trail of Torment synergizes well with Tinkerer. After Tinkerer runs out, you can just kick a generator and regain your Undetectable Status. And since the generator has a lot of progress, it will last for a long time.
- Tinkerer: Whenever a generator reaches 70 % repair progress, it triggers a loud noise notification. You’ll gain the Undetectable status effect for the next 12/14/16 seconds. Tinkerer alerts you to a nearly finished generator. And thanks to the Undetectable status, you’ll be able to approach it silently. Use line-of-sight blockers to ambush Survivors with your Power.
- Corrupt Intervention: At the beginning of the match, the three generators farthest from you become blocked for 80/100/120 seconds. The effect ends prematurely if you put a Survivor into the dying state. Corrupt Intervention just makes your early game easier. Otherwise, Survivors might finish a generator within the first 40 seconds of the game.
- Pop Goes the Weasel: When you hook a Survivor, Pop Goes the Weasel activates for the next 35/40/45 seconds. When you damage a generator, it will immediately lose 20 % of its progress and begins to regress. The Perk then deactivates. Pop Goes the Weasel gives you more time throughout the game. Its value depends on your skill. If you’re unsure you can use it properly, feel free to swap it for Deadlock.
4. The Endless Agony Build
The Most TOXIC Pyramid Head Build in Dead by Daylight!
Slow-down Perks are arguably the strongest right now. Despite the many tweaks, generators still fly by rather fast. This can be extremely frustrating, especially if you’re new to your Killer.
And Pyramid Head certainly isn’t easy to master. When I first started playing him, I struggled with his Power. It’s essentially like a skillshot in League of Legends. Hitting it involves good reactions and accurate predictions.
The Endless Agony build will grant you more time to practice those shots. After all, a good Pyramid Head needs to know how to use his Power properly. And though some Survivors might find this build toxic, I think sitting in the queue for 15 minutes is far worse.
What the Endless Agony Build Excels In:
- Makes the game impossibly long: True to its name, this build can make the match feel endless. But that works for you. More time in a match means, less time sitting in the lobby.
- Helps you practice Pyramid Head: Getting hang of your abilities will take you a while. The Endless Agony build will give you more practice time in this regard.
- Simple to use: The build is rather straightforward. Even new players will find success with it. I’d especially recommend this build to you if you’re new.
Build details:
- Corrupt Intervention: At the beginning of the match, the three generators farthest from you become blocked for 80/100/120 seconds. The effect ends prematurely if you put a Survivor into the dying state. Corrupt Intervention helps you gain the upper hand in the early game. Bydoing so, it puts you in a decent position for the rest of the match.
- Deadlock: When Survivors finish a generator, the generator with the most progress becomes blocked for 20/25/30 seconds. Deadlock grants you a lot of free time without any input on your part. It also shows you where the generator with the most progress is.
- Hex: Plaything: As long as at least one Dull Totem exists in the match, this Perk will activate when you hook a Survivor for the first time. For as long as the Totem stands, the affected Survivors become Oblivious. This means they can’t hear your Terror Radius. For the first 90 seconds, only the affected Survivor can cleanse the Totem. The cursed Survivor can see the aura of their Totem when within 24/20/16 meters from it. Though the stealth element of Plaything is nice, it’s not its primary value in this build. Instead, it serves as an incentive for Survivors to cleanse Totems. Otherwise, they’ll have no reason to do so and your Pentimento will be worthless.
- Hex: Pentimento: This Perk allows you to see the aura of every cleansed Totem. You can now rekindle cleansed Totems. Each time you do so, Pentimento gains a token. Each token grants a 20/25/30 % speed penalty to various actions. At 1 Token, it affects the generator speed. At 2, it extends to healing. At 3. It slows down recovery speed too. At 4, it applies to Exit Gates opening speed as well. Once 5 Tokens are reached, each rekindled Totem becomes blocked permanently. Pentimento is an extremely OP slow-down Perk. Thanks to Plaything, you should always be able to rekindle at least 2-3 Totems each match. Don’t bother trying to max out the Perk, though – it rarely happens. Even one stack is powerful enough.
3. The Gen-Pressure Build
This Pyramid Head Build It's So OPPRESSIVE - Dead By Daylight
Though Pyramid Head isn’t very mobile, he makes up for it with his range. He also saves up some time thanks to his Cages of Atonement. And because forcing Survivors off generators is easy for him, he can get great value from regression.
This build is centered around two Perks. If you use them well, you’ll render multiple Survivors useless for 25 seconds. This creates immense pressure and grants you more time. I’ve played against this build once and let me tell you, it isn’t fun.
However, you’ll need to keep forcing Survivors off generators for this build. It isn’t the easiest one to use so don’t worry if you don’t get it right the first time. But once you get the gist of it, you’ll dominate your games.
What the Gen-Pressure Build Excels In:
- Incredibly Oppressive: Once you get all the Perks working, this build will give Survivors a very hard time. It has great comeback potential too.
- Strong chase potential: Apart from being oppressive, these Perks will also give you an edge in chases.
- Satisfying to use: Though the Gen-Pressure build requires a lot of work, it’s incredibly satisfying to see it succeed.
Build details:
- I’m All Ears: Whenever a Survivor performs a rushed action within 48 meters from you, that Survivor has their aura revealed to you for 6 seconds. This Perk has a cooldown of 60/50/40 seconds. The Executioner greatly benefits from I’m All Ears. This Perk allows you to use your Power at certain loops where it would be useless otherwise.
- Call of Brine: This Perk activates for 60 seconds when you damage a generator. It starts regressing at 150/175/200 % regular speed and you can see its aura. Whenever a Survivor hits a good skillcheck on the affected generator, you receive a loud noise notification. Call of Brine works great with Eruption. Not only does it speed up regression, but it also tells you if the Survivors have returned to it. Since you’ll want to kick as many generators as you can with this build, you’ll make great use of Call of Brine.
- Eruption: Whenever you kick a generator, Eruption activates. You can see the aura of affected generators in yellow. Whenever you down a Survivor, all affected generators lose 10% of their progress and begin to regress. Any Survivors who try to repair an affected generator will scream and become Incapacitated for 15/20/25 seconds. This Perk has a cooldown of 30 seconds. Incapacitated Survivors can’t use items, cleanse Totems, repair generators, or interact with other Survivors. With proper setup, Eruption can salvage a would-be loss. The regression is already powerful even without the Incapacitated status effect. To make the most of this Perk, try to hit as many generators as you can before you down a Survivor.
- Save the Best for Last: When you hit a Survivor who isn’t your Obsession, Save the Best for Last gains a stack up to a maximum of 8. Each stack reduces your successful basic attack animation by 5 %, up to a maximum of 40 %. Hitting the Obsession with a basic attack causes you to lose 4/3/2 tokens. Save the Best for Last benefits most M2 Killers. Although it’s somewhat niche on Pyramid Head, it can work marvels. At 8 stacks your chases will become significantly shorter. Just make sure to use Rites of Judgment on your Obsession instead of basic attacks.
2. The Ultimate Tracking Build
5K Hour PYRAMID HEAD w/ BEST BUILD! | Dead By Daylight
Though the Executioner has a powerful kit, he can’t track Survivors efficiently. If you struggle with finding the Urban Evaders, you’re going to love this build.
The Ultimate Tracking build alerts you to generators about to pop. And once you finally hook a Survivor, it’ll also tell you where to go next. At the same time, its two slow-down Perks will help you reach these destinations in time.
The Ultimate Tracking build is rather simple. Even if you’re new to Pyramid Head, you shouldn’t have any trouble using it.
What the Ultimate Tracking Build Excels In:
- A well-rounded build: This build is very versatile and helps you in many different situations.
- Provides you with valuable information: Since the Executioner doesn’t have much tracking in his kit, he’ll need Perks to compensate for it. The Ultimate Tracking build grants him just that.
- Slows the game down just a little bit: The build has two slow-down Perks that will make your matches less stressful.
Build details:
- Corrupt Intervention: At the beginning of the match, the three generators farthest from you become blocked for 80/100/120 seconds. The effect ends prematurely if you put a Survivor into the dying state. Corrupt Intervention will give you more time to find your first Survivor without worrying about generators.
- Tinkerer: Whenever a generator reaches 70 % repair progress, it triggers a loud noise notification. You’ll gain the Undetectable status effect for the next 12/14/16 seconds. Tinkerer tells you which generator to pressure. It works well with Pop Goes the Weasel. And thanks to the Undetectable status effect, they won’t hear you coming.
- Barbecue & Chilli: When you hook a Survivor, you can see the aura of every other Survivor 60/50/40 meters away from the hook for 4 seconds. After you hook a Survivor, you’ll know where to go next. Thus, you won’t have to walk aimlessly across the map to find your next target. Note that Barbecue & Chilli works only at actual hooks. Cages of Atonement do NOT activate it.
- Pop Goes the Weasel: When you hook a Survivor, Pop Goes the Weasel activates for the next 35/40/45 seconds. When you damage a generator, it will immediately lose 20 % of its progress and begin to regress. The Perk then deactivates. Pop Goes the Weasel slows the game down. Alternatively, Deadlock and Pain Resonance are decent substitutes.
1. The Ultimate Meta Build
BALANCED&EFFICIENT PYRAMID HEAD BUILD - Dead By Daylight
Most meta builds follow the same pattern – a mixture of information and slow-down. And Pyramid’s Head Ultimate Meta build is no different.
This build will help you hit your Rites of Judgment more easily. A lot of loops are tall, forcing you to guess the Survivor’s moves. With this build, you’ll hit your M2 almost all the time. And at the beginning of the match, you’ll gain a bit of a head start (no pun intended).
As for the slow-down aspects, they’re self-explanatory. Generally, two such perks are enough to give you some room to breathe. This is especially important at a high MMR since every mistake punishes you.
What the Ultimate Meta Build Excels In:
- Helps you use your Power better in chases: Having visions of Survivors in chases is important for Pyramid Head. With this build, you’ll have a much easier time landing your power.
- Grants you more time: The build gives you more time to make your plays. At a high MMR, every second matters.
- OP even at high MMR: The Ultimate Meta build remains relevant even against veteran Survivors.
Build details:
- I’m All Ears: Whenever a Survivor performs a rushed action within 48 meters from you, that Survivor has their aura revealed to you for 6 seconds. This Perk has a cooldown of 60/50/40 seconds. I’m All Ears is a universally popular Perk for the Executioner. At certain loops, you won’t be able to see the Survivor because of the tall walls. As long as the Survivor vaults something, you’ll see them. Thus, you won’t have to aim blindly.
- Lethal Pursuer: All of your aura-reading is extended by 2 seconds. At the beginning of the match, you can see everyone’s aura for 7/8/9 seconds. Lethal Pursuer shows you where to go right when you spawn in. Additionally, it will make I’m All Ears last even longer.
- Merciless Storm: Whenever a generator reaches 90 % progression, all Survivors repairing keep receiving skillchecks. If they miss one or let go of the generator, it will become blocked for 16/18/20 seconds. Merciless Storm triggers once per generator per Trial. Every Meta has 1-2 slow-down Perks in it. In this one, it’s Merciless Storm. However, you can swap it for Pop Goes the Weasel or Pain Resonance if you wish.
- Deadlock: When Survivors finish a generator, the generator with the most progress becomes blocked for 20/25/30 seconds. Deadlock is the simplest and most reliable slow-down Perk.


