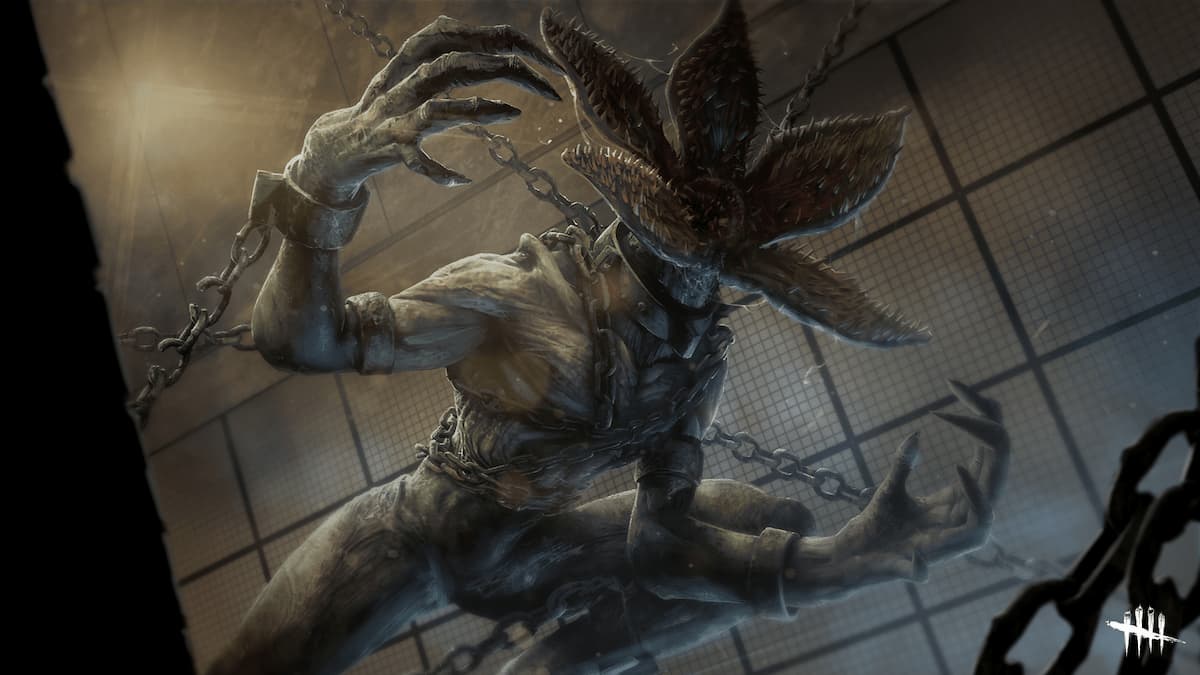
Cenobite is a killer where power is made out of chains allowing him to use the chains to slow down the survivors and make them nearly stationary, which would at the same time slow down the game as the chains would make them unable to repair generators or any actions, and also have problems in chases as it will slow the survivors down significantly, making the killer quite annoyingly powerful.
Now, let the fog reveal the top 5 best builds for the Cenobite:
5. The Endurance of Strength Build
Dead By Daylight Gameplay By D3AD Plays
The Endurance of Strength Build is a concentration of manual strength and endurance enhancer with faster stun duration and faster speed of breaking objects within the game, making this build fun and powerful simultaneously.
Nonetheless, it is a build I recommend for players who would like a flawless bypass with an increased speed, allowing the survivors to have a more difficult time within the game.
What the Endurance of Strength Build Excels In:
- The combination of the perks of Enduring and Brutal Strength makes the killer very powerful against objects in the game, especially with the ability to reduce pallet stuns and increase action speeds of breaking objects.
- Save the Best for Last is an amazing perk. It will allow you to stack cool-down reduction attacks, making it incredibly useful, especially for a large killer, where attack cool-down animations are much slower.
Build details & perks:
- Enduring: Reduces Pallet Stun duration by 40/45/50 %.
- Brutal Strength: Increases the Action speed of breaking Pallets and Breakable Walls and damaging Generators by 10/15/20 %.
- Save the Best for Last: Each time you hit a Survivor other than your Obsession with a Basic Attack, Save the Best for Last gains 1 Token, up to a maximum of 8 Tokens: Gain a stack-able 5 % Cool-down reduction on successful attacks per Token, up to a maximum of 40 %. Each time you hit your Obsession with a Basic Attack, Save the Best for Last loses 4/3/2 Tokens. When the Obsession is sacrificed or killed, you can neither gain nor lose any more Tokens. You can only be obsessed with one Survivor at a time.
- Spirit Fury: After breaking 4/3/2 Pallets, the next time you are stunned by a Pallet, The Entity will instantly break it. You still suffer from the Stun penalty.
4. The Fear Against Cenomongers Build
Dead By Daylight Gameplay By MSA_Matei
The Fear Against Cenomongers Build is a build that describes, as the title shows, being scared of cenobites, where the perks presented in the build make it quite powerful and unavoidable by the survivors.
Nonetheless, the build is a great combination of exhaustion and aura-revealing perks, which makes it hard for the survivors to work with, especially where they have perks such as sprint burst, making it unavailable whilst exhausted from the Fearmonger perk.
What the Fear Against Cenomongers Build Excels In:
- With Scourge Hooks: Floods of Rage, you will be able to see the auras of the survivors in the game for a maximum of 7 seconds, which is useful, especially when the survivor is unhooked, and you are in a different area, allowing you to find a quicker much faster if the survivor is close.
- Fearmonger allows survivors to suffer from Blindness and Exhausted Status Effects, which is useful if the survivors have 'sprint burst', where this perk will make the survivors unable to use the exhaustion perk, making it advantageous for the killer.
Build details & perks:
- Dead Man's Switch: After hooking a Survivor, Dead Man's Switch activates for the next 20/25/30 seconds: While activated, any Survivor that stops repairing a Generator before it is fully repaired causes The Entity to block the Generator until Dead Man's Switch's effect ends. White Aura highlights affected Generators.
- Scourge Hooks: Floods of Rage: At the start of the Trial, four random Hooks are changed into Scourge Hooks: The Auras of Scourge Hooks are revealed to you in white. Each time a Survivor is unhooked from a Scourge Hook, the following effects apply: The Auras of all other Survivors are revealed for 5/6/7 seconds.
- Corrupt Intervention: At the start of the Trial, the 3 Generators located farthest from you are blocked by The Entity for 80/100/120 seconds.
- Fearmonger: Whenever a Survivor is repairing a Generator, they have Blindness and Exhausted Status Effects. If the Survivor is already Exhausted, their Status Effect's timer will be paused. The Status Effect lingers for 3/4/5 seconds after the Survivor stops repairing.
3. The Unstoppable Ceno Build
Dead By Daylight Gameplay By Jave Hunt
The Unstoppable Ceno Build is a build that makes it unstoppable by the survivors, with a combination of hex perks and item removal perks which would guarantee to be a nightmare for the survivors in the game, causing the survivors to DC as soon as possible.
Nonetheless, this makes a great build with combinations of aura reveal and automatic generator difficulty, which would make it hard for the survivors to comprehend the game's difficulty.
What the Unstoppable Ceno Build Excels In:
- Franklin's Demise is considered one of the most toxic perks in the game, as it will allow the killer to make survivors drop their items, therefore making the survivors weaker, especially without their flashlights, where it would be much easier when picking up survivors.
- The combination of Hex: Ruin and Hex: Undying is quite powerful, as ruin can be easily transferred, making it quite long-lasting in the game, making the game slower and easier for the killer to catch up on the survivors.
Build details & perks:
- Hex: Ruin: Whenever a Survivor is not repairing a Generator, it will immediately and automatically regress its Repair progress at 50/75/100 % of the normal Regression speed. Once any Survivor is killed by any means, Hex: Ruin deactivates and reverts its Hex Totem into a Dull Totem. The Hex effects persist until its Hex Totem is cleansed.
- Hex: Undying: The Auras of Survivors within 2/3/4 metres of any Dull Totem are revealed to you. When another Perk's Hex Totem is cleansed or blessed, its Hex is transferred to the Undying Totem, including any accumulated Tokens, disabling Hex: Undying instead.
- Franklin's Demise: If not recovered within 150/120/90 seconds, the lost Items will have their Charges depleted by The Entity. The Auras of lost Items are revealed to you within 32 metres and slowly fade from white to red as the timer elapses.
- Hoarder: Hoarder triggers a Loud Noise Notification for 4 seconds whenever a Survivor performs any of the following actions within 32/48/64 metres of your location: Unlocks a Chest. Picks up any Item, including Limited Items. The hoarder spawns two other chests in the Trial.
2. The Corrupted Ceno Player Build
Dead By Daylight Gameplay By D3AD Plays
The Corrupted Ceno Player Build is a corrupted perk combination that combines all areas in the game, which would be just suffering for the survivors, with a combination of regression, blindness and item removal, making it quite a toxic build.
Nonetheless, other perks are listed high on the leaderboard, and they all bring in the power of winning the game in the most imaginative way possible.
What the Corrupted Ceno Player Build Excels In:
- With Pop Goes the Weasel, you can manually kick generators with a small boost of regression, allowing you to regress -20% of the current progression, making it one of the most powerful regression perks in the game.
- Franklin's Demise is considered one of the most toxic perks in the game, as it will allow the killer to make survivors drop their items, therefore making the survivors weaker, especially without their flashlights, where it would be much easier when picking up survivors.
Build details & perks:
- Hex: Plaything: If at least one Dull Totem remains in the Trial Grounds, Hex: Plaything activates on a random Totem each time a Survivor is hooked for the first time: The hooked Survivor suffers from the Cursed and Oblivious Status Effects until Hex: Plaything is cleansed. For the first 90 seconds, only the Cursed Survivor can cleanse the Hex Totem. The Aura of Hex: Plaything's Hex Totem is revealed to the Cursed Survivor within 24/20/16 metres. The Hex effects persist until its Hex Totem is cleansed.
- Franklin's Demise: If not recovered within 150/120/90 seconds, the lost Items will have their Charges depleted by The Entity. The Auras of lost Items are revealed to you within 32 metres and slowly fade from white to red as the timer elapses.
- Pop Goes the Weasel: After hooking a Survivor, Pop Goes the Weasel activates for the next 35/40/45 seconds: The next Generator you damage instantly loses -20 % of its current Progression. Regular Generator Regression applies afterwards, and Pop Goes the Weasel deactivates.
- Corrupt Intervention: At the start of the Trial, the 3 Generators located farthest from you are blocked by The Entity for 80/100/120 seconds.
1. The Quatro Ceno Build
Dead By Daylight Gameplay By JaysOnIt
The Quatro Ceno Build is a build that mainly contains just Hexes which might seem like a weak build as it can be removed. However, I'm afraid you might be mistaken in ways that the hex totems can be regenerated in specific situations, such as Pentimento, where once all the totems are resurrected, the perk and its effects can be quite unbeatable.
In conclusion, it is a build that is recommended for players who would like to experience a roller coaster of emotions in the game, where there will be effects that cannot be comprehended on the survivors' side.
What the Quatro Ceno Build Excels In:
- The Quatro Hex combination makes it a nightmare for the survivors, especially once cleansing the perks, whereas, with Pentimento, the killer can resurrect the totems and make the Hex totems keep going in the game.
- Hex: Ruin will allow for a constant generator regression until the hex is cleansed, which, when active, will save the killer's energy and instead go on effective chases with the survivors.
Build details & perks:
- Hex: Ruin: Whenever a Survivor is not repairing a Generator, it will immediately and automatically regress its Repair progress at 50/75/100 % of the normal Regression speed. Once any Survivor is killed by any means, Hex: Ruin deactivates and reverts its Hex Totem into a Dull Totem. The Hex effects persist until its Hex Totem is cleansed.
- Hex: Plaything: If at least one Dull Totem remains in the Trial Grounds, Hex: Plaything activates on a random Totem each time a Survivor is hooked for the first time: The hooked Survivor suffers from the Cursed and Oblivious Status Effects until Hex: Plaything is cleansed. For the first 90 seconds, only the Cursed Survivor can cleanse the Hex Totem. The Aura of Hex: Plaything's Hex Totem is revealed to the Cursed Survivor within 24/20/16 metres. The Hex effects persist until its Hex Totem is cleansed.
- Hex: Devour Hope: The false hope of Survivors ignites your hunger. Each time a Survivor is rescued from a Hook when you are at least 24 metres away, Hex: Devour Hope receives 1 Token: 2 Tokens: 10 seconds after hooking a Survivor, gain a 3/4/5 % Haste Status Effect for the next 10 seconds. 3 Tokens: Survivors suffer permanently from the Exposed Status Effect. 5 Tokens: You are granted the ability to kill all Survivors by your hand. The Hex effects persist until its Hex Totem is cleansed.
- Hex: Pentimento: You see the Auras of cleansed Totems. You can perform a ritual on a cleansed Totem to resurrect it as a Rekindled Totem. For each Rekindled Totem active simultaneously, Hex: Pentimento gains an additional effect: 1 Totem: Decreases all Survivors' Repair speed by 20/25/30 %. 2 Totems: Decreases all Survivors' Healing speed by 20/25/30 %. 3 Totems: Decreases all Survivors' Recovery speed from being downed by 20/25/30 %. 4 Totems: Decreases all Survivors' Exit Gate Opening speed by 20/25/30 %. 5 Totems: All Totems are permanently blocked by The Entity. When a Rekindled Totem is cleansed, its remains are consumed by The Entity and cannot be rekindled.

