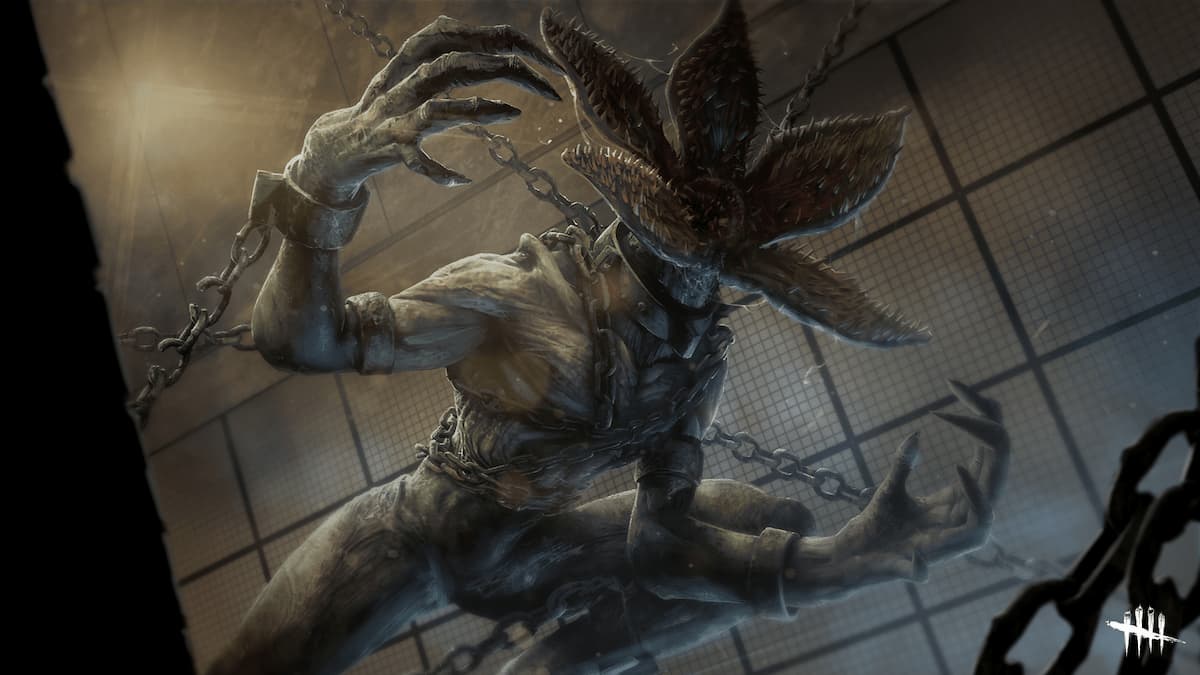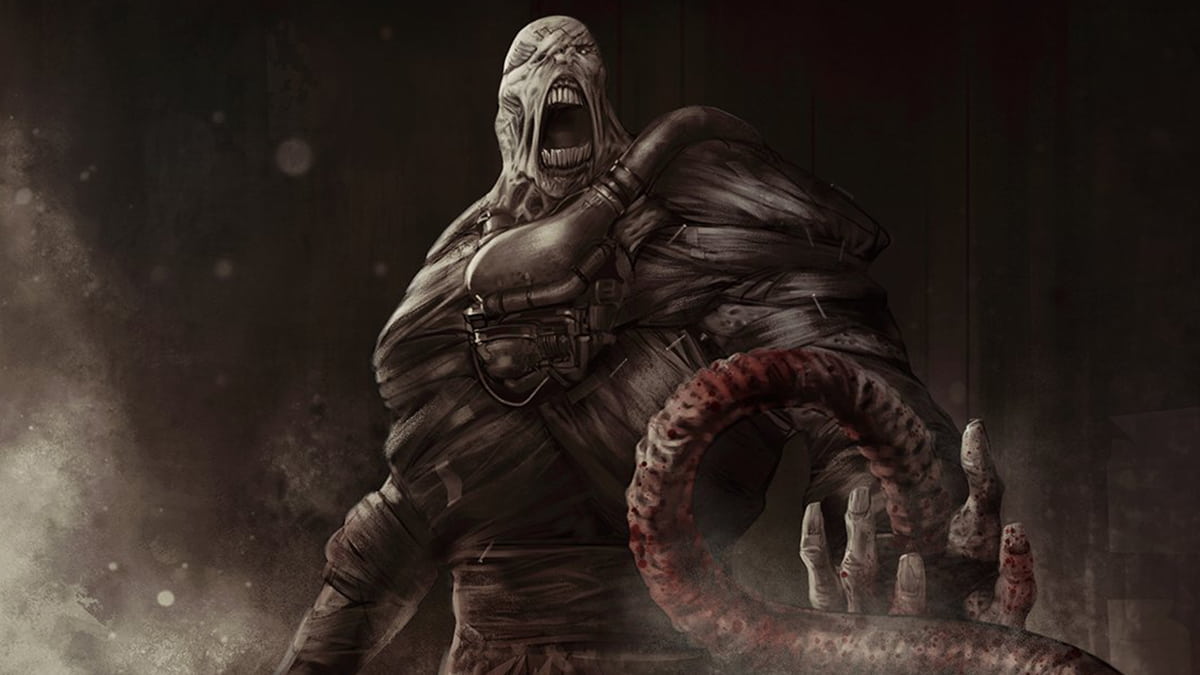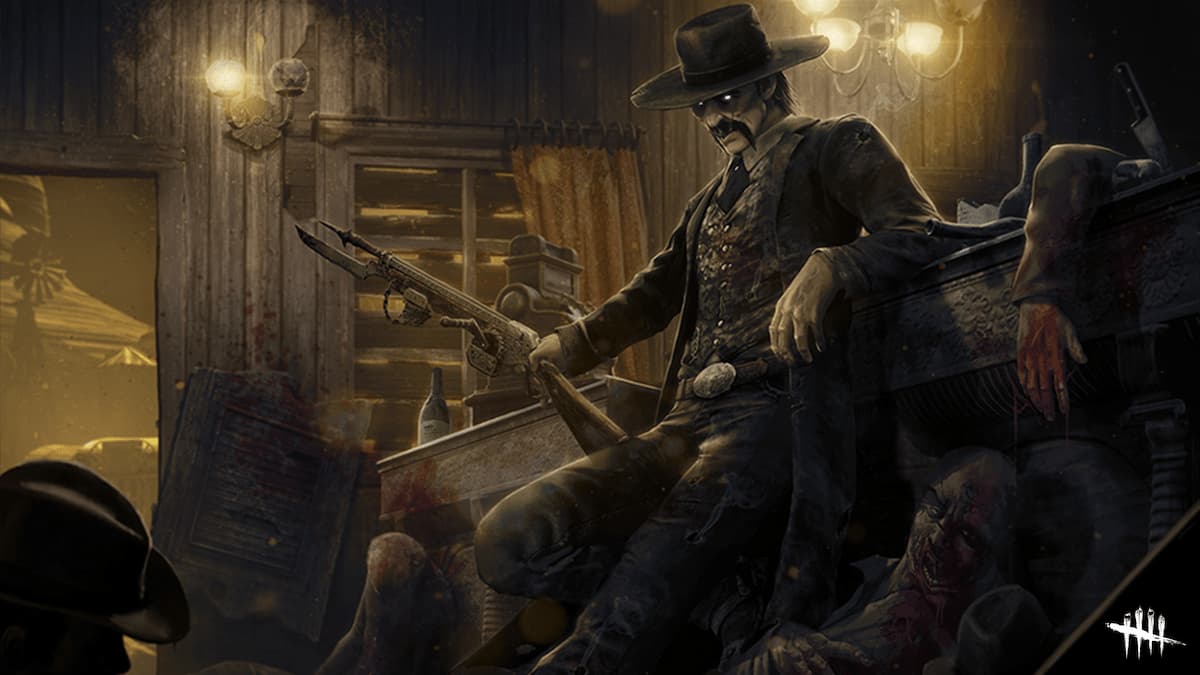
The Plague, also known as Adiris, is one of the killers that has been introduced in chapter 11: Demise of the faithful, on March 2019. One of the main powers that she has is vomiting. It isn't just any type of vomit, as her vomit does the unexpected to the survivors, with the power of vomiting and injuring the survivors at the same time once she cleanses and empowers her purge. Her attack on one hand is very hard to control, as you would need to have a sense of direction of where the plague is vomiting, but otherwise, once controlled, it can be extremely powerful, especially with loops or far distance. It can be seen as 20 huntresses shooting at the same time, that is how powerful she can be.
Otherwise, let's look at her best builds for the plague which would make her power even more powerful and extremely difficult to play with:
5. The Lethal Hysteria Plague
Dead by Daylight gameplay by RedsGamingGears
The Lethal Hysteria Plague Build is a build that has the meaning in its name. Unbelievably, the build consists of mediocre perks that are actually quite powerful for the plague, for instance with the perk Hysteria, you are able to create an oblivious status effect for all injured survivors which is quite probable, as with plague, the vomit cause the survivor to become injured after time, unless being cleansed in the fountain, which on the other hand would power up the purge, making it a one shot which is not a good idea for the survivors. The build also consists of Call of Brine which is particularly powerful for generators, which overall makes this build great for generators and survivor hunting.
What The Lethal Hysteria Plague Build Excels In:
- Lethal Pursuer allows you to see survivors at the beginning of the match which is very helpful, especially contributing to the other perks such as the perk hysteria, which would cause an oblivious status effect for other survivors.
- With the perk call of brine, one of the most powerful perks in the game, you are able to regress the generator at a max of 200% of regression speed automatically, at the same allowing you to see notifications and its aura.
Build details & Perks:
- Lethal Pursuer: At the start of the Trial, the Auras of all Survivors are revealed to you for 7/8/9 seconds. Extends the duration of a Survivor's Aura being revealed to you by +2 seconds.
- Call of Brine: After damaging a Generator, the Call of Brine activates for 60 seconds. The Generator regresses at 150/175/200 % of the normal Regression speed and its Aura is revealed to you. Each time a Survivor completes a Good Skill Check on a Generator affected by Call of Brine, you receive a Loud Noise Notification.
- Dark Devotion: You become obsessed with one Survivor. Whenever the Obsession loses a Health State by any means and thus enters the Injured State, Dark Devotion activates: Your Terror Radius transfers to the Obsession for 20/25/30 seconds, and its radius is set to 32 metres. Grants the Undetectable Status Effect for the same duration. The Obsession with your transferred Terror Radius is also considered to be 'inside the Terror Radius' for other purposes. You can only be obsessed with one Survivor at a time.
- Hysteria: Whenever you put a healthy Survivor into the Injured State, all injured Survivors suffer from the Oblivious Status Effect for 20/25/30 seconds. Hysteria has a cool-down of 30 seconds.
4. The Overcharged Strong Plague
Dead by Daylight gameplay by rebel
The Overcharged Strong Plague Build is a uniquely creative build as it blocks out the actions of survivors. In other words, with overcharge, instead of regressing rapidly like other perks such as pop goes the weasel, it generates a difficult skill check which is quite difficult to succeed as a survivor, causing the plague to come and then infect and kick the generator again, leaving the survivor no choice but gon on a different generator.
Aditionally the build has its own chasing powers such as bamboozle and Brutal Strength which is powerful in the chasing category where you have the ability to destroy objects faster, useful when catching up on the survivor, and lock loops with bamboozle, therefore making this build one of the powerful ones in terms of pressure and chasing category.
What The Overcharged Strong Plague Build Excels In:
- The combination of Bamboozle and Brutal Strength will allow for a flawless chase with the survivor, and be able to use those perks to counter the survivors' tactics and get an easy hit.
- With overcharge, you have the ability to manually regress the generator and make an immediate progression of a max of 5%, which at the same time will cause a difficult skill check once the next survivor touches the generator.
Build details & Perks:
- Bamboozle: Bamboozle: Performing a Vault action is 5/10/15 % faster and calls upon The Entity to block that Vault location for Survivors for 8/12/16 seconds. Only one Vault location may be blocked this way at any given time. Bamboozle does not affect Pallets.
- Brutal Strength: Increases the Action speed of breaking Pallets and Breakable Walls, and damaging Generators by 10/15/20 %.
- Overcharge: Overcharge a Generator by performing the Damage Generator on it: The next Survivor interacting with that Generator is faced with a difficult Skill Check. Failing the Skill Check results in an immediate Progression loss of 3/4/5 %. Succeeding the Skill Check grants no bonus Progression, but prevents the Generator from exploding. After Overcharge is applied to a Generator, the following effect applies: Increases the Regression speed from 75 % to 200 % over the next 30 seconds.
- Lethal Pursuer: At the start of the Trial, the Auras of all Survivors are revealed to you for 7/8/9 seconds. Extends the duration of a Survivor's Aura being revealed to you by +2 seconds.
3. Trio-Hex Plague Build
Dead by Daylight gameplay by OhTofu
The Trio-Hex Plague Build is a build consisting of three hexes, which is good and bad in its own terms. First of all, it is a build that is considered the most fun-like build on this list because you can literally play with the survivors, with the hex such as hex:plaything which would cause the survivors to be cursed and oblivious until the hex was to be cleansed, which is particularly useful and powerful with plague because you might start to vomit, but the survivor would not even realise and therefore creating a great amount of pressure on the survivors.
If all hexes were to be cleansed, you have another chance of boosting up this build with hex: pentimento which gives you the ability to resurrect cleasnsed totems and change it into a rekindled totem, which has its effects of slowing down action speeds with each totem ritualised making it a very powerful build.
What Trio-Hex Plague Build Excels In:
- With the trio-hex in the build, you will have an overall advantage, especially at the start of the game where ruin is activated and therefore, it would take much longer to do the generators, especially when the survivors are distracted, therefore allowing the generators to regress. Nonetheless when the hex is cleansed, you will be able to use Hex: Pentimento and its powers to slow down the game as well.
- With Thanatophobia and the Hex totems, the game will be extremely slow for the survivors, therefore allowing the killer to take on the survivors, especially advantageous with the plague as she will be able to vomit on survivors and therefore allowing most things to be infected, and go for an easier sacrifice.
Build details & Perks:
- Hex: Pentimento: You see the Auras of cleansed Totems. You can perform a ritual on a cleansed Totem to resurrect it as a Rekindled Totem. For each Rekindled Totem active at the same time, Hex: Pentimento gains an additional effect: 1 Totem: Decreases all Survivors' Repair speed by 20/25/30 %. 2 Totems: Decreases all Survivors' Healing speed by 20/25/30 %. 3 Totems: Decreases all Survivors' Recovery speed from being downed by 20/25/30 %. 4 Totems: Decreases all Survivors' Exit Gate Opening speed by 20/25/30 %. 5 Totems: All Totems are permanently blocked by The Entity. When a Rekindled Totem is cleansed, its remains are consumed by The Entity and it cannot be rekindled.
- Thanatophobia: Each injured, dying, or hooked Survivor afflicts Survivors with a stack-able 1/1.5/2 % Action Speed penalty to Repairing, Sabotaging, and Cleansing, up to a maximum of 4/6/8 %. Increases the Action Speed penalty by a further 12 %, if there are 4 Survivors, who are either injured, dying, or hooked at the same time.
- Hex: Plaything: If there is at least one Dull Totem remaining in the Trial Grounds, Hex: Plaything activates on a random Totem each time a Survivor is hooked for the first time: The hooked Survivor suffers from the Cursed and Oblivious Status Effects until Hex: Plaything is cleansed. For the first 90 seconds, only the Cursed Survivor is able to cleanse the Hex Totem. The Aura of Hex: Plaything's Hex Totem is revealed to the Cursed Survivor within 24/20/16 metres.
- Hex: Ruin: Whenever a Generator is not being repaired by a Survivor, it will immediately and automatically regress its Repair progress at 50/75/100 % of the normal Regression speed. Once any Survivor is killed by any means, Hex: Ruin deactivates and reverts its Hex Totem into a Dull Totem.
2. The HexScourge Build
Dead by Daylight gameplay by not Otzdarva
The HexScourge Build is a great build to have with a good combination of Hex and Scourge Hooks, which are considered to be powerful perks in the game. With the perk Hex: Retribution, it is a great perk to have, especially with the plague, as when their auras are revealed, you will be able to vomit from a far distance and be able to attack them without the survivors seeing you, especially when they are oblivious after cleansing, making it a great strategy. Neverthless, making this build great for killers, especially long-distance killers with a choice of plan B, just in case any of the perks where to be cleansed and destroyed.
What The HexScourge Build Excels In:
- The Combination of Scourge Hooks, and Hex allows for a more balanced powerful gameplay, with scourge hooks allowing to use its powerful just in case the hex were to be cleansed by the survivors, especially with the survivors' powerful perk "Detective's Hunch" which will allow to see totems and other items, and therefore cleanse them.
- With Hex: Retribution will allow for an immediate advantage for the killer, in other words, if any hex totem was to be cleansed, such as the two which are in the build, then the survivors become oblivious and their auras will be revealed.
Build details & Perks:
- Scourge Hook: Pain Resonance: At the start of the Trial, 4 random Hooks are changed into Scourge Hooks: The Auras of Scourge Hooks are revealed to you in white. Each time a Survivor is hooked on a Scourge Hook, the following effects apply: The Generator with the most Progression explodes, instantly losing 9/12/15 % of its Progression and starting to regress. Survivors repairing that Generator will scream, but not reveal their location.
- Scourge Hook: Floods of Rage: At the start of the Trial, 4 random Hooks are changed into Scourge Hooks:The Auras of Scourge Hooks are revealed to you in white. Each time a Survivor is unhooked from a Scourge Hook, the following effects apply: The Auras of all other Survivors are revealed for 5/6/7 seconds.
- Hex: Plaything: If there is at least one Dull Totem remaining in the Trial Grounds, Hex: Plaything activates on a random Totem each time a Survivor is hooked for the first time: The hooked Survivor suffers from the Cursed and Oblivious Status Effects until Hex: Plaything is cleansed. For the first 90 seconds, only the Cursed Survivor is able to cleanse the Hex Totem. The Aura of Hex: Plaything's Hex Totem is revealed to the Cursed Survivor within 24/20/16 metres.
- Hex: Retrtibution: Survivors cleansing or blessing any Totem suffer from the Oblivious Status Effect for 35/40/45 seconds. After cleansing or blessing a Hex Totem, the Auras of all Survivors are revealed to you for 15 seconds.
1. Thana Interception Mode Build
Dead by Daylight gameplay by D3AD Plays
The Thana Interception Mode Build is in my personal opinion the best build on this list for many reasons, especially including balance of the perks. First of all, there are no Hex's in the build, meaning that the build cannot worsen throughout the progress of the match, and therefore making this build very consistent throughout the game. Nonetheless, the build also consists of Thanatophobia which is a universal perk great for all killers as it slows down the progress of literally everything on the map, and the rest of the perks focusing on the generator explosion and regression which is quite powerful as it would lead to survivors having no choice to but to survive with what they got.
What Thana Interception Mode Build Excels In:
- With the combination of pop goes the weasel and scourge hook: pain resonance, the ability to regress generators is increased massively, and therefore you will be able to regress generators automatically after hooking a survivor on the specific scourge hook, and also manually by kicking the generator, creating the explosion and therefore instantly losing -20%, which is very powerful.
- With Thanatophobia you will be able to slow down the game substantially, and at the same time, create a slow generator environment with the combination of other perks, where you are able to hold back the survivors and make them concentrate on the chases, therefore having more chance to sacrifice one of the survivors.
Build details & Perks:
- Thanatophobia: Each injured, dying, or hooked Survivor afflicts Survivors with a stackable 1/1.5/2 % Action Speed penalty to Repairing, Sabotaging, and Cleansing, up to a maximum of 4/6/8 %. Increases the Action Speed penalty by a further 12 %, if there are 4 Survivors, who are either injured, dying, or hooked at the same time.
- Pop goes the weasel: After hooking a Survivor, Pop Goes the Weasel activates for the next 35/40/45 seconds: The next Generator you damage instantly loses -20 % of its current Progression. Regular Generator Regression applies afterwards and Pop Goes the Weasel deactivates.
- Corrupt Intervention: At the start of the Trial, the 3 Generators located farthest from you are blocked by The Entity for 80/100/120 seconds. Corrupt Intervention deactivates prematurely once the first Survivor is put into the Dying State
- Scourge Hook: Pain Resonance: At the start of the Trial, 4 random Hooks are changed into Scourge Hooks: The Auras of Scourge Hooks are revealed to you in white. Each time a Survivor is hooked on a Scourge Hook, the following effects apply: The Generator with the most Progression explodes, instantly losing 9/12/15 % of its Progression and starting to regress. Survivors repairing that Generator will scream, but not reveal their location.
You May Also Be Interested In:
- Dead by Daylight Survivor Guide: Top 25 Tips
- Dead by Daylight Killers Guide: Top 25 Tips
- [Top 10] DbD Best Killer Builds That Are Great!
- [Top 100] Dead By Daylight Best Names
- [Top 10] DbD Best Survivor Builds That Are OP!
- [Top 10] DbD Best Killers And Why They're Good
- [Top 15] DbD Best Killer Perks And Why They're Good
- [Top 15] DbD Best Survivor Perks And Why They're Good
- [Top 10] DbD Best Survivors And Why They're Good
- [Top 10] DbD Best Survivor Builds That Are Great
- [Top 15] Ghost Games To Play Today
- [Top 15] Horror Movies That Were Books
- [Top 15] Best Horror Movies That Were Banned
- [Top 5] Dead By Daylight Most Fun Survivors
- [Top 5] Dead By Daylight Best Jane Romero Builds
- [Top 5] Dead By Daylight Best Meg Thomas Builds
- [Top 5] Dead By Daylight Best Claudette Morel Builds
- [Top 5] Dead by Daylight Best Jake Park Builds
- [Top 5] Dead By Daylight Best Nea Karlsson Builds
- [Top 5] Dead By Daylight Best Laurie Strode Builds
- [Top 5] Dead By Daylight Best Bill Overbeck Builds
- [Top 5] Dead By Daylight Best Feng Min Builds
- [Top 5] Dead By Daylight Best David King Builds

