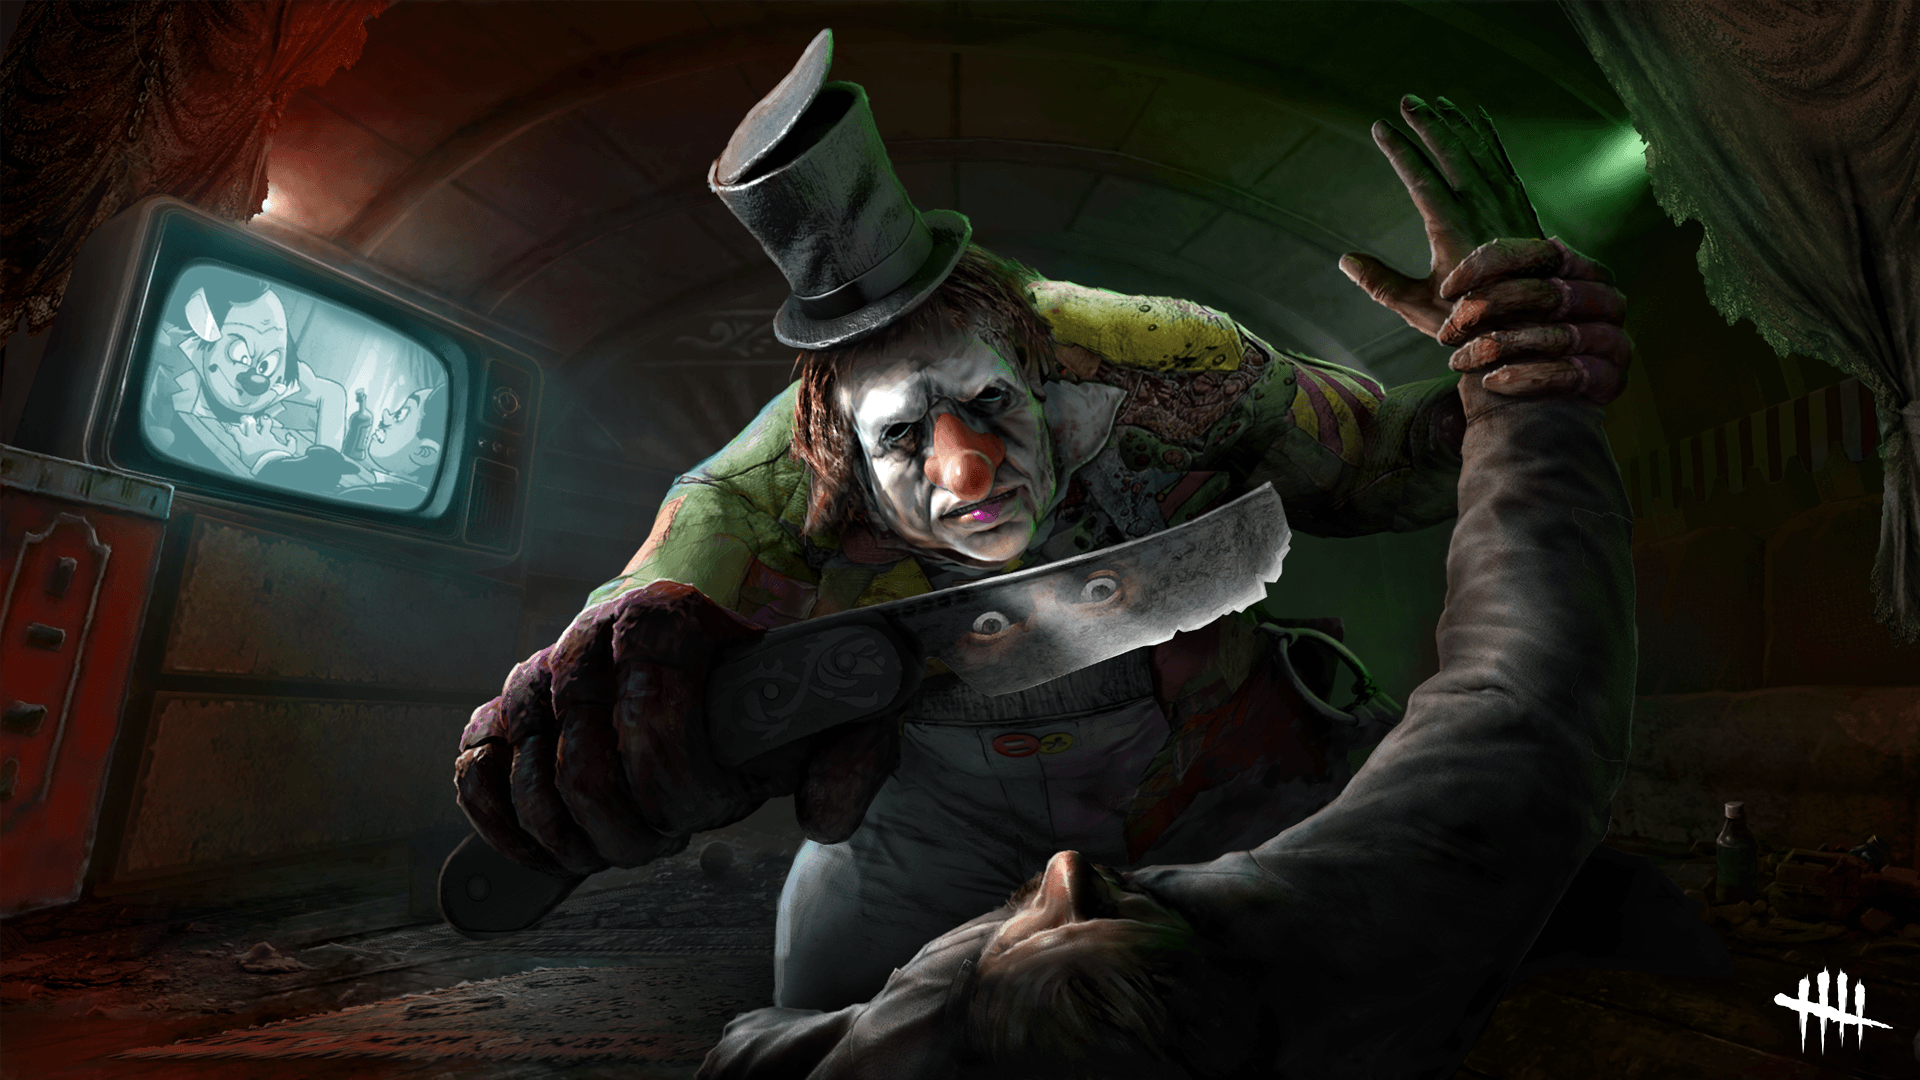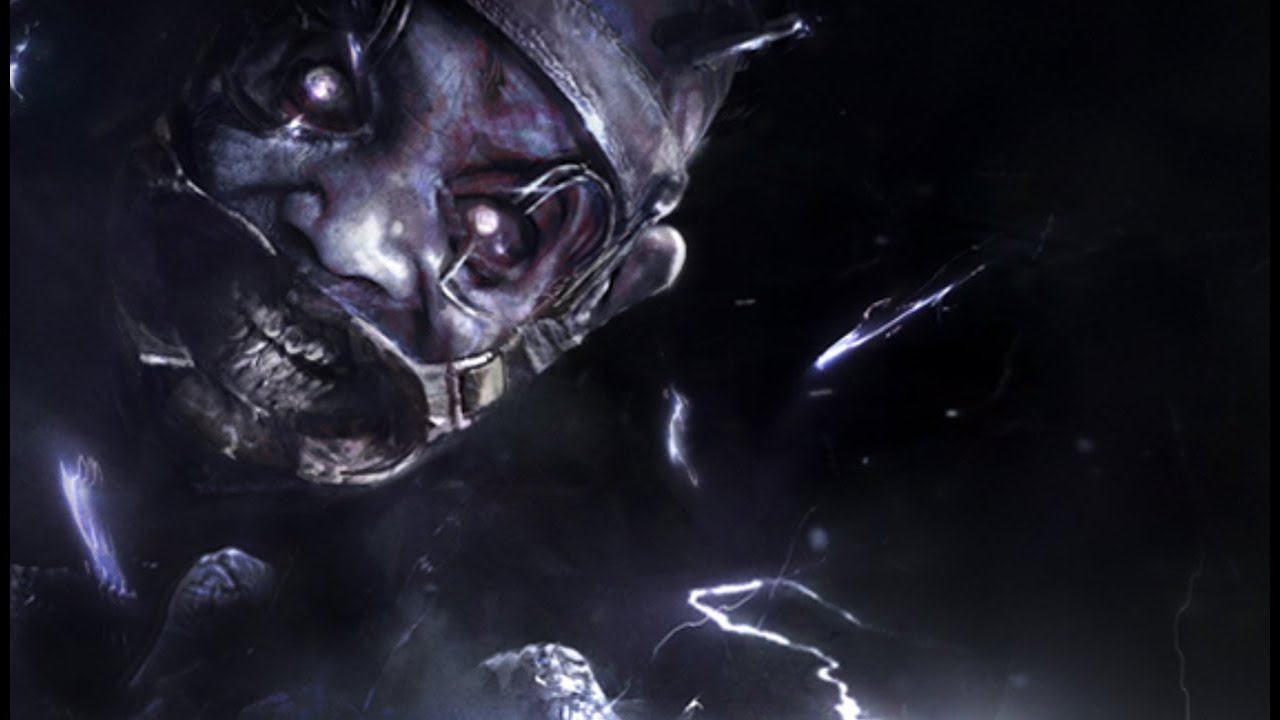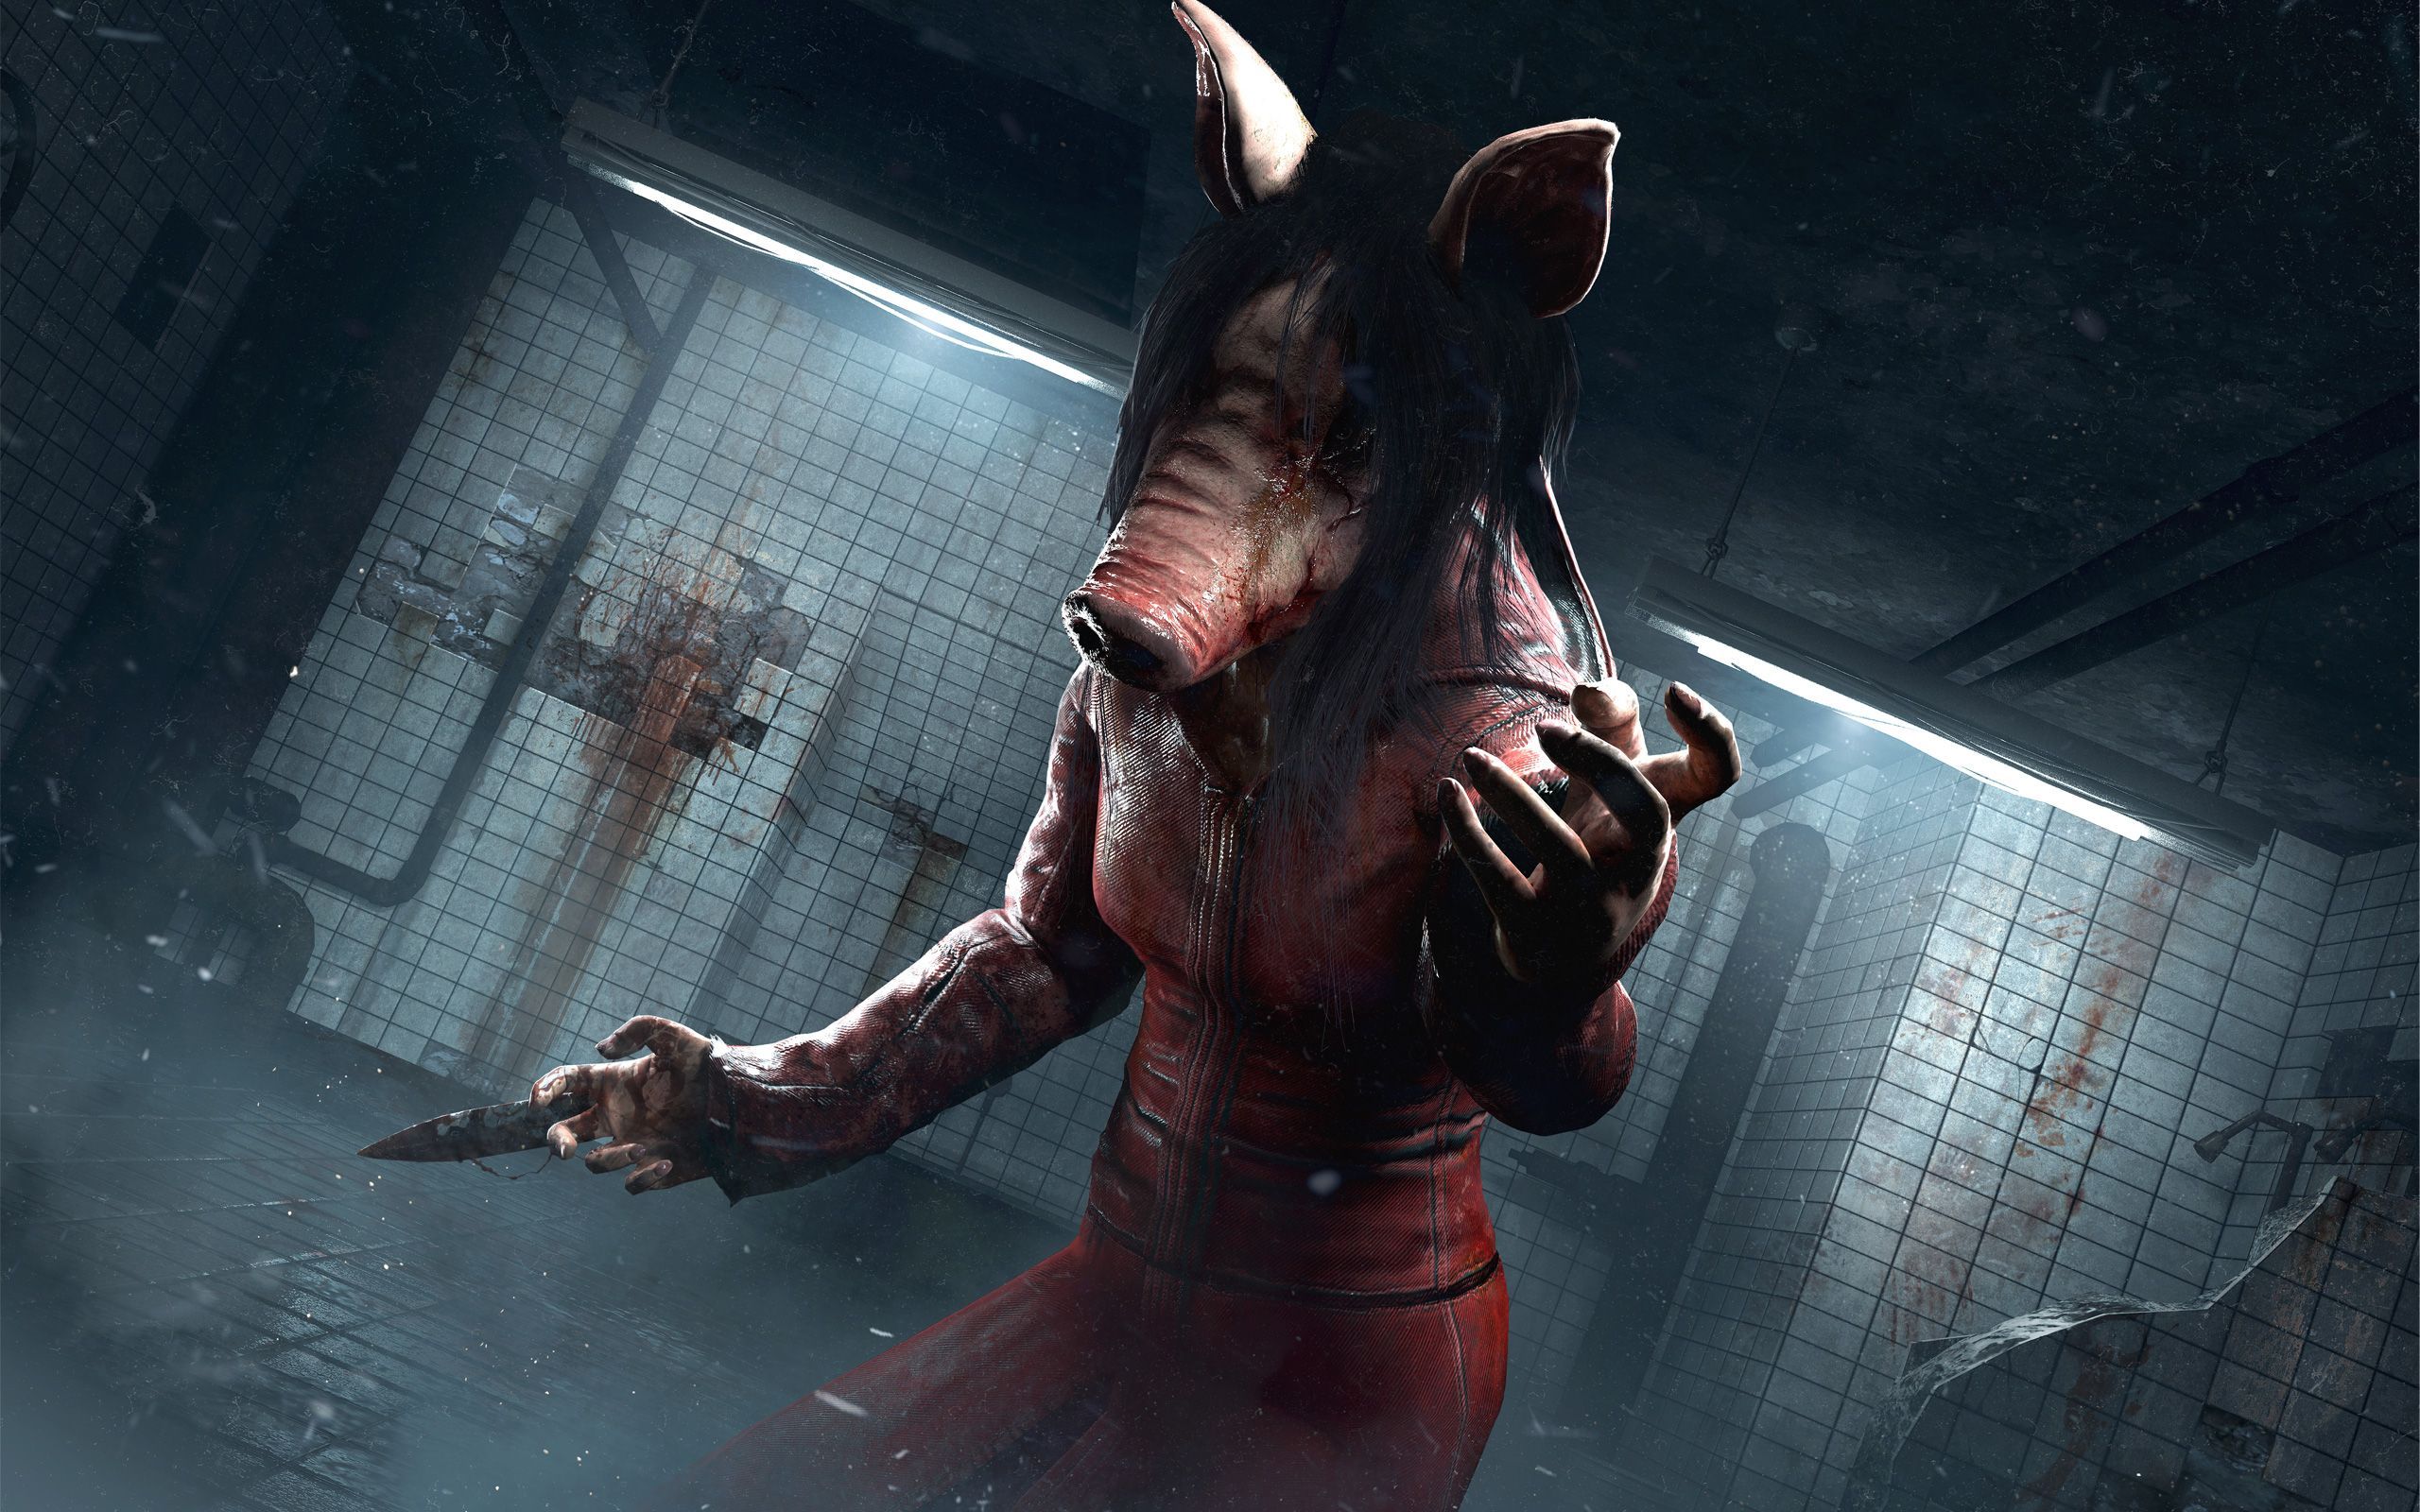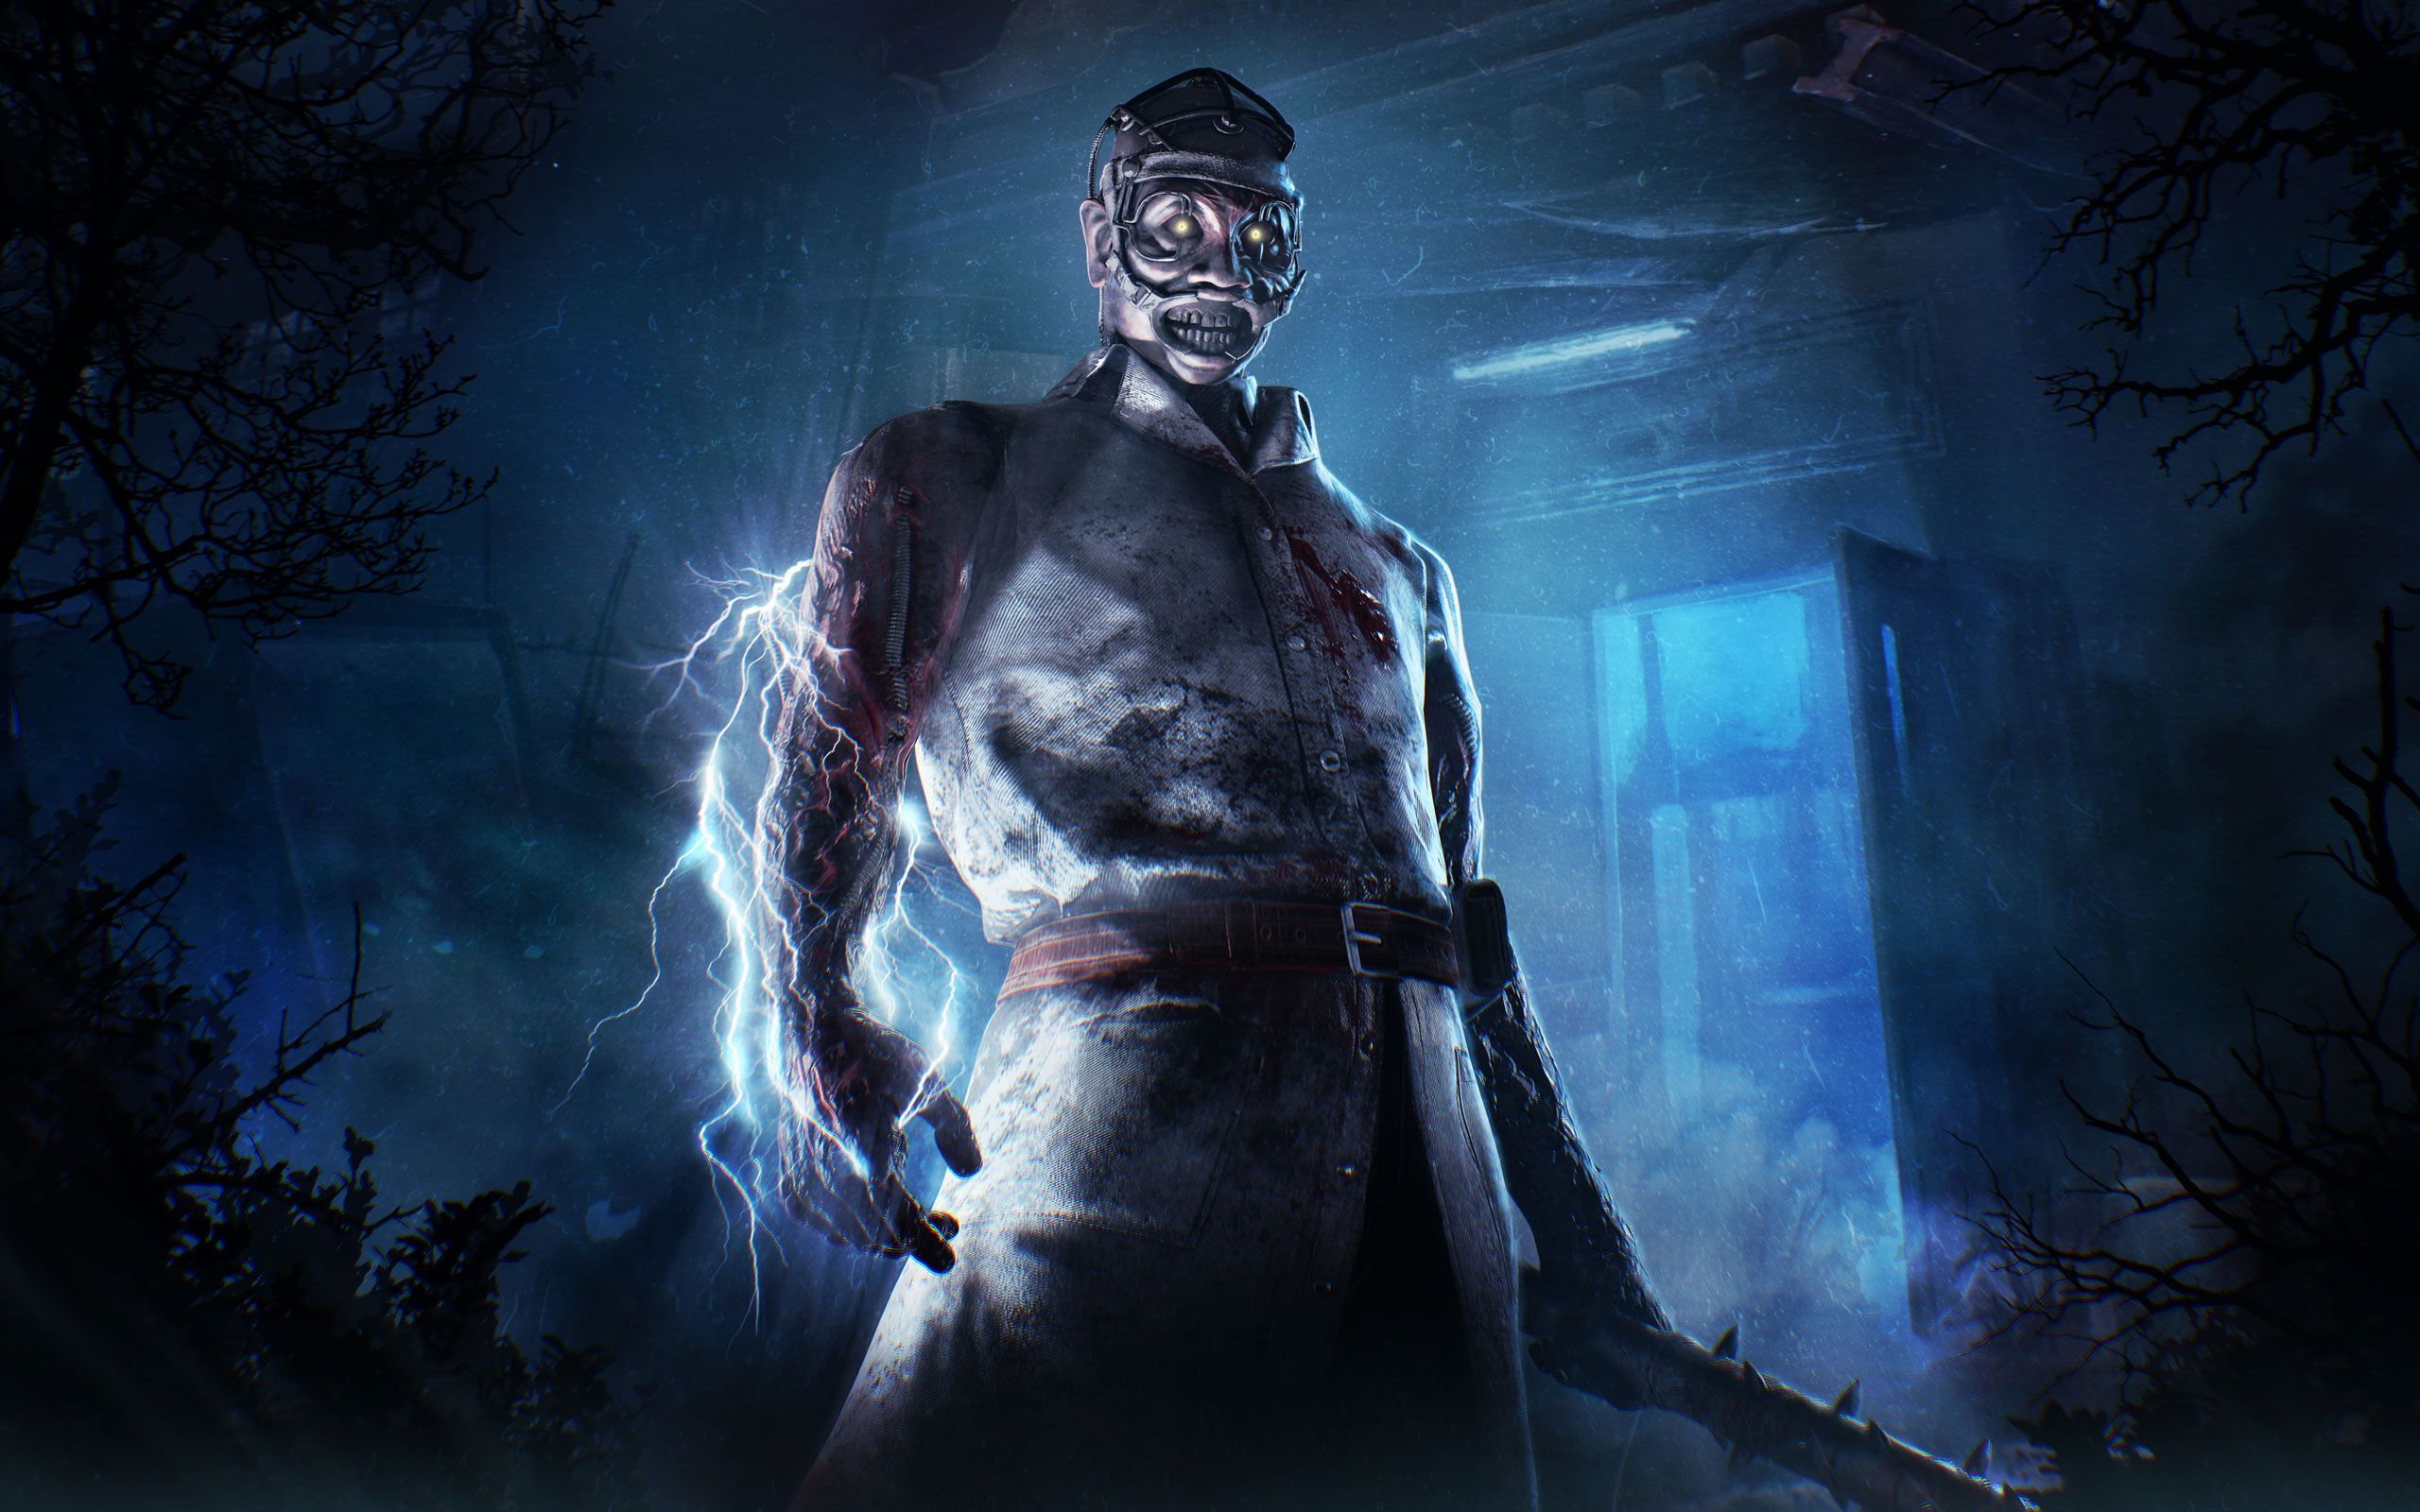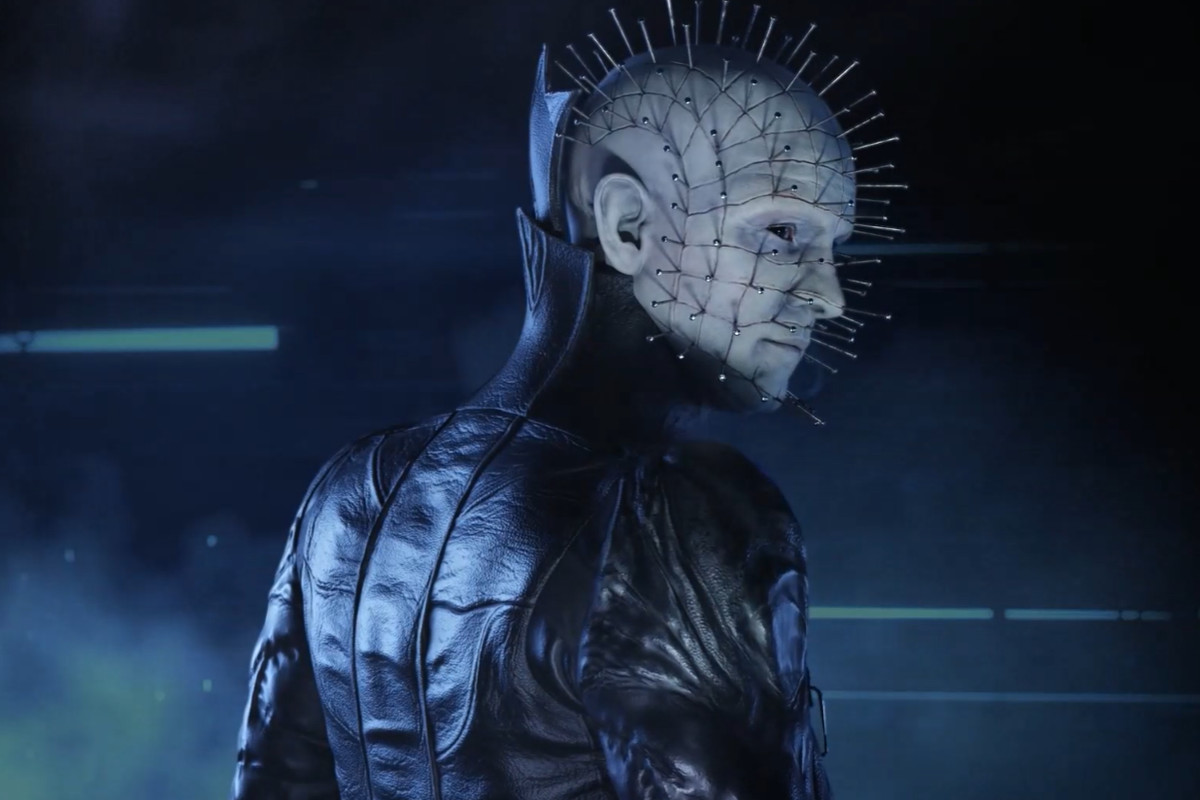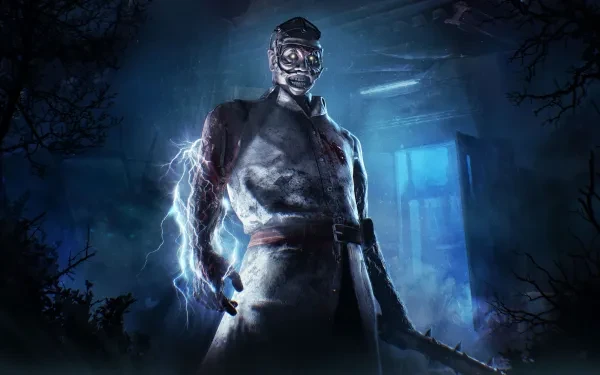
The Doctor is a killer who reveals the survivors whenever he wants. So his main power focuses on creating electric shocks, which can either be small distances or lengthy and are used during the chase, or huge splashes that can affect a huge area, usually the terror radius, unless affected by perks.
Nonetheless, let the fog reveal the best Doctor Builds:
5. The Generating Pain Doctor Build
Dead by Daylight gameplay by Greyletters
The Generating Doctor build a build that focuses on generating pain in the survivors in the game, with a great combination of generator blocking with the Scourge Hook: Pain Resonance and Dead Man's Switch perks, and survivor oppression using the Hex perks Devour Hope and Undying, which would cause a total nightmare for the survivors within the game.
Nonetheless, with a great combination of chemistry, it is considered to be a very good build for the Doctor.
What the Generating Doctor Build Excels In:
- Hex: Devour Hope is considered to be one of the most powerful perks in the game if played by its rule, and if uncleansed, once reaching five tokens, you will then have the ability to kill all the survivors by hand, which is particularly useful as it will increase the chance of winning.
- With the perk Scourge Hook: Pain Resonance is considered one of the most powerful perks in terms of generator regressing, as it will allow you to see the survivors who start repairing the most progressed generator after regressing, therefore allowing you to come back to the generator and gain lots of time in the killer's perspective.
Build details & perks:
- Hex: Undying: The Auras of Survivors within 2/3/4 metres of any Dull Totem are revealed to you. When another Perk's Hex Totem is cleansed or blessed, its Hex is transferred to the Undying Totem, including any accumulated Tokens, disabling Hex: Undying instead. The Hex effects persist until its Hex Totem is cleansed.
- Hex: Devour Hope: Each time a Survivor is rescued from a Hook when you are at least 24 metres away, Hex: Devour Hope receives 1 Token: 2 Tokens: 10 seconds after hooking a Survivor, gain a 3/4/5 % Haste Status Effect for the next 10 seconds. 3 Tokens: Survivors suffer permanently from the Exposed Status Effect. 5 Tokens: You are granted the ability to kill all Survivors by your hand.
- Scourge Hook: Pain Resonance: At the start of the Trial, four random Hooks are changed into Scourge Hooks: The Auras of Scourge Hooks are revealed to you in white. Each time a Survivor is hooked on a Scourge Hook, the following effects apply: The Generator with the most Progression explodes, instantly losing 9/12/15 % of its Progression and starting to regress. Survivors repairing that Generator will scream but not reveal their location.
- Dead Man's Switch: After hooking a Survivor, Dead Man's Switch activates for the next 20/25/30 seconds: Any Survivor that stops repairing a Generator before it is fully repaired causes The Entity to block the Generator until Dead Man's Switch's effect ends. White Aura highlights affected Generators.
4. Ultimate Defense Doctor Build
Dead by Daylight gameplay by RedsGamingGears
The Ultimate Defense Doctor build is a build that makes this game a defence strategy, concentrating mainly on the generators present on the map and focusing on how you would regress the generators as fast as possible so that it would take as much time as possible for the survivors.
Nonetheless, the build has all the necessary perks that will simultaneously block and regress the generators, causing frustration for the survivors and allowing you to use the main power to go on chases without worrying about the generators.
What the Ultimate Defense Doctor Build Excels In:
- With the perk Scourge Hook: Pain Resonance is considered one of the most powerful perks in terms of generator regressing, as it will allow you to see the survivors who start repairing the most progressed generator after regressing, therefore allowing you to come back to the generator and gain lots of time in the killer's perspective.
- Overcharging will make it impossible for survivors to overcome this perk unless they have experience, probably around 300+ hours as a survivor, to overcome it for the first time. However, for first-time interaction within the game, over 70% of the survivors would fail as they would not expect this perk.
Build details & perks:
- Overcharge: The next Survivor interacting with that Generator is faced with a difficult Skill Check. Failing the Skill Check results in an immediate Progression loss of 3/4/5 %. Succeeding the Skill Check grants no bonus Progression but prevents the Generator from exploding. After Overcharge is applied to a Generator, the following effect applies: Increases the Regression speed from 75 % to 200 % over the next 30 seconds.
- Jolt: When you put a Survivor into the Dying State with your Basic Attack, all Generators within 32 metres of you instantly explode and start regressing. Applies an immediate 6/7/8 % Progression penalty.
- Scourge Hook: Pain Resonance: At the start of the Trial, four random Hooks are changed into Scourge Hooks: The Auras of Scourge Hooks are revealed to you in white. Each time a Survivor is hooked on a Scourge Hook, the following effects apply: The Generator with the most Progression explodes, instantly losing 9/12/15 % of its Progression and starting to regress. Survivors repairing that Generator will scream but not reveal their location.
- Eruption: Performing the Damage Generator Action on a Generator applies. Eruption: Highlights all affected Generators in yellow. The next time a Survivor enters the Dying State by any means, all affected Generators explode and start regressing, removing the highlighted Aura. Eruption applies an immediate -10 % Progression penalty. Any Survivor repairing a Generator when it explodes screams and suffers from the Incapacitated Status Effect for 15/20/25 seconds. The eruption has a cool-down of 30 seconds.
3. The Incognito Gen-Killer Connect Build
Dead by Daylight gameplay by |Unforgotten|
The Incognito Gen-Killer Connect build is a build focusing on killing generators and making them unrepairable by the survivors depending on the situation and, of course, time; where this build is specially designed to steal as much time from the survivors as much as possible so that the killer has the biggest chance of winning the game.
What the Incognito Gen-Killer Connect Build Excels In:
- Dead Man's Switch is a particularly useful perk if the survivors are working together, allowing you to block the generator for 30 seconds, patrol it until it's unblocked and then regress it before the chance of popping.
- Call of Brine will allow you to regress a generator at 200% of the normal regression speed, simultaneously revealing the generator's aura for 60 seconds. Giving you loud notifications if the survivor has completed a good skill check.
Build details & perks:
- Eruption: Performing the Damage Generator Action on a Generator applies. Eruption: Highlights all affected Generators in yellow. The next time a Survivor enters the Dying State by any means, all affected Generators explode and start regressing, removing the highlighted Aura. Eruption applies an immediate -10 % Progression penalty. Any Survivor repairing a Generator when it explodes screams and suffers from the Incapacitated Status Effect for 15/20/25 seconds. The eruption has a cool-down of 30 seconds.
- Dead Man's Switch: After hooking a Survivor, Dead Man's Switch activates for the next 20/25/30 seconds: Any Survivor that stops repairing a Generator before it is fully repaired causes The Entity to block the Generator until Dead Man's Switch's effect ends. White Aura highlights affected Generators.
- Call of Brine: After damaging a Generator, the Call of Brine activates for 60 seconds. The Generator regresses at 150/175/200 % of the normal Regression speed, revealing its Aura to you. Each time a Survivor completes a Good Skill Check on a Generator affected by Call of Brine, you receive a Loud Noise Notification.
- Thrilling Tremors: After picking up a Survivor, all Generators not currently being repaired by Survivors are blocked by The Entity for the next 16 seconds. The Auras of blocked Generators are highlighted to you in white. Thrilling Tremors has a cool-down of 100/80/60 seconds.
2. The Toxicity of the Doctor Build
Dead by Daylight gameplay by Dallousional
The Toxicity of the Doctor build is a toxic build that concentrates and focuses on being as toxic as possible to the survivors. This can be easily achieved with the use of perks such as overcharge, which would create difficult and nearly impossible skill checks for survivors if kicked, and with Merciless storm, which activates difficult continuous skill checks once the generator has reached 90% progress, which is defined as toxicity during repairing generators, which would most likely cause the survivors to disconnect, making this build very powerful.
What the Toxicity of the Doctor Build Excels In:
- Call of Brine will allow you to regress a generator at 200% of the normal regression speed, simultaneously revealing the generator's aura for 60 seconds. Giving you loud notifications if the survivor has completed a good skill check.
- With the perk Save the best for last, you will have a faster cool-down reduction, which is very useful, especially for the Doctor, which doesn't have a lot of power, and, therefore, it is quite hard to attack, as the survivors can easily avoid the attacking range, making it quite useful for cool-downs.
Build details & perks:
- Save the Best for Last: Each time you hit a Survivor other than your Obsession with a Basic Attack, Save the Best for Last gains 1 Token, up to a maximum of 8 Tokens: Gain a stack-able 5 % Cool-down reduction on successful attacks per Token, up to a maximum of 40 %. Each time you hit your Obsession with a Basic Attack, Save the Best for Last loses 4/3/2 Tokens. When the Obsession is sacrificed or killed, you can neither gain nor lose any more Tokens.
- Call of Brine: After damaging a Generator, the Call of Brine activates for 60 seconds. The Generator regresses at 150/175/200 % of the normal Regression speed, revealing its Aura to you. Each time a Survivor completes a Good Skill Check on a Generator affected by Call of Brine, you receive a Loud Noise Notification.
- Merciless Storm: Whenever a Generator is repaired to 90 %, Survivors repairing it are faced with continuous Skill Checks. If they miss one or stop repairing, the Generator becomes blocked for 16/18/20 seconds.
- Overcharge: The next Survivor interacting with that Generator is faced with a difficult Skill Check. Failing the Skill Check results in an immediate Progression loss of 3/4/5 %. Succeeding the Skill Check grants no bonus Progression but prevents the Generator from exploding. After Overcharge is applied to a Generator, the following effect applies: Increases the Regression speed from 75 % to 200 % over the next 30 seconds.
1. Perma Pressure Doctor Build
Dead by Daylight gameplay by RedsGamingGears
The Perma Pressure Doctor Build is a build, as shown in the title, is focused on creating as much pressure on the survivors as possible, without any hesitation causing the survivors to suffer throughout the whole game and to go through this nightmare.
Nonetheless, this can be evidenced by the perk Distressing, which would increase the terror radius by a maximum of 26%, which is incredibly powerful, especially when looking at increased therapy shocks, which overall, concludes for this build to be one of the most powerful builds by just a few perks which make this happen.
What the Perma Pressure Doctor Excels In:
- With the perk Save the best for last, you will have a faster cool-down reduction, which is very useful, especially for the Doctor, which doesn't have a lot of power, and, therefore, it is quite hard to attack, as the survivors can easily avoid the attacking range, making it quite useful for cool-downs.
- Distressing is quite a useful perk as it will create a vast amount of pressure for the survivors, making it more difficult to concentrate on their objectives, such as generator repairing, and therefore making it easier for the killer to go on chases and slow down the game.
Build details & perks:
- Jolt: When you put a Survivor into the Dying State with your Basic Attack, all Generators within 32 metres of you instantly explode and start regressing. Applies an immediate 6/7/8 % Progression penalty.
- Save the Best for Last: Each time you hit a Survivor other than your Obsession with a Basic Attack, Save the Best for Last gains 1 Token, up to a maximum of 8 Tokens: Gain a stack-able 5 % Cool-down reduction on successful attacks per Token, up to a maximum of 40 %. Each time you hit your Obsession with a Basic Attack, Save the Best for Last loses 4/3/2 Tokens. When the Obsession is sacrificed or killed, you can neither gain nor lose any more Tokens.
- Infectious Fright: Whenever a Survivor is put into the Dying State by any means, all other Survivors within your Terror Radius will scream and reveal their current location to you for 4/5/6 seconds.
- Distressing: Increases your Terror Radius by 22/24/26 % Grants 100 % bonus Bloodpoints for all actions in the Deviousness Category.

