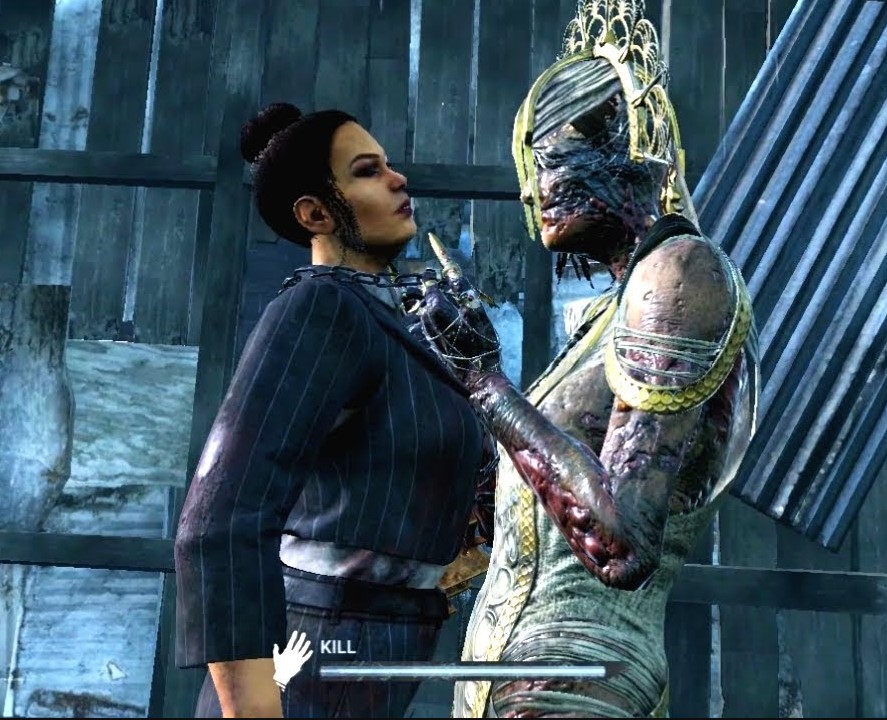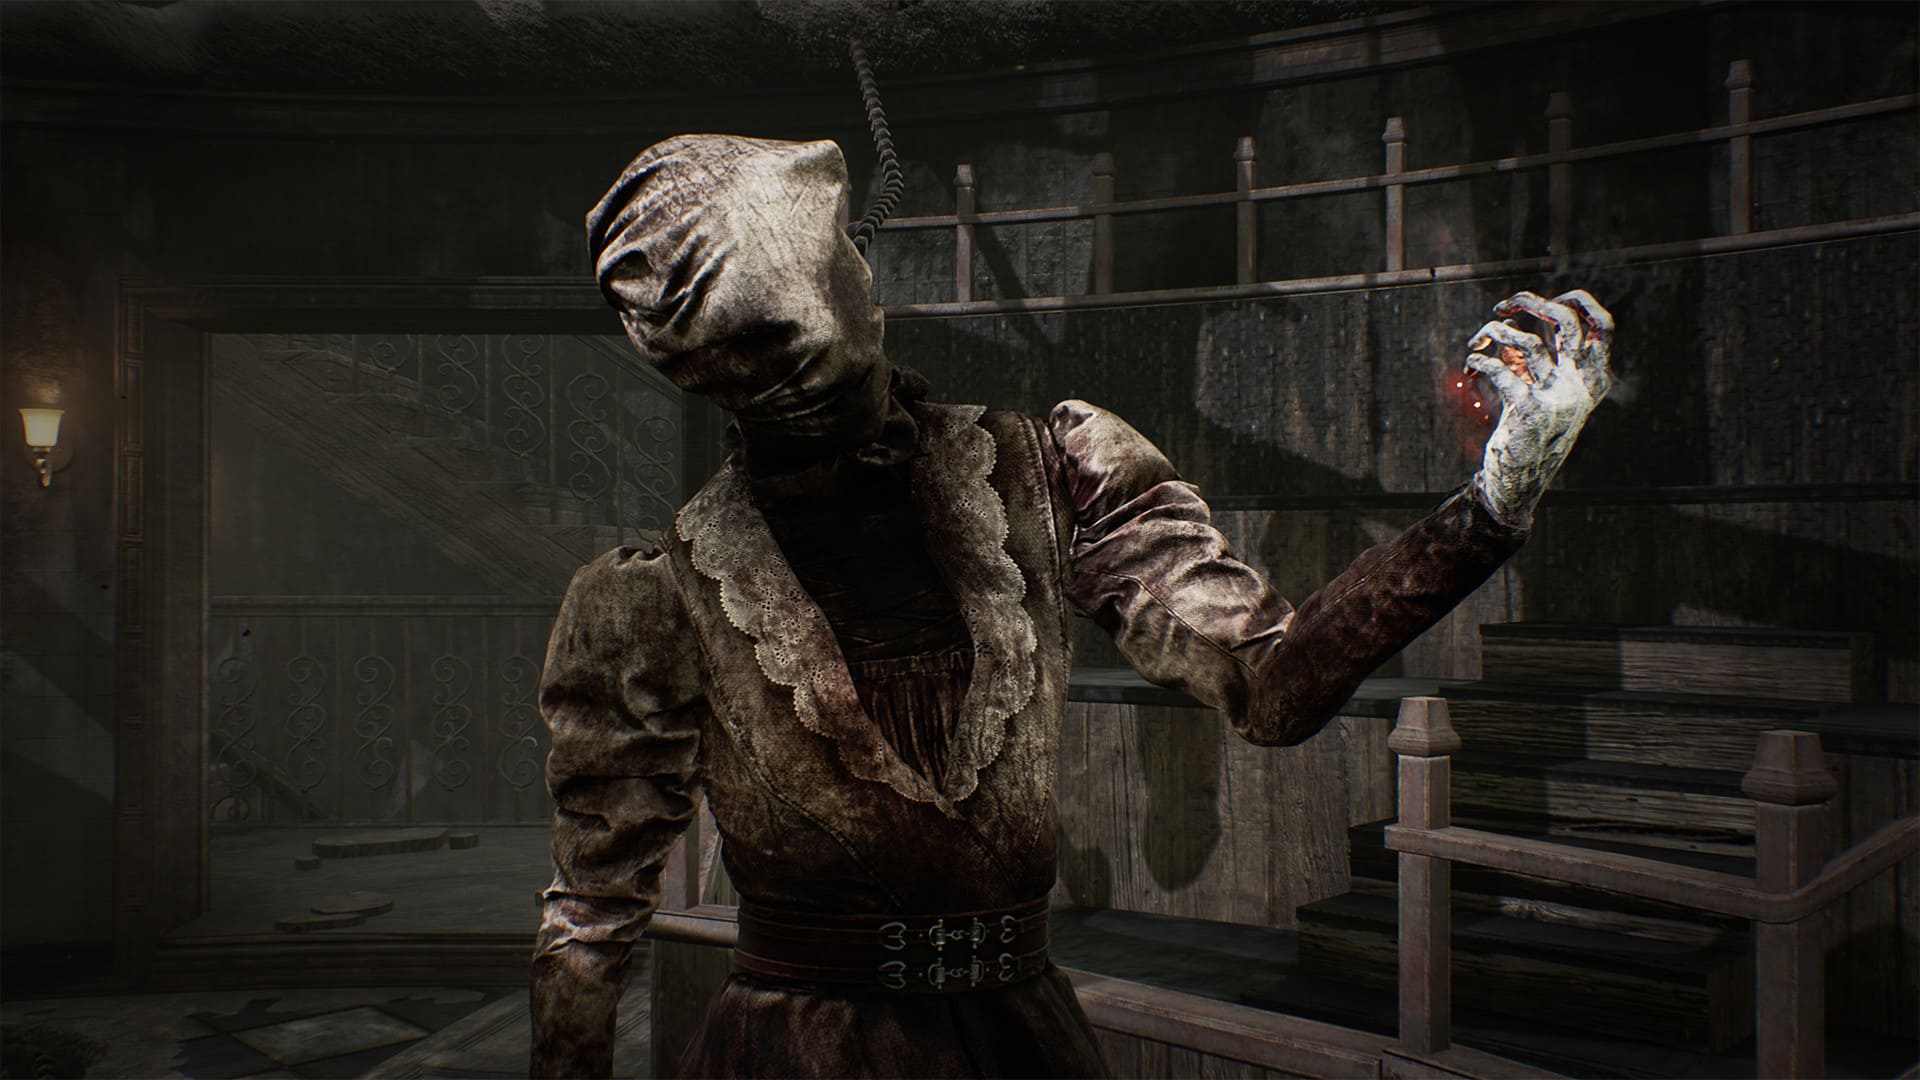
Talbot Grimes, also known as the blight, is one of the killers that have the best mobility in the game apart from the nurse making him one of the best killers. Using his serum, he is able to move around much faster and has excellent mobility around obstacles and the map itself. Nevertheless, his small-like appearance makes it really hard to see the killer in situations such as when looping around rocks, therefore making him a great killer for mindgames.
Nevertheless, let's look at Blights' best builds:
5. The Touchy Medicine Build
Dead by Daylight gameplay by MSA_Matei
Blight's 'The touchy medicine build' as aspects of counter healing and aura advantage. With Blight's movement speed, he is able to manoeuvre around the map effortlessly, and one of the perks that will be incredibly advantageous to the killers' sacrificial win would be lethal pursuer you will be able to see the auras of survivors at the start of the game, which is incredibly powerful for Blight as he can manoeuvre much faster than any other killer, and therefore get an easy hit on the survivors in seconds before they even load up in-game.
Nonetheless, other perks include counter-healing, therefore making it much more difficult to heal for the survivors, and on the other hand much easier for the killer, as he will be able to track survivors effortlessly with more pools of blood as they are injured, therefore, making this an incredible build for the blight.
What The Touchy Medicine Build Excels In:
- The combination of sloppy butcher and nurses calling creates an ability to cause the survivors to heal for longer, therefore, using the perk nurses calling at its maximum efficiency.
- With lethal pursuer, you will be able to see the auras of survivors at the beginning of the game which is great for the killer because of his mobility.
Build details & Perks:
- Sloppy Butcher: Wounds inflicted by Basic Attacks cause Survivors to suffer from the Haemorrhage and Mangled Status Effect: Increases the Bleeding frequency by 50/75/100 %. Increases the Regression rate at which partial Healing Progression is lost through Haemorrhage by 15/20/25 %. Both Status Effects are removed once the Survivor is fully healed.
- Nurses Calling: Unlocks potential in your Aura-reading ability. The Auras of Survivors, who are healing or being healed, are revealed to you when they are within a range of 20/24/28 metres.
- Lethal Pursuer: At the start of the Trial, the Auras of all Survivors are revealed to you for 7/8/9 seconds. Extends the duration of a Survivor's Aura being revealed to you by +2 seconds. Lethal Pursuer benefits from its own effect.
- Septic Touch: Whenever a Survivor performs a Healing action while they are inside your Terror Radius, that Survivor suffers from the Blindness and the Exhausted Status Effects These effects linger for 6/8/10 seconds after the Healing action is interrupted by any means.
4. The Locked "No escape" Blight Build
Dead by Daylight gameplay by Greyletters
The locked "no escape" Blight build is a powerful build that creates the minimised chances of escape for the survivors. The two perks already make it on the top of the list of the perks of "no escape", as the perk no way out, blocks the exit gates for a maximum of 60 seconds minimising the chances of escaping on the ground.
On the other hand, the perk monstrous shine increases the difficulty and accelerates the progression of sacrifice, therefore minimising the escape on the hook as well, which is basically pretty much a lose-lose for the survivor in both situations, making it one of the most fun builds to play with.
What The Locked "No escape" Blight Build Excels In:
- Advantageous perks for the meaning of "no escape", with the perks of no way out, and monstrous shrine which decreases the chance of survivors of escaping in different situations.
- The combination between scourge hook and deadlock will allow for the most progressed generator to not be completed at all or with the least chance to be completed.
Build details & Perks:
- No way out: For each Survivor, you hook for the first time, and No Way Out gains 1 Token. Once the Exit Gates have been powered, No Way Out activates: When a Survivor interacts with an Exit Gate Switch, you receive a Loud Noise Notification and The Entity blocks both Exit Gate Switches for 12 seconds and an additional 6/9/12 seconds per Token in your possession, up to a combined maximum of 36/48/60 seconds.
- Scourge Hook: Pain Resonance: At the start of the Trial, 4 random Hooks are changed into Scourge Hooks: The Auras of Scourge Hooks are revealed to you in white. Each time a Survivor is hooked on a Scourge Hook, the following effects apply: The Generator with the most Progression explodes, instantly losing 9/12/15 % of its Progression and starting to regress. Survivors repairing that Generator will scream, but not reveal their location.
- Deadlock: Whenever a Generator is completed, The Entity blocks the Generator with the most progression for 20/25/30 seconds. The Aura of the blocked Generator is revealed to you in white during this time.
- Monstrous Shrine: The Basement Hooks possess the following benefits: Accelerates Sacrifice Progression by 3/6/9 %. Increases Self-Unhook difficulty by 5/10/15 %. Increases Self-Unhook penalty by 3/6/9 %.
3. The Overcharged "All-seeing" Build
Dead by Daylight gameplay by Blighted Ash
The overcharge "all-seeing" build is a build designed specifically for making generators impossible to repair with the help of the perks overcharge and call of brine, which when concentrating one of the generators, it will take much longer to repair as the regression rate would be applied twice as fast, and there will be additional difficult skill checks which can be quite impossibly challenging for new, mid-range players.
Nonetheless, apart from the generator difficulty, there is also another combination of perks which are 'shadowborn' and 'jolt', which are very useful for seeing further than usual, especially with the perk jolt where you can observe which generators have exploded within your terror radius and therefore be able to monitor them. Overall, making this one of the best builds for monitoring and one of the most difficult for counter repairing generators.
What The Overcharge "All-seeing" Build Excels In:
- Shadowborn and Joly is a good combination and very useful when wanting to see a further area of the generators exploding around you once putting a survivor into a dying state, without having to use the effort of turning around manually.
- A powerful combination between the perks 'call of brine' and 'overcharge', creates an immensely impossible turn on repairing the generator, with the combination of impossible skill checks and faster regression rate.
Build details & Perks:
- Shadowborn: Increases your Field of View by 9/12/15 °.
- Jolt: When you put a Survivor into the Dying State with your Basic Attack, all Generators within 32 metres of you instantly explode and start regressing. Applies an immediate 6/7/8 % Progression penalty.
- Overcharge: Overcharge a Generator by performing the Damage Generator on it: The next Survivor interacting with that Generator is faced with a difficult Skill Check. Failing the Skill Check results in an immediate Progression loss of 3/4/5 %. Succeeding the Skill Check grants no bonus Progression, but prevents the Generator from exploding. After Overcharge is applied to a Generator, the following effect applies: Increases the Regression speed from 75 % to 200 % over the next 30 seconds.
- Call of Brine: After damaging a Generator, the Call of Brine activates for 60 seconds. The Generator regresses at 150/175/200 % of the normal Regression speed and its Aura is revealed to you. Each time a Survivor completes a Good Skill Check on a Generator affected by Call of Brine, you receive a Loud Noise Notification.
2. The Agitated Switcher Build
Dead by Daylight gameplay by PotatoLegion
The Agitated Switcher Build is a build which is incredibly sensitive especially when supervising the generators and the survivors. For instance, after hooking the survivor, the power of the scourge hook: pain resonance will allow the generator with the most progress to explode and at the same time make the survivors scream as if they were on the exploding generator.
Nonetheless, at the same time, barbecue and chilli will be active so not only you would hear the scream but also the aura will be revealed which will be much easier to catch and stalk the survivors, and catch up to them in seconds with the speed of blight, nonetheless, making this build one of the best 'observatory' build for the blight.
What The Agitated Switcher Build Excels In:
- The power of Barbecue and chilli allows you to spot the survivors once hooking one of the survivors on the hook, and therefore use the perk of the dead man's switch to get the survivor of the generator to make the entity block.
- With agitation, you will be able to carry survivors much faster and therefore allow for allowing the process of hooking the survivor to end as fast as possible and go continue chasing.
Build details & Perks:
- Barbecue and Chilli: A deep bond with The Entity unlocks potential in one's Aura-reading ability. After hooking a Survivor, all Survivors who are at least 60/50/40 metres away from that Hook have their Aura revealed to you for 4 seconds.
- Agitation: While carrying a Survivor you benefit from the following effects: Increases your Carrying Movement speed by 6/12/18 %. Increases your Terror Radius by 12 metres.
- Scourge Hook: Pain Resonance: At the start of the Trial, 4 random Hooks are changed into Scourge Hooks: The Auras of Scourge Hooks are revealed to you in white. Each time a Survivor is hooked on a Scourge Hook, the following effects apply: The Generator with the most Progression explodes, instantly losing 9/12/15 % of its Progression and starting to regress. Survivors repairing that Generator will scream, but not reveal their location.
- Dead man's switch: After hooking a Survivor, Dead Man's Switch activates for the next 20/25/30 seconds: While activated, any Survivor that stops repairing a Generator before it is fully repaired causes The Entity to block the Generator until Dead Man's Switch's effect ends. Affected Generators are highlighted by a white Aura.
1. The Quiet Blight Momentum Build
Dead by Daylight gameplay by D3AD Plays
The Quiet Blight Momentum Build is a build that deserves to be in the number one rank spot for many reasons. One of the reasons that the build is the best build for the blight is the fact that it includes hexes which are very easy to protect with especially with blight because of its movement speed. Nevertheless, apart from the protection, the hexes also have their own protection where hex: undying will allow an extra life for hex: ruin, and once the original totem would be cleansed, it would be then transferred onto another totem, therefore, gaining more time on the survivors, and have a greater chance of sacrificing them.
Apart from the hexes, which already makes it a powerful build, it also includes barbecue and chilli and tinkerer where you will be able to see the auras of survivors outside your terror radius, and at the same once knowing the location, be able to use tinker to come to them very fast with blight whilst being undetected, which makes it incredibly difficult for the survivors to escape from, nonetheless, making this one of the best builds for the blight.
What The Quiet Blight Momentum Build Excels In:
- The combination of two hexes, hex ruin and hex undying, allows for an additional chance of ruin, in other words, if a hex was to be cleansed such as ruin, then it would be transferred into another hex, giving a ruin a second chance of life.
- With Barbecue and Chilli and Tinkerer, you will be able to see survivors, and at the same time, go towards them once the generator hits 70% with an undetectable status making it harder for the survivors to spot especially at the speed Blight is going at.
Build details & Perks:
- Hex: Ruin: Whenever a Generator is not being repaired by a Survivor, it will immediately and automatically regress its Repair progress at 50/75/100 % of the normal Regression speed. Once any Survivor is killed by any means, Hex: Ruin deactivates and reverts its Hex Totem into a Dull Totem. The Hex effects persist until its Hex Totem is cleansed.
- Barbecue and Chilli: A deep bond with The Entity unlocks potential in one's Aura-reading ability. After hooking a Survivor, all Survivors who are at least 60/50/40 metres away from that Hook have their Aura revealed to you for 4 seconds.
- Tinkerer: Whenever a Generator is repaired to 70 %, you benefit from the following effects: Triggers a Loud Noise Notification for that Generator, revealing its location. Grants the Undetectable Status Effect for the next 12/14/16 seconds. Tinkerer can only trigger once per Generator per Trial.
- Hex: Undying: The Auras of Survivors within 2/3/4 metres of any Dull Totem are revealed to you. When another Perk's Hex Totem is cleansed or blessed, its Hex is transferred to the Hex: Undying Totem, including any accumulated Tokens, disabling Hex: Undying instead.
You May Also Be Interested In:
- Dead by Daylight Survivor Guide: Top 25 Tips
- Dead by Daylight Killers Guide: Top 25 Tips
- [Top 10] DbD Best Killer Builds That Are Great!
- [Top 100] Dead By Daylight Best Names
- [Top 10] DbD Best Survivor Builds That Are OP!
- [Top 10] DbD Best Killers And Why They're Good
- [Top 15] DbD Best Killer Perks And Why They're Good
- [Top 15] DbD Best Survivor Perks And Why They're Good
- [Top 10] DbD Best Survivors And Why They're Good
- [Top 10] DbD Best Survivor Builds That Are Great
- [Top 15] Ghost Games To Play Today
- [Top 15] Horror Movies That Were Books
- [Top 15] Best Horror Movies That Were Banned
- [Top 5] Dead By Daylight Most Fun Survivors
- [Top 5] Dead By Daylight Best Jane Romero Builds
- [Top 5] Dead By Daylight Best Meg Thomas Builds
- [Top 5] Dead By Daylight Best Claudette Morel Builds
- [Top 5] Dead by Daylight Best Jake Park Builds
- [Top 5] Dead By Daylight Best Nea Karlsson Builds
- [Top 5] Dead By Daylight Best Laurie Strode Builds
- [Top 5] Dead By Daylight Best Bill Overbeck Builds
- [Top 5] Dead By Daylight Best Feng Min Builds
- [Top 5] Dead By Daylight Best David King Builds

