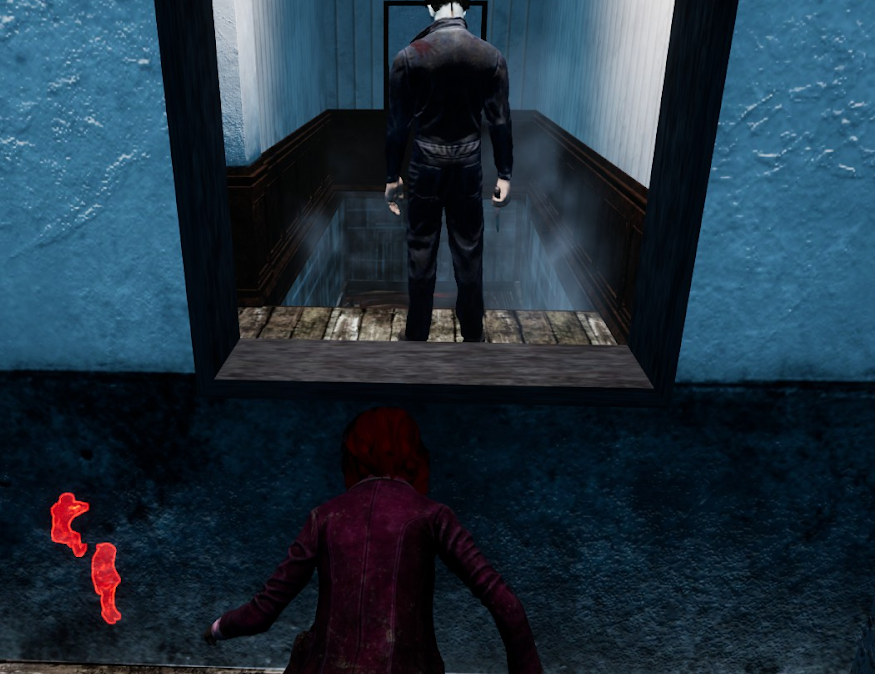
Ghostface is a fun killer to play with, and it is primarily one of my favourite killers in the game; nevertheless, in this article, we will discuss the top 5 Ghostface builds that are highly powerful and effective.
Ghostface is a popular killer and a character inspired by a famous painter, Edvard Munch, who painted what we might call "the scream", a painting that throughout the years was slowly transformed into a horror movie and what today we see in games, such as in Dead by Daylight. Ghostface is a quick-thinking killer who does not wait for the victim but kills before it blinks using his ninja-like skills with his slick small knife, stabbing the victim multiple times till they bleed to death.
Nonetheless, let's take a look at the builds that Ghostface could use to make this game a total sacrificial comedy:
5. The Isolation Build
This build is quite an exciting build to play around with. Although it might not be as powerful as the other builds mentioned in this article, it can be quite advantageous in the game. Let's take an example with corrupt intervention and jolt, the perks that will immensely boost up the role of the killer at the start of the game. Usually, with corrupt intervention, the survivors will either wait out on the outskirts of the map or slowly start repairing the unblocked generators. If that happens, this is when the perks become pretty useful as with jolt, if the killer downs a survivor, it will regress the generators around the 32-meter radius, in which this case, will affect most of the "unblocked generators" on the map.
Nonetheless, I recommend this build for more experienced killers with a known strategy and understanding of the map and the generators. This build is the most important and valuable at the beginning of the game.
What The Isolation Build Excels In:
- At the start of the game, the combination of corrupt intervention and jolt can be beneficial, especially against gen rushing survivors. This is useful as the "unblocked" generators are in a smaller area, allowing more generators to explode within the 32-metre range if the survivor is downed.
- Sloppy Butcher allows for slower progress in-game for the survivors. With the save the best for the last perk, you can hit survivors much faster with Ghostface, allowing for more considerable flexibility and faster downing of survivors, especially with sloppy butcher, where the survivors cannot heal themselves more quickly.
Build details & Perks:
- Corrupt Intervention: At the start of the Trial, the 3 Generators located farthest from you are blocked by The Entity for 80/100/120 seconds.
- Jolt: When you put a Survivor into the Dying State with your Basic Attack, all Generators within 32 metres of you instantly explode and start regressing. Applies an immediate -8 % Progression penalty.
- Save the best for last: Each time you hit a Survivor other than your Obsession with a Basic Attack, Save the Best for Last gains 1 Token, up to a maximum of 8 Tokens: Gain a stack-able 5 % Cool-down reduction on successful attacks per Token, up to a maximum of 40 %. Each time you hit your Obsession with a Basic Attack, Save the Best for Last loses 4/3/2 Tokens. When the Obsession is sacrificed or killed, you can neither gain nor lose any more Tokens.
- Sloppy butcher: Wounds inflicted by Basic Attacks cause Survivors to suffer from haemorrhages and Mangled. Status Effect: Increases the Bleeding frequency by 50/75/100 %. Increases the rate at which incomplete Healing loses progression by 15/20/25 %.
4. Ghostface Meta Regress Build
The Meta Regress Build is a build focusing on the survival and patience of the killer. Something that isn't particularly popular in terms of the game strategy; however, the perks say otherwise. First of all, the perks focus on the 'slight' immunity of pallet stuns in which the killer will have the strengths of looping a survivor in the game and speed up the process by wasting all the pallets in the game. Nevertheless, focusing on the chase, if the survivor gets downed, the perks 'pop goes the weasel' and 'scourge hook' will allow to make up the time lost in the chase and put it against the generators losing progress, making it better for the killer.
This build is perfect regarding the weaknesses of chasing or coming with the chase with toxic survivors. With wasted pallets, chasing will become much more manageable and comprehensible, making the regression perks the cherry on top for the build.
What Ghostface Meta Build Excels In:
- The combination of regression between Scourge Hook and Pop goes the Weasel, where it will allow the killer to stack up the regression, therefore making the generators regress and slow down the game's progress, allowing the killer to slowly and quickly sacrifice/kill all the survivors one-by-one.
- The pallet endurance combination is quite powerful in this build, as pallets are leaning towards the killers' strength in this situation. Not only does it reduce the pallet stun duration, but it also allows the pallet to be instantly broken by using spirit fury, making it a good build with toxic survivors who drop pallets on the killers every time for blood points.
Build details & Perks:
- Spirit fury: After breaking 4/3/2 Pallets, the next time you are stunned by a Pallet, The Entity will instantly break it.
- Enduring: Reduces Pallet Stun duration by 40/45/50 %.
- Pop goes the weasel: After hooking a Survivor, Pop Goes the Weasel activates for the next 35/40/45 seconds: The next Generator you damage instantly loses -20 % of its current Progression. Regular Generator Regression applies afterwards, and Pop Goes the Weasel deactivates.
- Scourge hook: pain resonance: At the start of the Trial, four random Hooks are changed into Scourge Hooks: The Auras of Scourge Hooks are revealed to you in white. Each time a Survivor is hooked on a Scourge Hook, the following effects apply, where the Generator with the most Progression sparks, instantly losing 9/12/15 % of its Progression and starting to regress.
3. Ghostface Stalker Build
The Ghostface Stalker build a build recommended for players who take Ghostface as its true nature of the killing. The perks in this build are pretty frantic and powerful, as these perks take stalking to the next level. It is an extraordinary situation of perks; with Fearmonger, the survivors are experiencing blindness and exhaustion effects, making it so much easier, as the killer coming to the generator may be able to grab the survivor. If this doesn't happen, he will be able to use pop goes the weasel on the generator to slow down the progress and then use the perk 'I'm all ears to locate the survivor that has possible run away from the generator, saving up time by not looking for the survivor and automatically getting an alert by their action.
I recommend this build, especially putting this in the top 3, mainly because with the perks, it is a very effective way of finding survivors and slowing down the progress with generators. Nonetheless, with Fearmonger, there will be lots of pressure put on the survivor if they don't have, for instance, spine chill, making them more aware of the surroundings and having a greater chance of making a mistake, such as missing skill checks.
What the Ghostface Stalker Build Excels In:
- Fearmonger is quite a good perk as it causes an exhaustion effect for the survivor, making any exhaustion perks useless. Nonetheless, this is useful for the killer when using pop goes the weasel, where the killer has time to kick the generator and not lose the survivor too far, just in case they had sprint burst, for instance.
- I'm all ears. It is beneficial, especially a good combination with pop goes the weasel, as it gives you hints for which generators have more progress when the survivors run away.
Build details & Perks:
- I’m all ears: Any Survivor performing a rushed action within 48 metres of your location has their Aura revealed to you for 6 seconds. This perk can only be triggered once every 60/50/40 seconds.
- Pop Goes the Weasel: After hooking a Survivor, Pop Goes the Weasel activates for the next 35/40/45 seconds: The next Generator you damage instantly loses -20 % of its current Progression. Regular Generator Regression applies afterwards, and Pop Goes the Weasel deactivates.
- Lethal Pursuer: At the start of the Trial, the Auras of all Survivors are revealed to you for 7/8/9 seconds. Extends the duration of a Survivor's Aura being shown to you by +2 seconds.
- Fearmonger: Whenever a Survivor is repairing a Generator, they have Blindness and Exhausted Status Effects.
2. Ruthless Anti-Heal Build
The Ruthless Anti-Heal Build is Ruthless. Full stop. The Perks will completely mess up the minds of the survivors making this game a complete mess of blood. With stackable dying light and sloppy butcher, the healing will be painful and merely impossible if the killer's strategy is to stalk, and if the survivors are closely stuck together, as nurses calling will make healing unpredictable and challenging for the survivors slowing down the progression of the game and making the killer easier to find the survivors due to the pools of blood and scratch marks.
I do recommend this build to many Ghostface users, as it not only slows down the progression of the game using perks such as Hex: Ruin, Sloppy Butcher and Dying light but also, personally, it is fun to play around with, especially for players/killers with not a lot of experience, which in this case it will make the killing so much easier.
What the Ruthless Anti-Healing Build Excels In:
- The combination of Sloppy Butcher and a Nurse's Calling where it will allow the killer to spot the survivors with the nurse's calling for longer, as the healing process takes much longer with sloppy butcher, making the game last much longer and allowing to give more time for the killer to find the survivors.
- Hex: Ruin makes the game progress decrease, and with sloppy butcher, the longer the survivors heal themselves, the bigger the regression in generators, therefore, an immense advantage for the killer.
Build details & Perks:
- Sloppy Butcher: Wounds inflicted by Basic Attacks cause Survivors to suffer from the Haemorrhage and Mangled. Status Effect: Increases the Bleeding frequency by 50/75/100 %. Increases the rate at which incomplete Healing loses progression by 15/20/25 %.
- A Nurse’s Calling: The Auras of Survivors, who are healing or being healed, are revealed to you when they are within a range of 20/24/28 metres.
- Hex: Ruin: Whenever a Survivor is not repairing a Generator, it will immediately and automatically regress its Repair progress at 50/75/100 % of the normal Regression speed. Once any Survivor is killed by any means, Hex: Ruin deactivates and reverts its Hex Totem into a Dull Totem.
- Dying Light: Each time you hook a Survivor other than your Obsession, you gain 1 Token: For as long as the Obsession is alive, all other Survivors suffer from a stack-able 2/2.5/3 % penalty to Repairing, Healing, and Sabotaging speeds per Token, up to a maximum of 22/27.5/33 % or 11 Tokens. The Obsession is unaffected by this penalty and instead granted a permanent 33 % Action Speed bonus to Unhooking and Healing other Survivors.
1. Quick Mindset Build
Quick mindest build, a combination of Isolation, Stalker and Ruthless healing builds, to top of with barbecue and chilli, one of the best perks in the game for killers. This build is easily in the number 1 spot on this list not just because of the top-tier perks such as Hex: Ruin and Barbecue and Chil, but because of the chemistry of the perks and how they fit with the killer. With Lethal pursuit and corrupt intervention, it will give the killer a head-start and take on the survivors spotted at the beginning of the game, and what's fun is that Hex: Ruin will enable the regression status, creating more time for the killer to hunt for the survivors, and continue hunting them one by one, especially with barbecue and chilli which will save up time by quickly revealing the survivors and continue the hunt. Therefore this is a top-tier build that works in all situations and is recommended to all players.
What the Quick Mindset Build Excels In:
- The ability to see survivors at the beginning of the game and combine corrupt intervention will let you hunt down survivors easily and faster in smaller map space.
- The combination of Hex: Ruin, Lethal Pursuer and Corrupt Intervention allow you to slow down survivors' progress and make hunting more accessible, especially with the perk barbecue and chilli, which then will enable you to spot survivors in their areas.
Build details & Perks:
- Lethal Pursuer: At the start of the Trial, the Auras of all Survivors are revealed to you for 7/8/9 seconds. Extends the duration of a Survivor's Aura being shown to you by +2 seconds.
- Hex: Ruin: Whenever a Survivor is not repairing a Generator, it will immediately and automatically regress its Repair progress at 50/75/100 % of the normal Regression speed. Once any Survivor is killed by any means, Hex: Ruin deactivates and reverts its Hex Totem into a Dull Totem.
- Barbecue and Chili: After hooking a Survivor, all Survivors who are at least 60/50/40 metres away from that Hook have their Aura revealed to you for 4 seconds.
- Corrupt Intervention: At the start of the Trial, the 3 Generators located farthest from you are blocked by The Entity for 80/100/120 seconds.
You May Also Be Interested In:
- Dead by Daylight Survivor Guide: Top 25 Tips
- Dead by Daylight Killers Guide: Top 25 Tips
- [Top 10] DbD Best Killer Builds That Are Great!
- [Top 100] Dead By Daylight Best Names
- [Top 10] DbD Best Survivor Builds That Are OP!
- [Top 10] DbD Best Killers And Why They're Good
- [Top 15] DbD Best Killer Perks And Why They're Good
- [Top 15] DbD Best Survivor Perks And Why They're Good
- [Top 10] DbD Best Survivors And Why They're Good
- [Top 10] DbD Best Survivor Builds That Are Great
- [Top 15] Ghost Games To Play Today
- [Top 15] Horror Movies That Were Books
- [Top 15] Best Horror Movies That Were Banned
- [Top 5] Dead By Daylight Most Fun Survivors
- [Top 5] Dead By Daylight Best Jane Romero Builds
- [Top 5] Dead By Daylight Best Meg Thomas Builds
- [Top 5] Dead By Daylight Best Claudette Morel Builds
- [Top 5] Dead by Daylight Best Jake Park Builds
- [Top 5] Dead By Daylight Best Nea Karlsson Builds
- [Top 5] Dead By Daylight Best Laurie Strode Builds
- [Top 5] Dead By Daylight Best Bill Overbeck Builds
- [Top 5] Dead By Daylight Best Feng Min Builds
- [Top 5] Dead By Daylight Best David King Builds

