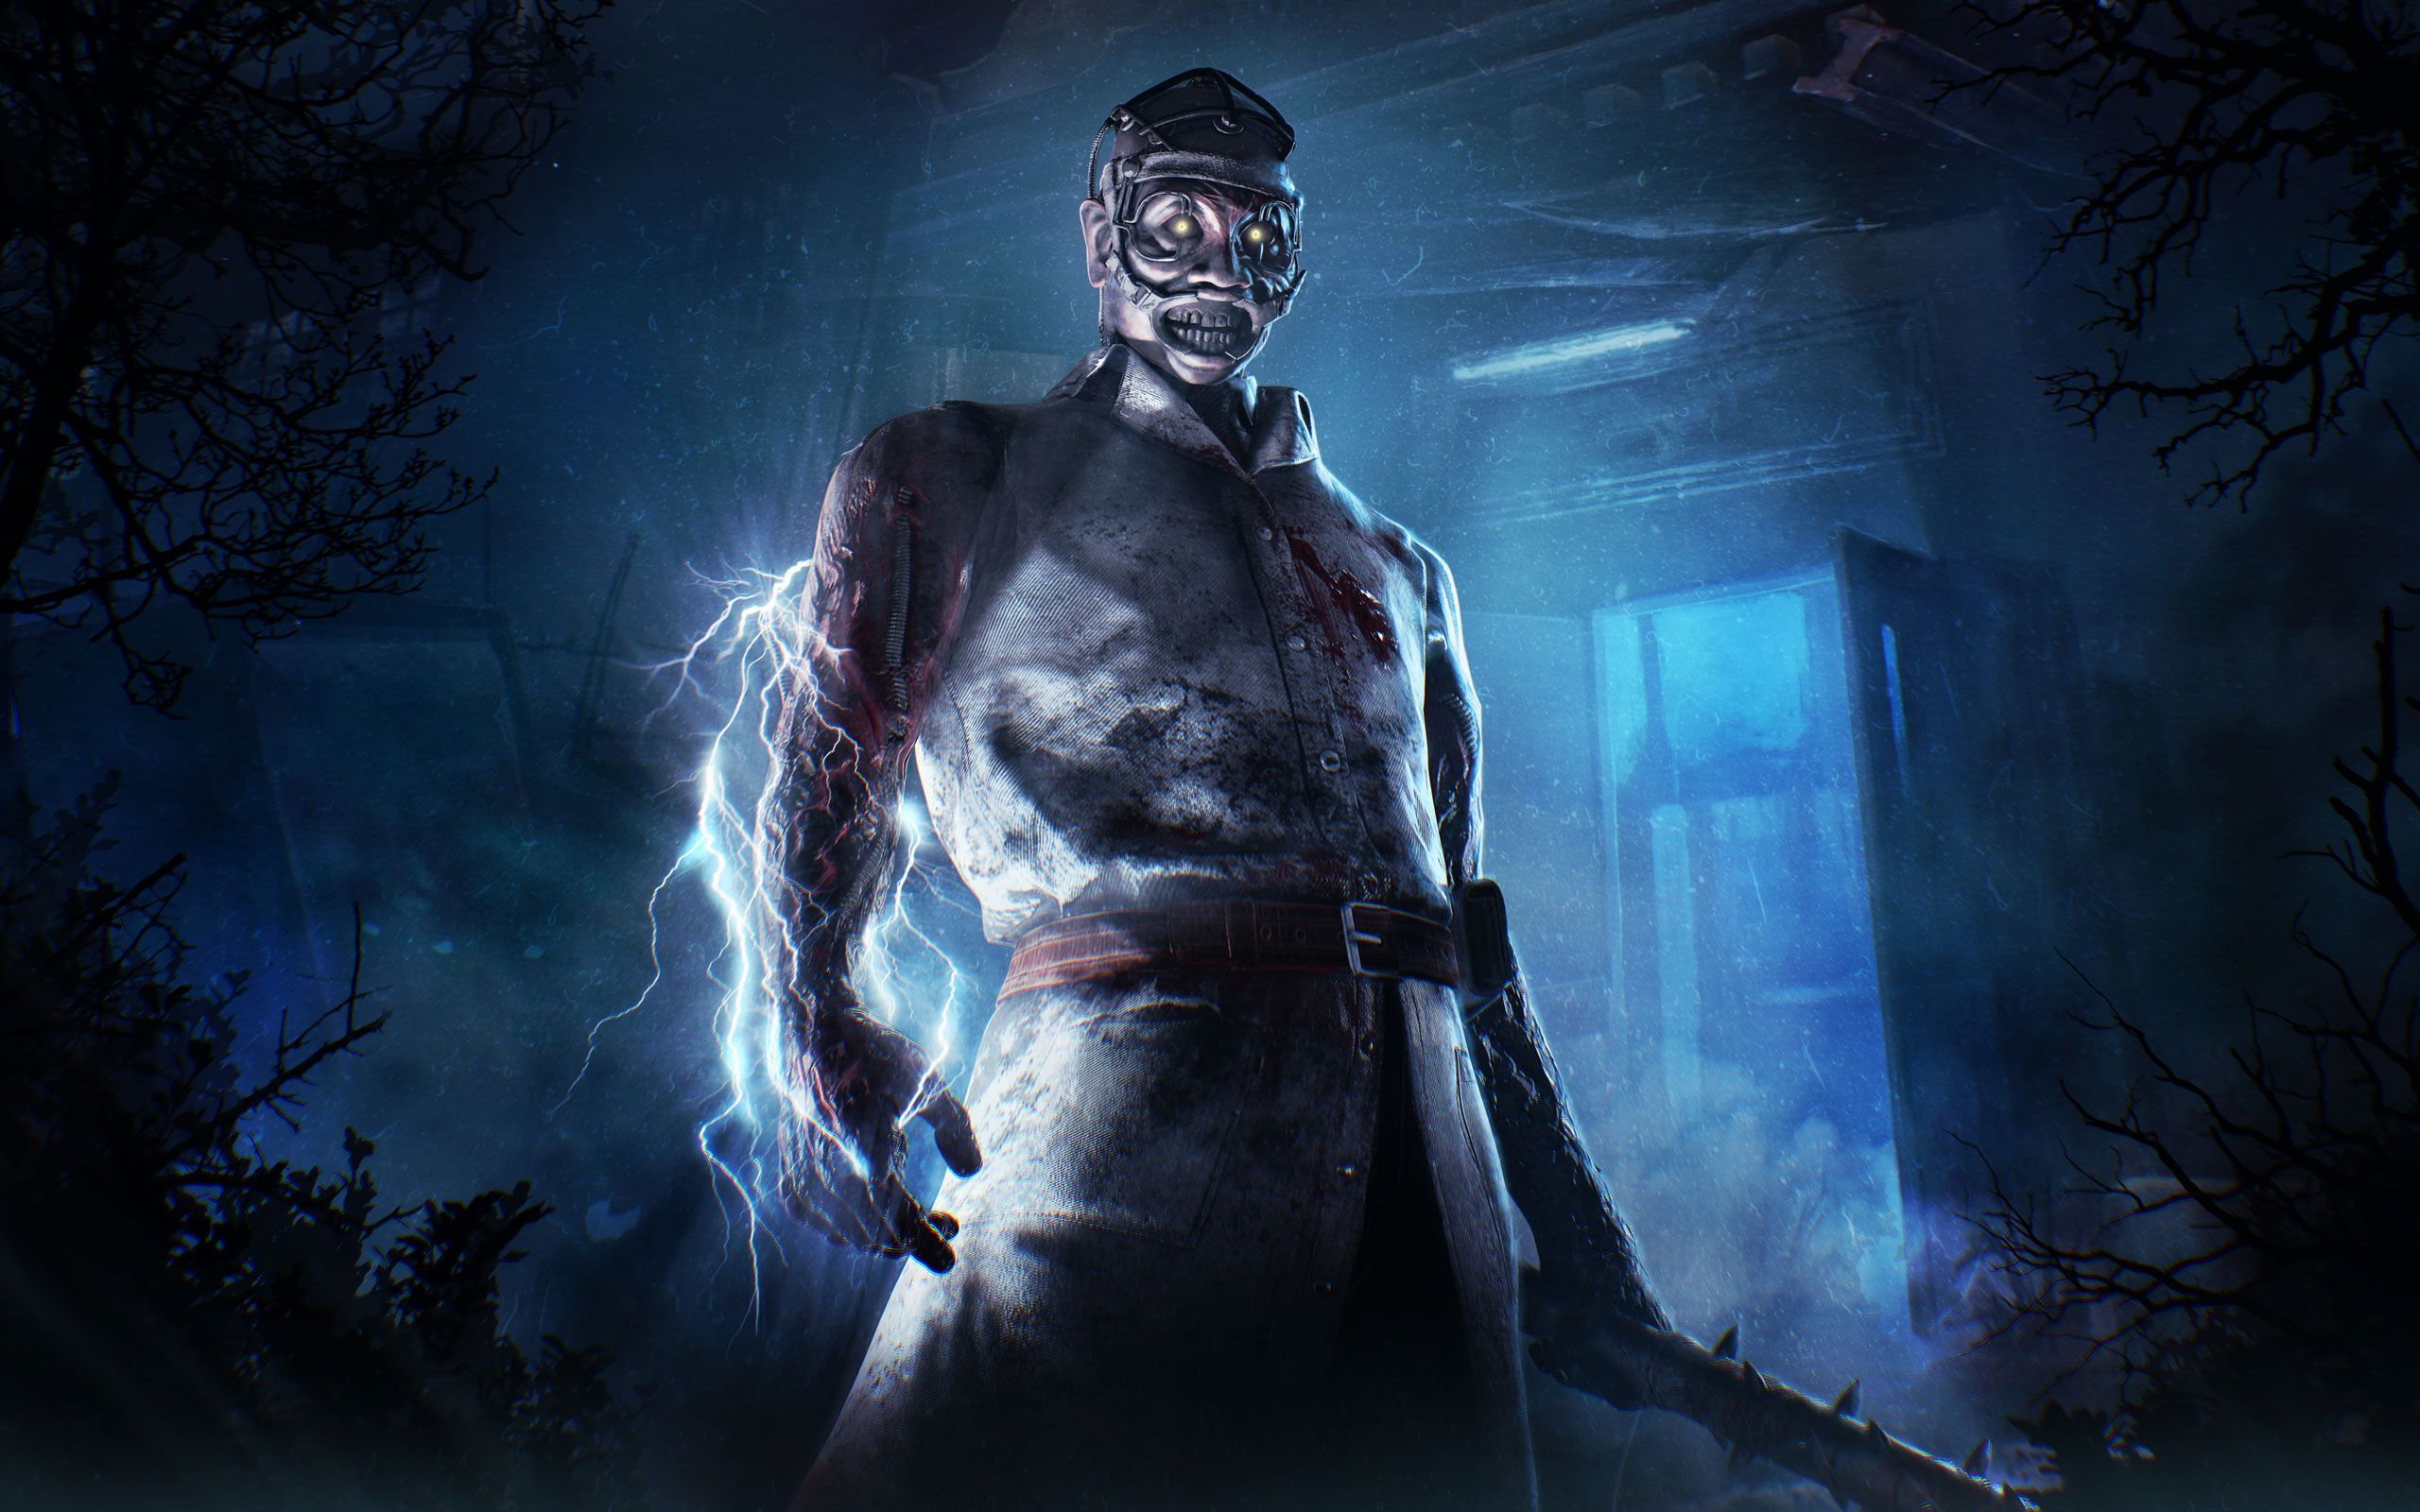
The Doctor was once the most annoying Killer to play against. This was because it was impossible to hide from him. Many Urban Evaders fell victim to the plague known as ragequit as a result.
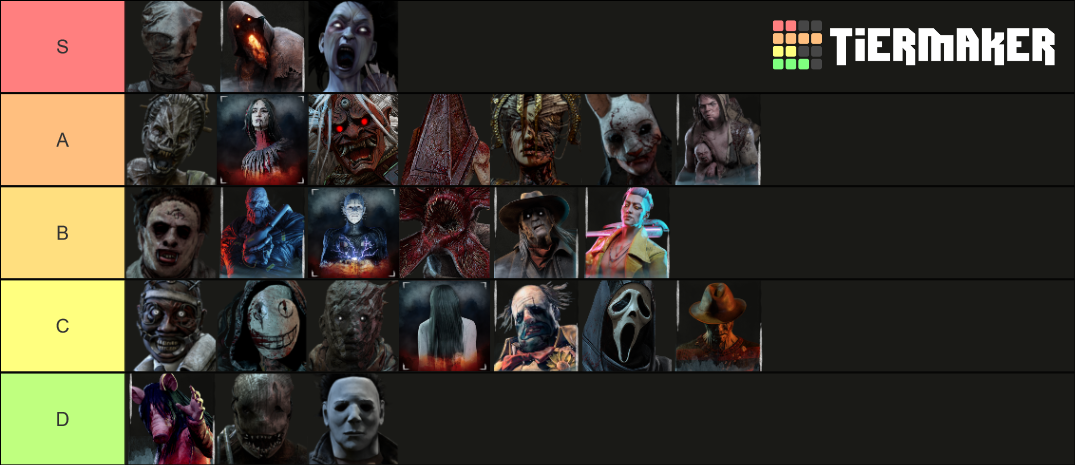
Following his rework, he became slightly less annoying. Now, his Power is stronger in chases. But he can still find Survivors easily thanks to his Static Blast. Though he is by no means the strongest Killer, he is very fun to play.
If you don’t know which Perks to equip on the sadistic surgeon, check out my top 5 Dead by Daylight builds that are excellent in multiple different scenarios. Isn’t the anticipation of finding out just electrifying?
5. The Impossible Skillchecks Build
DBD: Abusing the Impossible Skillcheck build...
You can’t make a top 5 Doctor builds without including the notorious Impossible Skillchecks build on the list. To this day, it remains one of the most universally hated builds. But why should that stop you from using it?
The Impossible Skillchecks build synergizes well with Doctor’s Power. With your Static Blast, you can hit every Survivor once. This will randomize the direction of their skillchecks. And since your Terror Radius is one of the largest ones in the game (with Add-ons), your Perks will make skillchecks even harder to hit.
Weak-willed Survivors are likely to DC against this mayhem. I’ve seen it a fair share of times. But if you don’t believe me, you can look up content creators using this build. Usually, at least one person’s nerves will cave in face of this build.
For maximum efficiency, send yourself to a small map. Lery’s Memorial Institute, the Game, Midwich Elementary School, and Dead Dawg Saloon are all great choices.
What the Impossible Skillchecks Build Excels in:
- Very entertaining: This is easily my favorite build in the game. The amount of frustration you inflict on the Survivors is incredibly satisfying.
- High DC ratio: There’s only so much abuse Survivors are willing to take, especially in Solo Queue. Eventually, they will either DC or give up.
- Unstoppable on small maps: Fighting this build on small maps is next to impossible. The Doctor has a humongous Terror Radius. Since no one can escape it, your Perks will work all game long.
Build Details:
- Merciless Storm: Whenever a generator reaches 90 % progression, all Survivors repairing it keep receiving skillchecks. If they miss one or let go of the generator, it will become blocked for 16/18/20 seconds. Merciless Storm triggers once per generator per Trial. Merciless Storm benefits from the randomization aspect of your Madness. Thus, you’re almost guaranteed to trigger it on all generators.
- Hex: Huntress Lullaby: Missing a skillcheck triggers additional 2/4/6 % regression. Each time you hook a Survivor, this Perk gains a Totem. Each token reduces the time between the warning time and the skillcheck by 14% until 4 tokens. At 5 tokens, the warning sound is disabled completely. Huntress Lullaby remains active for as long as its Hex Totem remains standing. Huntress Lullaby makes skillchecks appear out of nowhere. Even veteran Survivors will have a tough time reacting in time.
- Unnerving Presence: Unnerving Presence affects every Survivor within your Terror Radius. It increases the odds of triggering a skillcheck by 10%. Additionally, it decreases skillcheck success zones by 40/50/60 %. Unnerving Presence is the bread and butter of every skillcheck build. By lowering the success zones, they will become even harder to hit. Especially when combined with the other Perks.
- Overcharge: Kicking a generator applies Overcharge. The generator begins to regress at a 75% normal speed. The regression grows faster until 300% after 30 seconds. If a Survivor touches the affected generator, they will receive a difficult skillcheck. Failing this skillcheck makes the generator explode and lose 3/4/5 % of progress. Hitting the skillcheck prevents the explosion. Overcharge benefits from your Power. Apart from slowing the game down, it also helps you track Survivors better.
4. Don’t Touch My Gens Build
THE BEST DOCTOR BUILD | Dead by Daylight
Doctor excels at pushing Survivors off generators. The Don’t Touch My Gens, however suggestive, leans into this fact.
Your Static Blast interrupts all actions while revealing the Survivors’ location. And at Tier 3, it makes them unable to do anything. This provides the perfect setup for the build.
Each Perk makes committing to a generator even harder. Thus, you’ll place great pressure on the Survivors. While they are running around aimlessly, you can get a few easy downs.
What the Don’t Touch My Gens Build Excels in:
- Extremely Oppressive: This build complements your already oppressive Power well. With these Perks, you’ll be able to protect your generators with ease.
- Easy to use: Kick and run, rinse and repeat. That’s the basic essence of this build. Even if you’re new to the game, you should be able to use this build well.
- Consistent: The build works on most maps and across all skill levels.
Build Details:
- Eruption: Whenever you kick a generator, Eruption activates. You can see the aura of affected generators in yellow. Whenever you down a Survivor, all affected generators lose 10% of their progress and begin to regress. Any Survivors who repair an affected generator will scream and become Incapacitated for 15/20/25 seconds. This Perk has a cooldown of 30 seconds. Incapacitated Survivors can’t use items, cleanse Totems, repair generators, or interact with other Survivors. Eruption is an extremely powerful Perk, especially for the Doctor. Since you’ll want to kick generators as much as possible, you’ll get tremendous value from this Perk.
- Call of Brine: This Perk activates for 60 seconds when you damage a generator. It starts regressing at 150/175/200 % regular speed and you can see its aura. Whenever a Survivor hits a good skillcheck on the affected generator, you receive a loud noise notification. In addition to making generators regress faster, Call of Brine will tell you where the Survivors are.
- Dead Man’s Switch: Dead Man’s Switch activates whenever you hook a Survivor. For the next 20/25/30 seconds, any generator that stops being repaired becomes blocked until this Perk runs out. You can see the aura of affected generators in white. Immediately after you hook a Survivor, go near a generator unaffected by Thrilling Tremor. Then, use your Power. As Survivors let go of the generator, they won’t be able to repair it for the next 30 seconds.
- Thrilling Tremors: When you pick up a Survivor, the Entity blocks all generators that aren’t being repaired for 16 seconds. You can see the blocked generators in white. The Perk has a cooldown of 100/80/60 seconds. Thrilling Tremors is an excellent information Perk. Pay attention to generators that remain red when you pick up a Survivor. It means that someone is repairing them.
3. The Devour Build
Doctor's MOST TOXIC BUILD in Dead by Daylight
Sweet Devour Hope. The Perk that graces the top 5 builds of almost any Killer. Why should the Doctor be any different?
This Devour build will help get those sweet stacks by stalling the game a little. Though the Doctor is not the best at defending Totems, he gets by. Your Static Blast will interrupt any Survivors attempting to cleanse a Totem. And once you place them in Madness level 3, they won’t be doing anything for a short while.
Once you gain your momentum, the game will go by fast. The Devour build is as deadly as it is fun to use.
What the Devour Build Excels in:
- Straightforward: With this build, your goal is clear. Reach maximum stacks as fast as you can.
- Very satisfying: Devour builds exist solely for entertainment. And they rarely fail to deliver.
- High risk, high reward: If you manage to hit 5 stacks, you’ve basically won the game.
Build Details:
- Hex: Devour Hope: As long as its associated Hex Totem stands, Devour Hope remains active. Whenever a Survivor is rescued from a hook and you are at least 24 meters away from it, this Perk gains a Token. At 2 Tokens, you gain a 3/4/5 % Haste after hooking a Survivor. It lasts for 10 seconds. At 3 Tokens, every Survivor becomes Exposed. At 5, you can kill Survivors with your own hand regardless of their hook state. Devour Hope is the core Perk of this build. Once you gain enough stacks, you’ll begin to snowball.
- Hex: Undying: You can see the aura of every Survivor within 2/3/4 meters of a Dull Totem. When a Survivor cleanses a Hex Totem, it won’t deactivate. Instead, its effect will be transferred to the Undying Totem. The sole purpose of Undying is to protect your Devour Hope.
- Deadlock: When Survivors finish a generator, the generator with the most progress becomes blocked for 20/25/30 seconds. Deadlock is a simple slow-down Perk.
- Pop Goes the Weasel: When you hook a Survivor, Pop Goes the Weasel activates for the next 35/40/45 seconds. When you damage a generator, it will lose 20 % of its progress and begins regressing. The Perk then deactivates. Pop Goes the Weasel is an additional slow-down Perk. To gain the tokens you need, you’ll have to against the clock. This Perk makes this race just a bit easier for you.
2. The Perma-Exposed Build
FOREVER EXPOSED DOCTOR Build! - Dead by Daylight
The Perma-Exposed build is practically the Devour build on steroids. Instead of relying solely on one Perk, you’ll have an arsenal full of Exposed Perks.
You’d be surprised by how much value you can get out of these Perks. They synergize extremely well and make the Survivors Exposed at all times (hence the name). Use your Power well and they will fall down within seconds.
The Perma-Exposed build can yield some shockingly good results (I had to). Beyond that, it’s incredibly satisfying to use. If you want to torture Survivors in more than just one way, give it a try.
What the Perma-Exposed Build Excels in:
- Strong chase potential: The Exposed Status effect is one of the strongest ones in the game. With it, you can end your chases within 10 seconds.
- Fun to use: Exposed builds are always fun to use. At least when they work.
- Good to spice things up a bit: Most of the Doctor’s builds are focused on generators. In time, this playstyle can become boring. The Perma-Exposed build suits a more unique playstyle.
Build Details:
- Hex: Undying: You can see the aura of every Survivor within 2/3/4 meters of a Dull Totem. When a Survivor cleanses a Hex Totem, it won’t deactivate. Instead, its effect will be transferred to the Undying Totem. Once again, Undying just protects your Devour Hope.
- Hex: Devour Hope: As long as its associated Hex Totem stands, Devour Hope remains active. Whenever a Survivor is rescued from a hook and you are at least 24 meters away from it, this Perk gains a Token. At 2 Tokens, you gain a 3/4/5 % Haste after hooking a Survivor. It lasts for 10 seconds. At 3 Tokens, every Survivor becomes Exposed. At 5, you can kill Survivors with your own hand regardless of their hook state. Devour Hope exposes Survivors when you gain three stacks. Therefore, it is vital to every Exposed build.
- Starstruck: Starstruck activates whenever you carry a Survivor. During this time, all Survivors in your Terror Radius become Exposed. The effect persists for 30 seconds if you drop the Survivor or if they leave your Terror Radius. It has a cooldown of 60 seconds. Starstruck works extremely well with your Terror Radius. Since it is so large, you’ll always expose at least two survivors. Don’t forget to use your Static Blast to check if anyone’s near you once you trigger it.
- Hex: Haunted Ground: Causes two dull Totems to turn into trapped Hex Totems at the beginning of the match. If a survivor cleanses or blesses one of these Hex Totems, all survivors suffer from the Exposed status effect for 40/50/60 seconds. The other Totem will immediately turn into a dull Totem. Haunted Ground is a very fun Perk. In time, Survivors will try to find your Devour Hope. But instead, they’ll just trigger this trapped Totem. Haunted Ground synergizes well with Undying. Although not many people know this, you can trigger it twice per trial with Undying. If the Survivors trigger Haunted Ground, the Undying turns into a second one. And if they cleanse it, the Exposed status effect will trigger again.
1. The Ultimate Meta Build
The Most Toxic Doctor Build | DBD
Before you take on Doctor’s Ultimate Meta build, make sure you’re familiar with his Power. All these Perks depend on it. I wouldn’t recommend this build to beginners.
As an M1 Killer, the Doctor isn’t the best at chasing. Luckily, Save the Best for Last will help you in this department. And since your Madness leads to oppressive debuffs, the rest of the Perks build around making the most of it.
You’ll notice the build has no ‘typical’ slow-down. This is because of the aforementioned Madness. It will help you both track Survivors and pressure them.
What the Ultimate Meta build Excels in:
- OP at high MMR: The whole point of a ‘meta’ build is to be as competitive as possible.
- Showcases your skill: With these Perks, you’ll have to use your Power to its full potential to succeed. Thus, it can show you how good you are at playing the Doctor.
- Versatile: The build balances slow-down, information, and chasing well.
Build Details:
- Save the Best for Last: When you hit a Survivor who isn’t your Obsession, Save the Best for Last gains a stack up to a maximum of 8. Each stack reduces your successful basic attack animation by 5 %, up to a maximum of 40 %. Hitting the Obsession with a basic attack causes you to lose 4/3/2 tokens. Save the Best for Last gives you an edge in chases. Since the Doctor doesn’t have such a great chase potential, having Perks that help with this is always a good idea. Just make sure you don’t focus the Obsession to make the most of it.
- Call of Brine: This Perk activates for 60 seconds when you damage a generator. It starts regressing at 150/175/200 % regular speed and you can see its aura. Whenever a Survivor hits a good skillcheck on the affected generator, you receive a loud noise notification. Because of Madness, Survivors likely won’t hit every single great skillcheck. Therefore, Call of Brine serves as a valuable source of information. The extra regression is a nice bonus too.
- Overcharge: Kicking a generator applies Overcharge. The generator begins to regress at 75% of normal speed. The regression grows faster until 300% after 30 seconds. If Survivors touch the affected generator, they will receive a difficult skillcheck. Failing this skillcheck makes the generator explode and lose 3/4/5 % of progress. Hitting the skillcheck prevents the explosion. Overcharge complements Call of Brine. Even if they manage to hit the Overcharged skillcheck, Call of Brine will tell you where they are. But it’s more likely they won’t hit it because of Madness. In which case, you gain free regression.
- Merciless Storm: Whenever a generator reaches 90 % progression, all Survivors repairing keep receiving skillchecks. If they miss one or let go of the generator, it will become blocked for 16/18/20 seconds. Merciless Storm triggers once per generator per Trial. Merciless Storm truly shines when combined with the Doctor’s madness. The relentless onslaught of skillcheck can be overwhelming, especially since they keep changing directions. Thus, you’ll gain more time to reach the generator about to pop.

