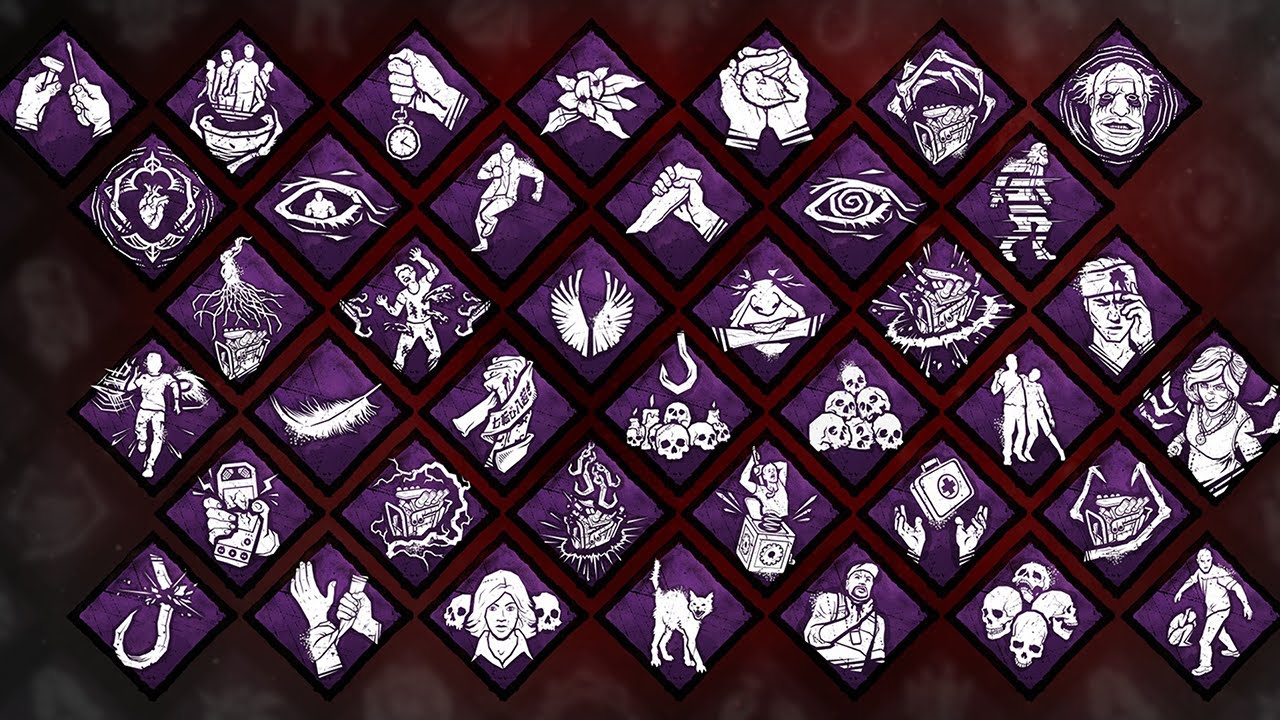
What perks to turn you into the ultimate killer?
Even though I consider myself to be a Survivor Main, I do get the occasional urge to slaughter a bunch of my fellow comrades until their toxic shenanigans become too much for my fragile Killer nerves and turn me back to my pallet-looping and gen-rushing ways.
ut playing Killer does unlock the murderous tryhard in all of us, and at one time or another we have all started at our loadout and scratched our heads while trying to come up with a build that isn’t just Hex:Ruin, BBQ & Chili, NOED etc., so let this list give you an idea of where to start. Or just copy it if you’re feeling a bit lax in the creative department.
13. The Trapper
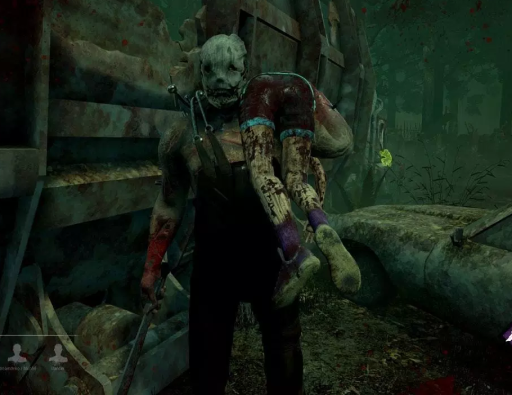
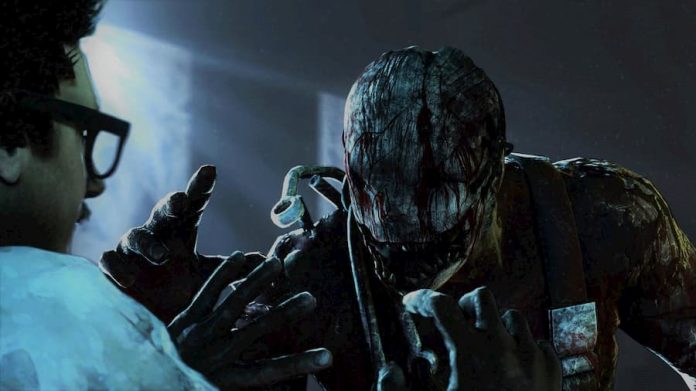
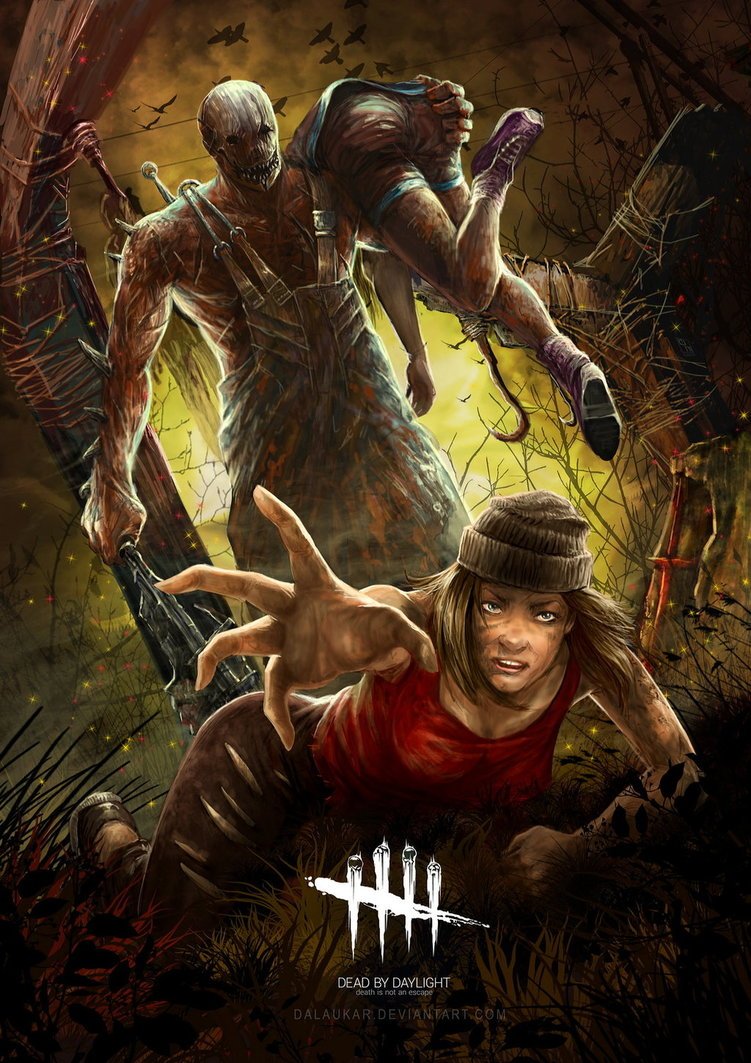
The first Killer released with the game, the Trapper’s still got it after nearly 2 and a half years since the game was made public. Playing as him offers the simplicity of setting bear traps around the map as a secondary action while also operating as the standard Killer, swinging your meat cleaver around until you knock those pesky little Survivors to the ground and nod at their bodies. There’s several different perk builds you can use with the Trapper that can take advantage of a couple of different playstyles depending on your own personal strength and weaknesses, but this (and other) loadout is one that I personally find appealing for a more “unstoppable Trapper” build.
Enduring/Brutal Strength-I find these two interchangeable, with Enduring allowing you to recover from stuns (namely pallet stuns) up to 75% faster, and Brutal Strength allowing you to destroy said painful pallets and generators 20% faster. Without a power to simply cut through pallets or avoid them as barriers, it would do this Killer well to have something to help in that regard. It also helps to force Survivors to run from pallet to pallet… and hopefully into one of your traps!
Spirit Fury- This perk allows for a pallet that falls a bit too close to comfort to instantly break after yourself breaking a number of them, and pairs well with Enduring/Brutal Strength. It furthers the “unstoppable Trapper” personna and will make you relish the speed at which Survivors drops those wooden slabs right into your waiting boots.
Deerstalker- Allowing you to see the auras of Survivors lying on the ground when within a certain distance, Deerstalker can help you keep track of the little worms on the ground while chasing down the person who failed to rescue their teammate, or a flashlight-wielding savior.
No One Escapes Death- A Hex that will trigger once all the Generators are powered if a Dull Totem remains to apply the new active Perk to, NOED is a perk for Killers who need a little extra at the end to help secure a kill or two that knocks Survivors down in one hit. While sure to give you a little grief in post-game chat, there’s few things more satisfying than going from almost empty handed to a feat fit for the Entity.
12. The Wraith
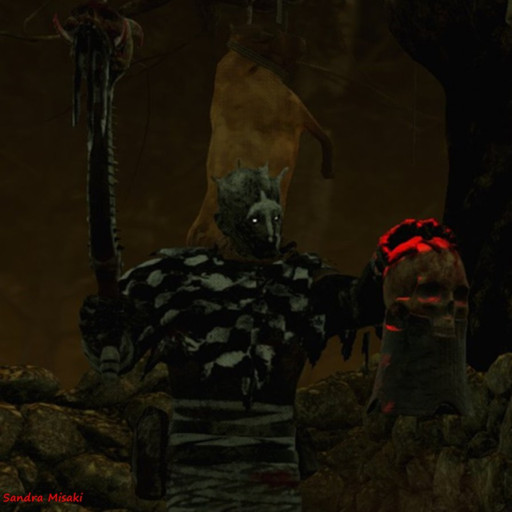
Back in the first weeks and months that DBD was released, the Wraith was considered a top tier Killer, a Killer that once often wiped the playing field due to his ability to disappear and reappear by ringing his Wailing Bell at the players will. But the Wraith was a Killer that was easily countered once you figured out how his powers worked, and quickly slid down the ranks as a low tier Killer as Survivors gained more experience. But, the DBD Devs have done a good job in adding back some of the fear and killing prowess that has been long since missing with recent updates, and given new life to perk builds for the Wraith that isn’t just the meta Killer perks (although he does still rely on them to perform well). The list below is a build that uses both the meta and a new twist on the Wraith’s possible playstyle.
Hex: Ruin- The staple of all Killer mains loadouts, Ruin is the best perk to slow down the game and give the Killers precious time to hunt down Survivors, regressing progression on a generator if you do not hit a perfect skillcheck and punishing Survivors even further if they miss the different colored skillcheck altogether. The Wraith, lacking in the map pressure department, benefits greatly with Ruin as it gives the player a little bit more time to murder their prey… if the totem isn’t destroyed in the first 5 seconds, that is.
A Nurses’ Calling- A good and worthwhile perk on most Killers, equipping this allows you to see the auras of Survivors healing themselves or being healed within 28 meters of you. For the Wraith, when you aren’t in a chase you will more than likely be cloaked, reducing your terror radius to zero and allowing you to sneak up on unsuspecting prey. This perk would give you the benefit of locating Survivors who manage to slip your grasp and attempt to heal themselves too close to you, and sneaking up on healing Survivors almost guarantees a free hit if they aren’t at a pallet.
Play With Your Food- A perk that sadly doesn’t get much use, PWYF actually has a unique use to the Wraith if used correctly that can prove quite rewarding. PWYF allows the Killer to gain a token when you break a chase with your Obsession with striking them, collecting up to 3 tokens, each giving you a 5% boost to movement speed until you expend token with offensive actions. The thing about this perk and the Wraith is that with his cloaking ability, if you can quickly locate your obsession you can quickly uncloak and recloak behind them, and rack up your tokens before turning your predator focus elsewhere. This works especially well if you use a mori and finish off your Obsession with an extra hit if they are being a bit too toxic for your taste.
No One Escapes Death- As explained earlier, NOED is mainly for Killers who don’t do so well with map pressure and need something at the end to help clear out those Survivors t-bagging at the Exit Gate, and the Wraith is one of those Killers who gains momentum as the game goes on. NOED helps particularly for the Wraith, allowing for him to sneak up on Survivors trying to open one of the Exit Gates and send them sprawling to the ground in one hit.
11. The Hillbilly

Embodying one of the more basic Killer tropes, the Hillbilly is a chainsaw-wielding murder who revs up his chainsaw and takes off across the map at a high rate of speed until he either hits something or an unlucky Survivor, or by letting go of your secondary action button. Despite its simple concept and design, the chainsaw itself is a wild thing to control, and it takes a practiced hand to learn the strengths and weaknesses of your power. But once you do, you learn why an expert Billy is considered a high-tier Killer. This perk list is geared more towards doing what Billy does best: revving up his chainsaw and taking off towards his next victims in the most efficient way possible.
Barbeque and Chili- Arguably the most used perk for Killers, BBQ allows you to see the auras of other Survivors after placing another on a hook if they are not too close to the main attraction. For the Hillbilly, this perk works exceedingly well in consideration with the fact that he can rev up his chainsaw and take off to where the faraway Survivor is, and start the hunting process all over again. This can help cut down the time it takes to locate Survivors drastically and forces them away from generators and saving their teammates.
Discordance- A relatively new perk that’s slowly coming into favor, Discordance alerts you to when two or more Survivors are working on a generator, illuminating the usually red-orange aura of the machine into a bright yellow. To the Hillbilly, this perk is a great locator tool, particularly for the start of the match to zoom right over to Survivors who start in a group and attempt to gen-rush you into oblivion.
Tinkerer- Reducing your Terror Radius to 0 when any generator is nearly completed for a short time, this perk doesn’t seem like it fits the usually loud chainsaw Killer, but it has quickly become a personal favorite of mine. When paired with the two perks above, Tinkerer can help give you the added edge after locating Survivors to give them no notification to your arrival until your chainsaw is already buried into their backs.
Blood Warden- An endgame perk, Blood Warden is a perk of surprise that nearly catches Survivors off guard, blocking the Exit Barrier and preventing Survivors from leaving for 60 seconds if you hook a Survivor after any Exit Gate has been open. It also shows you the auras of any Survivors within the Exit Gate area, and when paired with BBQ, the Hillbilly can do his duty and speed over to the Survivors who were just moments ago bouncing cockily at the barrier and watch the hope drain from their eyes as their exit is quite literally cut off.
10.The Nurse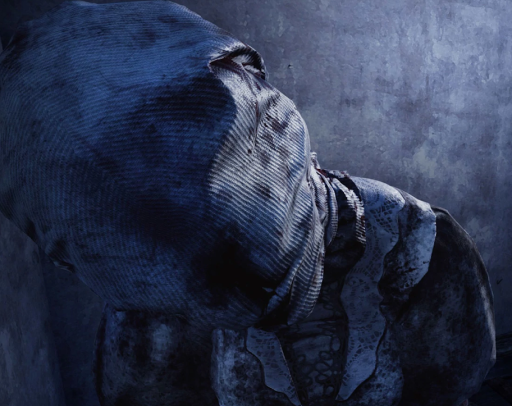
Her ability to Blink (teleport) across the map is simultaneously one of the best and broken aspects of DBD, notorious for being buggy and a bit off aim, have no doubts that a skilled Nurse more often than not walks away with a 4 kill. While she can be devastating, she takes a long time to master and longer still to reach God-like status with, and not everyone has the patience to learn to her skillcurve. I am horrible with Nurse myself, but I have played against many and there is a profound difference between a lower skilled Nurse and a higher skilled Nurse almost right off the bat. This perk list is one I have seen several times myself and it usually proves to be successful in taking down even the most toxic of Survivors.
Make Your Choice-Invented to dissuade the all-toxic issue of camping, this perk gives you the ability to down the Survivor who directly rescued a hooked Survivor if you are a certain distance away from the rescue. Make Your Choice is all about getting away from the hook as fast as possible before they swam the hook, something the Nurse is extremely good at, covering the distance with her Blinks in no time. This perk is good for hanging a Survivor, Blinking away, doing some damage control and then Blinking back to swap Survivor blood on the hook.
Tinkerer- Having zero terror radius while Blinking behind Survivors who are clinging to the generator to get that final percent of progression, Tinkerer goes well with the Nurse who has accuracy down pat and especially well in a more wall-decorated map. After getting a notification of the generator nearly completed, the Nurse can quickly turn and Blink- and maybe even secure a grab.
Franklin’s Demise- If you see a full squad of Claudette’s with flashlights light up your lobby, it would be in your best interest to equip this item-knocking perk to knock those flashlights right to the ground. While this perk is more or less situational, often times when you see the warning signs of Survive with Friends you’ll pop this perk on and go to town- usually with the Nurse. It’s never a bad idea to have this perk, especially considering how quickly the Nurse can Blink and hit Survivors.
Hex:Devour Hope- More often times than not, this perk is taken out before its full potential is released. But if it comes to fruition, Devour Hope builds up to 5 tokens much in the same way MYC works: if you are far enough away from a hook when a Survivor, you gain a token that slowly builds up as the saves keep coming. At 3 tokens, everybody becomes a one-hit down, and at 5 tokens everyone is able to be killed by your own hand. If you got the mechanics of MYC down, Devour Hope can help to decimate your prey and bring a quick end to a salty game.
9. Michael Myers/The Shape
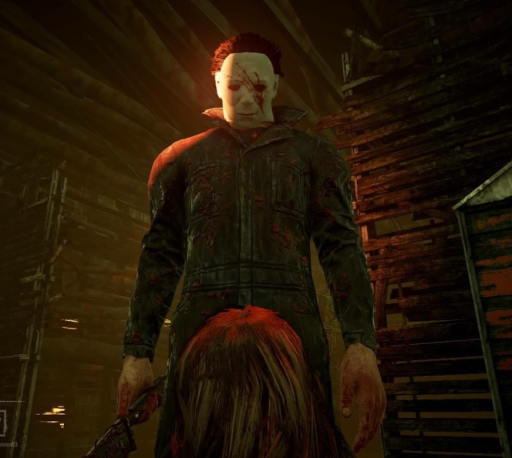
A killing machine in Dead By Daylight as well as within the Halloween franchise, Michael Myers, known as The Shape in-game, is a Killer based on stalking, or keeping Survivors within your line of sight, holding down your secondary action button and gaining power the longer you stalk. Stalking builds up your Evil Within, the name of your power, over time. Starting at the weakest level of Evil Within I, you can build up your power until you unlock Evil Within III, which grants you a small time frame of being one-hit down and extremely fast vaulting speed paired with an extremely large Terror Radius. Until that level is achieved, The Shape is a stealthy Killer, having a very low Terror Radius that enables him to sneak up on Survivors and interrupt their actions. This perk build is more centered around the stealth part of The Shape’s power.
Monitor & Abuse- By reducing your Terror Radius while not in a chase and expanding it when you are, the Perk is good two-fold: by making your already small Terror Radius smaller, EW I & II paired with M&A reduces it to nearly zero and makes Myers’ stealth game that much more difficult to predict and outmaneuver in the Survivor’s standpoint.
Save The Best For Last- One of The Shape’s personal perks, STBFL has gone through several reworks through its existence, but the perk is currently a stackable perk: every time you hit a Survivor that is not your Obsession, you gain a token (up to 8) that increases your attack cooldown by 5%, for a total of up to 40% attack cooldown at its height. It helps to give the Shape the “unstoppable” feel he has in his movies, recovering faster from his attacks and coming for Survivors with ever increasing speed. The only downside for this perk is the loss of 2 tokens every time you strike your Obsession and the nullification of the entire perk once your Obsession is dead, so play wisely when using this perk!
A Nurses’ Calling- A perk that has aura reading is well-suited for the Shape, especially one that can see the aura’s of Survivors healing within a certain range. You can easily sneak up on a Survivor who’s too busy healing to look around their surroundings to keep an eye out for you, coupled with your reduced Terror Radius to really get the drop on them.
Overcharge- A perk that presents a challenge to the next Survivor who goes to work on a generator that you have damaged in the form of a miniscule skillcheck, Overcharge is a good perk to have on any Killer, but The Shape has an interesting twist on it. Since most of the time you will be sneaking up on Survivors, you will often get very close to them when they are distracted by generators. And while you’re there, you can simply give the generator a kick and most Killers usually do and make things a little bit harder in the gen rushing world.
8.The Hag

If not the smallest Killer in the game, The Hag is a lot like the Trapper, in the trap-setting sense. Her secondary power consisting of setting 10 Phantasm Traps at will, she can teleport to a trap when it is activated via a careless Survivor stepping on or near it which causes it to trigger, sending a false Hag springing out of the triangle-shaped trap and startling even some of the most expert Survivors out there. Although this can be easily countered by the perk Urban Evasion or using a flashlight to destroy it, Survivors will not always have these to assist them. This perk is for the more advanced Hag mains, taking one parts stealth and three parts Hex totems.
Monitor & Abuse- If you thought this perk was nasty on The Shape, it’s downright disgusting on the Hag. While her Terror Radius may not be as small as Myers’, she makes up for it with her smaller height, turning that disadvantage into an advantage: the Survivors won’t hear and see you coming.
Hex:Ruin- The commodity of all Killers, Ruin is especially good for Hag given her ability to instantly teleport to the totem and for her to get a quick grab if the Survivor is bold enough to stay onto the totem after tripping the trap.
Hex: Haunted Ground: A totem perk, but with a twist: this perk actually lights up two totems, and when any one of them is broken, all the Survivors become a one-hit down for a short period. It also nullifies the other totem associated with this perk. This perk can be exchanged with Thrill of the Hunt (gives you a notification if a lit totem is being worked on), but Haunted Ground has that element of surprise when used in combination with other hex perks, due to Survivors trying to destroy them all as soon as possible, and aids when the Hag teleports to one of her traps to smack her prey.
Hex: The Third Seal: This perk, which blinds any Survivor that you hit from reading all auras while its corresponding totem is still active, is a underused perk in the game that needs more love in my opinion. If you’re going for a full-on Hex Build, this perk definitely starts to benefit you as you keep interfering with those pesky Survivors who just love to touch their totems. Unless they have aura reading perks such as Bond or Empathy, they’ll be blinder than bats, and the Hag can easily tear apart a team who can’t see their allies who need rescuing.
7. The Doctor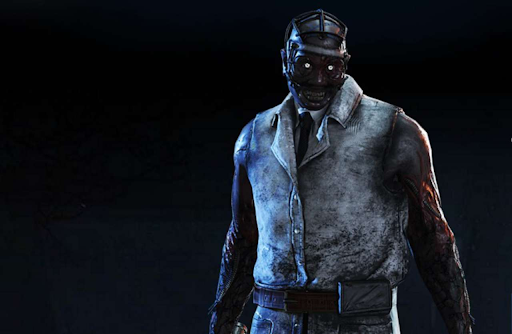
One of the most toxic Killers in Dead By Daylight, don’t be surprised if you get a couple of “special” Survivors who hop into lockers and disconnect as soon as they discover they’re playing against the Doctor. As the Doctor, you can switch between “Treatment” and “Punishment” mode. Treatment mode is the secondary mode, where you can electric shock Survivor’s to your sadistic heart’s content, and Punishment mode is your main mode, where you can punish Survivor’s with your spiky dildo of a weapon. This build is an “everywhere” Doctor build that will make your Heartbeat range huge and and skillchecks impossible, plus it’ll make Survivors rage and want to D/C as soon as they figure out your using it.
Distressing: Increasing the range of your Terror Radius as well as giving you bonus bloodpoints in the Deviousness category, Distressing is a good perk if you want to be “that” Doctor, making the field of your electric charge much larger than standard. Driving Survivors insane from a great distance greatly hampers their actions and slows the game down quite a bit.
Unnerving Presence:Paired with the above, Unnerving Presence adds the additional challenge of making skillchecks smaller and more difficult to hit. While this may not trip up higher ranked players who can hit great skillcheks blindfolded, it makes the ever so toxic Decisive Strike skillcheck incredibly tiny to hit, as well as Snapping Out Of It skillchecks, further driving Survivors insane.
Hex: Huntress Lullaby: A Hex perk making the auditory warning before each skillcheck shorter and shorter every time you hook someone for up to 5 tokens until it disappears completely. Not only is the Doctor a good defender of Hex totems, it furthers the difficulty of skillchecks for this build as Survivors are inevitably hooked and makes them miss skillchecks like nobody’s business.
Coulrophobia: Really just to top it all off, this perk slows down the speed of healing Survivors within your Terror Radius tremendously. Small and quiet skillchecks and a heartbeat that seems to just come from everywhere, this makes it nearly impossible for Survivors to heal themselves within your presence, allowing you to either force them far, far away or to keep running.
6. The Pig
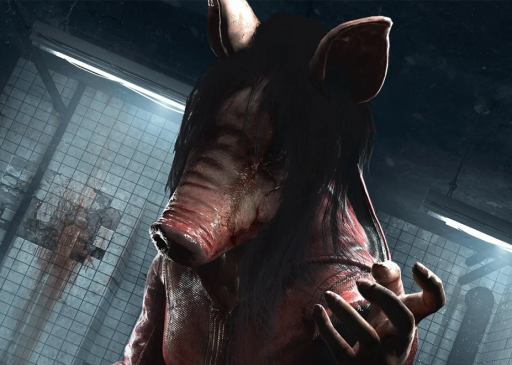
The Pig, or Amanda Young from the Saw films, was the Killer released from the Saw DLC. The Pig has two modes: crouching and standing, which is as simple as it sounds. Crouching is literally just crouching and moving around at a reduced movement speed, while standing is normal posture and movement speed. Her secondary power is her Reverse Bear Traps, which pay homage to the Saw films in their design, that slowly tick down when placed onto a Survivor's head which will burst and kill them instantly unless it is removed. This perk build is more of an End Game build, as the Pig’s secondary power really starts to work as gens are completed.
Blood Warden: Another perk I find sorely underused, Blood Warden blocks off all open Exit Gates if you hook a Survivor after they have been open. It’s especially good for the Pig because she can crouch up to the Exit Gate for an extra surprise, down any unsuspecting Survivor standing in there, and maybe even prolong the game even further by placing a RBT on them.
Remember Me: A wonderful End Game perk, Remember Me is a perk that grants you up to 5 tokens per match every time you hit your Obsession that count toward lengthening the Exit Gate opening process, giving you up to an extra 30 seconds (Note that your Obsession is not affected by this, so make sure to kill them beforehand). Since the Pig is generally at her best during the End Game and is one of the best Killers suited for it, any perk that can help her stall is a good perk.
Hex:Ruin: A Killer’s best friend, Ruin is serves almost two purposes with the Pig: both to delay the inevitable gen rush and to help her hand out RBT like party hats (if it’s not destroyed instantly, that is). As stated before, any perk that helps stall is a good perk.
Sloppy Butcher: Now making a comeback, Sloppy Butcher makes pools of blood left behind by injured Survivors easier to track and afflicts them with the Mangled effect, which slows down their healing speed significantly. Once again, this perk stalls the game, and any stalling helps to benefit the Pig. And just in general, this perk is a good one to have equipped.
5. The Huntress

The first ranged Killer introduced to the game, The Huntress is properly named, carrying hatchets at her waist that she can wind up and throw at Survivors at will. With no addons, she carries a standard number of 5 hatchets, which can fluctuate with addons, and has a slight cooldown after using a hatchet. This perk build helps The Huntress where she lacks, and emphasises her strengths.
Iron Maiden- Not a widely used perk among other Killers, Iron Maiden has a very quique advantage for the Huntress. This perks makes opening lockers 50% faster, and any Survivors exiting one become a one-shot down for a short while and reveals their Aura to the Killer. Since the Huntress will be constantly reloading at lockers to get more hatchets, this perk is almost a must-have to equip for her.
Discordance-Letting the Killer know when two people are working on the same generator can set up for some nice, map-wide yeeting that just might make their mark, or at the very least make Survivors scatter away once they know that you know what they’re up to.
Enduring/Brutal Strength-Due to her slower base movement speed, the Huntress, unfortunately, will be at a disadvantage when it comes to pallet looping. Her hatchets will help in some loops, but others it will not. Enduring/Brutal Strength will help in this regard, keeping her from getting too abused with wooden slabs.
Mad Grit- I see a lot of slower Killers getting bodyblocked as they try to take a Survivor to a hook, and this perk is the perfect counter to it. If you’re carrying someone with this perk, you suffer no cooldown from a missed swing while carrying someone, and if you if you do hit them, it stops their wiggle meter for 4 seconds. This isn’t a huge game changer for the Huntress, but slower Killers do tend to get bullied more in this area, so it’s a good perk for a rainy day.
4. The Cannibal-
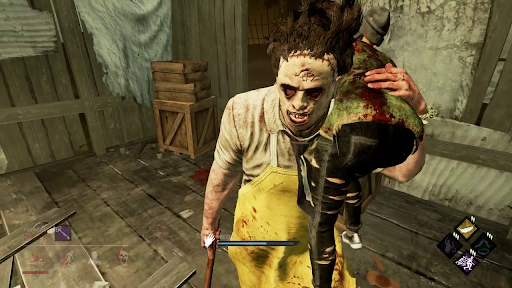
Leatherface from the Texas Chainsaw Massacre films, he came as a standalone Killer but he was called a copy of the Hillbilly until he proved his worth. His secondary power consists of an AOE chainsaw, swinging back and for a short while before it stops, able to hit multiple targets. While there isn’t a particular build for Bubba per se, there are several good perks that work well in combination with each other.
BBQ: A standard for most Killers, at least with this Killer you can say it’s his personal perk. After hooking someone, Leatherface excels at taking down a group of Survivors, so if BBQ reveals a cluster of prey, it’s your time to shine.
NOED: As a lesser tier Killer, Leatherface could always benefit from NOED. Since his power was not designed to slow the game down, the unstoppable gen rush train will come and hit you full force as you climb the ranks, and NOED always comes in handy in those situations.
Franklin’s Demise: Knocking the items out of toxic Survivors hands is always a stress reliever, and since you always can’t chainsaw a Survivor, Franklin’s Demise is a well-suited perk for Killers who need to do some leveling of the playing field.
Bamboozle: Though not for every Killer, Bamboozle does have a unique use for Leatherface. After vaulting a window yourself, it is blocked off to Survivors for a number of seconds (only one vault is blocked at a time). With Leatherface, you can block of a window and end what would’ve been a long and arduous loop and whip out your AOE while they scramble for a new loop.
3. The Clown-
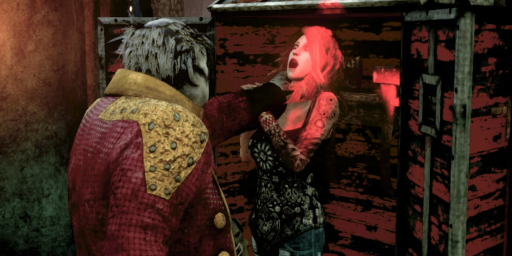
The second semi-range Killer in the game, the Clown uses bottles called Afterpiece Tonic to lob at Survivors, creating a cloud of gas that slows their movement speed severely and forces them to scream and cough. He is given 5 bottles as standard issue, which can vary with addons, and reloading via mixing up a new brew in his hand. This loadout isn’t anything particularly special, since his power, when used right, is powerful enough itself, but is more of a standard build for any Killer.
BBQ: Once again, this perk makes onto another build, and still works anyway you look at it. For the Clown, once the Auras are revealed to you, you can waddle your way over there, throw your bottles and hopefully strike your prey.
Hex:Ruin: Getting repetitive, isn’t it? The Clown really does need this perk, since even though he may have map pressure down if the player is an expert bottle thrower, he can’t throw as far as the Huntress. It’s also slightly easier to defend your totem as you can throw a bottle in the general vicinity and if the gas hits them, it will stop the destruction completely.
Bamboozle: Blocking off a window after you vault it is always nice, but with the Clown? If there’s another window or pallet nearby and you see the Survivor go for it, you can throw a bottle at it and slow them down greatly, and help to shorten the chase.
A Nurses’ Calling: Once again utilizing his bottles, if you catch sight of the aura of a Survivor cheekily healing behind a rock or wall, you can throw your bottles at them and force them to cancel their healing. It would be a good idea to chase them afterwards, too, because they’ll try to run preemptively if they think you’re heading their way.
2.The Spirit:
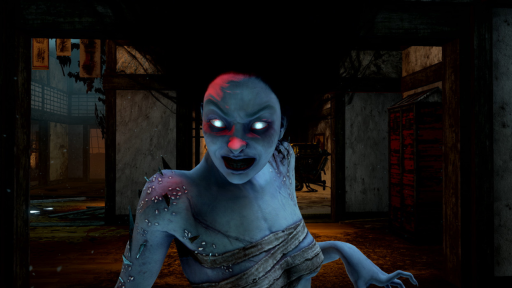
A Killer that introduces a whole new mechanic to the game, the Spirit is very much a mind game Killer. Her secondary power, the Phase Walk part of Yamaoka’s Haunting, is all about outplaying the Survivors, predicting where they will go and cutting them off, as while in the Phase Walk mode you cannot see Survivors nor their bloodstains, but you can see their scratch marks. You leave behind a husk when you do, but your real body is traveling at a blazing speed across the map until the Walk ends. This build is all about locating and getting the drop on unsuspecting prey.
BBQ: This overused perk works well with the Spirit, letting her see where Survivors are and allowing her to Phase Walk over to their exact location, and perhaps even grab them during an action.
Discordance: Once the Spirit gets a notification that two people are working on one generator, she can line herself up for the grab. If you’re able to Phase Walk over there close enough and quick enough, you have a very high chance of grabbing off a Survivor off the generator.
Stridor: Without the ability to see actually Survivors or scratch marks, Stridor aids the Spirit well in locating Survivors in her Phase Walk, increasing their breathing sounds and moans of pain drastically. It makes up for her lack of vision with a heightened sense of hearing, which helps her pinpoint exactly where to swing.
Monitor & Abuse:To further add to her built-in element of surprise fact, M&A helps to give her just a little bit extra. Reducing her Terror Radius just by 8 meters when she’s not in a chase may not seem like a lot, but it does when her Terror Radius is already smaller than usual.
1. The Legion-
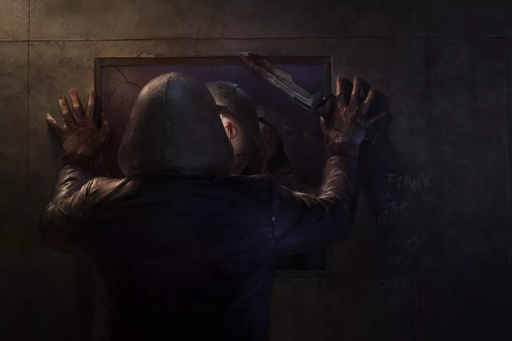
A group of Killers, The Legion consist of 4 Killers all sharing the same Killer “slot”, so to speak. The main Legion Killer is Frank, and the other one by default is Julie, leaving the last remaining two, Joey and Susie, available to be bought in the store with currency. The Legion’s secondary power is called Feral Frenzy, allowing you to run at incredible speed and enabling you to stab your prey and send them into a Deep Wound status, for which if they do not Mend themselves of, they will fall to the ground. This build’s purpose is to help flesh out the Legion to make them a more fun Killer to play, since most people complain that most people play Legion “annoyingly”.
BBQ: All Killers can use some good BBQ, and Legion can use this to their advantage to Frenzy over to a revealed Survivor caught in the crosshairs. Need I say more?
Distressing: An odd choice for this Killer, Distressing helps in two ways. The first way is to confuse Survivors about how far away you actually are, and it increases the Aura reading of the Legion, showing then Survivors who are further away when you stab a non- Deeply Wounded Survivor in the form of a red web.
Monitor & Abuse: Paired with Distressing, M&A sinks your Terror Radius while your not in a chance, helping to negate Distressing when you don’t particularly need it, while also making the benefits stated in the previous paragraph even more by expanding your Aura reading range further when in a chase.
Hex:Ruin: And, as always and to finish up this case study, Ruin is good for any Killer who needs to slow down the game as long as it’s not taken out in the first 30 seconds. Case. Closed.
Related Articles
You may also be interested in:

