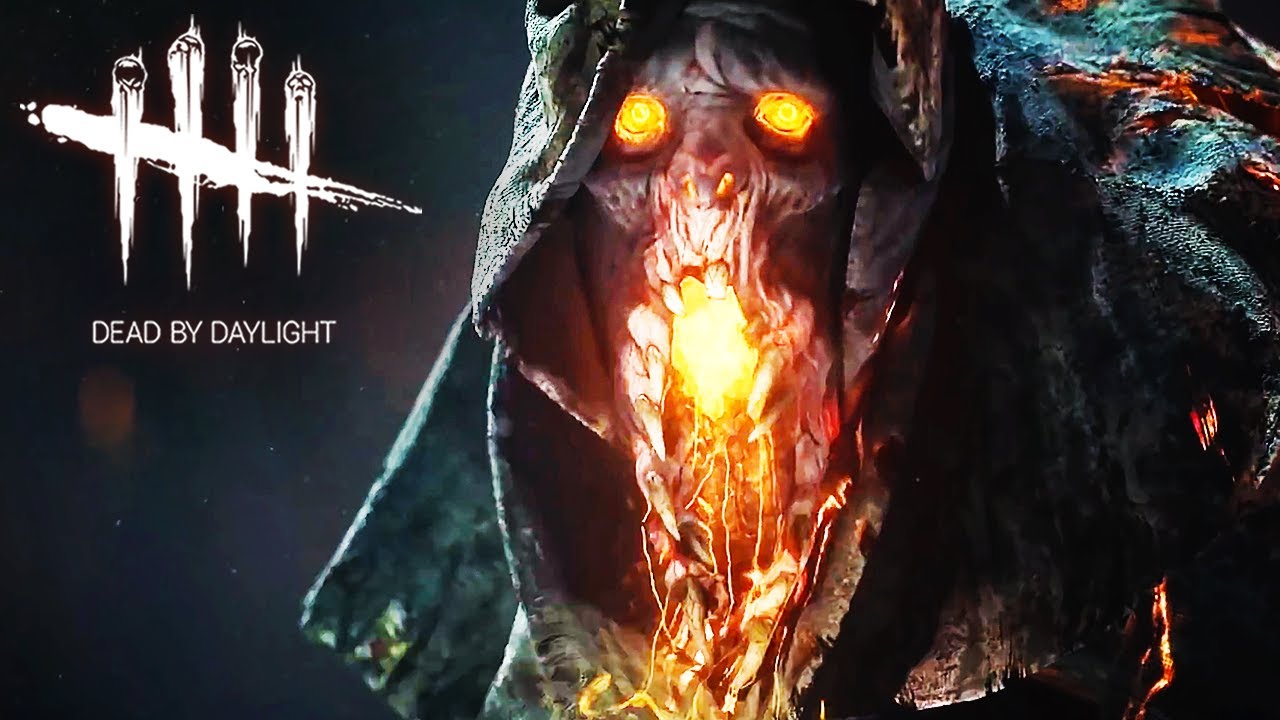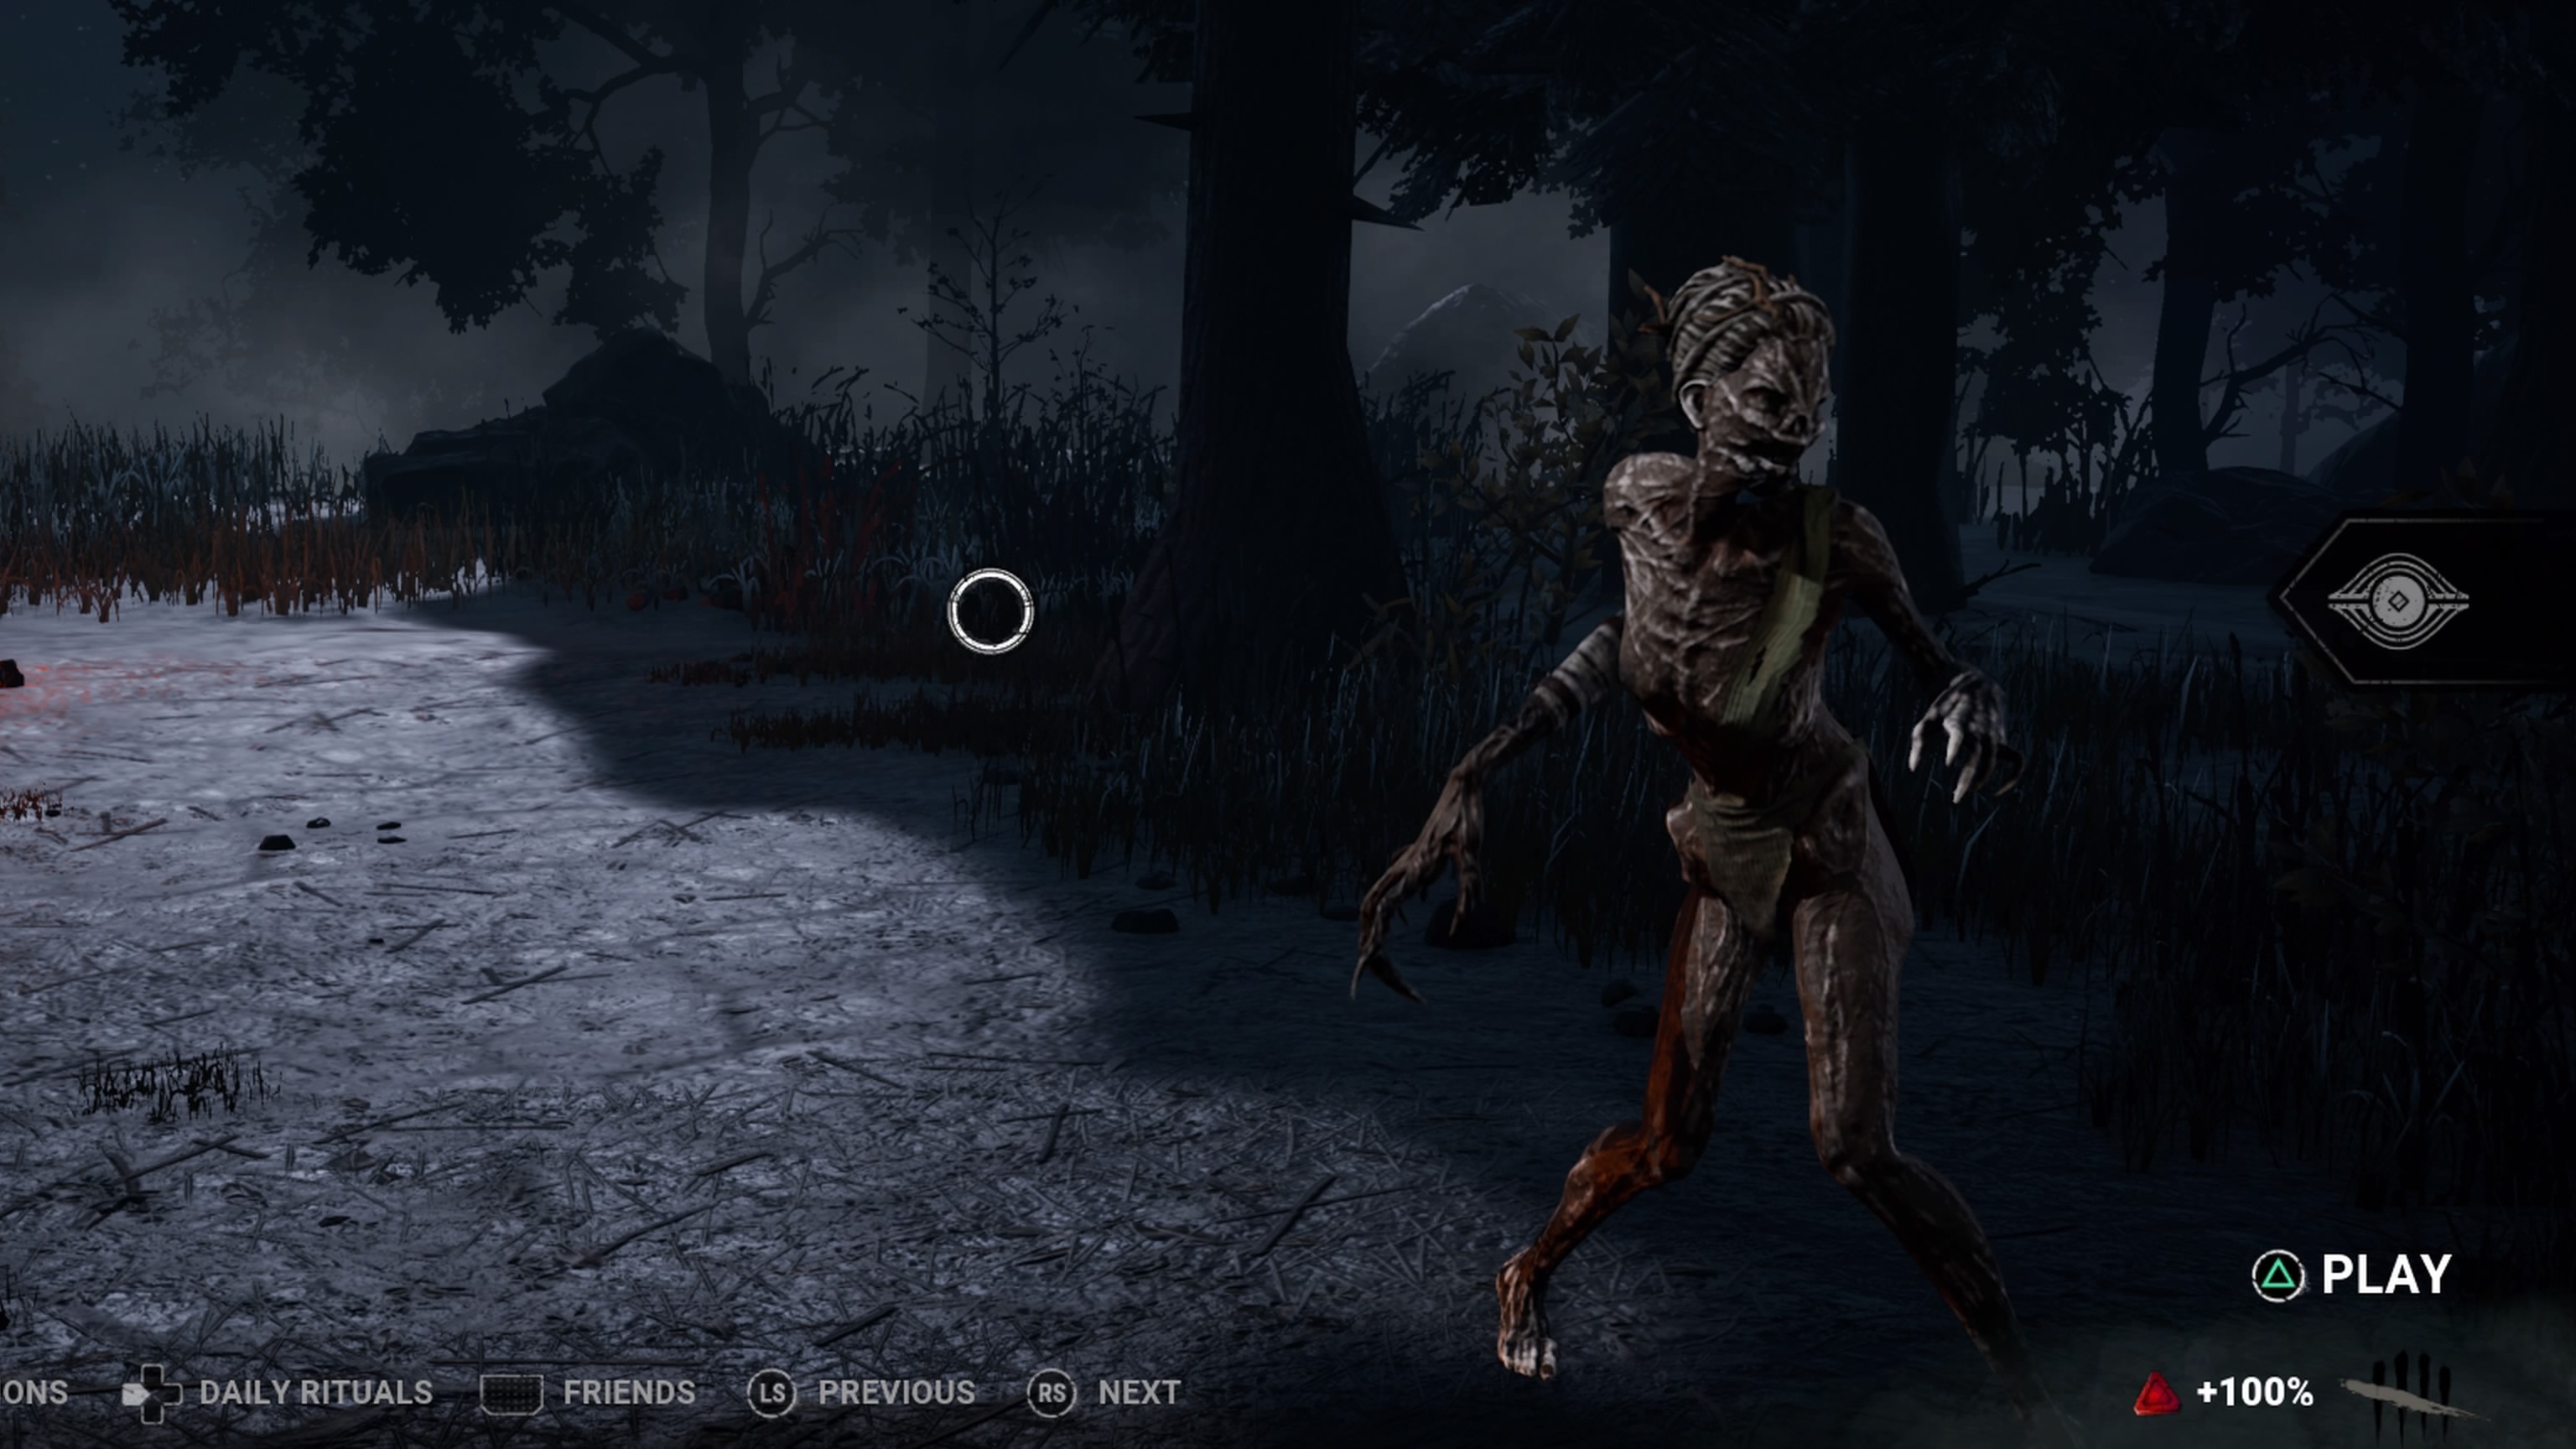
When I first got into Dead by Daylight, it was just shortly after the Stranger Things chapter had been released. Since it was on a discount, I bought the DLC together with the original game. And naturally, Demogorgon was the first Killer I’ve ever played.
To this day, he remains one of my favorite Killers. Although he is not particularly strong, he has a unique kit that makes him fun to play.
His Portals allow you to detect Survivors and teleport to them within seconds. And if Survivors choose to seal them, the Portals act as a natural slowdown too. His leap ability acts both as a gap closer and a ranged attack. And in terms of Mori animations, Demogorgon easily comes out on top.
In this article, I’ll go over the top 5 builds for Demogorgon suitable for new and experienced players alike. Let’s enter venture in the Fog together and find out what they are.
5. The Feed the Beast Build:
THIS DEMOGORGON BUILD FEELS LIKE CHEATING!!! | Dead By Daylight
It wouldn’t be right to leave out a Devour Hope build. Since Demo can easily guard Hex Totems, he’s the perfect Killer for this build.
Thanks to your Portals, you can sense whenever Survivors come near any one of your Totems. When they do, all you have to do is teleport there and force them off. This ambush-like playstyle should make it easy for you to down Survivors. And once you gain 3 Devours stacks, the game’s practically over.
But even if they cleanse your Devour Hope, you’ll still have your Undying up your sleeve. The only troublesome part of the Feed the Beast build is reaching the point where you can snowball. If your Totems get cleansed too early, this build falls apart. Thankfully, you’ll have two Perks to help you gain the upper hand in chases.
What the Feed the Beast build Excels In:
- Fun to use: This goes without saying. Devour Hope builds are always incredibly fun to use. They might not always work, but you feel so accomplished when they do.
- Insane snowball potential: Devour Hope is an extremely powerful Perk, as long as you can protect it. As Demo, this should be easy for you. After a certain point, the Survivors won’t be able to stop your onslaught.
- Helps you end chases in a flash: Even before you get 3 stacks of Devour Hope, you should have an easy time chasing Survivors. The build uses two perks that help you play around pallets better.
Build details:
- Enduring: Reduces pallet stun duration by 40/45/50 %. Enduring saves you some time whenever you get stunned by a pallet. It might not sound impressive but it can be the difference between a secured down and an escaped Survivor.
- Spirit Fury: After you break 4/3/2 pallets, Spirit Fury activates. The next time you are stunned, the Entity instantly destroys that pallet. You’ll then have to recharge the Perk. Combined with Enduring, Spirit Fury allows you to surprise Survivors and get easy hits. This can cut your chases really short.
- Hex: Devour Hope: As long as its associated Hex Totem stands, Devour Hope remains active. Whenever a Survivor is rescued from a hook and you are at least 24 meters away from it, this Perk gains a Token. At 2 Tokens, you gain a 3/4/5 % Haste after hooking a Survivor. It lasts for 10 seconds. At 3 Tokens, every Survivor becomes Exposed. At 5, you can kill Survivors with your own hand regardless of their hook state. Hex: Devour Hope is the core Perk of this build. At 3 stacks, you’ll be able to dominate the game. Since Demo excels at protecting his totems, it will be a game over at that point.
- Hex: Undying: You can see the aura of every Survivor within 2/3/4 meters of a Dull Totem. When a Survivor cleanses a Hex Totem, it won’t deactivate. Instead, its effect will be transferred to the Undying Totem. Hex: Undying is just a backup plan to keep your Devour Hope up longer.
4. The Baby Demo Build:
Demogorgon Build For Beginners - Dead by Daylight
Have you just tried out the Demogorgon and found yourself struggling with him? Don’t worry every fierce Demogorgon was once an adorable and clueless Demodog. You’ll get there too.
The Baby Demo build is all about helping you out early. It focuses on Perks that are accessible even if you don’t have any other Killers unlocked. Since these Perks aren’t super broken, you’ll have to rely on your Power instead. And Demogorgon does have a learning curve to him, so understanding where you can and cannot use his Power is crucial to victory.
This build is meant for newer players without many Perks. For veteran players, feel free to check out other builds on this list.
What the Baby Demo Build Excels In:
- Good for beginners: All of the Perks in the build are very easy to use.
- Accessible: This build features Perks that are available for all players. You don’t need to prestige any other Killer to use it.
- Helps you learn the Killer: The Baby Demo build can help you settle into the Power of this Killer.
Build details:
- Jolt: Whenever your basic attack puts a Survivor into the dying state, all generators within 32 meters of you explode and lose 6/7/8 % progression. They then begin to regress. Jolt is a very straightforward Perk. Each basic attack translates into free regression. Though not always reliable, is great for new players.
- Whispers: Whenever you are within 48/40/32 meters of any Survivor, you hear sporadic whispers and this Perk’s icon lights up. Whispers is the perfect tracking Perks for beginners. When it lights up, it means a Survivor lurks nearby. Just keep in mind that hooked and down Survivors activate it too.
- Fearmonger: When Survivors repair a generator, they are afflicted with the Blindness and Exhausted status effects. These effects persist for 3/4/5 seconds after they stop the repairing action. Fearmonger disrupts aura reading. However, this only works against the Solo Queue Survivors. But it is the Exhaustion aspect that truly shines. This prevents Survivors from recovering their OP Exhaustion Perks such as Dead Heart. It completely negates Sprint Burst too.
- Sloppy Butcher: When you injure a Survivor with a basic attack, you increase their bleeding frequency by 50/75/100 %. Additionally, you apply Mangled and Haemorrhage status effects to them. Mangled makes it take longer for them to heal while Haemorrhage depletes their healing bar when they’re not healing. Sloppy Butcher further increases the effects of Haemorrhage by 15/20/25 %. Countering healing is a luxury in this crazy Boon Meta. While Sloppy Butcher isn’t that strong on its own, it’ll certainly give you an edge.
3. The Lair of the Beast Build:
DEMO'S DUNGEON! | Dead By Daylight THE DEMOGORGON PERK BUILDS
Do you love basement builds as much as I do? Nothing feels quite as satisfying as getting four hooks in the basement. And few Killers can guard the basement better than the Demogorgon.
Thanks to his Portals, he can easily traverse the map. The Portals also provide you with valuable information, allowing you to pick other perks.
The Lair of the Beast build is all about trapping Survivors within your den by preying on their altruism. Even though they’ll realize what you’re doing eventually, they still won’t be able to resist the extra bloodpoints.
What the Lair of the Beast Build Excels In:
- Incredibly fun to use: Basement builds are always incredibly fun (unless you’re on the receiving end). If you’ve just had a couple of bad games, then the Lair of the Beast build will certainly lift your spirits.
- High kill potential: Because Survivors are ultra-altruistic all the time, they won’t be able to resist saving their teammate. Little do they know that that’s exactly what you want them to do. I’ve had many 4K games that were all wrapped up in the basement with this build.
- The Perks carry you: This build is incredibly easy to execute. Once you get your first down, the Perks will do the rest of your job for you.
Build details:
- Agitation: You move 6/12/18 % when carrying a Survivor. During this time, your Terror Radius increases by 12 meters. Agitation helps you reach the basement even if it’s far away. Without it, the Survivor will likely wiggle free.
- Mad Grit: While carrying a Survivor, missed attacks have no cooldown. Hitting another Survivor during this time pauses the carried Survivor’s wiggle progression for 2/3/4 seconds. Once Survivors realize what you’re doing, they’ll try to body-block you. Mad Grit counters this and might even get you some extra downs.
- Iron Grasp: Iron Grasp activates when you carry a Survivor. The wiggle effects are reduced by 75 % and the wiggle duration is increased by 4/8/12 %. Much like Agitation, Iron Grasp helps you reach the basement even if you’re not near it.
- Make Your Choice: Make Your Choice activates when you are at least 32 meters from the hook where a Survivor is rescued. The rescuer screams and becomes Exposed for the next 40/50/60 seconds. The Perk has a cooldown of 40/50/60 seconds. When you detect a Survivor coming for a rescue with your Power, wait until they unhook the Survivor. Then, teleport back and down the rescuer. Rinse and repeat for easy kills.
2. The Slow-Down Build:
The Best Demogorgon Build In Dead by Daylight
No matter the Killer, slow-down builds are always powerful. With generators popping within the first five minutes of the game, every second is a precious resource for you. The extra time allows the Demogorgon to lay down his Portals early on and establish map pressure.
The main reason why people barely use Portals anymore is that it’s time-consuming. By default, you can place up to 5 Portals. However, you still have to activate them. Inactive, they don’t provide you with any detection range. But just traveling all of them can kill an entire minute. The Slow-Down build offsets this.
Moreover, more time means more opportunities to practice your chases. Understanding which loops you can use your leap at will help you down Survivors faster.
What the Slow-Down Build Excels In:
- Makes the game incredibly slow: True to its name, this build will greatly extend the length of your matches. If you find the current gen-rushing meta obnoxious, you can just run this build in all of your Demo games.
- Doesn’t require much effort: Although you must understand this build to make the most out of it, you don’t need to adapt any niche, bizarre playstyle. Using the Slow-Down build feels very natural, whether you’re an avid DbD player or not.
- A great set-up for snowballing: Save the Best for Last works well on Demo. However, it needs some setup time before it reaches its full potential. This build grants you the time you need.
Build details:
- Pop Goes the Weasel: When you hook a Survivor, Pop Goes the Weasel activates for the next 35/40/45 seconds. When you damage a generator, it will immediately lose 20 % of its progress and begins to regress. The Perk then deactivates. Pop Goes the Weasel is a strong slow-down Perk that synergizes well with your Power. As Demo, you can patrol generators with your Portals. Once you hook a Survivor, you can travel through the Upside Down and apply the enhanced regression.
- Scourge Hook: Pain Resonance: At the start of the match, 4 random hooks become Scourge hooks highlighted by a white aura. Whenever you hook a Survivor one of these hooks, the generator with the most progress will lose 9/12/15 % of its progression. It then beings to regress. Pain Resonance is an extremely popular Perk that works on every Killer in the game. In addition to activating your Pop Goes the Weasel, hooking a Survivor on a Scourge hook will apply additional regression. The regression value is massive, given that you can activate it even far from the generator.
- Save the Best for Last: When you hit a Survivor who isn’t your Obsession, Save the Best for Last gains a stack up to a maximum of 8. Each stack reduces your successful basic attack animation by 5 %, up to a maximum of 40 %. Hitting the Obsession with a basic attack causes you to lose 4/3/2 tokens. Demogorgon is an M2 Killer. Thus, you can preserve your stacks by using your Shred ability on the Obsession. Once you reach 8 Tokens, the Survivor will start dropping like flies.
- Corrupt Intervention: At the beginning of the match, the three generators farthest from you become blocked for 80/100/120 seconds. The effect ends prematurely if you put a Survivor into the dying state. Corrupt Intervention grants you some extra time to set up your Portals at the beginning of the match. Focus on the generators that aren’t blocked to get the most out of your Power.
1. The Best Meta Build:
The best Demogorgon build showcase! | Dead by Daylight
As you improve on Demogorgon, you won’t need slow-down Perks as much anymore. Instead, you can focus on making your playstyle as unpredictable as possible. With the Best Meta build, you’ll become the ultimate predator.
This build provides you with both information and map pressure. All its Perks are reliable and effective even against high-MMR Survivors. The build also adds a bit of stealth, creating new opportunities for you.
Of course, the Best Meta build is suitable for experienced players. To make the most out of these Perks, you’ll need to adapt your playstyle accordingly. If you’ve just started using Demo, I recommend choosing another build until you grasp the basics of his kit.
What the Best Meta Build Excels In:
- A well-rounded build that plays around your strengths: Every meta build must play around a Killer’s Power. Thus, these Perks help you set up your Portals, give you an edge when traveling through them, and help you chase Survivors down.
- Stealth grants you an element of surprise: Thanks to Plaything, you can sneak up on unsuspecting Survivors. Demogorgon already has a bit of stealth in his kit. And with this Perk, Survivors will be on the edge the whole match.
- Great both in and outside of a chase: Unlike most builds on this list, the Best Meta build helps you both track Survivors and chase them down. And at the beginning of the match, it also grants you extra set-up time.
Build details:
- Barbecue & Chilli: When you hook a Survivor, you can see the aura of every other Survivor 60/50/40 meters away from the hook for 4 seconds. Clever Survivors will walk away from the Portal when you start carrying another Survivor. This makes tracking them difficult. Barbecue & Chilli will provide you with extra information, allowing you to spot the Urban Evaders from afar.
- Hex: Plaything: As long as at least one Dull Totem exists in the match, this Perk will activate whenever you hook a Survivor for the first time. For as long as the totem stands, the affected Survivors become Oblivious. This means they can’t hear your Terror Radius. For the first 90 seconds, only the affected Survivor can cleanse the totem. The cursed Survivor can see the aura of their Totem when within 24/20/16 meters from it. Plaything is an interesting and somewhat unconventional Perk, especially for Demo. But after trying it, I can confirm it works exceptionally well. When you emerge from a Portal, you’re undetectable for a short while. However, Playthings make Survivors completely Oblivious for as long as it stands. Because of this, you can sneak up on Survivors and secure easy hits. Just make sure you’re not too obvious with your Portal placement. Don’t place them directly next to a generator – try to hide them behind debris instead.
- Save the Best for Last: When you hit a Survivor who isn’t your Obsession, Save the Best for Last gains a stack up to a maximum of 8. Each stack reduces your successful basic attack animation by 5 %, up to a maximum of 40 %. Hitting the Obsession with a basic attack causes you to lose 4/3/2 tokens. Save the Best for Last is one of the best Perks for Demogorgon. Many players don’t even play him without this Perk. The added cooldown reduction helps you land your next hit quicker. The less time you spend on chasing, the more pressure you’ll exert on the Survivors.
- Corrupt Intervention: At the beginning of the match, the three generators farthest from you become blocked for 80/100/120 seconds. The effect ends prematurely if you put a Survivor into the dying state. As I mentioned above, Corrupt Intervention helps you make the most out of your Power. The Portals can take up to a full minute to set up. Luckily, the Perk will keep three generators blocked for two whole minutes. In this build, it’s also your only slow-down Perk. Make sure you make the most of the early pressure or you’ll lose the match.

