Tier Summary:
Each tier represents the killers that will either give you a great and fun experience or a not-so-pleasant experience. Please carefully read each tier to make sure which killer fits your playing style.
S-Tier:
Offers incredible move sets while also having great power. Players that are excellent at these characters will more than likely have the overall chance of winning.
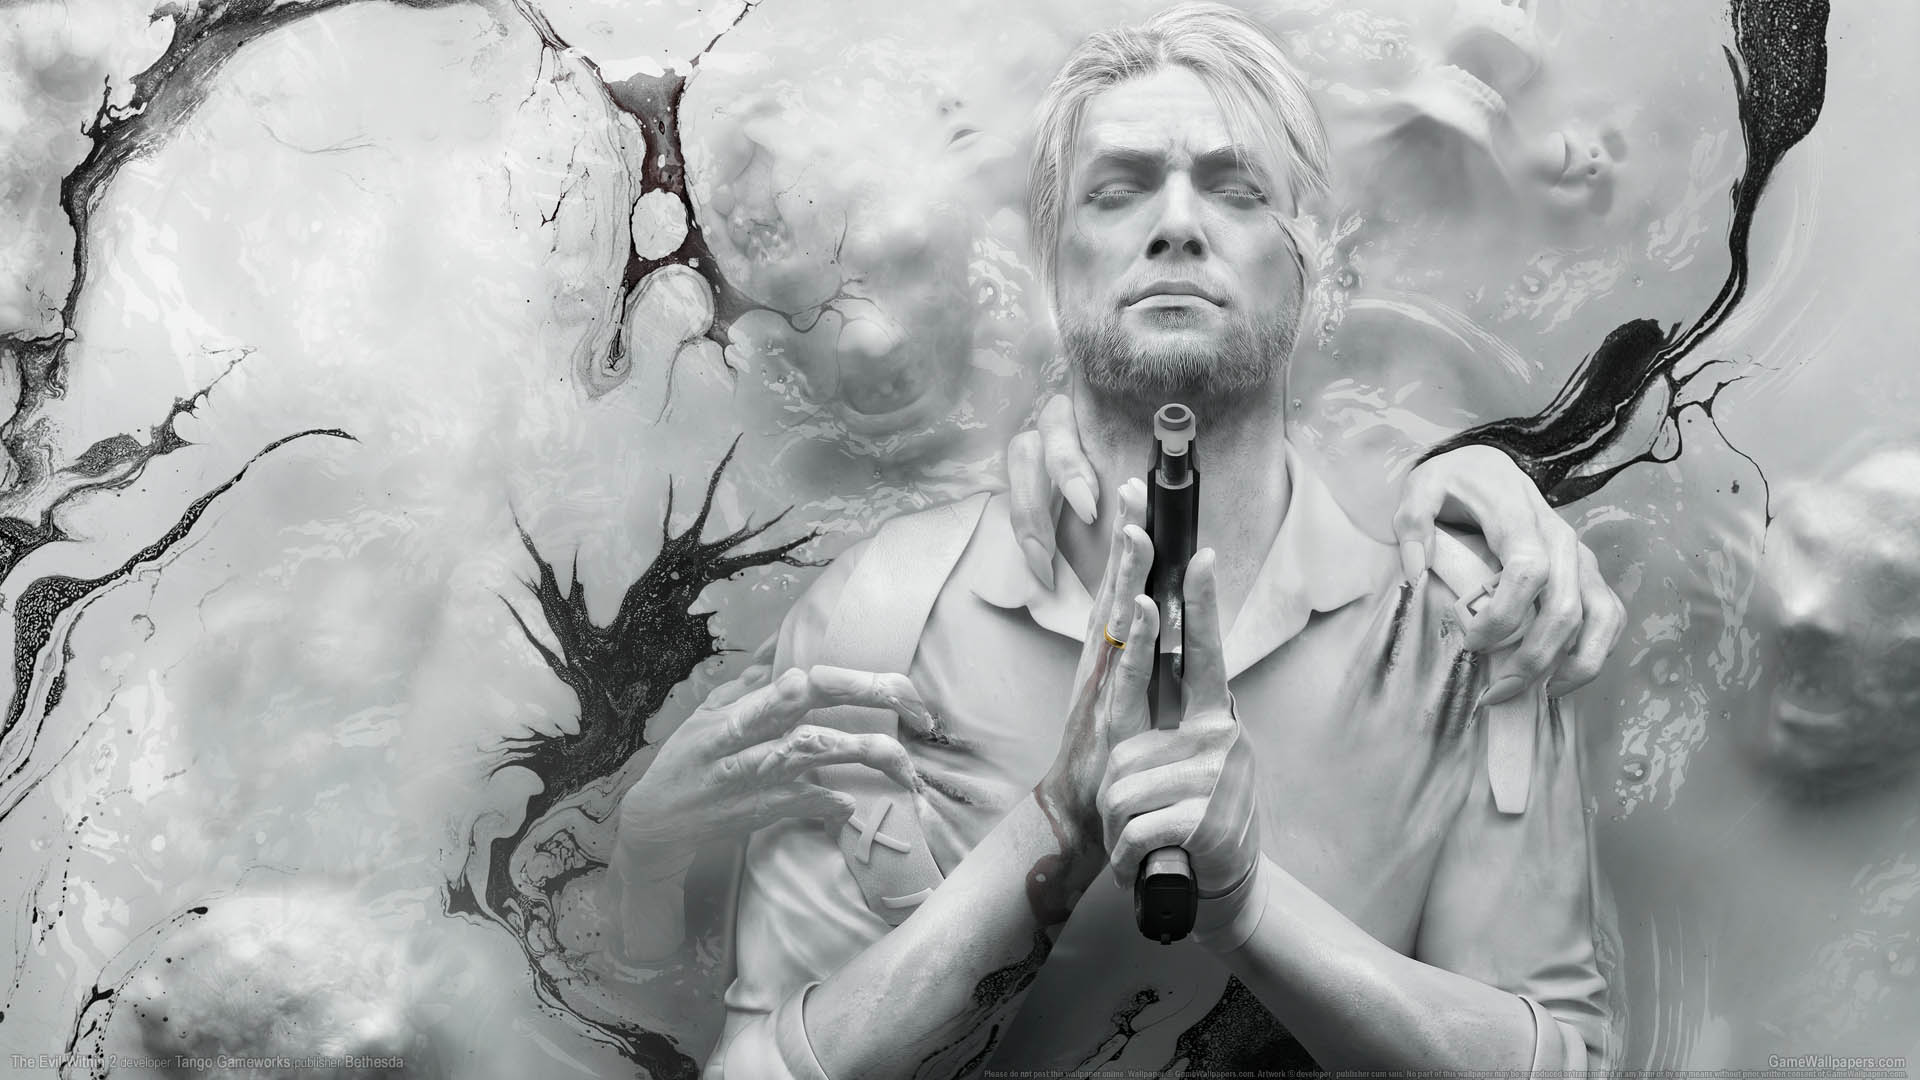
The Mastermind (Albert Wesker) (S-Tier 90/100)
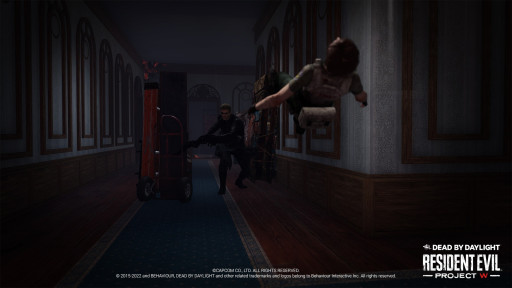
Albert Wesker is from the Resident Evil universe. He is an iconic villain who is far more powerful than The Nemesis, another character from the franchise. Wesker is S-tier because he possesses a variety of abilities that increase his speed. He can dash several times when he is in pursuit of a survivor. In addition, he can vault through windows and over pallets much faster than other killers. Furthermore, once survivors are infected with the Uroboros virus (which Wesker carries), they are easier to eliminate. To aggravate a survivor during a chase, Wesker can grab them at any time and slam them down, or he can injure another survivor if he collides with the other. Wesker is a killer you should absolutely use, and he has a fantastic and entertaining play style.
- Virulent Bound power gives Wesker the ability to charge at a survivor. When it is fully charged, you will be able to lunge at a fast speed, causing the survivor to have a difficult time dodging you.
- If a survivor gets fully infected then they will suffer from the Hindered status effect reducing their movement speed by 8%.
- Since the survivors must use the First Aid Spray to prevent the infection from spreading. There will only be five chests during the trial that will spawn. The First Aid Spray contains two charges, once someone runs out of the spray then the infection will fully take over. Giving you the advantage.
- The perk Superior Anatomy lets the killer vault between 30-40 percent faster only if the survivor vaults a window within eight meters around you. Either way, this perk is a must and helps you catch survivors much easier.
- The perk Awakened Awareness gives you the ability to see the auras of every survivor that is within 16-20 meters of you while carrying a survivor.
The Hag (Lisa Sherwood) (S-Tier 89/100)
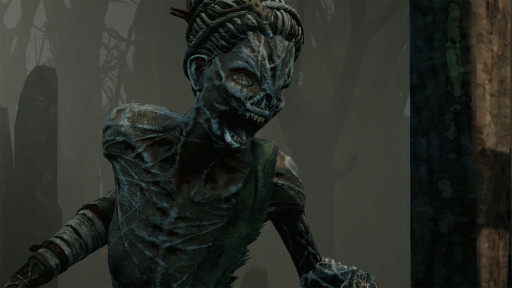
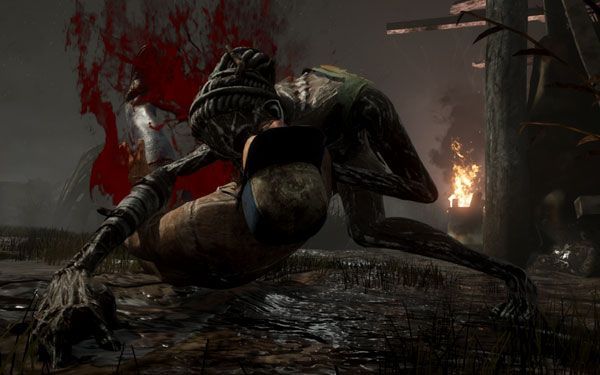
The Hag has the ability to create dangerous and nerve-racking Phantasm Traps that, once activated by a survivor, allow The Hag to teleport to that area and catch them by surprise. This is what makes her a great S-Tier killer because her traps give her the ultimate advantage and to be great at it you must place the traps in unexpected places, curse the survivors with your hex totems and cause havoc!
-
Phantasm Trap is an ability that can harm the survivor once they activate it. It will spawn a Mud Phantasm which will yank the survivor causing them to be disoriented. It can also be an illusion because it gives off a fake Terror Radius.
-
Once a trap is triggered, The Hag can teleport to it right away and strike an attack on the survivor. It is best to plant multiple traps around the map so they can be easily replaced once triggered.
-
The Hag’s traps can also be used for body blocking. Once her traps are activated, since it is just a hologram (until you teleport to it), survivors can often run through it. However, if you equip the Scarred Hand add-on, it will cause collisions. A great tip is to do this near a window or a doorway to prevent the survivor’s escape.
-
As mentioned before the Mud Phantasms is basically a “fake Hag” when triggered. This is great because once you are chasing a survivor and they trigger multiple mud phantasms they will be confused and possibly going in circles. Once multiples are triggered it can get quite disorienting for the survivor and that is when you strike.
- The Rusty Shackles add-on is a must-have for your load-outs. Since the Hag’s main ability relies on her traps. Instead of them being loud once they spawn, this add-on lets them become a silent alarm in a way. It is basically like a jump scare.
The Blight (Talbot Grimes) (S-Tier 88/100)
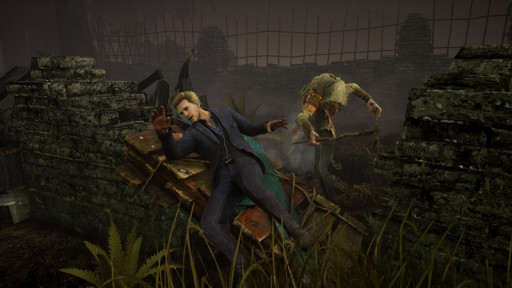
The Blight is another powerful killer that deserves S-tier status, as his power Blighted Corruption gives him the ability to recover quickly once he bounces off objects while pursuing a survivor. This puts survivors in a dangerous position, as they will have to think quickly when facing him. The best part of it all is that he can even break through pallets while in pursuit or even block the pallet, preventing the survivor from stunning him. The Blight is recommended for players who love the adrenaline rush as well as being aggressive. His personal perks are amazing, and if you add great add-ons to your loadout, he will be unstoppable.
- Since The Blight can be in a rush when chasing survivors, he can get fatigued fairly quickly. However, with the add-on Foxglove, it reduces the rush fatigue time by 25 seconds
- His special attack is called Lethal Rush, he is able to rush through pallets and breakable walls.
- One of The Blight’s most needed perks is the Hex: Undying. This reveals the survivor's auras and once another totem is cleansed or blessed, then it will transfer over to the Undying totem
- Another Hex Totem that makes The Blight more dangerous is the Blood Favour Totem. Once a survivor is in its Injured State or in its Dying State then the Entity will block all the pallets preventing the survivors from pulling them down. This is also perfect while in a chase since they will not be able to defend themselves well.
- Since The Blight’s main ability is to rush the survivor, there is a great add-on that will allow him to go undetected while doing it! Vigo’s Journal gives The Blight the ability to have the Undetectable Effect when rushing. Once you have your eye on your target you are able to dash toward them without them even seeing it coming.
The Oni (Kazan Yamaoka) (S-Tier 87/100)
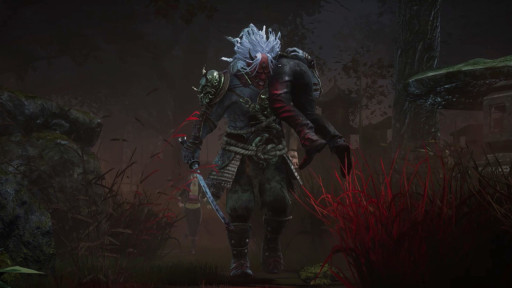
If you enjoy the thrill of a chase, The Oni is your best bet. The Oni’s ability Blood Fury is one of the best in the game because it allows him to instantly hunt down survivors, which gives him the power to take down an entire team.
To do so, you must first attack a survivor(s) and absorb their blood. When he reaches the required amount, his main power, Yamaoka’s Wrath, will be activated. This results in two abilities which are Demon Dash and Demon Strike. The special ability of Demon Dash enables him to sprint forward and cover a large amount of ground. This ability gives you an amazing advantage because he can speed across the map and hit the survivor quickly.
As for Demon Strike, this ability is much better in my opinion as it launches a devastating attack that can put a survivor into a dying state. Meaning you can down them immediately with one hit. Whichever ability you choose, it helps to shorten matches and it will become an easier playstyle for you to maneuver.
- Blood Echo is a perk that makes survivors suffer from the Haemorrhage and Exhausted Status Effect for 45 seconds once The Oni hooks a survivor! This perk can be triggered once every 60-80 seconds.
- The Perk Nemesis is basically a revenge perk in a way. While in a chase, if you are stunned or blinded by a survivor, then that survivor will become the Obsession. Also if the Obsession switches to someone else then that survivor will suffer from the Oblivious Status Effect and their aura will be revealed for 4 seconds!
- The Oni needs blood from his victims in order to thrive. The add-on Blackened Toenail gives him the ability to have a quicker movement speed once absorbing the blood. This will help him level up much faster.
- As stated above with Blood Fury, the add-on Lion Fang increases the duration of it for 10 seconds!
- Lastly, the perfect add-on to also add for your loadout will be the Iridescent Family Crest. If The Oni misses a Demon Strike, then all of the survivors within 24 meters of you will be revealed as their screams fill the air.
The Nightmare (Freddy Krueger) (S-Tier 86/100)
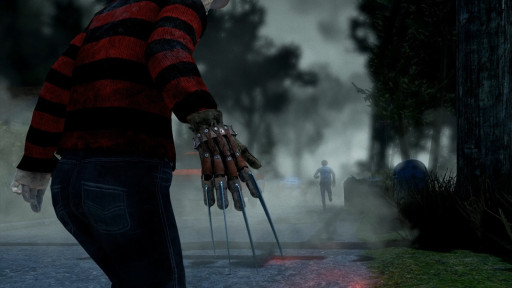
The Nightmare, also known as Freddy Kreuger, haunts your dreams. He is from the popular Nightmare on Elm Street franchise. His game abilities are top-tier because his main power, Dream Demon, prevents awake survivors from seeing him.
When a survivor enters the Dream World, they become even more vulnerable to his power. If a survivor walks through a Dream Snare that is usually placed on the ground, their movement is slowed, giving Freddy an advantage in landing a successful hit. He can also play mind games by placing fake pallets anywhere on the map to fool them. What could be better than chasing a survivor and not getting stunned by the pallets? Freddy has a fantastic playstyle that can keep a match fun!
- Blood Warden is a powerful perk that can give survivors false hope. When the Exit Gates are activated or opened, the survivors will not be able to escape because once they try to leave, it will still be blocked! This perk also reveals their location to you and you have more time to attack and eventually hook some.
- Survivors will rely on the alarm clock while they are in the dream world, to “wake up”. However, Freddy can pull the survivor into the Dream World at any time with just a basic attack. Even if they wake up, they will still be put back in.
- Dream Projection allows Freddy to teleport to a generator, even though the cooldown is reduced by 15%, his special ability still helps prevent survivors from finishing the generators.
- The add-on Cat Block causes survivors to suffer from the Haemorrhage Status Effect for 60 seconds if they interact with the Dream Trap while asleep. This makes them suffer the consequences.
- The red paintbrush add-on makes survivors start the trial in the Dream World. They will also be unable to wake themselves up if they fail a skill check.
The Nurse (Sally Smithson) (S-Tier 85/100)
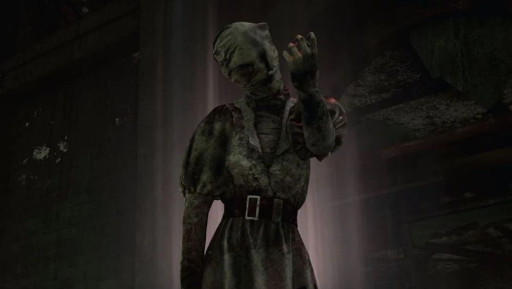
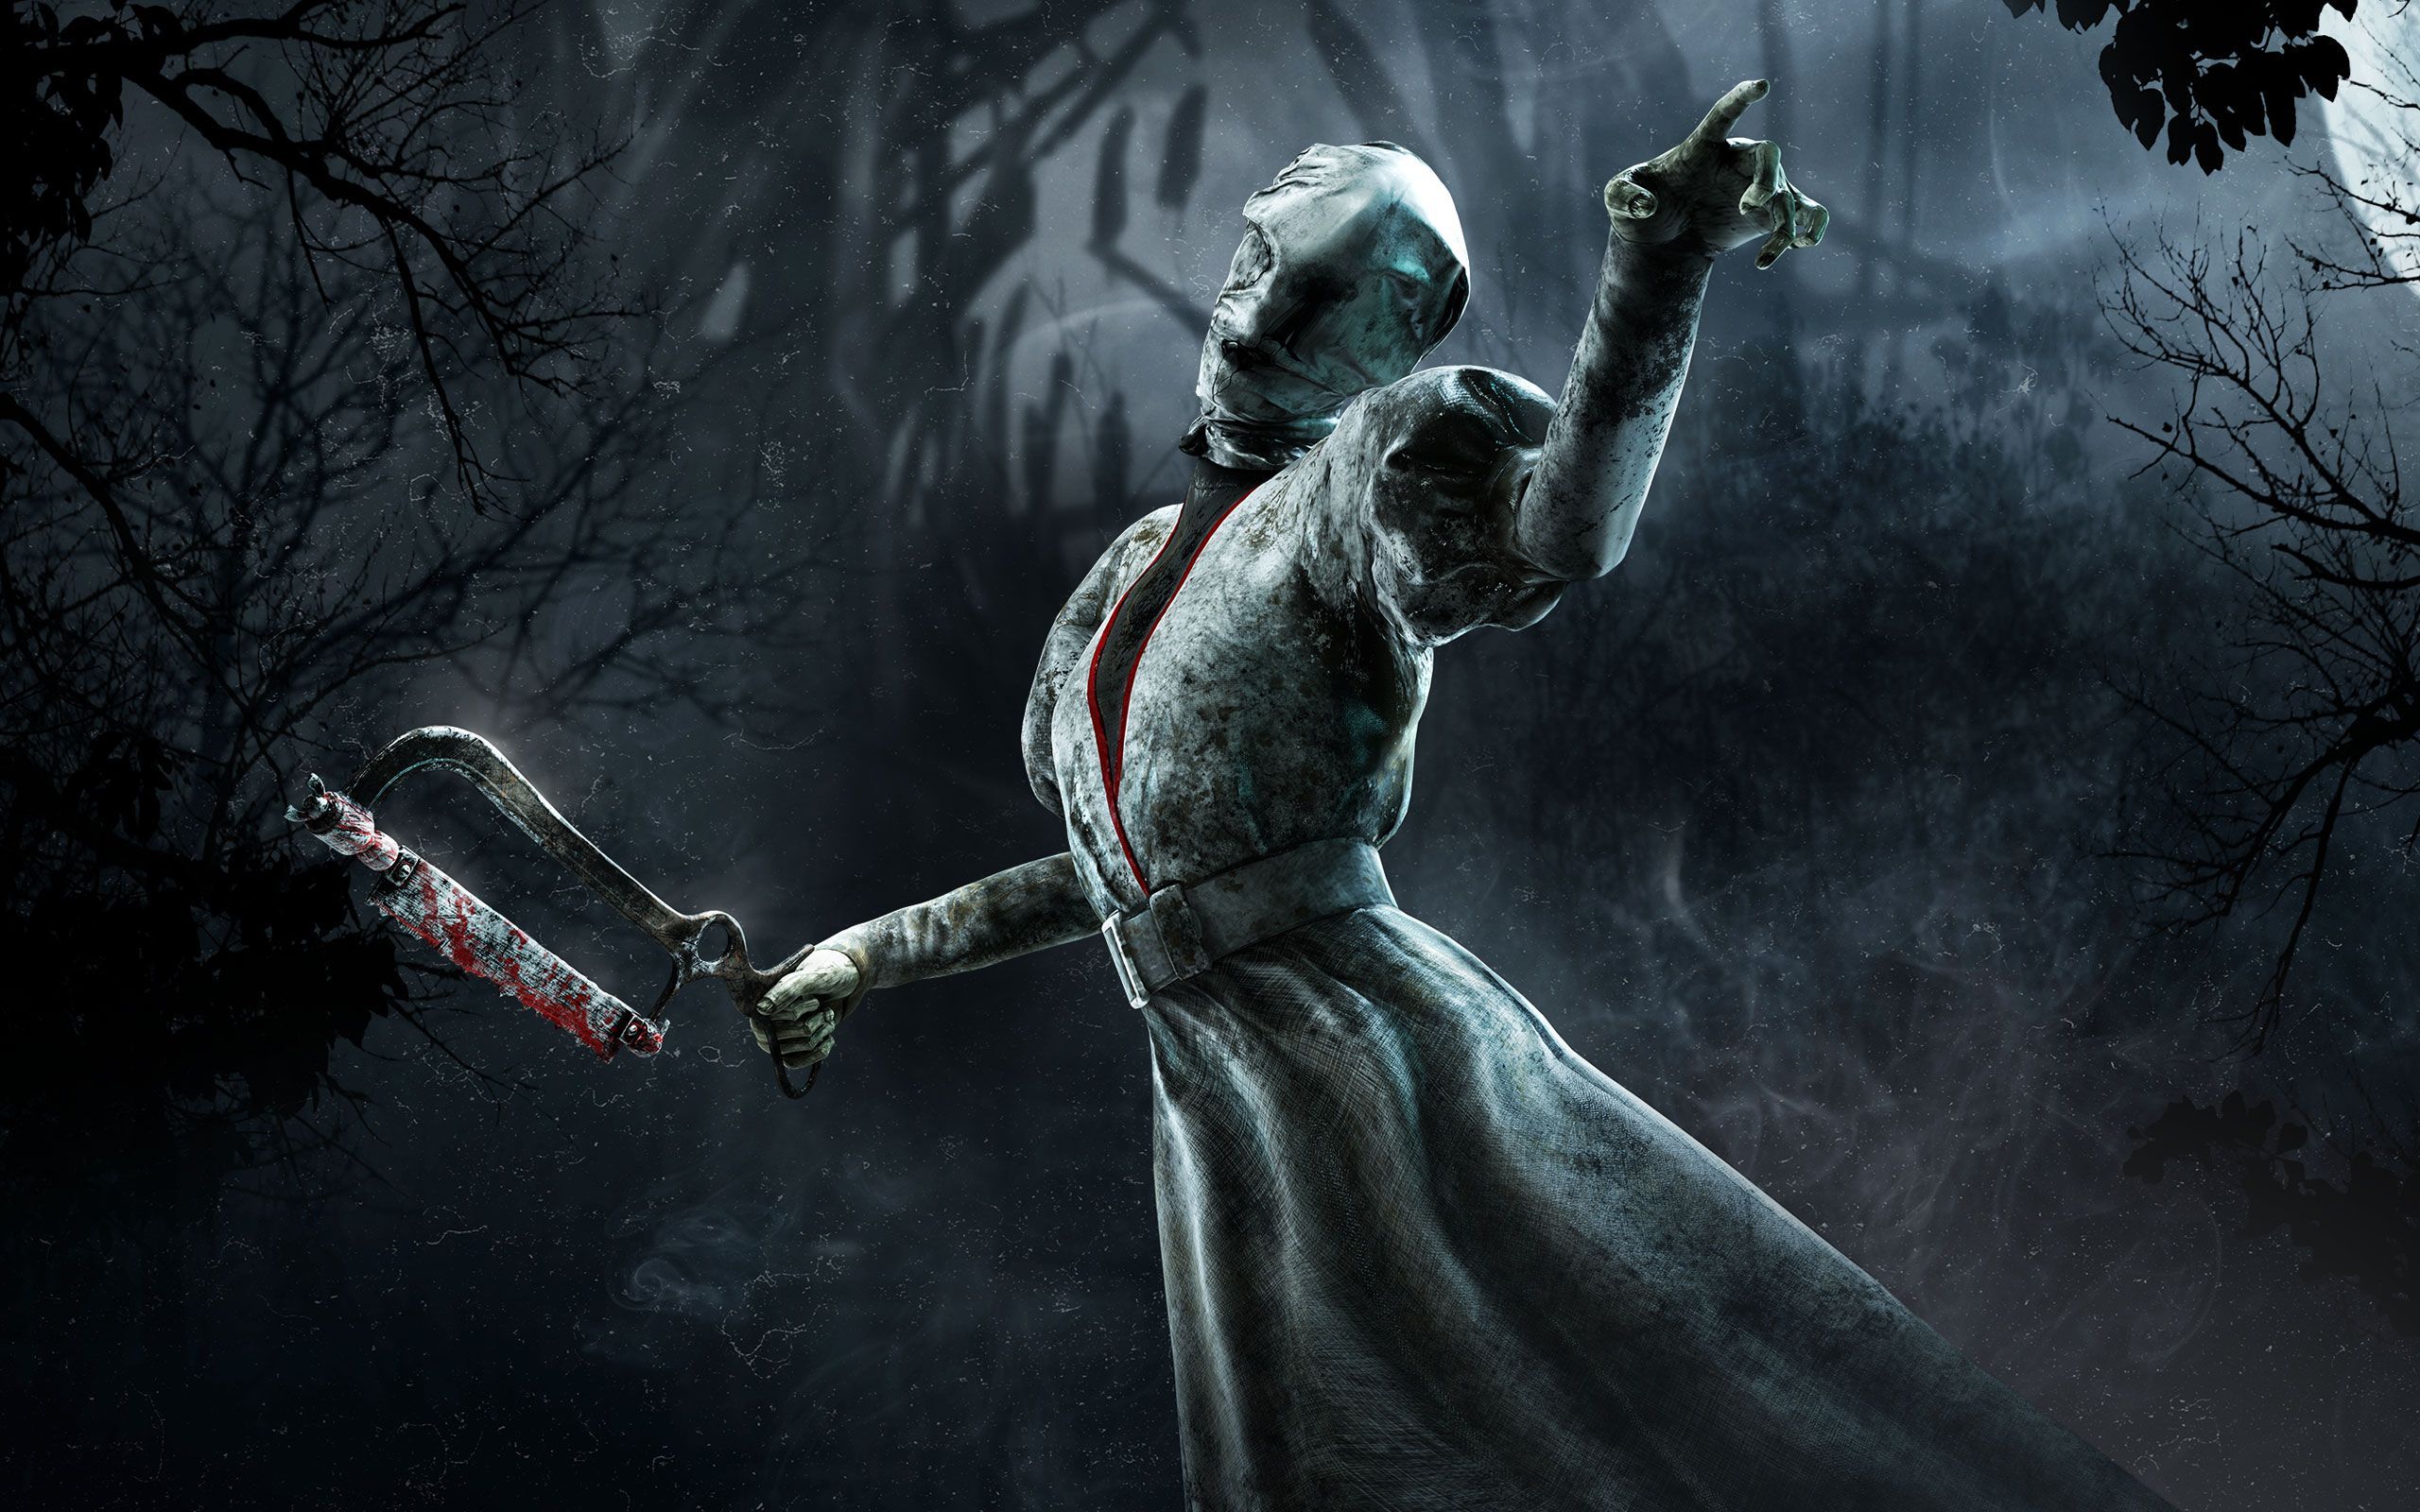
The Nurse has a warping power called Spencer’s Last Breath, allowing her to blink for up to 20 meters. This gives her the ability to phase through windows and pallets, which helps in shortening a chase. She can also travel a great distance when using her Blink ability, giving her excellent map mobility. The only disadvantage is that you will be stunned or fatigued for two to three seconds. It is best to include add-ons in your loadout to make The Nurse more dangerous.
- A Nurse’s Calling is the best perk to use as it allows you to see the auras of all survivors who are healing or being healed. They are revealed within the range of 20-28 meters.
- It is always helpful to have a perk or add-on that reveals the location of a nearby survivor. Once you blink with the add-on Anxious Gasp equipped, this causes the survivor to scream and you will be granted 200 Blood points in the Deviousness Category
- The Matchbox add-on increases the movement speed of The Nurse by 4.2 seconds. Which is a plus since her feet never really touch the ground.
- The perk Thanatophobia increases the action speed penalty by 12%, if all four survivors are injured, dying, or on the hook all at once. This perk also gives an action speed penalty when the survivor repairs, sabotages, or cleanses.
- Since we now know The Nurse’s main power is Blink. The add-on Plaid Flannel will give The Nurse the ability to actually see her target location once she blinks. This means whoever she is after, she can go to that specific spot immediately.
The Spirit (S-Tier 84/100)
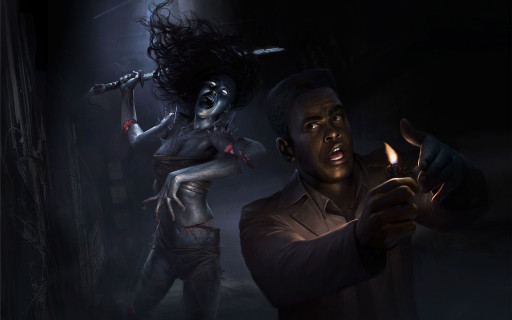
The Spirit is a lethal threat. Her main power is Yamaoka’s Haunting, which allows her to go unnoticed by survivors. She will not be able to see them, but she will be able to see scratch marks and hear any type of movement, such as environmental interactions and breathing. In my opinion, she is S-tier because all of this enables her to quickly travel across the map. The Spirit is also superior because you do not have to waste your time running toward the survivors, they can’t easily spot you once you teleport.
- The perk Spirit Fury causes The Entity to break the pallet instantly that The Spirit was stunned by.
- Her Hex perk called Haunted Ground, causes all survivors to suffer from the Exposed Status Effect between 40-60 seconds when they cleanse or bless the totem.
- Even though The Spirit can’t see the survivor’s exact movements, she is able to still hear every sound while she is Phase Walking.
- The Mother-Daughter Ring add-on increases the movement speed while The Spirit is Phase Walking by 40%
- Mother’s Glasses add-on is perfect because once a survivor comes within 2 meters of the Husk while you are in a Phase-Walk, it will trigger Killer Instinct
The Shape (S-Tier 83/100)
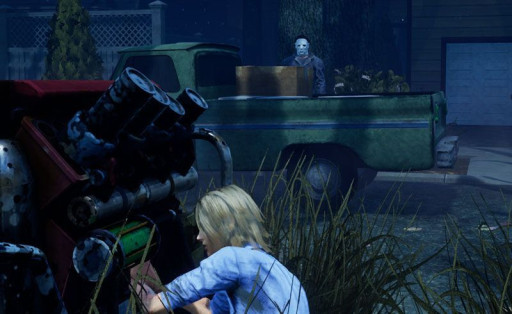
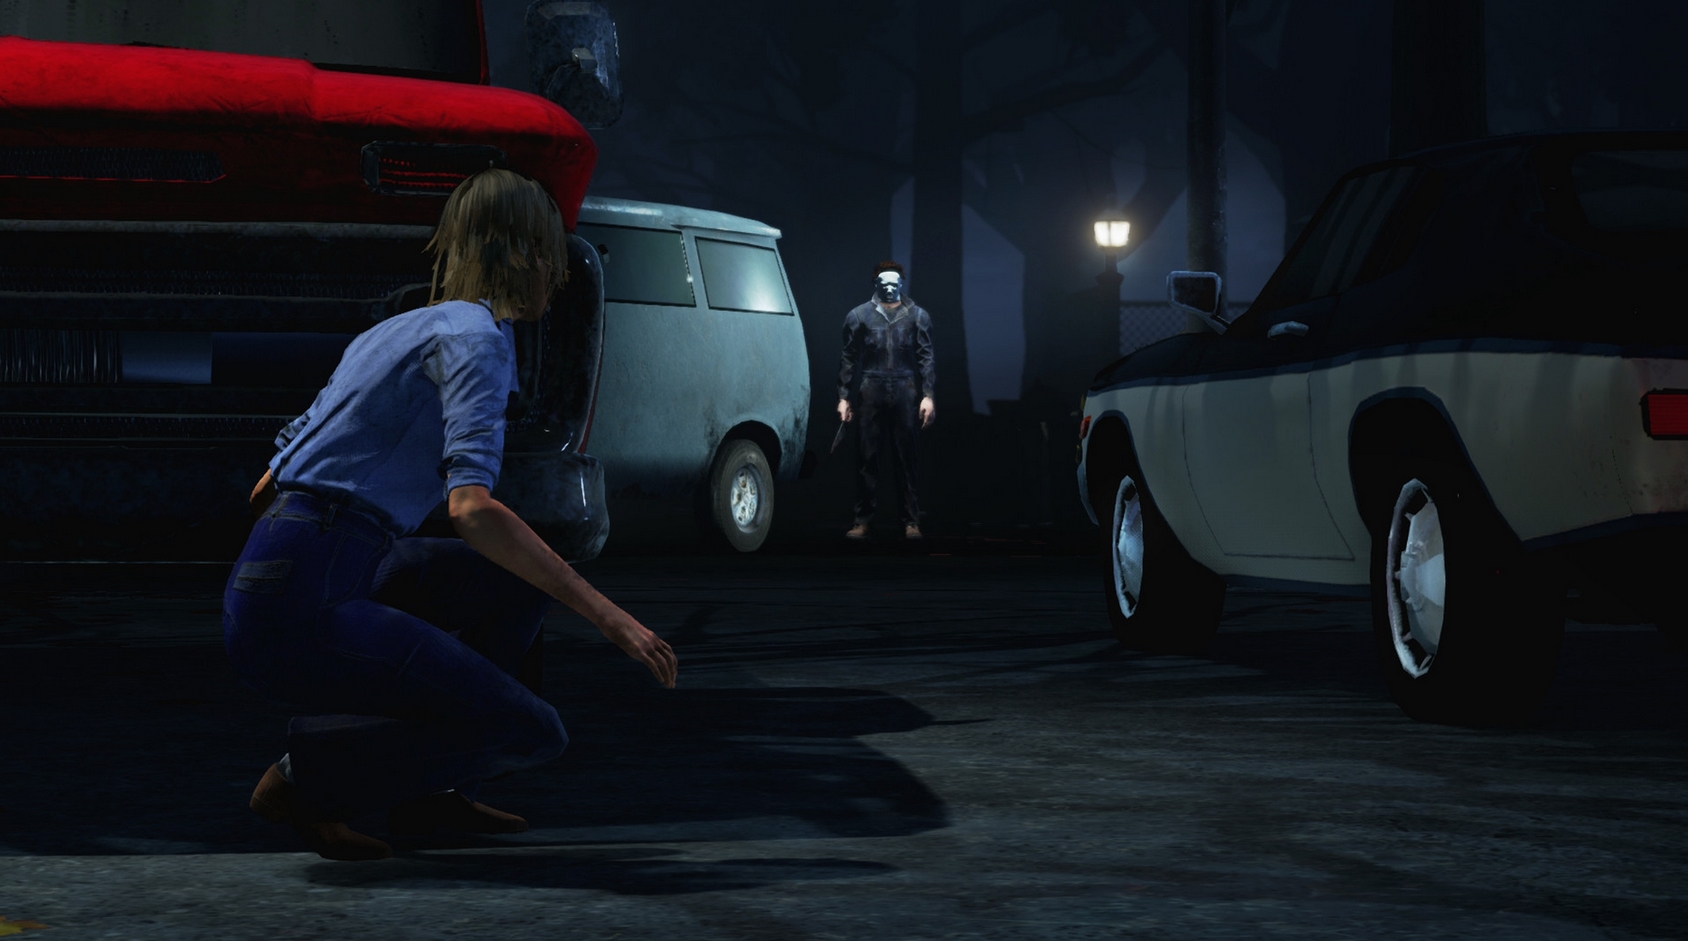
Michael Myers, also known as “The Shape”, stalks his survivors from afar. As he stalks, his evil grows stronger, endowing him with malicious power. This power is known as the Evil Within, and it is divided into three stages. The Shape will move faster and be able to down you immediately once you reach Evil Within III. He begins as a silent killer, but as the game progresses, he turns into an unstoppable force and survivors must avoid coming into contact with him.
- Michael Myers's Dying Light perk allows him to become obsessed with one survivor. Although this may seem pointless, this perk is actually worth it. While the Obsession is still alive, all of the other survivors will suffer from the stackable penalty when they are healing, sabotaging, and repairing.
- Fragrant Tuft of Hair is an add-on that grants Michael Myers unlimited duration of Evil Within III. It also increases the amount of Evil to eventually reach stage three. This is his best add-on because you can instantly down the survivors right away.
- Judith’s Tombstone is another powerful add-on that gives Michael Myers the ability to kill survivors while in Evil Within III. It also increases the amount of Evil to reach III for the very first time.
- Michael Myers's ability heavily relies on stalking. His stalk range can go from 2.5 meters to 39.85 meters, it is also very important to equip an add-on to have a faster stalk ability.
- Michael Myers's lunge attack also increases when he is in certain Evil Within ranges. For example, while he is in Evil Within III his attack open time is 0.6 seconds compared to Evil Within I where it is just 0.2 seconds.
The Ghostface (S-Tier 82/100)
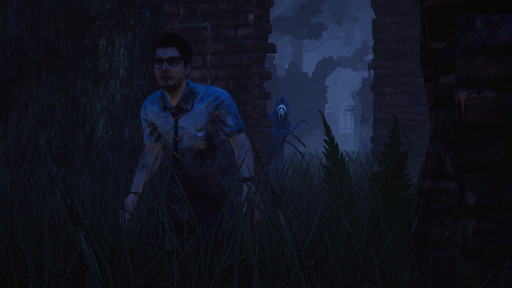
A stealth-focused killer that is capable of being undetected to attack his victims. The Ghostface is ideal for players who enjoy surprising their opponents. He stalks and patiently marks his prey. Ghostface’s main power is called Night Shroud, and it allows him to go undetected. He also possesses two unique abilities. The first is called Stalk, when he stalks the survivor will be marked with the Exposed Status Effect, which will immediately down them. The second ability allows him to crouch, giving him the advantage of a sneak attack, but at the cost of slower movement. However, due to his stealth abilities, I consider The Ghostface to be S-tier because he creates pressure and the survivors will always be watching over their shoulders.
- Thrilling Tremors is one of Ghostface’s perks. Once he picks up a survivor, all generators that were being repaired are blocked by the Entity for a total of 16 seconds. The auras of the blocked generators will also be highlighted in white.
- Furtive Chase is another great perk of The Ghostface. He becomes obsessed with one survivor and once the obsession is hooked you can gain one token. Also while you are in a chase, your terror radius is reduced by 4 meters.
- Survivors become marked when fully stocked and they will suffer from the Exposed Status Effect for 60 seconds. Once they are exposed they are unable to reveal Ghostface.
- Ghostface’s reveal range can go all the way up to 32 meters. His reveal time also only takes 1.5 seconds.
- Headline Cut-Outs is an add-on that increases Ghostface’s movement speed while stalking by 40%!
- Ghostface Caught on Tape is an add-on that can immediately put the survivor into a dying state with just a basic attack.
The Knight (S-Tier 81/100)
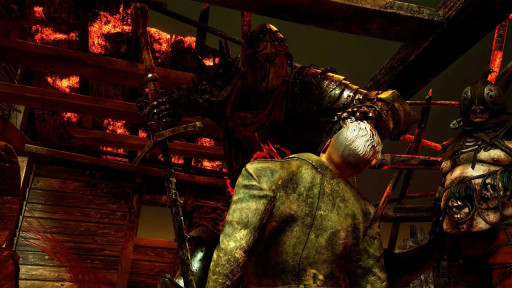
The Knight is one of Dead by Daylight’s recent killers. He has a unique playstyle that can be helpful for you. The Knight is all about strategy, and his best feature is dispatching guards to pursue players. This may seem like the guards will do the work for him but not necessarily as it just gives him a better advantage. You can send out three different guards which are The Carnifex, who break and damage objects at a faster rate. The Assassin guard moves faster than the others and has the ability to inflict the Deep Wound Status Effect on survivors he attacks. Lastly, there is The Jailer Guard, who has a larger detection radius and can patrol the radios for much longer. Overall, I consider The Knight to be S-tier due to his diverse abilities; he can still apply pressure in matches.
- The Knight has multiple special interactions that can help you succeed in a match. His special interaction called Guard Summon mode allows you to aim at the nearby objects and once you press attack, it will summon the Guard to either break or damage an item.
- Another special ability is called The Hunt, which is a Guard on patrol and he can detect survivors only in the highlighted area. Once he detects someone, he will begin to hunt and eventually attack the survivor.
- Map of the Realm is an add-on that increases the vision range of guards that are on patrol by 4 meters
- Chain Mail Fragment add-on causes Guards to make the survivor suffer from the Haemorrhage Status Effect when they are attacking.
- Once a Guard downs a survivor, The Knight will receive the Killer Instinct notification of the survivor that was downed.
A-Tier:
This tier provides a variety of abilities that aid the killer’s performance. Even though they are not in the top tier, the killers on this list are still excellent to use. They can still help you apply pressure on the survivors.
The Cenobite (Elliot Spencer) (A-Tier 80/100)
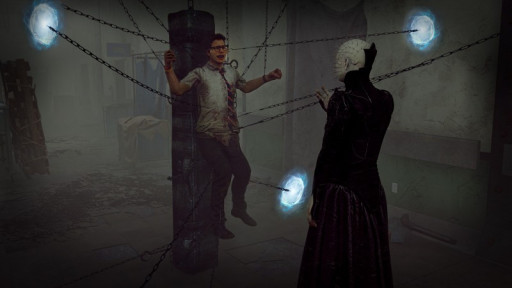
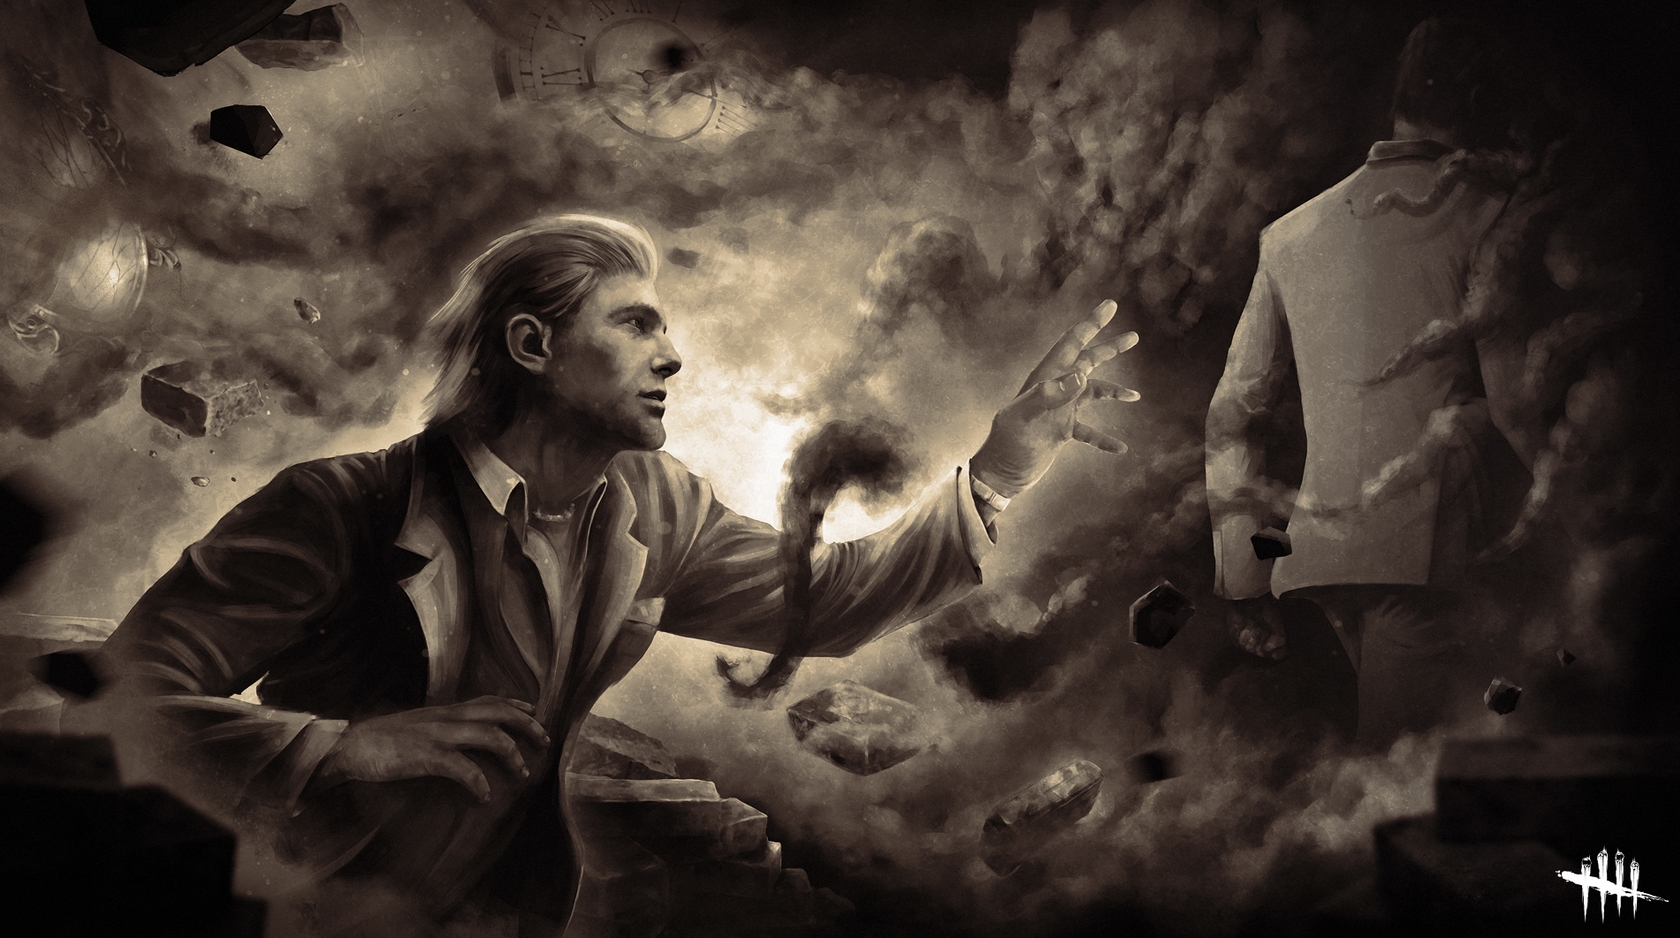
The Cenobite is another killer that can stifle the movement of his targets to eliminate them. The Cenobite's main power is Summons of Pain, which allows him to teleport to any location he desires. The best thing about him is that he can send out chains that cause survivors to be affected by the Incapacitated Status Effect, preventing them from leaving through the Exit Gate.
- Lament Configuration, his other ability, is a small box capable of starting a Chain Hunt on the survivors. The only way for survivors to get rid of this is to pick up the box to solve the puzzle it contains. However, you gain another advantage because you can teleport back in time and make them pay.
- The Cenobite has a special ability called Possessed Chain. Once the chain is aimed in the direction of the survivor. It will bind them with an uncontrolled chain.
- When a survivor is bound with just a regular chain, they will not be able to run and they will suffer from the Incapacitated Status Effect. They also will not be able to escape through the Exit Gate
- Lively Crickets add-on increases the possessed chain turn rate by 10%
- Survivors that are carrying the Lament Configuration (The Box), will suffer from the Exhausted Status Effect
- Original Pain add-on is a must because once a survivor breaks free of the Possessed Chain, they will suffer from the Deep Wound Status Effect
The Huntress (Anna) (A-Tier 79/100)
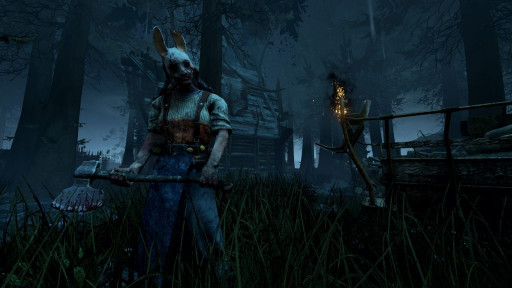
This ax-wielding assassin is capable of throwing her Hunting Hatchets at survivors. Once properly aligned, they will become hurt or downed immediately from a distance. During chases and even when survivors are working on generators, The Huntress can exert tremendous pressure! What makes her great is that she can send a hatchet out at great distances and end a chase in just seconds.
- Beast of Prey is one of The Huntress's great perks. This grants her a lust for a kill and she will be under the Undetectable Status Effect as long as Bloodlust remains active.
- The add-on Yellowed Cloth increases the Flight Speed of her hatchets by 10%
- The weighted head add-on is another must-have. When a survivor is hit by the hatchets. They will suffer from the Incapacitated Status Effect for 10 seconds!
- Soldier’s Puttee is an ultra-rare add-on that increases the movement speed of The Huntress when she runs out of Hatchets.
The Hillbilly (Max Thompson Jr.) (A-Tier 78/100)
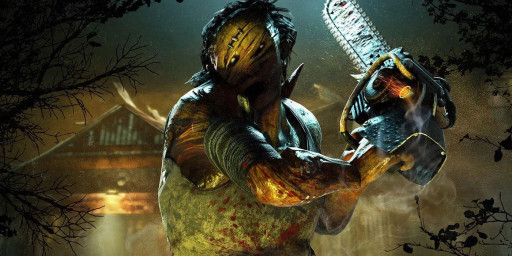
Although he moves with a limp, he is still a fast-moving killer that can cover large distances in such a short time! He is able to charge at survivors at a speed that can be hard to dodge at times. Quickly dispatching survivors with his chainsaw. You do not want to get in his way at all because it is hard for him to lose a chase. Once you are in pursuit, The Hillbilly can put the survivor into the dying state with his chainsaw.
- Enduring is one of Hillbilly’s perks that make him resilient to pain. It reduces the pallet stun duration between 40-50% depending on your tier level for this perk.
- Lightburn is also a great Hillbilly perk as it allows you to still see the auras of survivors that were attempting to blind you with their flashlight. They will be revealed between 6-10 seconds
- The Chainsaw offers some great cooldowns. It will cool down after just 3 seconds once you have a successful hit or even when you missed a hit and it is only a one-second cooldown when breaking walls or pallets.
- Dad’s Boots add-on increases The Hillbilly’s turn speed while sprinting with his chainsaw by 28%.
- Leafy Mash is another great add-on to use giving The Hillbilly the ability to go undetectable for a total of 15 seconds after hitting a survivor with his chainsaw
The Artist (A-Tier 77/100)
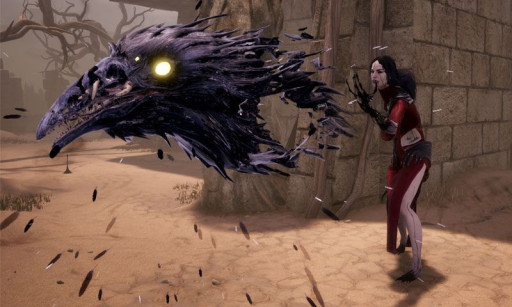
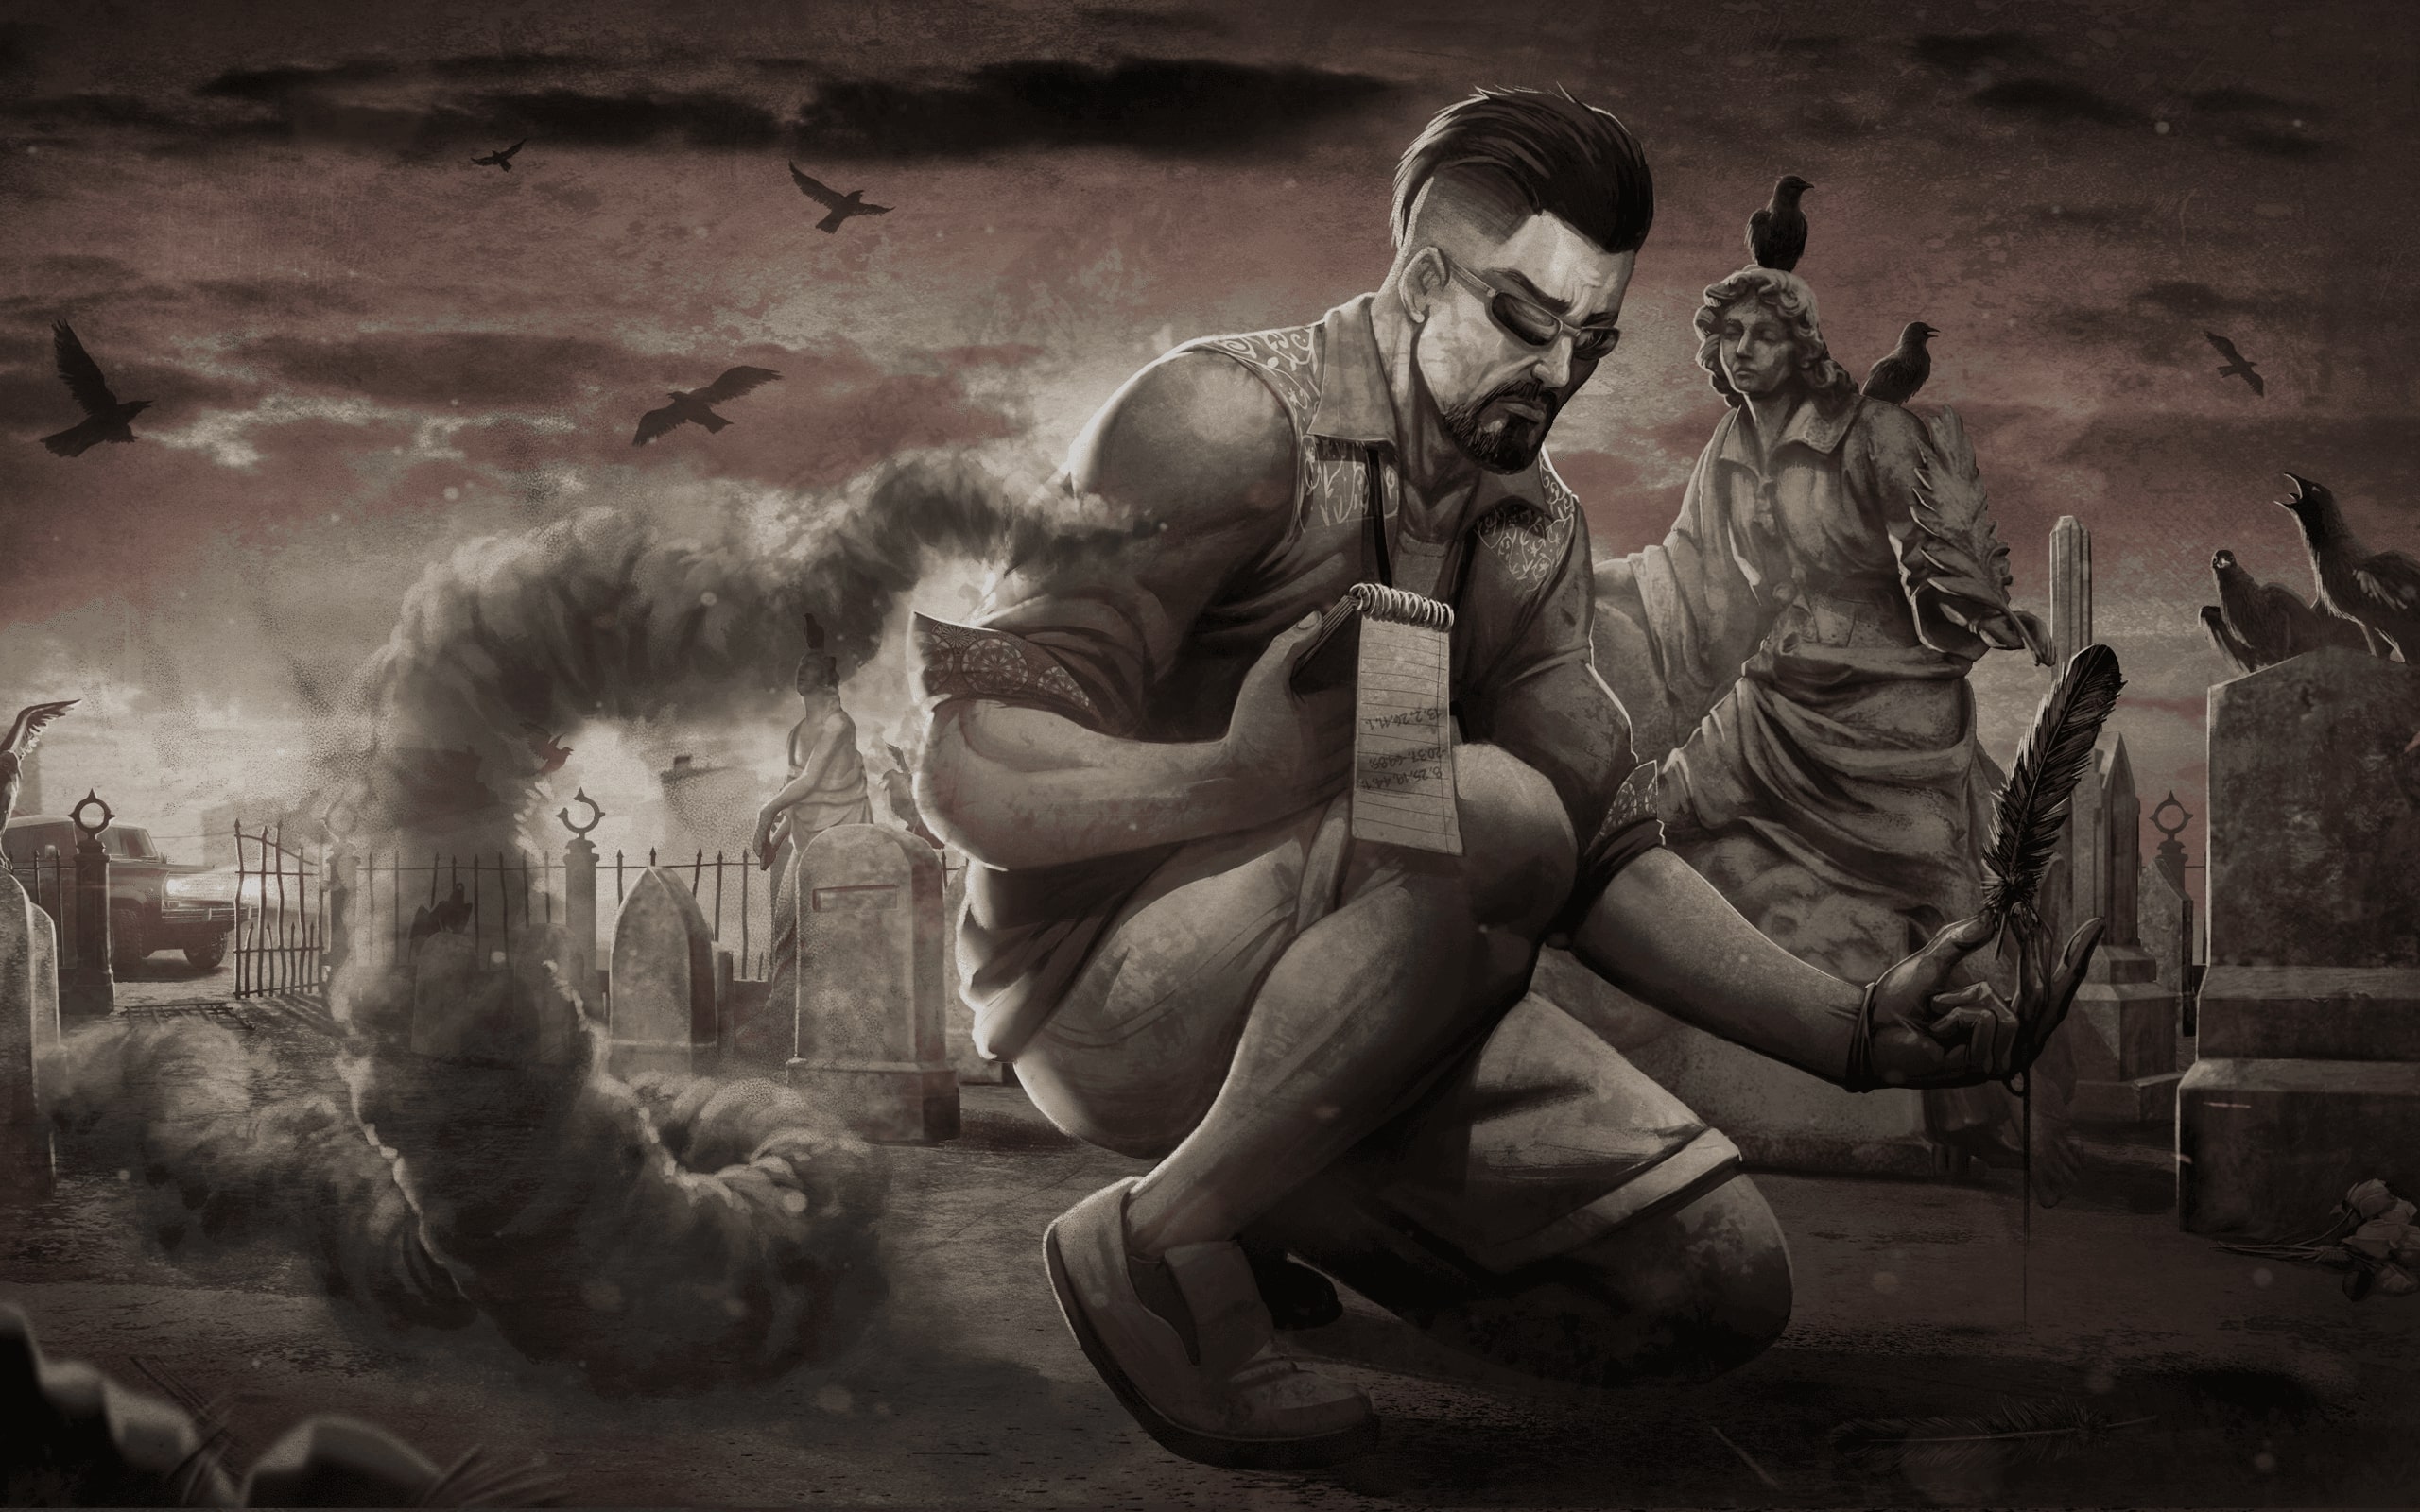
With her murderous crows, which she can dispatch from a great distance, The Artist poses a significant threat. When she sends out the crows, they will fly in different directions until they come across a survivor, which will reveal their location. Crows also help to slow generator progression and can be nerve-wracking for survivors attempting to flee from the crows. When the crows swarm the survivor, their movement slows, preventing them from looping you and allowing an easy hit. The Artist’s gameplay may appear simple, but she can be a lot of fun to use!
- The Artist is great atpreventing survivors from looping her in chases by placing her Dire Crows in front of a pallet or by the window.
- When the Dire Crows hit a survivor and begin to swarm, their aura will soon be revealed allowing you to rush over and finish the job.
The Deathslinger (Caleb Quinn) (A-Tier 76/100)
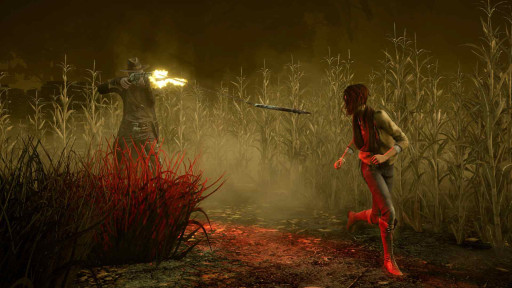
The Deathslinger uses his weapon named The Redeemer which is also his main power. He has the ability to fire a spear toward his target. Once he hits them, he can reel them in, forcing another hit, injuring them, or downing them. The only downside is the survivor can break the chain once being reeled in as well as his reload time takes a while. However, The Deathslinger is still a great killer to use and you can treat survivors as target practice.
The Doctor (Herman Carter) (A-Tier 75/100)
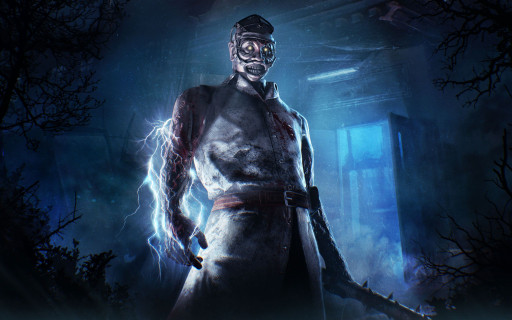
The Doctor, like Freddy Kreuger, is a mind-game killer. Inflicting illusions on survivors and filling them with madness. Shock Therapy is the Doctor’s main power, and believe me, you do not want this type of therapy. When he shocks a survivor, the level of insanity increases with each shock. Once it reaches stage 3, they will eventually fill the air with their screams, revealing their location. While shocking them, will also prevent them from throwing down a pallet and vaulting, which is useful during a chase.
The Demogorgon (A-Tier 74/100)
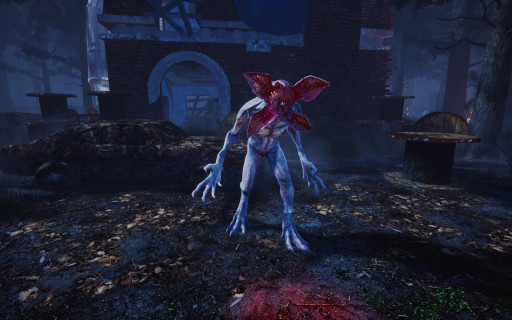
A deadly monster from the Stranger Things Universe. The Demogorgon’s main power Of the Abyss aids him in his hunt for survivors. His power allows him to perform a special attack and ability. His special attack is called Shred, and it allows him to lunge forward and deliver a powerful hit on the survivor. During his lunge, his attack speed increases by 460%. Now for his special ability, he can travel to the “upside down” and climb back to the surface via his portal. The only drawback is that his portals can be closed. He does, however, have excellent map control and can appear out of nowhere due to his ability to place a total of six portals.
The Plague (Adiris) (A-Tier 73/100)
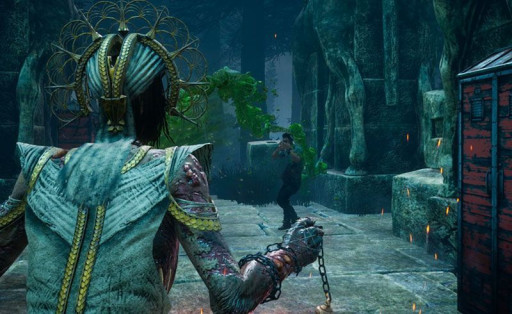
The Plague may appear simple due to her abilities, but she can still cause the survivors to suffer as well as infect each other. Her main power is Vile Purge, which she uses to attack survivors, generators, pallets, and windows. If a survivor touches it after this, they will become infected as well. In addition, when a healthy survivor attempts to heal the infected one, they become infected too. If you hit a survivor with your power enough times, they will be put into the Injured State and receive the Broken Status Effect. It is an endless cycle for survivors facing The Plague, as her vomit can spread like wildfire.
The Pig (A-Tier 72/100)
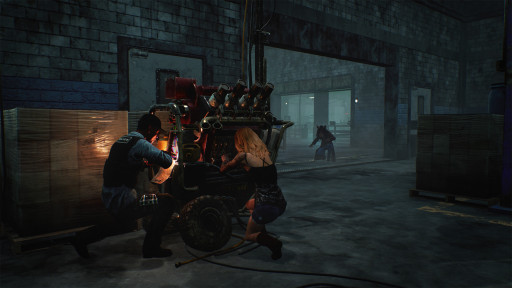
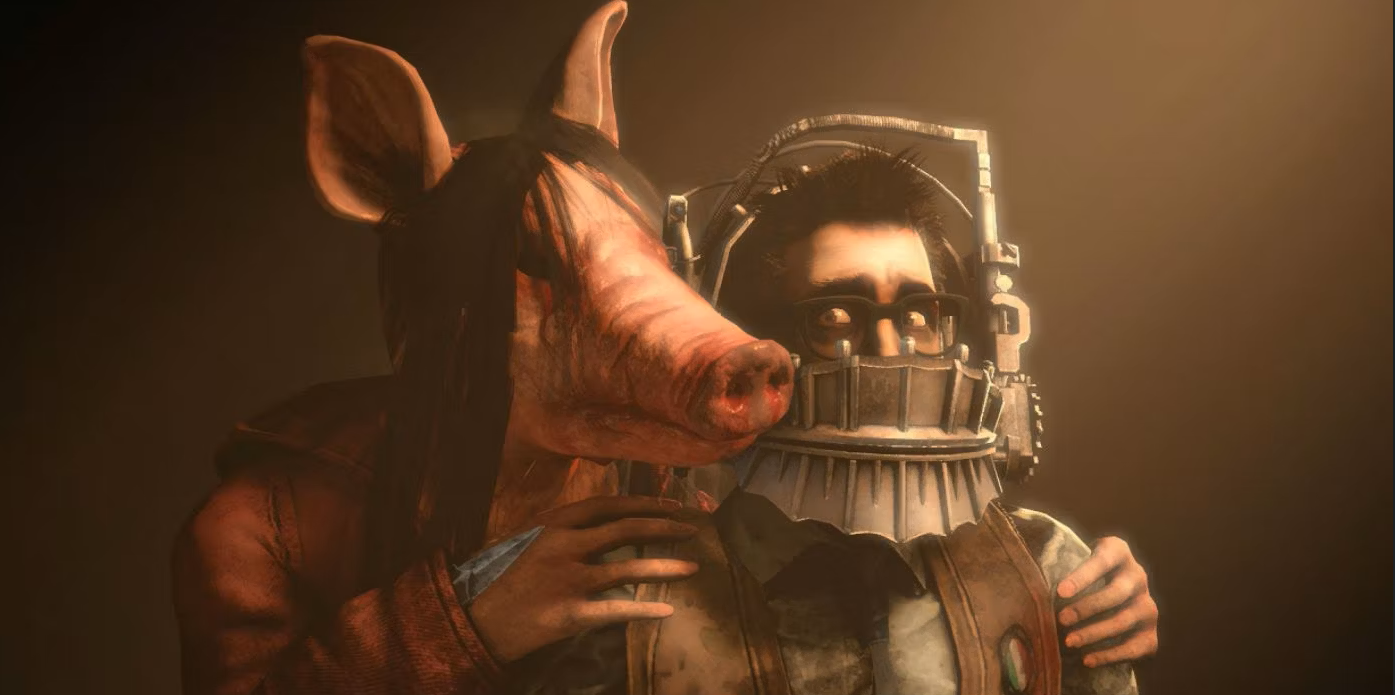
The Pig is an antagonist from the Saw franchise. She is also a cunning killer who crouches and ambushes survivors. What distinguishes her is her ability to place bear traps on survivors, which they must quickly remove due to a timer. Some traps do not immediately start the timer, but most do on the second go around. It is best to save your traps wisely rather than using them all at once.
The Cannibal (Leatherface) (A-Tier 71/100)
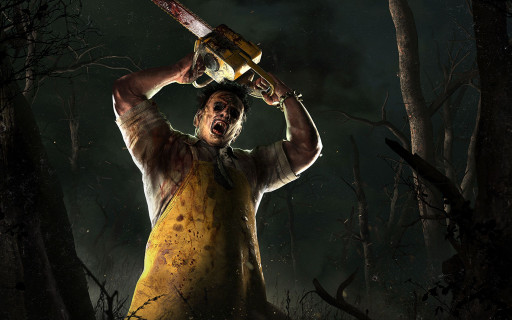
The Cannibal, also known as Leatherface, is a highly lethal killer. You do not want to get in his way because, like The Hillbilly, Leatherface’s main weapon is a chainsaw. Aside from his ability, he can perform a Chainsaw Sweep, which provides a wider attack than The Hillbilly’s run. It is ideal for players, who do not wish to engage in melee combat right away. Leatherface can eliminate as many survivors with his chainsaw, making the matches less stressful.
B Tier:
(The Trickster, The Legion, The Onryo, and The Wraith)
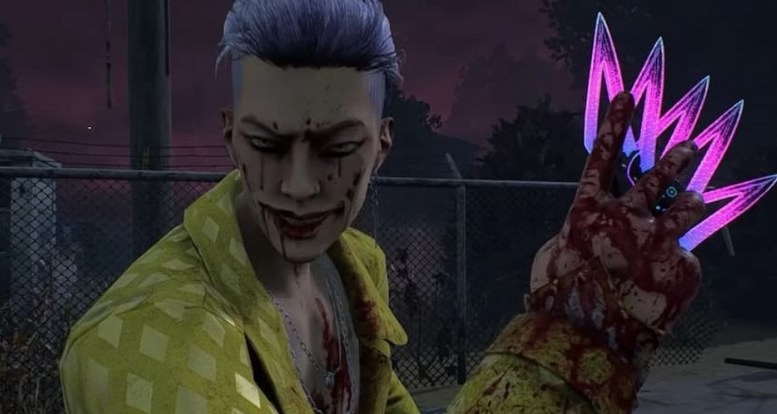
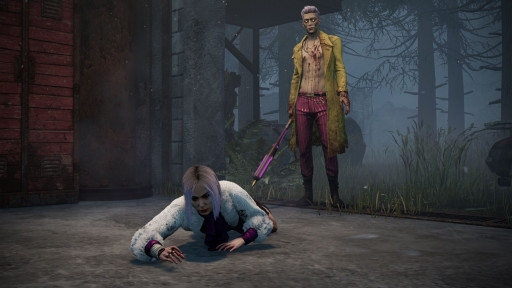
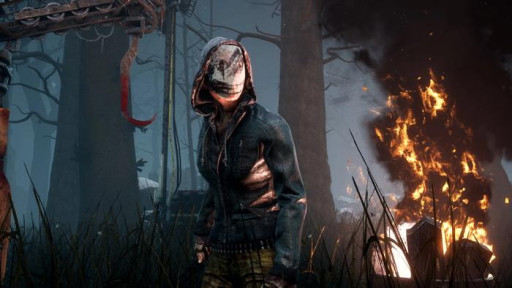
These killers are not too powerful or weak. However, they have their flaws when it comes to their playstyle. Starting with The Trickster is armed with throwing knives, this is great but it becomes time-consuming if you use this method to down a survivor. The Legion can be great if you love to move at a great speed. Their main power is Feral Frenzy, which is honestly the only good thing since they can hit the survivor multiple times. The Onryo can teleport through TV and if the survivors don’t transport the tapes they retrieve in time then they will be marked, resulting in being down immediately. The Wraith can go invisible and can sneak up on survivors at any time, his play style is best for players that love a stealth approach.
The Trickster: (B-Tier 70/100)
The Legion (B-Tier 69/100)
The Onryo (B-Tier 68/100)

The Wraith (B-Tier 67/100)
C-Tier:
(The Clown, The Trapper, Nemesis, Dredge, The Twins, and The Executioner)
These killers offer a more slower but intense approach when hunting down survivors.
The Clown (C-Tier 65/100)
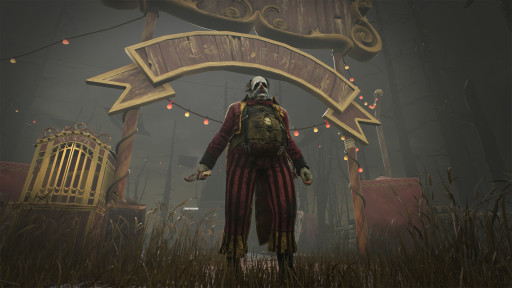
The Trapper (C-Tier 66/100)
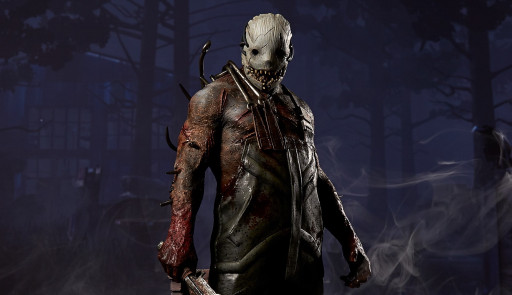
Nemesis (C-Tier 65/100)
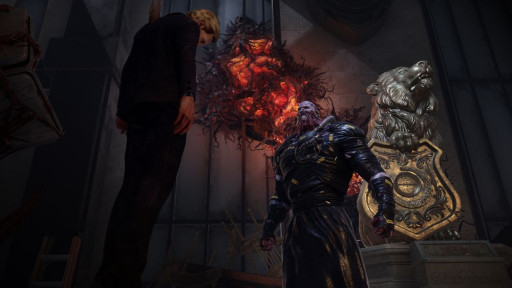
Dredge (C-Tier 64/100)
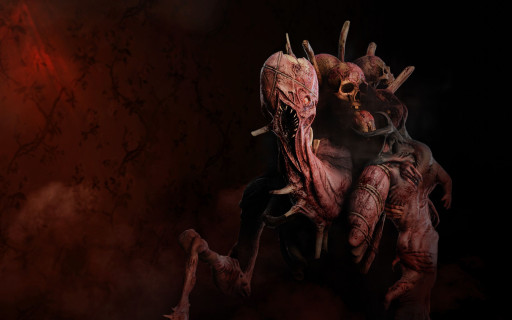
The Twins (C-Tier 63/100)
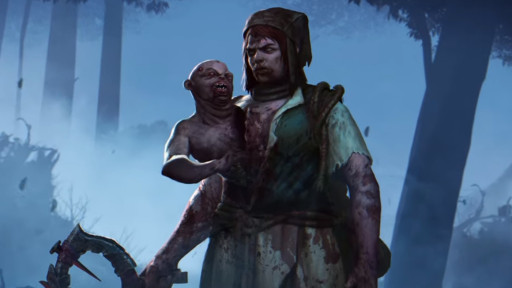
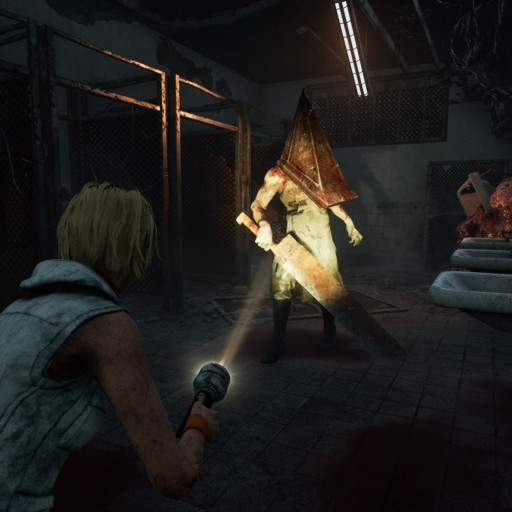
The Executioner (C-Tier 62/100)
