![[Top 5] Dead By Daylight Best Steve Harrington Builds dbd, dead by daylight, steve, stranger things, steve harrington, best builds](/sites/default/files/styles/responsive_image_600xauto/public/2021-08/top_5_dead_by_daylight_best_steve_harrington_builds_-_main.jpg.webp?itok=usgwFop2)
[Top 5] Dead By Daylight Best Steve Harrington Builds
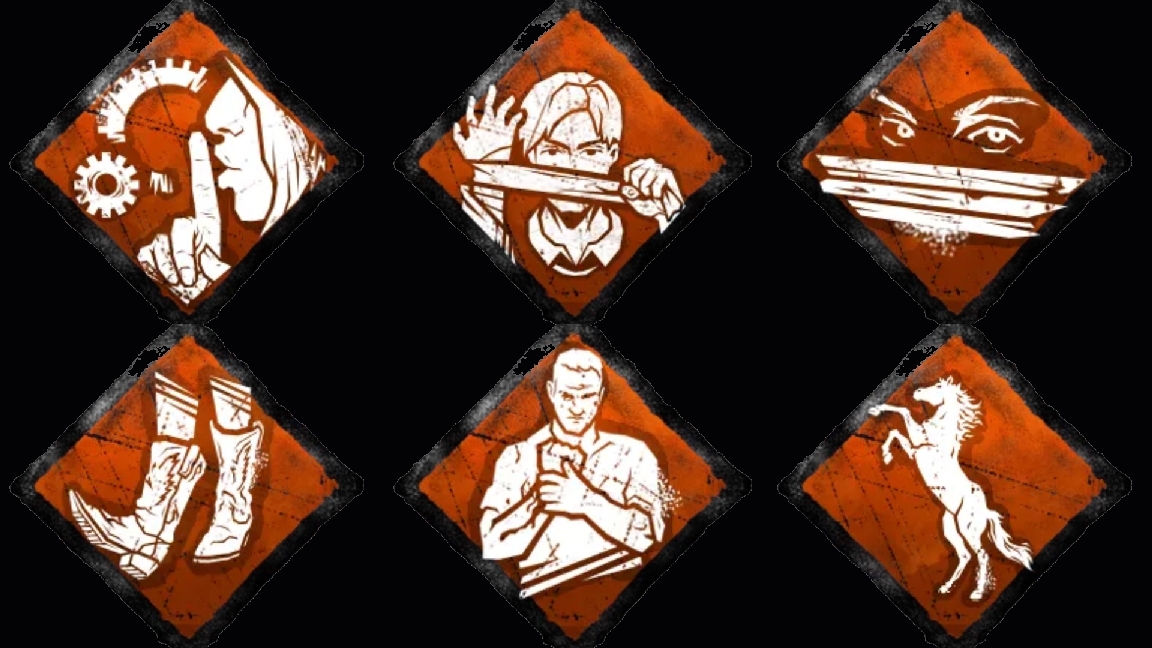
Steve was introduced to Dead by Daylight in the Chapter 13: Stranger Things DLC. Accompanying Steve was Nancy and the lovable Demogorgon. Steve brought with him 3 fairly unused perks: Babysitter, Camaraderie, and Second Wind. Let’s look at some of the best builds that use Steve’s perks.
5. Facecamping Value
Making Clown Facecamp me for Camaraderie Value | Survivor Gameplay | Siptonic - Dead by Daylight
Starting we have Facecamping Value, the only build in the list today that uses arguably Steve’s worst perk, Camaraderie. Now, Camaraderie isn’t bad inherently, but when you are playing solo queue, it is essentially useless, especially since it relies on the killer to be facecamping you, and having a teammate nearby. However, in tournament settings, this is actually a really strong perk, and you see it used pretty often.
Camaraderie stops the Struggle Phase timer while you are hooked for 34 seconds while another survivor is within 16 meters of you. This could give you the potential to stall for long enough to get a better opening for somebody to come rescue you, or more likely than not, just waste the killer’s time more while he is standing right in front of you. 34 seconds of extra time is almost half of a generator if one person is working on it, that can make or break getting your teammates out of the match.
Otherwise, we have Borrowed Time, a very strong meta perk that essentially gives the person you are unhooking a shield for 12 seconds. If they are hit during this time, they will not be put in the dying state.
Decisive Strike is used as an anti-tunnel perk, if you are downed and picked up immediately after being unhooked then you can stun the killer and run away. This is a decent pairing with Camaraderie assuming that if the killer is camping you, then they will probably tunnel you off of the hook as well.
Lastly, we have Iron Will, another strong perk that removes your grunts of pain while you are injured, allowing you to hide easier from the killer.
Overall, there aren’t a lot of synergies with the build, and Camaraderie will probably not net you a lot of value, but the potential is there.
What Facecamping Value Excels In:
- Counters face camping killers.
- Counters tunneling killers.
- Safe unhooks.
Perks Used:
Borrowed Time: For 8/10/12 seconds after unhooking a Survivor, the unhooked Survivor is protected by the Endurance Status Effect.
- Any damage taken that would put the Survivor into the Dying State will instead trigger the Deep Wound Status Effect, after which the Survivor has 20 seconds to Mend themselves.
- Taking any damage while under the effect of Deep Wound or if its timer runs out will put the Survivor into the Dying State.
Camaraderie: While you are on the Hook in the Struggle Phase, Camaraderie activates.
- If another Survivor is within 16 meters of your Hook while Camaraderie is active, the Struggle Phase timer is paused for 26/30/34 seconds.
Decisive Strike: After being unhooked or unhooking yourself, Decisive Strike activates for the next 40/50/60 seconds:
- When being grabbed or picked up by the Killer, succeed a Skill Check to automatically escape their grasp, stunning them for 5 seconds.
- Successfully stunning the Killer will disable Decisive Strike for the remainder of the Trial and result in you becoming the Obsession.
While Decisive Strike is active, the following interactions will deactivate it:
- Repairing a Generator.
- Healing yourself or other Survivors.
- Cleansing a Totem. Sabotaging a Hook.
- Unhooking other Survivors. Increases the odds of being the Obsession.
- The Killer can only be obsessed with one Survivor at a time.
Iron Will: You are able to concentrate and enter a meditative-like state to numb some pain. When injured, Grunts of Pain are reduced by 50/75/100%.
4. Meta Sitter
Meta Sitter is a typical meta build, but with Babysitter thrown in. Babysitter is also, unfortunately, not a very strong perk. It helps out your teammate more than yourself, and there is a downside to it as well, allowing the killer to see your aura for 4 seconds.
When you unhook a teammate they will not leave scratch marks or pools of blood for the next 8 seconds, this allows them time to run away and less likely for the killer to tunnel them. During this, you have 4 seconds where you can see the killer, and they can see you, making it more likely that they will target you.
Once the killer has targeted you, you may want to run, Dead Hard will help you extend chases for as long as possible, punishing the killer for trying to hunt you down.
If the killer still goes after the unhooked teammate, you have Borrowed Time that will give them a little extra help so that they don’t go down immediately as well.
Lastly, we have Decisive Strike which is used so you don’t get tunneled yourself and allows you a second chance at a chase.
What Meta Sitter Excels In:
- Helps your teammate a lot when you unhook them.
- Strong exhaustion perk.
- Counters tunneling killers.
Perks Used:
Babysitter: When you unhook a Survivor, the rescued Survivor will leave neither Scratch Marks nor Pools of Blood for the next 4/6/8 seconds.
- Both you and the Killer see each other's Aura for 4 seconds.
Borrowed Time: For 8/10/12 seconds after unhooking a Survivor, the unhooked Survivor is protected by the Endurance Status Effect.
- Any damage taken that would put the Survivor into the Dying State will instead trigger the Deep Wound Status Effect, after which the Survivor has 20 seconds to Mend themselves.
- Taking any damage while under the effect of Deep Wound or if its timer runs out will put the Survivor into the Dying State.
Dead Hard: When Injured, tap into your adrenaline bank and dash forward quickly to avoid damage.
- Press the Active Ability button while running to dash forward.
- Avoid any damage during the Dash. Dead Hard causes the Exhausted Status Effect for 60/50/40 seconds.
- Dead Hard cannot be used when Exhausted.
Decisive Strike: After being unhooked or unhooking yourself, Decisive Strike activates for the next 40/50/60 seconds:
- When being grabbed or picked up by the Killer, succeed a Skill Check to automatically escape their grasp, stunning them for 5 seconds.
- Successfully stunning the Killer will disable Decisive Strike for the remainder of the Trial and result in you becoming the Obsession.
While Decisive Strike is active, the following interactions will deactivate it:
- Repairing a Generator.
- Healing yourself or other Survivors.
- Cleansing a Totem. Sabotaging a Hook.
- Unhooking other Survivors. Increases the odds of being the Obsession.
- The Killer can only be obsessed with one Survivor at a time.
3. Stuns and Heals
SECOND WIND OP! | Dead By Daylight STEVE HARRINGTON
Stuns and Heals is finally leading us into the really strong builds we can use with Steve’s perks.
Starting with Steve’s, arguably best, perk Second Wind, when you heal another survivor fully, Second Wind will activate. The next time you are unhooked, whether that’s by a teammate or by yourself, you will become broken for 20 seconds. After these 20 seconds are up, you will be healed automatically. This gives you time to work on generators, heal the other survivor, or try to outrun the killer that is trying to tunnel you.
And if they do tunnel you, well we have Decisive Strike to help you with that. Giving you a free escape and a second chance to outrun the killer. Unfortunately, if you do go down before the timer for Second Wind is up, you will not get instantly healed.
Speaking of instantly healed, when all 5 generators are completed, Adrenaline will heal you a health state and give you a speed boost to run away from the killer if you happen to be mid chase.
Lastly, we have Head On, which doesn’t synergize with anything else in this build, however, it can come in handy from time to time. If you are in a locker for at least 3 seconds, you can jump out of the locker while the killer is in front of it to stun them and make your escape. This can be used to save teammates if they are being carried, or if you are trying to be cheeky, you can try to do this mid-chase. Good luck with that though.
What Stuns and Heals Excels In:
- Very strong end game perks.
- Instant heals on yourself.
- Possibility to save teammates.
Perks Used:
Adrenaline: When the Exit Gates are powered, instantly heal one Health State and sprint at 150% of your normal Running speed for 5 seconds.
- Adrenaline is on hold if you are disabled at the moment it triggers and will instead activate upon being freed.
- If playing against The Nightmare, Adrenaline will wake you from the Dream World upon activation.
- Adrenaline ignores an existing Exhaustion timer, but causes the Exhausted Status Effect for 60/50/40 seconds.
Decisive Strike: After being unhooked or unhooking yourself, Decisive Strike activates for the next 40/50/60 seconds:
- When being grabbed or picked up by the Killer, succeed a Skill Check to automatically escape their grasp, stunning them for 5 seconds.
- Successfully stunning the Killer will disable Decisive Strike for the remainder of the Trial and result in you becoming the Obsession.
While Decisive Strike is active, the following interactions will deactivate it:
- Repairing a Generator.
- Healing yourself or other Survivors.
- Cleansing a Totem. Sabotaging a Hook.
- Unhooking other Survivors. Increases the odds of being the Obsession.
- The Killer can only be obsessed with one Survivor at a time.
Head On: While standing in a Locker for 3 seconds, Head On activates.
- When performing a rushed action to leave a Locker, stun the Killer for 3 seconds if they are within range.
- Head On causes the Exhausted Status Effect for 60/50/40 seconds.
- Head On cannot be used when Exhausted or when you have accrued Stillness Crows.
Second Wind: When you heal another Survivor for the equivalent of 1 Health State, Second Wind activates:
- The next time you are unhooked or unhook yourself, you suffer from the Broken Status Effect until Second Wind deactivates.
- You are automatically healed 1 Health State after 28/24/20 seconds.
While Second Wind is active, the following conditions will deactivate it:
- Successfully being healed by Second Wind.
- Being put into the Dying State before the timer elapses.
- Second Wind does not activate if you already suffer from the Broken Status Effect.
2. Certified Babysitter
BABYSITTER BUILD - DEAD BY DAYLIGHT
Certified Babysitter is similar to the Meta Sitter, however, it glorifies Steve’s perk Babysitter, and has better synergies.
Babysitter shows you the killer’s aura and shows the killer your aura for 4 seconds. It also allows the unhooked teammate to not leave Scratch Marks of Pools of Blood for 8 seconds.
Now since you just unhooked a teammate, you will have We’ll Make It active. Meaning you can heal somebody twice as fast.
If the killer happens to come to visit you while you are doing this, and you will see if they are because of Babysitter, you have Borrowed Time, so the unhooked survivor shouldn't be in any trouble.
Lastly, we have Kindred, which is a favorite of mine. While other survivors are hooked, you get to see where all of your teammates are, and where the killer is (for 16 meters around the hook.) This lets you know where the killer is heading and whether it is safe or even worth your time to go get the hooked survivor, or if another teammate will beat you to it.
Babysitter is typically considered not a great perk, but I believe this build does it some justice and that perhaps it is underrated a tad. However, I do believe it can do with a buff.
What Certified Babysitter Excels In:
- Very safe unhooks.
- Very fast heals after unhooking.
- Knowledge of the killer's location while people are hooked.
Perks Used:
Babysitter: When you unhook a Survivor, the rescued Survivor will leave neither Scratch Marks nor Pools of Blood for the next 4/6/8 seconds.
- Both you and the Killer see each other's Aura for 4 seconds.
Borrowed Time: For 8/10/12 seconds after unhooking a Survivor, the unhooked Survivor is protected by the Endurance Status Effect.
- Any damage taken that would put the Survivor into the Dying State will instead trigger the Deep Wound Status Effect, after which the Survivor has 20 seconds to Mend themselves.
- Taking any damage while under the effect of Deep Wound or if its timer runs out will put the Survivor into the Dying State.
Kindred: While you are hooked:
- The Auras of all Survivors are revealed to one another.
- Whenever the Killer is within 8/12/16 meters of your Hook, their Aura is revealed to all Survivors.
While another Survivor is hooked:
- The Auras of all other Survivors are revealed to you.
- Whenever the Killer is within 8/12/16 meters of the hooked Survivor, their Aura is revealed to you.
We’ll Make It: Whenever you rescue a Survivor from a Hook, your Altruistic Healing speed is increased by 100% for the next 30/60/90 seconds.
1. Second Meta Wind
Second Wind Is Underrated
Second Meta Wind uses Steve’s perk Second Wind again, however it mixes it with more meta perks and creates a surprisingly viable build.
Second Wind activates once you have fully healed another survivor one health state. Once activated, the next time you are unhooked you become broken for 20 seconds. After 20 seconds you will be instantly healed. This saves everyone time because nobody is healing you, you aren’t spending time being healed, everyone can just focus on other objectives.
Bond is a strong perk that shows you the aura of your other teammates. This is invaluable information, letting you know if any of them are being chased, if they are then you know where the killer is too. If nobody is around you, you can make an educated guess as to where they are. You can find injured survivors to heal so you can activate Second Wind. Or you can be in a chase and see where your teammates are and know to avoid that area.
Dead Hard will help you in chases, especially while you are broken after being unhooked, allowing you to get to loops you wouldn’t be able to get to before.
Lastly, we have Iron Will which will keep you from crying in pain while you are broken with Second Wind, making it harder for the killer to find you and keep you from getting your instant heal.
Overall this is a great perk build, it gives you information, a quick self-heal, utility to hide yourself from the killer, and an exhaustion perk to help you in chases.
What Second Meta Wind Excels In:
- Uses strong meta perks.
- Strong exhaustion perk.
- Instant self-heal after being unhooked.
Perks Used:
Bond: The Auras of other Survivors are revealed to you when they are within a range of 20/28/36 meters.
Dead Hard: When Injured, tap into your adrenaline bank and dash forward quickly to avoid damage.
- Press the Active Ability button while running to dash forward.
- Avoid any damage during the Dash. Dead Hard causes the Exhausted Status Effect for 60/50/40 seconds.
- Dead Hard cannot be used when Exhausted.
Iron Will: You are able to concentrate and enter a meditative-like state to numb some pain.
- When injured, Grunts of Pain are reduced by 50/75/100%.
Second Wind: When you heal another Survivor for the equivalent of 1 Health State, Second Wind activates:
- The next time you are unhooked or unhook yourself, you suffer from the Broken Status Effect until Second Wind deactivates.
- You are automatically healed 1 Health State after 28/24/20 seconds.
While Second Wind is active, the following conditions will deactivate it:
- Successfully being healed by Second Wind.
- Being put into the Dying State before the timer elapses.
- Second Wind does not activate if you already suffer from the Broken Status Effect.
You May Also Be Interested In:
- Dead by Daylight Survivor Guide: Top 25 Tips
- Dead by Daylight Killers Guide: Top 25 Tips
- [Top 10] DbD Best Killer Builds That Are Great!
- [Top 100] Dead By Daylight Best Names
- [Top 10] DbD Best Survivor Builds That Are OP!
- [Top 10] DbD Best Killers And Why They're Good
- [Top 15] DbD Best Killer Perks And Why They're Good
- [Top 15] DbD Best Survivor Perks And Why They're Good
- [Top 10] DbD Best Survivors And Why They're Good
- [Top 10] DbD Best Survivor Builds That Are Great
- [Top 15] Ghost Games To Play Today
- [Top 15] Horror Movies That Were Books
- [Top 15] Best Horror Movies That Were Banned
- [Top 5] Dead By Daylight Most Fun Survivors
- [Top 5] Dead By Daylight Best Jane Romero Builds
- [Top 5] Dead By Daylight Best Meg Thomas Builds
- [Top 5] Dead By Daylight Best Claudette Morel Builds
- [Top 5] Dead by Daylight Best Jake Park Builds

