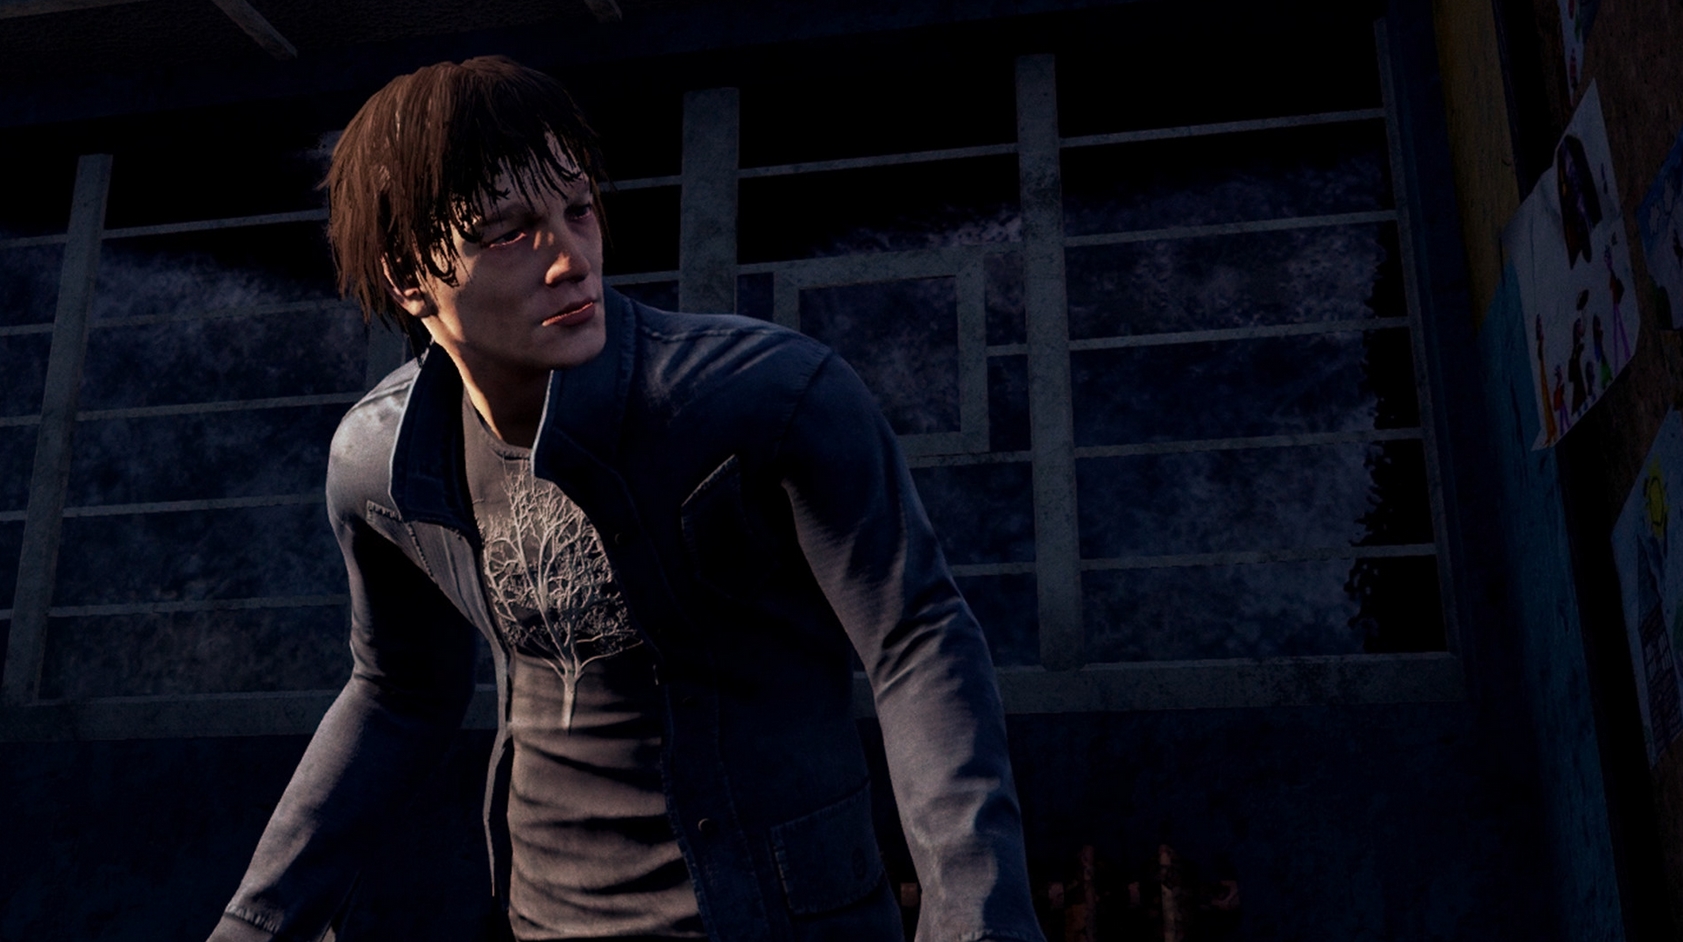
In this article, we will be identifying and explaining the top five best looping builds for a survivor that is amazingly useful for looping and escaping the killer as much as possible during the game of Dead By Daylight.
Builds for Survivors are constantly changing, and therefore in this article, I will present the best up-to-date builds that are amazing for looping, and of course, presenting the very best builds that work even against the very powerful killers.
Let the top 5 looping build escape the fog and reveal themselves:
5. The Combo Probo Build
Build presented by: PROBZZ
The combo Probo build is a "classic" build that uses perks that are useful when looping against the killer; however, over time, this build can get quite ineffective as the killers would have a sense of the idea of classic builds and therefore, they would most likely know what you have and therefore counter them. Nonetheless, with the perk Iron Will, it does not completely reduce the volume of grunts of pain. Therefore, it can be quite easy for killers such as Spirit to find you, making the perk quite ineffective.
In conclusion, it is a great looping build where you have the ability to loop faster using perks such as resilience; however, it can have many disadvantages where the killer can counter the build and where the perks are not as effective as they used to be. Nonetheless, a great build for classic loops, a build with a meaning where perks don't matter if you are good at looping.
What Overcome the Combo Probo Build Excels In:
- With the perk Resilience, you have the ability to vault over windows very fast, and therefore having the ability to save split seconds that can be useful for critical moments where the killer is about to hit you through the window or even through the pallet.
- With Dead Hard, it will allow you to save yourself from moments where you are about to get hit by the killer, and this includes the moment where you have the ability to use dead hard for 0.5 seconds which gives you endurance space and, therefore the ability to gain some distance.
- The perk Spine Chill will allow you to spot killers that might be coming towards your area. Nonetheless, one of the other advantages is the fact that it can give you boosts within survivors' actions, a boost of an additional 6% which can be easily combined with resilience, giving a total boost of 15%.
Build details:
- Spine Chill - Whenever the Killer is within 36 metres of your location, Spine Chill activates, lighting up its icon. If there is a Terror Radius present, Spine Chill will reveal its intensity using its icon. If the Killer is within range and looking at you with a clear line of sight, you benefit from the following effect: Increases your Action speeds in Repairing, Healing, Sabotaging, Unhooking, Cleansing, Blessing, Opening, and Unlocking by 2/4/6 %.
- Resilience - Increases your Action speeds in Repairing, Healing, Sabotaging, Unhooking, Vaulting, Cleansing, Opening, and Unlocking by 3/6/9 % when in the Injured State.
- Iron Will - Reduces the volume of Grunts of Pain while in the Injured State by 25/50/75 %. Iron Will cannot be used when suffering from Exhaustion but does not cause the Exhausted Status Effect.
- Dead Hard - You can take a beating. When you are injured, tap into your adrenaline bank to avoid damage. Press the Active Ability button while running to trigger the Endurance Status Effect for 0.5 seconds. Dead Hard causes the Exhausted Status Effect for 60/50/40 seconds. Dead Hard cannot be used when Exhausted.
For more details on the perks, check out the dead by daylight fandom wiki:
- Spine Chill: https://deadbydaylight.fandom.com/wiki/Spine_Chill
- Resilience: https://deadbydaylight.fandom.com/wiki/Resilience
- Iron Will: https://deadbydaylight.fandom.com/wiki/Iron_Will
- Dead Hard: https://deadbydaylight.fandom.com/wiki/Dead_Hard
4. The Camper Escaper Build
Build presented by: Not Demi
The Camper Escaper Build is a build specially designed for camping killers, where they don't do anything but stand there and watch you die slowly on the hook. It is also a great anti-tunnelling build as the perks have a meaning in keeping the killer as long as possible. For instance, with perks such as smash hit and parental guidance, which will allow you to stun the killer with a sprint, and also the suppression pools of blood, scratch marks and also pain, leaving the killer completely confused with no clue where you went after, where then you have the ability to recover and then go for another chase,
In conclusion, it is an amazing anti-tunnelling & camping build which will annoy the killer the most in the game, so therefore it is a build that I would recommend if you want to have fun, especially where you want to waste as much time with the killer as possible.
What the Camper Escaper Build Excels In:
- Smash Hit will allow you to gain a speed boost just after stunning a killer with a pallet. These situations can be useful as not only will you gain distance as the killer is stunned, but also the distance gained from the speed boost, which will allow you to gain extra distance and have a bigger probability of escaping the killer or moving into a safe looping area.
- The combination of Iron Will and Lucky Break will allow you to create less visible pain to the killer as not only does it suppress the sound, but also it suppresses blood and scratch marks, which will allow for an undetectable run, and easy escapes so that you could recover yourself, or continue the loop but with more difficulty for the killer.
- The combination of Smash Hit and Parental Guidance will allow you to pretty much guarantee an escape from the killer if you escape from the line of sight just as you stun the killer, as it will hide any escape resources, creating a sense of emptiness for the killer, not knowing where you went.
Build details:
- Iron Will - Reduces the volume of Grunts of Pain while in the Injured State by 25/50/75 %.
- Lucky Break - Whenever you are in the Injured State, Lucky Break activates: Suppresses your Pools of Blood and Scratch Marks for a maximum of 40/50/60 seconds, after which Lucky Break deactivates. Each 1 second spent healing another Survivor recharges Lucky Break by 1 second up to its maximum Effect duration. Lucky Break also deactivates whenever you are Healthy or in the Dying State.
- Parental Guidance - After stunning the Killer by any means, Parental Guidance suppresses your Scratch Marks, Pools of Blood, and Grunts of Pain for the next 5/6/7 seconds.
- Smash Hit - After stunning the Killer with a Pallet, break into a sprint at 150 % of your normal Running Movement speed for 4 seconds. Smash Hit causes the Exhausted Status Effect for 60/50/40 seconds. Smash Hit cannot be used when Exhausted.
For more details on the perks, check out the dead by daylight fandom wiki:
- Iron Will: https://deadbydaylight.fandom.com/wiki/Iron_Will
- Lucky Break: https://deadbydaylight.fandom.com/wiki/Lucky_Break
- Parental Guidance: https://deadbydaylight.fandom.com/wiki/Parental_Guidance
- Smash Hit: https://deadbydaylight.fandom.com/wiki/Smash_Hit
3. The Looper Dooper Build
Build presented by: BRILO
The Looper Dooper Build is a build that has chase escaping chances mid-game, but also during the end-game, where you have the ability to escape chases at the end of the game with the help of adrenaline and windows of opportunity, which will help you find your way out. Nonetheless, it is a build that is incredibly powerful during the dying state as it will help you recover to an injured state once generators are powered up, which then you will have the ability to use resilience and dead hard, which will help you escape the killer much after, and also use the perk dead hard in critical moments, with an even bigger chance of escaping.
In conclusion, it is a build that is incredibly powerful not just mid game which can help you significantly during chases, but also during the end game with the ability to recover you from the dying state and then use the advantage of other perks during your injured state that will help you escape much more easily.
What The Looper Dooper Build Excels In:
- With windows of opportunity, it is a perk that will allow you to see objects that you can use as an advantage in your looping session, allowing for a more flawless run with the killer without having to think where you need to find any looping objects as it will automatically show using the auras shown by windows of opportunity.
- With the perk Resilience, you have the ability to vault over windows very fast, and therefore having the ability to save split seconds that can be useful for critical moments where the killer is about to hit you through the window or even through the pallet.
- The perk Adrenaline is a perk that will allow you to give you a chance to escape the game, giving you a sprint burst moment and a heal, which can save you in critical moments where you are injured and close to the killer or even in the dying state on the floor, where you will be able to pick yourself up and then run to the exit gates.
Build details:
- Windows of Opportunity - The Auras of Breakable Walls, Pallets, and Windows are revealed to you within 24/28/32 metres.
- Dead Hard - You can take a beating. When you are injured, tap into your adrenaline bank to avoid damage. Press the Active Ability button while running to trigger the Endurance Status Effect for 0.5 seconds. Dead Hard causes the Exhausted Status Effect for 60/50/40 seconds. Dead Hard cannot be used when Exhausted.
- Adrenaline - Once the Exit Gates are powered, instantly heal one Health State and sprint at 150 % of your normal Running Movement speed for 5 seconds. Adrenaline is on hold if you are disabled at the moment it triggers and will instead activate upon being freed. If playing against The Nightmare, Adrenaline will wake you from the Dream World upon activation. Adrenaline ignores an existing Exhaustion timer but causes the Exhausted Status Effect for 60/50/40 seconds.
- Resilience - Increases your Action speeds in Repairing, Healing, Sabotaging, Unhooking, Vaulting, Cleansing, Opening, and Unlocking by 3/6/9 % when in the Injured State.
For more details on the perks, check out the dead by daylight fandom wiki:
- Windows of Opportunity: https://deadbydaylight.fandom.com/wiki/Windows_of_Opportunity
- Dead Hard: https://deadbydaylight.fandom.com/wiki/Dead_Hard
- Adrenaline: https://deadbydaylight.fandom.com/wiki/Adrenaline
- Resilience: https://deadbydaylight.fandom.com/wiki/Resilience
2. The Welcome Aboard The Run Build
Build presented by: Demi
Welcome Aboard The Run Build is a build that welcomes all the killers to a beautiful run; where this build can create a lot of frustrations for the killer, especially in situations where you have the perk Smash Hit, as the personally playing as the killer, being stunned and then losing the survivor, would make me very annoyed, so it is a build which can be very fun to play with, but not for the killer of course. Nonetheless, perks such as Alert have a great combination of the smash hit, as you would see the killer destroying the pallet, and therefore being able to see in which direction the killer is going, therefore allowing yourself to go in the opposite direction if avoiding the killer.
In conclusion, it is a build that has an opportunity to make this a game, the killer's game of a lifetime which most likely would end up in toxic end-game comments or even a disconnect, therefore use the build with caution if you want to get those blood points, otherwise, it is a build to have fun with.
What Welcome Aboard The Run Build Excels In:
- With the perk Ace in the hole, you have a chance of getting an add-on when retrieving an item from the chest, which can be very useful in the game, especially if the item is a flashlight, allowing you to use the flashlight to save other survivors or even most importantly use it whilst looping the killer, such as when stunning the killer with a pallet, and then blinding the killer, allowing yourself more time to move.
- Alert will be able to show you the aura of the killer every time he kicks a generator or breaks any breakable object, which is very useful as it will allow you to keep track of the killer, which can be useful in looping moments where he could damage the generator, and therefore you would see which direction he is coming from, which you can use as an advantage whilst running.
- Smash Hit will allow you to gain a speed boost just after stunning a killer with a pallet. These situations can be useful as not only will you gain distance as the killer is stunned, but also the distance gained from the speed boost, which will allow you to gain extra distance, and have a bigger probability of escaping the killer or moving into a safe looping area.
Build details:
- Ace in the hole - When retrieving an Item from a Chest, there is a chance an Add-on will be attached to it. 100 % chance for an Add-on of Very Rare Rarity or lower. 10/25/50 % chance for a second Add-on of Uncommon Rarity or lower. Ace in the Hole allows you to keep any Add-ons your Item has equipped upon escaping.
- Alert - Whenever the Killer destroys a Pallet or a Breakable Wall or damages a Generator, their Aura is revealed to you for 3/4/5 seconds.
- Windows of Opportunity - The Auras of Breakable Walls, Pallets, and Windows are revealed to you within 24/28/32 metres.
- Smash Hit - After stunning the Killer with a Pallet, break into a sprint at 150 % of your normal Running Movement speed for 4 seconds. Smash Hit causes the Exhausted Status Effect for 60/50/40 seconds. Smash Hit cannot be used when Exhausted.
For more details on the perks, check out the dead by daylight fandom wiki:
- Ace in the hole: https://deadbydaylight.fandom.com/wiki/Ace_in_the_Hole
- Alert: https://deadbydaylight.fandom.com/wiki/Alert
- Windows of Opportunity: https://deadbydaylight.fandom.com/wiki/Windows_of_Opportunity
- Smash Hit: https://deadbydaylight.fandom.com/wiki/Smash_Hit
1. The Bespoken Looping Build
Build presented by: SpookyLoopz
The Bespoken Looping Build is a build that deserves to be in the number one spot due to its uniqueness, especially with the perfect combination and moments of stunning the killer, which can wisely either distract the killer or track attention, allowing yourself to go for an easy chase and loop with the killer. Combinations include the perks such as Wiretap and Blast mine, as it will not only reveal the aura of the killer within the trapped range but also it has the ability to stun the killer once kicking the generator, saving lots of time.
In conclusion, it is a great build that would guarantee frustration for the killers, as it represents a theme of Nea, which pretty much every killer hates as it is dead by daylight; Nea is referred to as the toxic Nea, therefore making the game as toxic as possible, and the ability to survive using the skills needed. Therefore it is a great build with the uniqueness of stunning the killers with the help of generators, which will, of course, be unexpected from the perspective of the killer, as it is shown as a different game strategy.
What the Bespoken Looping Build Excels In:
- The perk Flashbang is a very useful perk that will allow you to craft a flash grenade which is an alternative to a flashlight, and you can use it as a distraction whilst looping the killer or even use it to save a survivor, which is the most effective method, as you don't have to aim exactly at the killer, but just to drop it and then run, allowing yourself to not be in the killer's area whilst the survivor is saved.
- The combination of blast mine and wiretap can be very useful as it will allow you to see the aura of the killer every time he is within the 14-metre radius of the generator, and also allow you to install a mine which would stun and blind the killer once he kicks the generator, which can be very useful, especially at moments where the generator is 99%, and therefore you will have the chance to repair the generator fully with the other survivors.
- Parental guidance has a great combination with the perks Flashbang and Blast Mine, which will allow you to stun the killer, and then allow yourself to suppress your scratch marks, creating a sense of incognito mode, not knowing who stunned the killer.
Build details:
- Parental Guidance - After stunning the Killer by any means, Parental Guidance suppresses your Scratch Marks, Pools of Blood, and Grunts of Pain for the next 5/6/7 seconds.
- Flashbang - After repairing Generators for a total of 70/60/50 %, Flashbang activates: Enter a Locker while empty-handed and press the Ability button to craft a Flash Grenade. The Flashbang is left behind when escaping the Trial.
- Wiretap - After repairing Generators for a total of 33 %, Wiretap activates: After repairing a Generator for 3 seconds, press the Active Ability button to install a Wiretap, which stays active for 60/70/80 seconds. The Auras of trapped Generators are revealed to all Survivors in yellow. When the Killer comes within 14 metres of a trapped Generator, their Aura is revealed to all Survivors. Damaging the Generator destroys the Wiretap.
- Blast Mine - After repairing Generators for a total of 66 %, Blast Mine activates: After repairing a Generator for at least 3 seconds, press the Ability button to install a Trap, which stays active for 35/40/45 seconds. The Aura of Trapped Generators is revealed in yellow to all Survivors. When the Killer damages a Trapped Generator, the Trap explodes, stunning them and blinding anyone nearby. Blast Mine deactivates after triggering successfully.
For more details on the perks, check out the dead by daylight fandom wiki:
- Parental Guidance: https://deadbydaylight.fandom.com/wiki/Parental_Guidance
- Flashbang: https://deadbydaylight.fandom.com/wiki/Flashbang
- Wiretap: https://deadbydaylight.fandom.com/wiki/Wiretap
- Blast Mine: https://deadbydaylight.fandom.com/wiki/Blast_Mine
You May Also Be Interested In:
- Dead by Daylight Survivor Guide: Top 25 Tips
- Dead by Daylight Killers Guide: Top 25 Tips
- [Top 10] DbD Best Killer Builds That Are Great!
- [Top 100] Dead By Daylight Best Names
- [Top 10] DbD Best Survivor Builds That Are OP!
- [Top 10] DbD Best Killers And Why They're Good
- [Top 15] DbD Best Killer Perks And Why They're Good
- [Top 15] DbD Best Survivor Perks And Why They're Good
- [Top 10] DbD Best Survivors And Why They're Good
- [Top 10] DbD Best Survivor Builds That Are Great
- [Top 15] Ghost Games To Play Today
- [Top 15] Horror Movies That Were Books
- [Top 15] Best Horror Movies That Were Banned
- [Top 5] Dead By Daylight Most Fun Survivors
- [Top 5] Dead By Daylight Best Jane Romero Builds
- [Top 5] Dead By Daylight Best Meg Thomas Builds
- [Top 5] Dead By Daylight Best Claudette Morel Builds
- [Top 5] Dead by Daylight Best Jake Park Builds
- [Top 5] Dead By Daylight Best Nea Karlsson Builds
- [Top 5] Dead By Daylight Best Laurie Strode Builds
- [Top 5] Dead By Daylight Best Bill Overbeck Builds
- [Top 5] Dead By Daylight Best Feng Min Builds
- [Top 5] Dead By Daylight Best David King Builds

