We will be looking at the most popular killer perks used in this game of Dead By daylight, ranking the most popular top 10 perks.
Nonetheless, let the fog reveal the best top 10 most popular killer perks:
10. Hex: No One Escapes Death

Hex: No One Escaped Death ability works once the Exit Gates are powered; if there is still a Dull Totem remaining on the Map, Hex: No One Escapes Death activates and lights it: Increases your movement speed by 2/3/4 %. Survivors suffer from a permanent Exposed Status Effect. Hex: No One Escapes Death remains inactive if no Dull Totems are available. Hex: No One Escapes Death reveals the Aura of its Hex Totem to all Survivors within 4 metres and gradually expands that range to 24 metres over 30 seconds. The Hex effects persist until its Hex Totem is cleansed.
Advantages of using No One Escapes Death:
- Ability to one-shot survivors within a short time frame during the end game, allowing you to have your last chance to hook and sacrifice the survivors.
Possible Disadvantages:
- Easily removable from the map by the survivors, as the aura is slowly revealed over time.
For more information about this perk: https://deadbydaylight.fandom.com/wiki/Hex:_No_One_Escapes_Death
9. Bamboozle

The perk Bamboozle works so that Performing a Vault action is 5/10/15 % faster and calls upon The Entity to block that Vault location for Survivors for 8/12/16 seconds. Only one Vault location may be blocked this way at any given time.
Advantages of using Bamboozle:
- This allows the killer to vault much faster, catching up on the survivor much more efficiently and quickly while blocking the window, which cancels the survivor's choice of looping.
Possible Disadvantages:
- The survivor would gain possibly more distance, especially where they flashlight you whilst doing the animation, which would slow down the chasing.
For more information about this perk: https://deadbydaylight.fandom.com/wiki/Bamboozle
8. Save the Best for Last

The perk Save the Best for Last works in a way that each time you hit a Survivor other than your Obsession with a Basic Attack, Save the Best for Last gains 1 Token, up to a maximum of 8 Tokens: Gain a stack-able 5 % Cool-down reduction on successful attacks per Token, up to a maximum of 40 %. Each time you hit your Obsession with a Basic Attack, Save the Best for Last loses 4/3/2 Tokens. When the Obsession is sacrificed or killed, you can neither gain nor lose any more Tokens. You can only be obsessed with one Survivor at a time.
Advantages of using Save the Best for Last:
- A faster cool-down on successful attacks would speed up the process of chasing and attacking the survivors.
Possible Disadvantages:
- Doesn't make a huge difference within some long-range attack killers.
For more information about this perk: https://deadbydaylight.fandom.com/wiki/Save_the_Best_for_Last
7. Lethal Pursuer

The perk Lethal Pursuer works in a way that At the start of the Trial, the Auras of all Survivors are revealed to you for 7/8/9 seconds. Extends the duration of a Survivor's Aura being revealed to you by +2 seconds—lethal Pursuer benefits from its effect.
Advantages of using Lethal Pursuer:
- It allows the killer to see potential survivors at the very beginning of the game, which is great for fast killers who can catch up on those survivors.
Possible Disadvantages:
- It can cause a distraction within an area if not played smart and cause a mind game where you focus on one of the survivors whilst the rest are repairing generators.
For more information about this perk: https://deadbydaylight.fandom.com/wiki/Lethal_Pursuer
6. Jolt
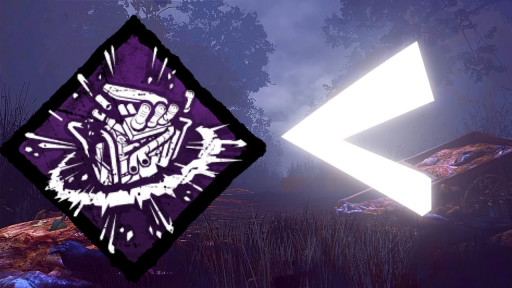
The perk Jolt works so that when you put a Survivor into the Dying State with your Basic Attack, all Generators within 32 metres of you instantly explode and start regressing. Applies an immediate 6/7/8 % Progression penalty.
Advantages of using Jolt:
- It can make many generators explode within 32 metres, slowing down the game's progress in the survivor's view, which is advantageous for the killer.
Possible Disadvantages:
- No possible disadvantages, as it is mainly an automatic perk.
For more information about this perk: https://deadbydaylight.fandom.com/wiki/Jolt
5. Barbecue & Chili
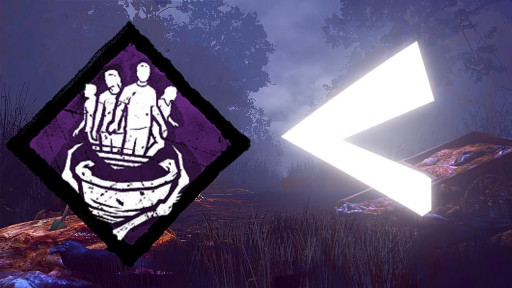
The perk Barbecue & Chili works in a way that After hooking a Survivor, all Survivors who are at least 60/50/40 metres away from that Hook have their Aura revealed to you for 4 seconds.
Advantages of using Barbecue & Chili:
- It allows the killer to see survivors who are a specific distance away from the killer, which is great for fast killers who can catch up on them fast or long-range shooting killers such as the Huntress.
Possible Disadvantages:
-
It can cause a distraction within an area if not played smart and cause a mind game where you focus on one of the survivors whilst the rest are repairing generators.
For more information about this perk: https://deadbydaylight.fandom.com/wiki/Barbecue_%26_Chilli
4. Corrupt Intervention

The perk Corrupt Intervention works so that At the start of the Trial, the 3 Generators located farthest from you are blocked by The Entity for 80/100/120 seconds. Corrupt Intervention deactivates prematurely once the first Survivor is put into the Dying State.
Advantages of using Corrupt Intervention:
- Corrupt Intervention allows you to block the furthest three generators, which helps you focus on a smaller specific area, finding survivors much faster, or plan to place traps with killers such as Hag or Trapper.
Possible Disadvantages:
- The perk can be misleading and drag you towards an empty area where the survivors are not likely to be there.
For more information about this perk: https://deadbydaylight.fandom.com/wiki/Corrupt_Intervention
3. Eruption

The perk Eruption works so that after kicking a Generator, its Aura is highlighted in yellow. When you put a Survivor into the Dying State by any means, every affected Generator explodes and starts regressing, removing the highlighted Aura. Applies an immediate -10 % Progression penalty. Any Survivor repairing a Generator when it explodes will scream and suffer from the Incapacitated Status Effect for 15/20/25 seconds. The eruption has a cool-down of 30 seconds.
Advantages of using Eruption:
- Affected generators explode and regress after putting a survivor in a dying state which is advantageous as it would tell you which generators have been touched by the survivors, allowing you to monitor them more closely.
Possible Disadvantages:
-
No possible disadvantages, as it is mainly an automatic perk.
For more information about this perk: https://deadbydaylight.fandom.com/wiki/Eruption
2. Call of Brine
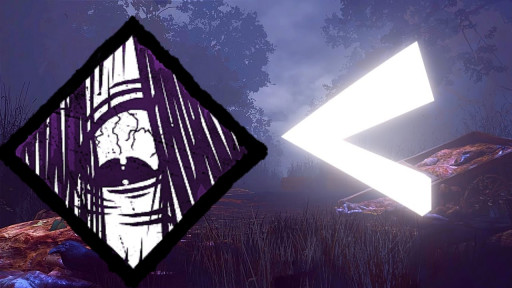
The perk Call of Brine works so that after damaging a Generator, Call of Brine activates for 60 seconds. The Generator regresses at 150/175/200 % of the normal Regression speed, revealing its Aura to you. Each time a Survivor completes a Good Skill Check on a Generator affected by Call of Brine, you receive a Loud Noise Notification.
Advantages of using Call of Brine:
- A great regression speed of up to 200% with the ability to give loud notifications once the survivor is on it, making it a highly powerful perk allowing the killer to monitor more closely.
Possible Disadvantages:
- No possible disadvantages, as it is mainly an automatic perk.
For more information about this perk: https://deadbydaylight.fandom.com/wiki/Call_of_Brine
1. Scourge Hook: Pain Resonance

The perk Scourge Hook: Pain Resonance works so that at the start of the Trial, four random Hooks are changed into Scourge Hooks: The Auras of Scourge Hooks are revealed to you in white. Each time a Survivor is hooked on a Scourge Hook, the following effects apply: The Generator with the most Progression explodes, instantly losing 9/12/15 % of its Progression and starting to regress. Survivors repairing that Generator will scream but not reveal their location.
Advantages of using Scourge Hook: Pain Resonance:
- It allows you to see the most progressed generator in the game, with the ability to reveal the generator's location, which is advantageous for the killer.
Possible Disadvantages:
-
No possible disadvantages, as it is mainly an automatic perk.
For more information about this perk: https://deadbydaylight.fandom.com/wiki/Scourge_Hook:_Pain_Resonance

