![[Top 5] Dead By Daylight Best Yun-Jin Lee Builds dbd, dead by daylight, yun-jin, yun-jin lee, best builds](/sites/default/files/styles/responsive_image_600xauto/public/2021-08/top_5_dead_by_daylight_best_yun-jin_lee_builds_-_main.jpg.webp?itok=8mdyoHqk)
[Top 5] Dead By Daylight Best Yun-Jin Lee Builds
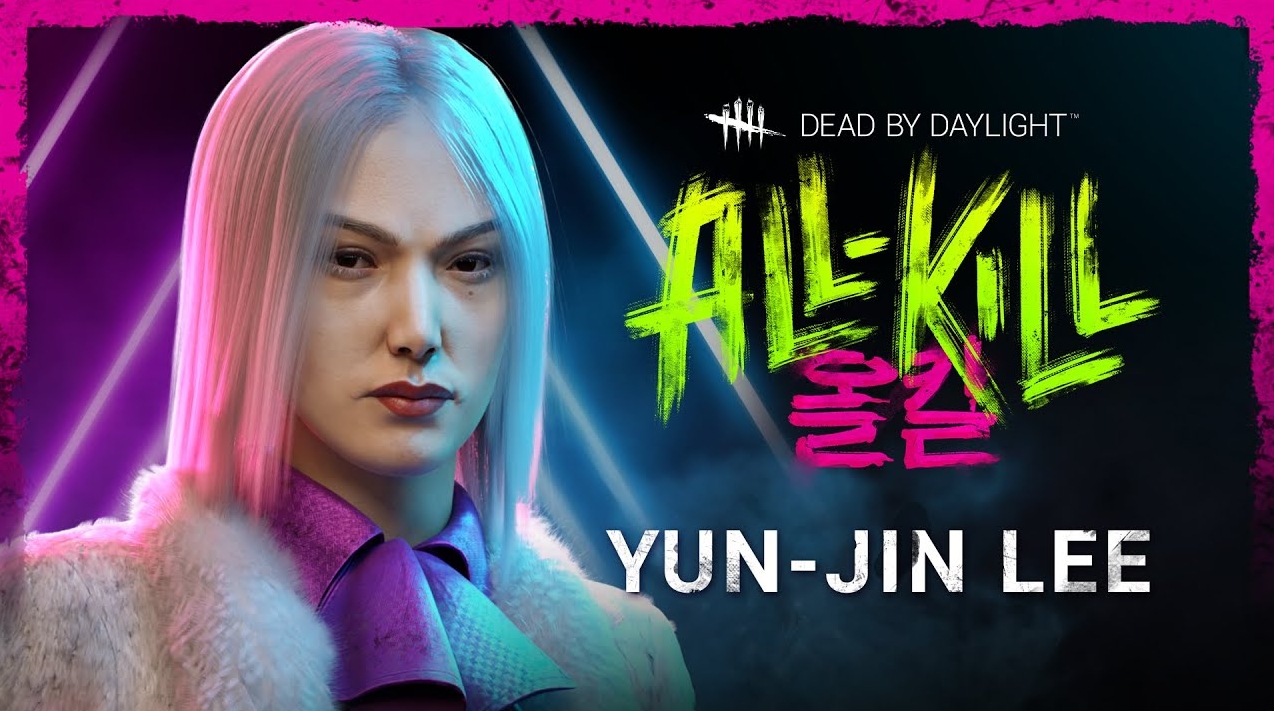
Yun-Jin Lee was introduced to Dead by Daylight in the Chapter 19: All-Kill DLC alongside the killer The Trickster. Unfortunately, Yun-Jin’s teachable perks aren’t very useful, and what they do, either they don’t do well, or there are simply other perks that just do it better. Nevertheless, let's dive into the best builds we can do with Yun-Jin’s perks.
5. Adept Yun-Jin
YUN-JIN LEE.EXE - Dead By Daylight
Starting we have to go with the Adept Yun-Jin, which uses all of Yun-Jin’s teachable perks: Smash Hit, Self-Preservation, and Fast Track.
Smash Hit is going to be our exhaustion perk and will be used to try to escape chases. When we drop a pallet on a killer, we will get 4 seconds of 150% movement speed while sprinting. The catch is that you do have to stun the killer with the pallet, which isn’t the easiest thing to do. But when you do get it, you will get a whole lot of distance and a good chance the killer will end up dropping the chase.
Next, we have Self-Preservation which gets rid of all the ways the killer can track you for 10 seconds when they hit another survivor within 16 meters of you. Not much to say about this, it’s just a nice way to sneak around the killer without them noticing you.
We are going to pair that with Quick and Quiet, another sneaky perk so the killer doesn’t notice you. Feel free to fast vault windows, or jump into a locker since they won’t get a loud noise notification as long as the perk is up.
Lastly, we have Fast Track which will give you 3 tokens whenever another survivor is hooked. When you are working on a generator and hit a Great Skill Check, you will use all of your tokens and add a 1% progression bonus for each token used. This can come in handy on the last few generators and give you that extra boost to finish quickly.
What Adept Yun-Jin Excels In:
- Uses all three of Yun-Jin Lee’s teachable perks.
- An escape from loops.
- Some stealth.
- Some extra generator progression.
Perks Used:
Quick and Quiet: Loud Noise notifications for rushing to vault Windows, or to enter or exit Lockers are completely suppressed.
- Quick & Quiet has a cool-down of 30/25/20 seconds.
Smash Hit: After stunning the Killer with a Pallet, break into a sprint at 150% of your normal running speed for a maximum of 4 seconds.
- Smash Hit causes the Exhausted Status Effect for 60/50/40 seconds.
- Smash Hit cannot be used when Exhausted.
Self-Preservation: Whenever another Survivor is hit with a Basic or Special Attack within 16 meters of you, Self-Preservation activates:
- Scratch Marks, Grunts of Pain when injured, and Bleeding are suppressed for the next 6/8/10 seconds.
Fast Track: Whenever another Survivor is hooked, Fast Track gains 1/2/3 Token(s), up to a maximum of 9/18/27 Tokens.
- You consume all accumulated Tokens after a Great Skill Check on a Generator.
- Each Token grants a stack-able 1% Progression bonus in addition to the default Progression bonus for succeeding a Great Skill Check.
4. Pallets of Opportunity
Top 5 Best Survivor Perk Builds #10 (Dead by Daylight) All-Kill Chapter Edition
Pallets of Opportunity is all about using pallets around the map and knowing where they are at all times so you are always able to use them.
You will be able to know where all the pallets are because we are running Windows of Opportunity, which shows you the aura of windows, pallets, and breakable walls within 20 meters of you. This is invaluable information, as it lets you not waste any time trying to find a safe tile to loop the killer around.
Once we get to those pallets, we are going to try to use Smash Hit. Smash Hit allows us to sprint away from the pallet at 150% movement speed if you manage to successfully stun the killer. If youcan do this, it is very likely that the killer won’t be chasing you anymore because you would have gotten a lot of distance.
If the killer happens to not destroy the pallet you dropped, well lucky you because now you get to run back to said pallet and lift that puppy up with Any Means Necessary, essentially resetting the entire tile for you to loop around again.
Lastly, we have Power Struggle, mostly just to go with the theme of the build, if you happen to reach 25% wiggle progression, and the killer stumbles through a pallet while carrying you, you can drop the pallet on them and save yourself. Good luck with that happening though, it will be a rare occurrence.
What Pallets of Opportunity Excels In:
- Knowledge of safe tiles around you.
- An escape from loops.
- Possibility to save yourself while wiggling.
- Possibility to reset tiles.
Perks Used:
Smash Hit: After stunning the Killer with a Pallet, break into a sprint at 150% of your normal running speed for a maximum of 4 seconds.
- Smash Hit causes the Exhausted Status Effect for 60/50/40 seconds.
- Smash Hit cannot be used when Exhausted.
Windows of Opportunity: The Auras of Breakable Walls, Pallets, and Windows are revealed to you within 20 meters.
- Windows of Opportunity has a cool-down of 30/25/20 seconds after vaulting or dropping a Pallet during a Chase.
Power Struggle: While being carried by The Killer, reaching 35/30/25% Wiggling progression activates Power Struggle:
- You can drop a nearby, standing Pallet to stun The Killer and escape their grasp.
- Power Struggle deactivates after triggering successfully.
Any Means Necessary: Press and hold the Active Ability button for 4 seconds while standing beside a dropped Pallet to reset it to its upright position.
- Any Means Necessary has a cool-down of 100/80/60 seconds.
3. Smash Loops
Favorite Smash Hit Build With Yun-Jin Lee (New Survivor) - Dead By Daylight
Smash Loops is a build that is meant to help you out during chases, more specifically, looping the killer.
Here we use Yun-Jin’s perk Smash Hit again, in the hopes that you can stun the killer with a pallet mid chase. If you can, then you get to sprint away at 150% movement speed for 4 seconds.
While you aren’t slamming pallets on killers’ faces, you will be trying to loop them through windows, and what will help you out with that are the 2 perks, Spine Chill and Resilience.
Spine Chill and Resilience both give you a faster vaulting action while they are activated. For Resilience, you have to be injured, and when you are in a chase with a killer for long enough it is bound to happen. For Spine Chill, the killer simply has to be looking at you, which is a guarantee to be active when the killer is actively trying to smack your butt.
Spine Chill is also useful for stealth killers who may be trying to stalk you or sneak up on you without having a terror radius, allowing you to not get caught off guard while working on generators.
Lastly, we have Decisive Strike which will help you out if you happen to be tunneled by the killer. If they pick you up after you have recently been unhooked, and Decisive Strike is active, simply hit a skill check and you will get a second chance at your escape.
What Smash Loops Excels In:
- Strong chase potential.
- Counters stealth killers.
- An escape from loops.
- Counter’s tunneling killers.
Perks Used:
Spine Chill: Whenever the Killer is looking in your direction when within 36 meters of you, Spine Chill activates:
- Skill Check Trigger odds are increased by 10%.
- Skill Check Success zones are reduced by 10%.
- Your Action speeds in Repairing, Healing, Sabotaging, Unhooking, Vaulting, Cleansing, Opening, and Unlocking are increased by 2/4/6%.
- Smash Hit: After stunning the Killer with a Pallet, break into a sprint at 150% of your normal running speed for a maximum of 4 seconds.
- Smash Hit causes the Exhausted Status Effect for 60/50/40 seconds.
- Smash Hit cannot be used when Exhausted.
Decisive Strike: After being unhooked or unhooking yourself, Decisive Strike activates for the next 40/50/60 seconds:
- When being grabbed or picked up by the Killer, succeed a Skill Check to automatically escape their grasp, stunning them for 5 seconds.
- Successfully stunning the Killer will disable Decisive Strike for the remainder of the Trial and result in you becoming the Obsession.
While Decisive Strike is active, the following interactions will deactivate it:
- Repairing a Generator.
- Healing yourself or other Survivors.
- Cleansing a Totem.
- Sabotaging a Hook.
- Unhooking other Survivors.
- Increases the odds of being the Obsession.
- The Killer can only be obsessed with one Survivor at a time.
Resilience: When injured, your Action speeds in Repairing, Healing, Sabotaging, Unhooking, Vaulting, Cleansing, Opening, and Unlocking are increased by 3/6/9%.
2. The Ultimate Genrush
The ULTIMATE Genrush Build! - Dead By Daylight
The Ultimate Genrush is exactly what it sounds like. All the perks involved are used to help us do generators faster.
Starting we are going to talk about Yun-Jin’s perk Fast Track, which will give you 3 tokens every time a survivor is hooked. When you are working on a generator and hit a great skill check you will use all of your tokens and get an extra 1% progress for each token used.
To help us get those great skill checks we are going to use Stake Out. Stake Out makes it so that when we hit a good skill check instead of a great one, it will consume one of its own tokens and count that good skill check as a great skill check, which in turn activates Fast Track. To get tokens of Stake Out, all you have to do is be within the Killer’s Terror Radius without being chased.
Next, we have Prove Thyself which gives a stacking 15% repair speed bonus for each survivor within 4 meters of you, to a maximum of 45%. This effect is also applied to all other survivors within that range. As an extra little bonus, Prove Thyself gives us 100% bonus Bloodpoints for Co-op actions.
Lastly, we have Resilience, which gives us a small 9% repair bonus while we are injured.
All of these perks are used together and throw in a good toolbox as well, and you have a very fast generator repair build.
What The Ultimate Genrush Excels In:
- Very fast generator progression.
Perks Used:
Stake Out: Every 15 seconds you are standing within the Killer's Terror Radius without being chased, Stake Out gains 1 Token, up to a maximum of 2/3/4 Tokens.
- When Stake Out has at least 1 Token, Good Skill Checks consume 1 Token and are considered Great Skill Checks, granting an additional Progression bonus of 1%.
- Great Skill Checks do not consume any Tokens.
Resilience: When injured, your Action speeds in Repairing, Healing, Sabotaging, Unhooking, Vaulting, Cleansing, Opening, and Unlocking are increased by 3/6/9%.
Prove Thyself: Gain a stack-able 15% Repair Speed bonus for each Survivor within 4 meters of you, up to a maximum of 45%. This effect is also applied to all other Survivors within that range. Prove Thyself grants 50/75/100% bonus Bloodpoints for Co-operative actions. Prove Thyself does not stack with other instances of itself.
Fast Track: Whenever another Survivor is hooked, Fast Track gains 1/2/3 Token(s), up to a maximum of 9/18/27 Tokens.
- You consume all accumulated Tokens after a Great Skill Check on a Generator.
- Each Token grants a stack-able 1% Progression bonus in addition to the default Progression bonus for succeeding a Great Skill Check.
1. I’m Gonna Live Forever
Top 5 Best Survivor Perk Builds #10 (Dead By Daylight) All-Kill Chapter Edition
For our final build we have I’m Gonna Live Forever, which is a pretty selfish build, however, it should help you escape the trial.
First, we have Yun-Jin’s perk Self-Preservation, which hides your scratch marks, pools of blood, and your cries of pain for the next 10 seconds when a survivor within 16 meters of you is hit. This will help make sure you aren’t caught out when another survivor gets injured or downed around you, you can stay stealthy and avoid the killer’s grasp.
Next, we have Dead Hard, which is a great exhaustion perk and great for extending chases and loops. When you are injured and sprinting, press the active ability button to dash forward, avoid any damage during the dash, and allow yourself to get to pallets or windows you wouldn’t make otherwise.
While you are stuck injured, you will have Resilience active, giving you a 9% speed increase to essentially everything, including repairing generators and vaulting. So if you happen to be in a chase, you will be able to vault faster, allowing you to escape the killer's swing through windows ever so slightly.
Lastly, we have Unbreakable, which will allow you to recover 35% faster and pick yourself up once during the game. This will only come in handy if the killer happens to slug you, however, when it does come into play, it is a real game-changer.
What I’m Gonna Live Forever Excels In:
- Focused on protecting yourself.
- Some stealth.
- Counters slugging.
- Strong exhaustion perk.
Perks Used:
Self-Preservation: Whenever another Survivor is hit with a Basic or Special Attack within 16 meters of you, Self-Preservation activates:
- Scratch Marks, Grunts of Pain when injured, and Bleeding are suppressed for the next 6/8/10 seconds.
Dead Hard: When Injured, tap into your adrenaline bank and dash forward quickly to avoid damage.
- Press the Active Ability button while running to dash forward.
- Avoid any damage during the Dash.
- Dead Hard causes the Exhausted Status Effect for 60/50/40 seconds.
- Dead Hard cannot be used when Exhausted.
Resilience: When injured, your Action speeds in Repairing, Healing, Sabotaging, Unhooking, Vaulting, Cleansing, Opening, and Unlocking are increased by 3/6/9%.
Unbreakable: Once per Trial, you can completely recover from the Dying State.
- Your Recovery speed is permanently increased by 25/30/35%.
You May Also Be Interested In:
- Dead by Daylight Survivor Guide: Top 25 Tips
- Dead by Daylight Killers Guide: Top 25 Tips
- [Top 10] DbD Best Killer Builds That Are Great!
- [Top 100] Dead By Daylight Best Names
- [Top 10] DbD Best Survivor Builds That Are OP!
- [Top 10] DbD Best Killers And Why They're Good
- [Top 15] DbD Best Killer Perks And Why They're Good
- [Top 15] DbD Best Survivor Perks And Why They're Good
- [Top 10] DbD Best Survivors And Why They're Good
- [Top 10] DbD Best Survivor Builds That Are Great
- [Top 15] Ghost Games To Play Today
- [Top 15] Horror Movies That Were Books
- [Top 15] Best Horror Movies That Were Banned
- [Top 5] Dead By Daylight Most Fun Survivors
- [Top 5] Dead By Daylight Best Jane Romero Builds
- [Top 5] Dead By Daylight Best Meg Thomas Builds
- [Top 5] Dead By Daylight Best Claudette Morel Builds
- [Top 5] Dead by Daylight Best Jake Park Builds


