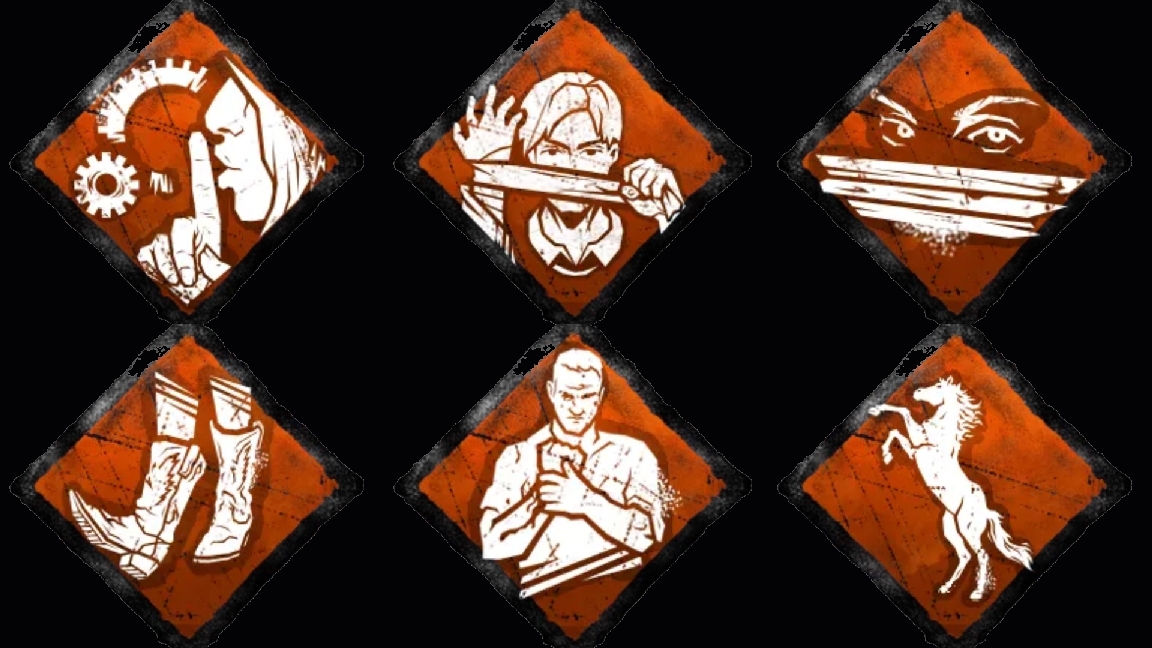
15. Monitor & Abuse
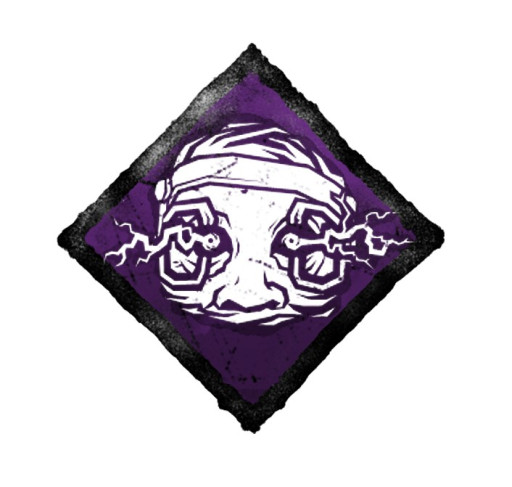
Perk details: Your base Terror Radius is increased by 8 meters. Whenever you are outside a Chase, your Terror Radius is reduced by 16 meters while your Field of View is increased by 3/5/10 °.
Monitor & Abuse allows you to have a decreased terror radius while you are outside the chase, which can be very advantageous when trying to engage with the survivor's chase without alerting them too early and therefore getting a great headstart in the chase.
Personally, it is a perk that can be pretty useful for finding survivors; as mentioned before, it would signal the survivors later than usual, and therefore an increased view of max 10° would make it even easier to find survivors.
In conclusion, it is a great perk for every killer, where one or two killers can have a more significant advantage because of their smaller radius than the rest.
Why Monitor & Abuse Is Great:
- It allows you to reduce your terror radius outside your terror radius, which is advantageous to instantly surprise survivors or keep it enclosed without alerting survivors.
- The ability to have an increased field of view, where you will be able to spot survivors so quickly and effectively without having to use the camera movement much.
- A perk is very effective against the survivor's 360s and other mind games, which can be harder to go against as it doesn't close the camera view as much.
Best Killers for Monitor & Abuse:
Spirit
The Spirit are one of the killers who have one of the smallest terror radii out of all the rest of the killers, with a terror radius of 24 metres, which is around 16 metres with the active perk, which allows her to comfortably enclose her radius, with the ability of her speed making her very unpredictable to the survivors, and therefore easier to catch them off guard.
Hag
The Hag are one of the other killers who have one of the smallest radii out of all the rest of the killers, which again has a radius of 24 metres, making it around 16 metres with the perk Monitor & Abuse active, which is very powerful, especially with her power to teleport and her small-like appearance making it hard for the survivors to notice.
14. Make your choice
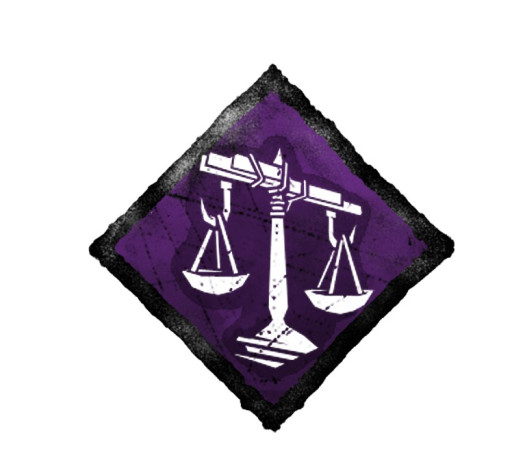
Perk details: Each time a Survivor is rescued from a Hook when you are at least 32 metres away, Make Your Choice activates: The Rescuer screams and suffers from the Exposed Status Effect for the next 40/50/60 seconds. Make Your Choice has a cooldown of 40/50/60 seconds.
Make your choice is a perk that will allow you to cause a survivor to become exposed whilst you are further than 32 metres away, which is a great perk that will initially let you know where the survivor is and enables the survivor to be exposed for 60 seconds, which is a very long time, having enough time to locate the survivor.
It is a perk I like to use; however, there are disadvantages, such as the distance you would have to travel to find that particular survivor. Therefore it might be difficult if the survivor, for instance, decides to hide in a locker, for which you will never personally know unless it's obvious.
In conclusion, it is a fantastic ability. Furthermore, it can be very powerful when used against fast or effective killers, for which below I will list the top 2 killers that would be great for this perk.
Why Make your choice Is Great:
- A great perk when relocating a survivor that has saved the survivor from the hook, spending less time on the finding and allowing you to remember the area where the survivor was hooked.
- The perk allows you to have an exposed survivor for 60 seconds, which is a lot of time, creating a higher probability of finding that particular survivor.
- There is no distance limit, except for being at least 32 metres which is probable every game, as it will allow you to do other tasks such as kicking the generators or finding other survivors simultaneously.
Best Killers for Make your choice:
Dredge
. It is an excellent perk for Dredge, as it allows the killer to teleport around the map using the lockers, therefore allowing him to teleport to the nearest locker, which was to the hook that the survivor was on, and thus find that survivor much easier.
Demogorgon
It is an excellent combination perk for the Demogorgon, as the killer also has teleporting abilities. Therefore after hooking the survivor, you can create a portal near that hook and teleport the moment the survivor unhooks her, which will guarantee you the sacrifice of the exposed survivor.
13. No Way Out
Perk details: When a Survivor interacts with an Exit Gate Switch, you receive a Loud Noise Notification. The Entity blocks both Exit Gate Switches for 12 seconds and an additional 6/9/12 per Token in your possession, up to a maximum of 36/48/60 seconds.
No Way Out is a terrific perk in the ending game status, as it allows you to block the exit gate switches for a maximum of 60 seconds. It is an excellent opportunity to sacrifice extra survivors who might have been left in the game.
Personally, it is a perk that is extremely helpful during the end-game, as not only does it block the exit gate, but additionally, it will reveal a loud notification when a survivor has interacted with the switches, which can give you the possibility of catching the survivor before he runs away and hides.
In conclusion, it is one of the most excellent end-game perks that have the opportunity to flip the game around, from sacrificing 0 survivors to all four of them by using one of the survivors as bait, if lucky enough.
Why No Way Out Is Great:
- The ability to give you a loud noise notification once the survivors have interacted with the gate switches, creating a headstart and catching up on the survivors before they run away and hide until the switches are unlocked again.
- It blocks the exit gate switches, allowing you to stop time and therefore have the opportunity to sacrifice the survivors before they escape the game.
- The opportunity of great combination between other perks such as No one escapes death 'noed' will allow you to hit and sacrifice "exposed" survivors whilst the hex totem is still standing.
Best Killers for No Way Out:
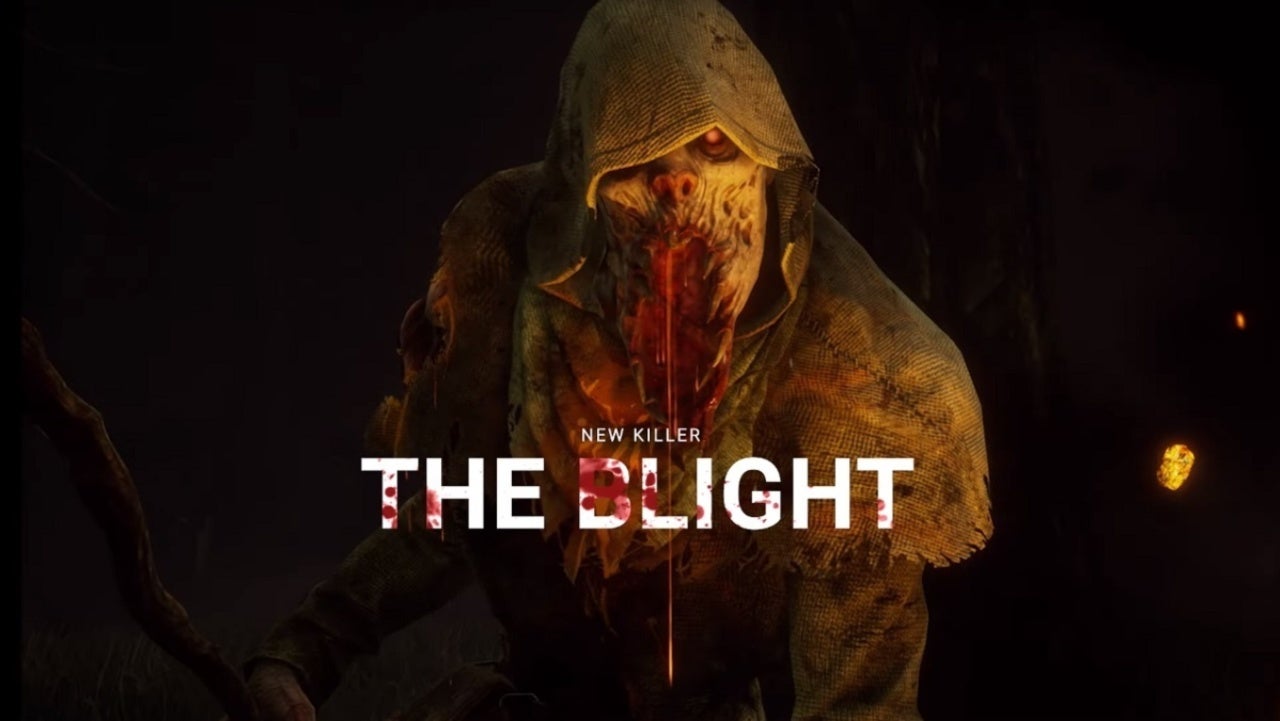
Blight
Blight is considered to have a great connection with the call of brine because of its main speed, where he can move around the map very fast; therefore, being able to move around the exit gate switches much quicker than any other killer and able to catch the survivors who might be hiding or placed in the path of the Blight.
Huntress
It is a great perk to be used with Huntress, as with her hatchet ability, if your aim is perfect, you will be able to throw the hatchets at the exit gate switches and therefore catch any survivors off guard, which will allow you to do that without having to move much as the Huntress.
12. Bamboozle

Perk details: Performing a Vault action is 5/10/15 % faster and calls upon The Entity to block that Vault location for Survivors for 8/12/16 seconds.
Bamboozle has been one of the most excellent perks against chases and loops ever since the Cannibal came out in the game. It can block windows, making the survivors unable to jump over it, leaving them no choice but to retreat and run further.
Personally, it is a perk that I would recommend using for slow killers, which don't have the opportunity to catch up on survivors on loops as much as any other fast killer. Therefore with this ideal tactic, you can close the survivors off and go for the hit or down.
In conclusion, it is one of the best perks that can be used for almost every killer, as it is universal; however, it is best described to use on very fast killers so that they can reach the generator in time for its loud noise notification from the survivor.
Why Bamboozle Is Great:
- It allows you to block survivors in loops during mid-chases, wasting less time in the game.
- With bamboozle, you can use multiple strategies to control the survivors, one of which is leading them into an open space, where it is more comfortable for the killer to attack or his secondary power.
- Apart from blocking, his ability to perform vault action 15% faster allows him to lose less time when chasing a survivor and, therefore, be able to vault the window rather than break a breakable object.
Best Killers for Bamboozle:
Cannibal
Cannibal's original perk of Bamboozle suits him, and the reason goes for the opportunity of his chainsaw, where he can close off survivors, and therefore be able to use the chainsaw once the survivors have nowhere to go, finishing them off with a chainsaw massacre.
Clown
Bamboozle suits the Clown, mainly because Clown is considered to be one of the weakest killers in the game. Therefore with the advantage of Bamboozle, he will be able to use his potions to slow down survivors and thus slow the survivors even more with no direction against going into an open space or straight, allowing the Clown to go for the easy hit.
11. Pop Goes the Weasel
Perk details: After hooking a Survivor, Pop Goes the Weasel activates for the next 35/40/45 seconds. The next generator you damage instantly loses -20 % of its current progression. Regular Generator Regression applies afterwards, and Pop Goes the Weasel deactivates.
Pop Goes the Weasel is a perk that allows you to slow down the game 'manually' within the generator sector; in other words, you can kick and regress the generator whenever you want after hooking a survivor within the next 45 seconds.
Personally, it is a perk that can be used in different situations, and it is an overall great perk for slowing down the progress of the game, making it much harder for the survivors to keep up. Nonetheless, there are no additional requirements for activating this perk except for hooking a survivor and kicking a generator. The generator then does the job by exploding and instantly losing -20%.
In conclusion, it is one of the best perks generator regressing perks that can be used for any killer; however, it is the most effective for fast-paced killers who will be able to reach the generator in time before the timer runs out, and also be able to do multiple tasks before kicking the generator.
Why Pop Goes the Weasel Is Great:
- Pop Goes Weasel allows you to tremendously decrease the generator's progress by as much as losing 20%, which is 1/5 of the generator and great for losing a lot of improvement.
- You can control when pop goes the Weasel can be applied and, therefore, can be used as an advantage to many game-style tactics you might want to use as the killer.
- There are no high requirements for activating this perk except hooking the survivor and then kicking the generator, allowing you to create a significant loss on the generator and slowing down the game.
Best Killers for Pop Goes the Weasel:
Demogorgon
It is an excellent combination perk for the Demogorgon, as the killer also has teleporting abilities, and beforehand, you can build some portals near the generators. Therefore after hooking the survivor, you can travel to the nearest portal, where the closest generator is the generator with the most progress.
Doctor
The Doctor works very well with Pop goes the Weasel, as with his main power of therapy shock, he can stay within the radius of the generator and therefore use the shock on survivors who are nearby the progressed generator and thus be able to track those survivors down who were interacting with the generator.
10. Corrupt Intervention
Perk details: Your prayers invoke a dark power that meddles with the Survivors' chances of survival. At the start of the Trial, the 3 Generators located farthest from you are blocked by The Entity for 80/100/120 seconds.
Corrupt Intervention is a simple perk which will allow you to have the three furthest generators away be blocked entirely for a maximum of 120 seconds, therefore allowing you to use that time to hunt for survivors who might be on the unblocked generators.
Personally, it is a perk that I consider to be amazing for starting chases faster, especially with the potential combinations that it could have, such as the perk 'lethal pursuer', which will allow you to see the survivors for 9 seconds, allowing you to catch up to them.
In conclusion, it is a perk that I recommend using for fast-paced and pressured killers, which will make survivors more anxious, with the least ability to repair generators during that time due to the small area the killer is pressuring.
Why Corrupt Intervention Is Great:
- The ability to block the furthest generators gives more time to hunt survivors who might be on the unlocked generators.
- A substantial perk that can avoid gen rushing and therefore having the killer-sided advantage to go against his rules and make survivors go to the open generators, allowing them to enter the killer's trap.
- The opportunity to use aura-revealing perks such as lethal pursuer to see survivors who might be hiding during corrupt Intervention.
Best Killers for Corrupt Intervention:
Pig
Pig is considered to be one of the powerful killers for using corrupt Intervention because the survivors will not expect who the killer is. Therefore, with Pig's stealth mode, she can jump-scare survivors within her area and go for a clean attack.
The Shape (AKA Michael Myers)
Myers is a killer whom none of the survivors would expect who it is standing in the bushes right behind you. His incognito ability allows him to flawlessly grab survivors of the generators without noticing, therefore a great opportunity to use it during corrupt Intervention.
9. Infectious Fright
Perk details: Whenever a Survivor is put into the Dying State by any means, all other Survivors within your Terror Radius will scream and reveal their current location to you for 4/5/6 seconds.
Infectious Fright is a perk worth having for the killer as it can help you find other survivors who might be in the same area, allowing you to get more than just one hit or down.
Personally, it is a perk that is quite underrated, and not a lot of killers use it, as it would require the technique of slugging a survivor, in other words, leaving a survivor on the floor so that you can catch other survivors who might be in the area.
In conclusion, it is one of the best perks that can be used for almost every killer, as it is universal; however, it is best described to use on very fast killers so that they can reach the generator in time for its loud noise notification from the survivor.
Why Infectious Fright Is Great:
- Using the killer's secondary power as an advantage to this perk can be great for the 'snowballing' effect.
- An excellent perk to avoiding situations such as the possibility of flashlight saves or pallet saves, helping you to pick up the survivor with no problem.
- The ability to see survivors within the killer's Aura for a maximum of 6 seconds will help you understand their location.
Best Killers for Infectious Fright:
The Oni
Infectious Fright and The Oni have good chemistry, where Oni has the perfect role of slugging survivors as he can hold his power for much longer and one-shot survivors in his way with the demon dash.
Hillbilly
The Hillbilly and the Infectious Fright, in the same situation as in Oni, both have good chemistry and allow the maximum capability of bringing more than one survivor down using the power of the chainsaw, where he can flawlessly one-shot survivors who might stand in his way.
8. Tinkerer
Perk details: Whenever a Generator is repaired to 70 %, you benefit from the following effects: Triggers a Loud Noise Notification for that generator, revealing its location. Grants the Undetectable Status Effect for the next 12/14/16 seconds.
Tinkerer is a perk that survivors would need to watch out for, as sometimes it can catch them completely off guard, and either they will be one-shot or even grabbed, as the killer's ability to be in an undetectable status can be quite deadly.
I think it is a perk that works for the deadliest, most powerful, fastest killers, such as the Blight, Oni or Mastermind, where they will have the ability to reach the generator in no time.
In conclusion, it is one of the best perks that can be used for almost every killer; however, it works most effectively against fast killers such as Blight or Oni, which I will comment on below, as they will have the opportunity to reach the generator in time.
Why Tinkerer Is Great:
- It allows you to go incognito mode (undetectable status) and therefore have the advantage of catching up on survivors without them knowing.
- It gives you information about the nearly finished generators, in other words, more than 70% in progress.
- They are very powerful against one-shot killers, where they can reach the generator quickly and undetectable and one-shot the survivor who might be on it or nearby.
Best Killers for Tinkerer:
Blight
Blight is considered to have a great connection with the call of brine because of its main speed, where he can move around the map very fast, therefore, being able to move around the generators much faster, therefore having the ability to catch the survivors who are on the generator more than 70% in progress.
The Oni
Whilst in Oni's main power, the demon dash, he can be quite deadly during the power of Tinkerer, where he will be able to run to a survivor super fast, and they wouldn't even realise until it is too late, and therefore having the ability to continue using his power to pressure the rest of the survivors if the time is left or not on the Tinkerer.
7. Barbecue & Chilli
Perk details: A deep bond with The Entity unlocks potential in one's Aura-reading ability. After hooking a Survivor, all Survivors who are at least 60/50/40 metres away from that hook have their Aura revealed to you for 4 seconds.
Barbecue & Chilli is considered one of the game's most popular and powerful perks. After hooking a survivor, you will be able to see the Aura of all the survivors at least 40 metres away from the hook.
Personally, it is a perk that is quite powerful; however, it can be avoided, especially at that distance. One of the things survivors would typically do to avoid this power is by hiding in lockers, which would hide the Aura, and therefore the killer wouldn't know where they are.
In conclusion, it is one of the best perks which can be used for pretty much every killer; however, the perks are best used for killers who are fast and universal in catching survivors, where there are no limits, such as the Nurse, where she can teleport in different elevations catching survivors much faster.
Why Barbecue & Chilli Is Great:
- The ability to see the Aura of survivors further away from you gives more area on the map and, therefore higher chance of revealing survivors.
- Very advantageous with very fast killers, where with this perk, you can travel across the survivors who have been revealed in seconds.
- A perk is very pressured; once survivors realise, they might decide to hide in lockers and therefore lose and slow down the progress of the game by hiding rather than doing something to progress.
Best Killers for Barbecue & Chilli:
Hillbilly
With Hillbilly's ability to use the chainsaw, he can catch up on survivors very fast, reaching the other side of the map literally in less than 10 seconds, which can be very useful for reaching survivors in time before they hide.
Nurse
Like everybody knows who has played this game, the Nurse is considered one of the most powerful killers in the game, and therefore, with Barbecue and Chilli, she will have no problem finding survivors, especially in hard-to-reach environments such as high-elevation buildings, whereas with Nurse, she will be able to reach it in no time.
6. Discordance
Perk details: Any Generator within a range of 64/96/128 metres being repaired by 2 or more Survivors are marked by a yellow Aura. When the generator is first highlighted, Discordance triggers a Loud Noise Notification on the generator. After the generator is no longer within range or is being repaired by just 1 Survivor, the highlighted Aura will linger for another 4 seconds.
Discordance is an amazing perk that allows you to see a visualisation of the auras of the survivors and, at the same time, see the generator that is being repaired by those survivors, as it is a generator that is most likely to be completed because of the amount of the survivors that are on it, and therefore having the capability to control it.
It is a perk that can be used in different situations, and it is very powerful to use, especially in combinations such as pop goes the Weasel which at the same time will be able to damage and regress the generator massively and down the survivors who were on it.
In conclusion, it is one of the best perks which can be used for pretty much every killer; however, it is best described to use on very fast killers or killers that can do as much damage as possible for more than one survivor.
Why Discordance is Great:
- A good combination perk that can be used with other perks such as 'pop goes the weasel', which will allow you to pop the generator with the most progress, and at the same time, be able to make it lose -20%, which is a great amount.
- Being able to monitor the generator that is most likely to be in progress in the game, with the more likelihood of being popped, therefore being able to catch up on this generator and do what is necessary.
- There are no requirements for activating this perk except for being able to use this perk as efficiently as possible whilst coming towards the generator.
Best Killers for Discordance:
Cannibal
A perfect perk for Cannibal allows the killer to see the generator, which is repaired by two or more survivors, and therefore, gets the opportunity to use the ability of Bubba's chainsaw to down more than one survivor without having to go on multiple chases, making it a perfect killer in this scenario.
Legion
Legion, with his power of 'Frenzy mode', can hit multiple survivors that might be on the generator, and it is very advantageous with his power as he does not have a cooldown on the hits, and therefore getting the opportunity to hit more than one survivor in a small amount of time.
5. Scourge Hook: Floods of Rage

Perk details: At the start of the Trial, 4 random Hooks are changed into Scourge Hooks: The Auras of Scourge Hooks are revealed to you in white. Each time a Survivor is unhooked from a Scourge Hook, the following effects apply: The Auras of all other Survivors are revealed for 5/6/7 seconds.
Scourge Hook: Floods of Rage is another Scourge Hook perk that is listed on this list, however unlike generators, it determines the auras of survivors, which is equivalent to the perk barbecue and Chilli; however, it works when a survivor is unhooked; therefore having the opportunity to hit or down the closest survivor you can see without any distance limits.
Personally, it is a great perk to use. In this situation, it is considered more powerful than Barbecue and Chilli because there is no distance limit on the survivor. Therefore, you can very easily catch them off guard from anywhere.
In conclusion, it is a great perk, which doesn't have high requirements except for hooking a survivor on the scourge hook, making it a great perk, especially for beginners.
Why Scourge Hook: Floods of Rage Is Great:
- The ability to see the Aura of every single survivor after hooking them on the specific scourge hook, which overall this process is very simple and very easy to use.
- The tactics you are able to use for these perks are unlimited, and there are possibilities of baiting the survivors by seeing their Aura or just going for the instance catch & chase.
- One of the most powerful perks in the game and, overall, very universal to all the killers.
Best Killers for Scourge Hook: Floods of Rage:
Blight
Blight is considered to have great chemistry with the perk Scourge Hook: Floods of Rage, as with his very fast speed, he will be able to reach the Aura of survivors in no time and even reach the survivors before the session of Aura expires on the perk.
Nurse
The Nurse is overall a cracked killer, which is considered to be one of the most powerful killers in the game. Nevertheless, with the aura reveal, she has the ability to track down and hunt survivors much more easily with the teleportation tactics, making it a great killer for this perk.
4. Deadlock
Perk details: Whenever a Generator is completed, The Entity blocks the generator with the most progression for 20/25/30 seconds. The Aura of the blocked Generator is revealed to you in white during this time.
Deadlock is considered to be a very good perk for blocking generators and losing as much time as possible. It is a great combination perk which can be used with perks such as pop goes the Weasel which will allow the killer to come in time just as it unlocks and kick the generator without the survivors having time to finish.
Personally, it is a perk that is recommended for players who are not as fast to catch up with progress generators and are usually great at losing as much time as possible within the game.
In conclusion, it is a perk that is very well made as a unique perk and powerful enough to block actions and turn around the game as much as possible.
Why Deadlock Is Great:
- It will be able to show you extra information, such as showing the Aura of the generator, which is the most progressive and therefore has the capability of travelling there.
- The ability to block a generator with the most progress can slow down the game massively, especially with the possibility of a combination perk 'pop goes the Weasel in which you can kick the generator without any interruption.
- There are no high requirements for activating this perk except for allowing for a strategy which will make this perk work as effectively as possible.
Best Killers for Deadlock:
Twins
With Twins, Deadlock can be quite powerful, where you will have the ability to camp the generator with the main twin killer and then go for the chase with the Twin's baby named Victor, which is a very good tactic and overall recommended to intermediate players.
Plague
Plague is very good for this, as you will have the ability to infect the generator which has been blocked with the vomit, and at the same time, you will be able to see the Aura in white, which can help massively to either go distance long shot vomit or just go towards the infected survivor, as you know where the generator was by the white Aura.
3. Jolt
Perk details: When you put a Survivor into the Dying State with your Basic Attack, all Generators within 32 metres of you instantly explode and start regressing. Applies an immediate 6/7/8 % Progression penalty.
Jolt is considered a good all-around regressive perk. This makes all the generators instantly explode within 32 metres, which is a very big area; in the right spot, you might have the capability to make up to 3-4 generators explode at the same time and lose an 8% penalty which is a very powerful automatic perk.
Personally, Jolt is considered to be one of the most used perks in the game, where even I use it sometimes to create a great amount of pressure within the game. Nonetheless, this helps you to also see the generators that are not regressing anymore, therefore catching the survivors who might be going on it.
In conclusion, it is a fantastic perk and, of course, one of the best regressing perks in the game. I would recommend it to every player for effective gameplay.
Why Jolt Is Great:
- The ability to explode all the generators around you makes it one of the most powerful regressing perks, which can massively slow down the game.
- You will simultaneously see the generators that had progressed and therefore predict and surveillance them, as these survivors will most likely return to it.
- The flawless perk doesn't require any effort to activate except for putting a survivor in a dying state which does two things simultaneously.
Best Killers for Jolt:
Deathslinger
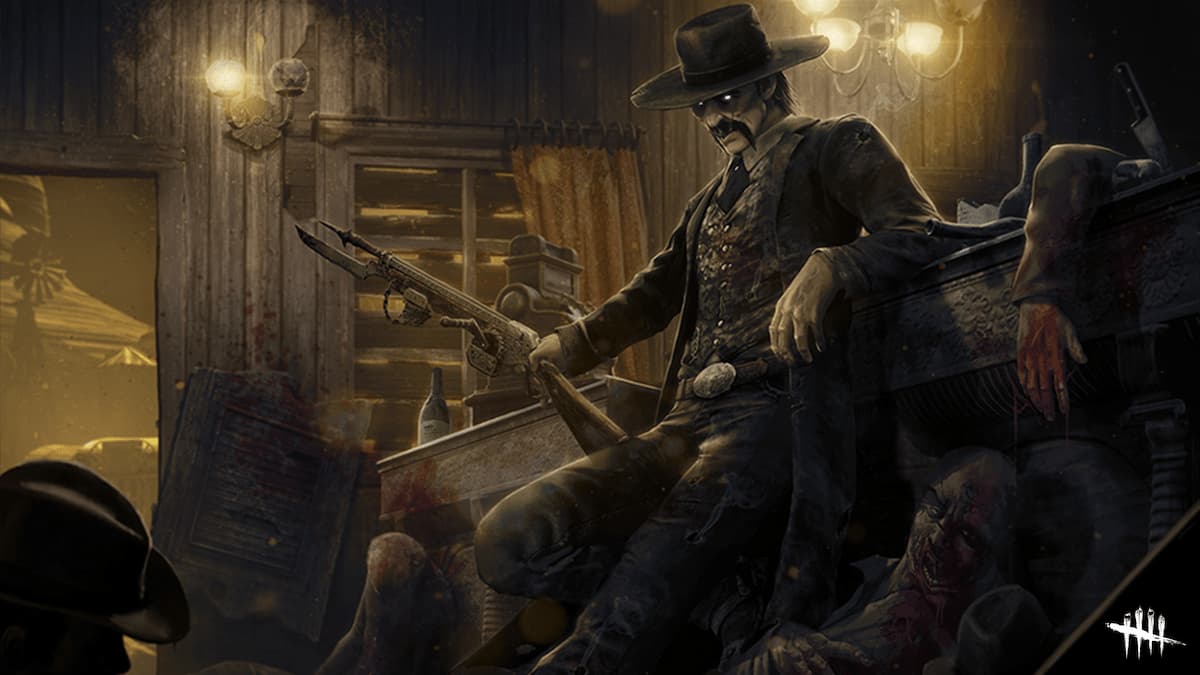
Jolt is a very good perk for the Deathslinger, as you will be able to see the generators explode all around you, at the same time, most likely seeing survivors running, which you can use as an advantage and use the gun to catch them from a long distance, such as within the 32-metre radius.
Ghost Face
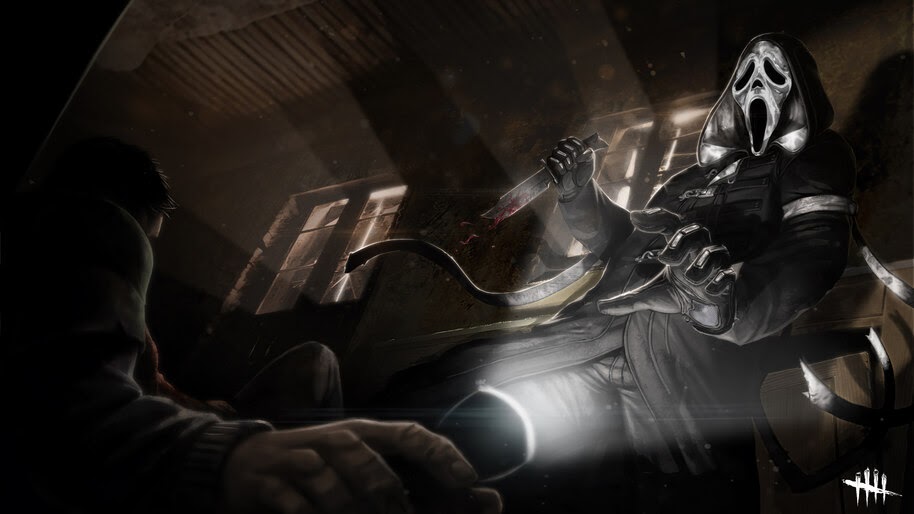
Ghost Face is another very good killer to use against Jolt, as you will have an idea of the generators being repaired because of the explosion and therefore be able to use the stealth power to catch the survivors by surprise.
2. Scourge Hook: Pain Resonance

Perk details: At the start of the Trial, 4 random Hooks are changed into Scourge Hooks, and the Auras of Scourge Hooks are revealed to you in white. Each time a Survivor is hooked on a Scourge Hook, the following effects apply: The Generator with the most progression explodes, instantly losing 9/12/15 % of its progression and starting to regress & Survivors repairing that generator will scream but not reveal their location.
Scourge Hook: Pain Resonance is considered to be one of the greatest perks in the game, with the potential of slowing the game massively with the effect of the generator exploding and losing 15% of the progression, which is similarly equivalent to the pop goes the Weasel, but it is automatic, and it does it on the most progressed generator which is a huge advantage that makes the perk to be as efficient as possible.
In conclusion, it is a perk that can be used for any killer because it depends on whether the survivor will be hooked on the Scourge Hook and therefore have the effect applied.
Why Scourge Hook: Pain Resonance Is Great:
- One of the most powerful Scourge Hooks perks in the entire game, with the ability to reveal the generator with the most progressive and, simultaneously, see whether the survivor was on it.
- The ability to monitor the generator after using the effect of this perk makes it one of the greatest tactical perks in the game.
- It can show you and do as many as three pieces of information, such as showing the survivors, showing the generator with the most progressive and having to lose 15% of the progression.
Best Killers for Scourge Hook: Pain Resonance:
Blight
Blight is a killer who is universal for all the perks because of his amazing speed, and with scourge hook: pain resonance, you will be able to see clearly the survivors that were repairing the generator because of their scream, and therefore quickly run there to take the advantage and take the hit.
Artist
Artist is quite powerful when it comes to long-distance attacks, as she can use the power of her crows to completely mess around with the survivors' minds, and therefore go for the long-distance shots, which is very advantageous with this perk, as you will be able to release the crows to the generator with most progress, with the hope of hitting a survivor, and at the same time travel there so you could clarify or get the guaranteed hit.
1. Call Of Brine
Perk details: Call of Brine activates for 60 seconds after damaging a Generator. The generator regresses at 150/175/200 % of the normal Regression speed, revealing its Aura to you. Each time a Survivor completes a Good Skill Check on a Generator affected by Call of Brine, you receive a Loud Noise Notification.
Call of Brine is considered one of the most powerful perks in the game, and there are good reasons why it is considered in such a way, making it a perk worth having for every killer.
Personally, it is a perk that can be used in different situations, and it is an overall great perk for slowing down the progress of the game, making it much harder for the survivors to keep up. Nonetheless, there are no additional requirements for activating this perk except for kicking a generator. Then, the aura visibility and the regression do the rest of the job.
In conclusion, it is one of the best perks that can be used for almost every killer, as it is universal; however, it is best described to use on very fast killers so that they can reach the generator in time for its loud noise notification from the survivor.
Why Call of Brine Is Great:
- The ability to see the Aura of the generator after kicking the generator makes it a great way to track generators, especially when it is in high progress, where you have the chance to keep it low, slowing down the progress.
- The ability to regress the generator to 200% when it is on the max level makes it an excellent progress reduction perk that doubles the amount it regresses.
- There are no high requirements for activating this perk except kicking the generator, which allows you to see it with the help of the Aura.
Best Killers for Call of Brine:
Blight
Blight is considered to have a great connection with the call of brine because of its main speed, where he can move around the map very fast, therefore, being able to move around the generators much faster, having the ability to catch the survivors who are on the generator off guard.
Nurse
The Nurse is overall a cracked killer, which is considered to be one of the most potent killers in the game. However, one of the reasons why the perk 'call of brine' is considered to be powerful with the Nurse is because of her ability to move around the map easily, especially when that generator was in a high elevation space, such as on the top of the main building, making it much easier to teleport there with her power.
You May Also Be Interested In:
- Dead by Daylight Survivor Guide: Top 25 Tips
- Dead by Daylight Killers Guide: Top 25 Tips
- [Top 10] DbD Best Killer Builds That Are Great!
- [Top 100] Dead By Daylight Best Names
- [Top 10] DbD Best Survivor Builds That Are OP!
- [Top 10] DbD Best Killers And Why They're Good
- [Top 15] DbD Best Killer Perks And Why They're Good
- [Top 15] DbD Best Survivor Perks And Why They're Good
- [Top 10] DbD Best Survivors And Why They're Good
- [Top 10] DbD Best Survivor Builds That Are Great
- [Top 15] Ghost Games To Play Today
- [Top 15] Horror Movies That Were Books
- [Top 15] Best Horror Movies That Were Banned
- [Top 5] Dead By Daylight Most Fun Survivors
- [Top 5] Dead By Daylight Best Jane Romero Builds
- [Top 5] Dead By Daylight Best Meg Thomas Builds
- [Top 5] Dead By Daylight Best Claudette Morel Builds
- [Top 5] Dead by Daylight Best Jake Park Builds
- [Top 5] Dead By Daylight Best Nea Karlsson Builds
- [Top 5] Dead By Daylight Best Laurie Strode Builds
- [Top 5] Dead By Daylight Best Bill Overbeck Builds
- [Top 5] Dead By Daylight Best Feng Min Builds
- [Top 5] Dead By Daylight Best David King Builds

