Bristleback
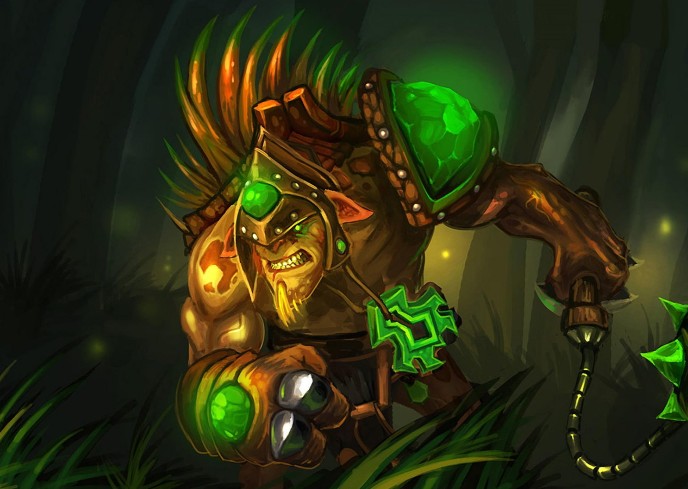
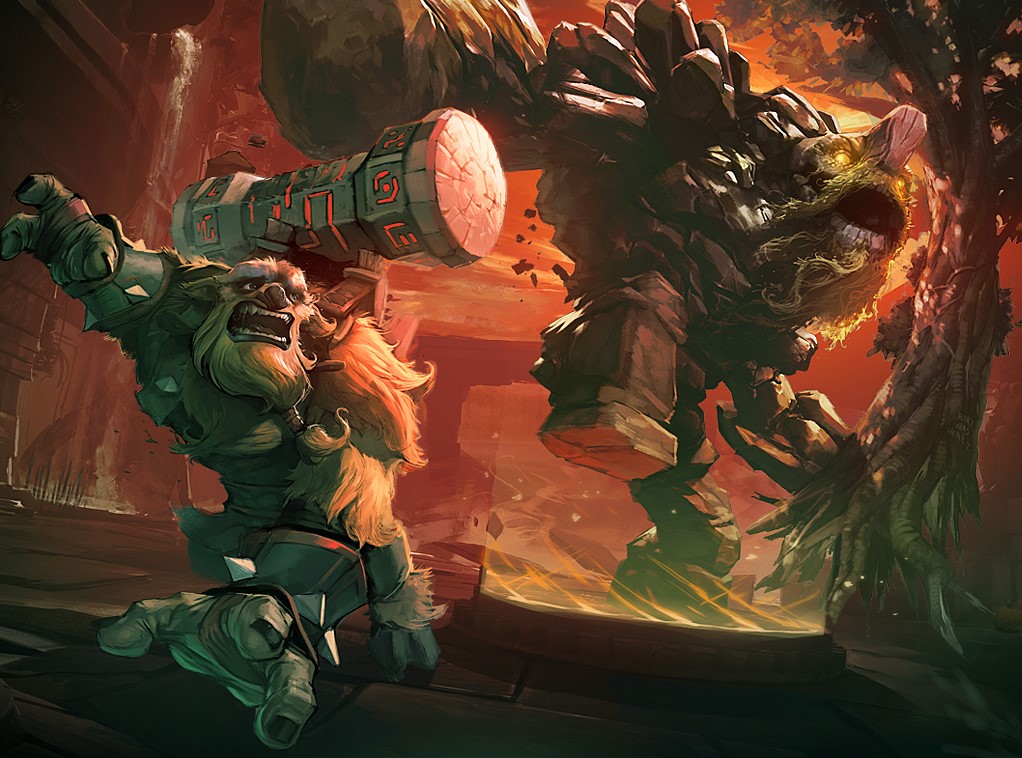
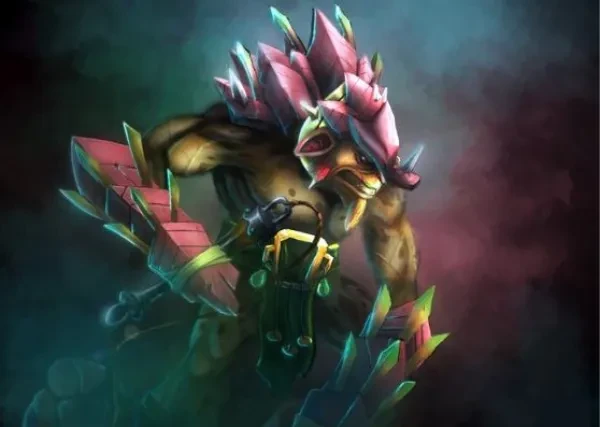
Bristleback has been a popular position three offlaner for much of Dota 2. It wasn’t until recently that people thought to themselves, “hey, if i am a farming, damage dealing hero that's unkillable in the offlane, what's to stop me from doing that in the safelane?”
Bristleback is one of the tankiest heroes in all of Dota 2 thanks to his passive, dishing out massive damage numbers from as early as level 6. In this article, we shall see how professionals build him so that you can bring them into your pub matches for some quick and easy MMR.
5. Miracle’s Hard Carry Bristleback Build
We start this list off with an incredible match with Miracle, who plays on the backfoot the entire game. Even with 2 barracks down by the 25 minute mark, Miracle still puts up a strong fight right up until the end in this action packed back and forth game.
Miracle’s Skill Allocation:
Level 1 - W - Quill Spray
Level 2 - E - Bristleback
Level 3 - W - Quill Spray
Level 4 - E - Bristleback
Level 5 - W - Quill Spray
Level 6 - R - Warpath
Level 7- W - Quill Spray
Level 8 - E - Bristleback
Level 9 - E - Bristleback
Level 10 - Q - Nasal Goo
Level 11 - Q - Nasal Goot
Level 12 - R - Warpath
Level 13 - Q - Nasal Goo
Level 14 - Q - Nasal Goo
Level 15 - Right Talent
Level 16 - Right Talent
Level 18 - R - Warpath
Miracle’s Item Build:
First Buy: Tangoes, 2 Mangoes, 2 Branches, Gauntlet of Strength and a Quelling Blade
The most noticeable choice in the starting items here are Miracle’s double Mangoes. As the lane pressure is not too bad with the Brewmaster and Rubick being average laners in the early game, the two mangoes help Miracle have a little more health regeneration in the lane as well as mana if required.
1 Minutes: Magic Stick
As the Brewmaster loves to spam his abilities, an early Magic Stick helps Miracle build up some stick charges.
3 Minutes: Ring of Health
In 90% of games, an early Ring of Health is usually the best first item choice for Bristleback, essentially giving him ongoing health regeneration and allowing him to sustain in the lane.
5 Minutes: Magic Wand
As Miracle already has a full Magic Stick, he spends a little more gold to ensure that he can have even more charges banked up in the form of a Magic Wand.
6 Minutes: Vanguard
Vanguard is the best item Bristleback players can pick up on the hero and is usually non-negotiable, allowing the hero to basically shrug off most damage coming from auto attacks and rendering creep damage negligible. Notice how as soon as he obtains his Vanguard, he starts playing extremely aggressively. From the fight at 6:30, we are able to see just how powerful the hero is, shrugging off attacks from multiple enemy heroes and almost living to tell the tale. He even manages to take the enemy Brewmaster down with him.
7 Minutes: Soul Ring and Boots of Speed
After the skirmish at the Radiant Ancients, Miracle returns to lane with a Soul ring, enabling him to spam his Quills liberally and farm ancient stacks very quickly.
10 Minutes: Power Treads
There is usually a debate between which boots are better for Bristleback. Either Power Treads or Phase Boots. Generally there is no right or wrong answer for which boots to purchase. Usually, Power Treads give more tankiness and faster farming potential while Phase Boots are purchased more often as the offlaner when you are trying to pressure the enemy lanes.
14 Minutes: Sange
Sange is a brilliant pickup on Bristleback as it makes him incredibly tanky, increases his health regeneration and builds into a Sange and Yasha later on. Sometimes, a Hood of Defiance is purchased instead if the enemy has a lot of Magic Damage. As Miracle plans on farming more as the position 1, he opts for a Sange which gives better stats for farming.
21 Minutes: Aghanim’s Scepter
Bristleback’s Aghanim’s Scepter is one of the strongest Aghanim’s in the game, giving the hero the ability to have an AOE slow that increases the damage of his auto attacks and Quill Sprays. The Scepter’s effects doubles up as an even faster way for Bristleback to build up Warpath stacks, increasing the damage he does by a huge margin. We are able to see the Merits of the Scepter at the 24:20 fight, where he is able to chew through the enemy’s Lone Druid and Brewmaster (who are both very tanky heroes) like a knife through butter.
25 Minutes: Black King Bar
Instead of going for a Hood of Defiance, Miracle finds more value in a Black King Bar which gives him the ability to shrug off enemy disables and allow him to go brute force through enemy positions.
27 Minutes: Sange and Yasha
Miracle completes his Sange and Yasha to double the effects of the item. The Sange and Yasha is a strong brawling item on Bristeback which is often overlooked for other items.
31 Minutes: Assault Cuirass
Assault Cuirass is one of the most powerful items to pick up on Bristleback as it synergizes incredibly with your physical damage abilities. The item also gives you some impressive armor which Bristleback generally lacks, providing a great way for the hero to deal with the Lone Druid and Ember Spirit.
34 Minutes: Boots of Travel
Miracle sells his Treads for a Boots of Travel which enables him to join up with his team whenever it is required. The item is also extremely useful in the late game as it decreases the cooldown of your teleportation scroll, which is vital to dealing with split pushes and pushing out lanes.
38 Minutes: Abyssal Blade
The Abyssal Blade is a luxury end game item that is usually picked up after all the other core items on Bristleback have been built. It gives him a power lockdown ability that pierces BKB and also furthers Bristleback’s tanking ability. Even being 2 Barracks down, for the majority of the game, Miracle is still able to turn the game around, being pretty much unkillable for most of the game.
43 Minutes: Aghanim’s Blessing and Blink Dagger
Consuming his Aghanim’s Scepter, Miracle gains an extra slot to purchase an item. Miracle decides to go for a Blink Dagger as it gives him the potential to pick off important heroes by being able to jump on top of them and stunning them with his Abyssal Blade. We can see how effective this item is in the late game with the pick off on the ember at 44:40. However, this turns out to be an ill choice, which unfortunately costs him the game due to a solo Black Hole on Miracle and no buy back to prevent the counter push.
4. Yatoro’s Hard Carry Bristleback Build
It was not long ago that Bristleback was played exclusively in the Offlane. However, due to his huge damage numbers, the hero can now be played also as a position 1 tanky hard carry. Unlike traditional carries that are weak early into the game, Bristleback is a powerful hero at all stages of the game and is a force that is hard to ignore. Even though this gameplay video is slightly older, the playstyle of Bristleback is still very much the same as Yatoro shows us.
Yatoro’s Skill Allocation:
Level 1 - W - Quill Spray
Level 2 - E - Bristleback
Level 3 - W - Quill Spray
Level 4 - E - Bristleback
Level 5 - W - Quill Spray
Level 6 - R - Warpath
Level 7- W - Quill Spray
Level 8 - E - Bristleback
Level 9 - E - Bristleback
Level 10 - Left Talent
Level 11 - Q - Nasal Goo
Level 12 - R - Warpath
Level 13 - Q - Nasal Goo
Level 14 - Q - Nasal Goo
Level 15 - Left Talent
Level 16 - Q - Nasal Goo
Level 18 - R - Warpath
Yatoro’s Item Build:
First Buy: 4 Mangoes, Magic Stick and a Quelling Blade
The most noticeable choice in the starting items here are Yatoro’s quadruple Mangoes. Yatoro aims to have as much passive health regeneration as possible in the early game, hoping to survive enough of the laning stage to get himself a Ring of Health without any other consumables.
3 Minutes: Ring of Health
Again, a Ring of Health is usually the first core pickup on Bristleback as it makes him incredibly tanky in the early gain and gives him some natural sustain without the need of consumables.
4 Minutes: 2 Gauntlets of Strength and Boots of Speed
Being relatively low in mana, Yatoro instead opts for some earlier boots and some strength items to give him the edge when last hitting. The gauntlets also allow him to get a faster Soul Ring.
6 Minutes: Soul Ring
Due to the incredible amount of harassment coming out from the enemy Beastmaster, Yatoro instead finds more value clearing jungle camps. As mana is the limiting factor to his farming speed, he chooses to go for a Soul Ring first before his Vanguards.
8 Minutes: Vanguard
Vanguard is one again the first core item of choice, making Yatoro’s Bristleback almost unkillable for the early game.
11 Minutes: Phase Boots
Phase Boots are the boots of choice in this game for Yatoro, choosing for armor in comparison to stats. This helps greatly with the multiple summons coming from the enemy team as well as the Wraith King who are all physical damage dealers.
13 Minutes: Hood of Defiance and Magic Wand
Yatoro aims for more tankiness in this game as he is the main meat shield for his team. Hood of Defiance gives Yatoro some extra magic resistance, making him even harder than he is already to kill
19 Minutes: Aghanim’s Scepter
Once again, Aghanim’s Scepter is one of the strongest pickups for Bristleback. The hero does not need any damage items due to his ultimate Warpath, and as such, he can focus on some more utility.
24 Minutes: Sange and Yasha
As he has reached his power spike with the Aghanim’s Scepter, Yatoro needs to focus on ensuring that he does not get kited too much. As such, he builds a Sange and Yasha which reduces the duration of debuffs. More specifically, the enemy team has three BKB piercing abilities that can lock Yatoro down for a long time. Sange and Yasha reduce the duration of these abilities and make him slightly harder to kite as a result.
27 Minutes: Aghanim’s Shard
Aghanim’s Shard gives Bristleback an extra ability to cast, giving him a way to further add some crowd control utility for the rest of his team.
31 Minutes: Radiance
Radiance is a curious but effective pick on Yatoro this game as a lot of the enemy’s damage comes in the form of Summons. Despite the summons not affecting him directly, they can be extremely annoying for the rest of his team. Radiance helps chip at the enemy’s summons while the miss rate of the Radiance indirectly assists with his team’s survivability.
33 Minutes: Eternal Shroud
Eternal Shroud compliments Yatoro’s Radiance by giving him some extra spell lifesteal even when he gets disabled. The active of the item further reduces the magical damage coming in from the enemy team and provides him with a cheeky way to gain some extra mana.
37 Minutes: Abyssal Blade
The Abyssal Blade is a natural upgrade to the Vanguard, giving Yatoro a way of locking down key targets with the bash passive and active of the item.
40 Minutes: Aghanim’s Blessing and Hyperstone
Consuming his Aghanim’s Blessing, Yatoro aims to gain more attack speed to not only add stronger sieging potential with his insanely high right click damage, but enable more proccs of his basher which can sometimes turn fights around.
44 Minutes: Consumed Moon Shard and Orchid of Malevolence
Going into the late game, Yatoro has a lot of gold stocked up, and as such, decides to invest in a Moon Shard so that he can build his next late game item. Yatoro finds himself need more mana and lockdown for the rest of his team, and consequently, purchases an Orchid to serve as an extra disrupt for the enemy supports.
46 Minutes: Bloodthorn
Bloodthorn is a natural upgrade from the Orchid and gives Bristleback not only the ability to perform critical strikes, but gives him additional magic resistance which can be useful against the large amounts of nukes coming out from the Visage and Shadow Demon.
50 Minutes: Boots of Travel 2 and Satanic
With ample money in the bank, Yatoro goes for a Boots of Travel to increase his mobility and join fights where necessary. He also purchases a satanic to better man fight the enemy Wraith King, and make it such that he can regain a huge portion of his HP if he ever gets gone on.
3. Mind Control’s Offlane Bristleback Build
In this gameplay video, we shall see how Mind-Control plays the standard Bristleback in the offlane.
Mind Control’s Skill Allocation:
Level 1 - W - Quill Spray
Level 2 - E - Bristleback
Level 3 - W - Quill Spray
Level 4 - E - Bristleback
Level 5 - W - Quill Spray
Level 6 - R - Warpath
Level 7- W - Quill Spray
Level 8 - E - Bristleback
Level 9 - E - Bristleback
Level 10 - Q - Nasal Goo
Level 11 - Right Talent
Level 12 - R - Warpath
Level 13 - Q - Nasal Goo
Level 14 - Q - Nasal Goo
Level 15 - Right Talent
Level 16 - Q - Nasal Goo
Level 18 - R - Warpath
Mind Control’s Item Build:
First Buy: 2 Branches, Gauntlet of Strength, Magic Stick and a Quelling Blade
Quelling Blade helps Bristleback secure some easier creep kills against the enemy Weaver. Mind Control is also laned up with an Io, making him decide to not to purchase any consumables.
3 Minutes: Ring of Health
Again, a Ring of Health is usually the first core pickup on Bristleback as it gives him some much needed sustain against the high harassment coming out from the Weaver and Winter Wyvern
4 Minutes: Vanguard
With the extra gold saved from not purchasing consumables, Mind Control is able to obtain a very early Vanguard, allowing him to cut creep waves as he does at 5:00 without taking any damage at all.
7 Minutes: Soul Ring
Soul Ring is once again picked up to assist Mind Control with some mana problems.
9 Minutes: Power Treads and Magic Wand
Mind Control opts for Power Treads in this game to improve his farming speed. As we can see at 10:00, Mind Control makes the most use out of his Treads, switching to the Intelligence attribute when using his Quill Spray.
12 Minutes: Cloak
Mind Control goes for a passive Cloak just to prepare himself to tank some of the enemy’s Magic Damage. This comes into great use as we can see where he is able to not only survive a gank at 12:30, but get himself a kill too.
16 Minutes: Aghanim’s Scepter
Mind Control opts for Power Treads in this game to improve his farming speed. As we can see at 10:00, Mind Control makes the most use out of his Treads, switching to the Intelligence attribute when using his Quill Spray.
21 Minutes: Heart of Tarrasque
Mind Control disassembles his Vanguard to not only use the Vitality Booster for his Heart, but also allows him to use his Ring of Health for a Lotus Orb later. Heart offers one of the best tanking abilities in the entire game. Being the frontliner, a Heart makes Bristleback near impossible to kill, especially with the enemy team’s lack of early game damage. The Heart also makes Mind Control’s Bristleback a sieging machine, hitting towers for immense damage whilst keeping his creeps alive.
24 Minutes: Lotus Orb
As a final measure, Mind Control opts for a Lotus Orb which not only offers some dispel against the enemy Venomancer and Bounty Hunter’s Track, but gives him some much needed armor which is Bristleback’s main weakness.
2. Tundra33’s Offlane Bristleback Build
In this game, Tundra33 plays a high rank immortal game as the offlaner, focusing largely on high aggression especially in the early game. We can see just how powerful he is in the mid and late game despite a rough early game, proving how hard it can be to manage against this hero.
Tundra33’s Skill Allocation:
Level 1 - W - Quill Spray
Level 2 - E - Bristleback
Level 3 - W - Quill Spray
Level 4 - Q - Nasal Goo
Level 5 - W - Quill Spray
Level 6 - R - Warpath
Level 7- W - Quill Spray
Level 8 - E - Bristleback
Level 9 - E - Bristleback
Level 10 - Left Talent
Level 11 - E - Bristleback
Level 12 - R - Warpath
Level 13 - Q - Nasal Goo
Level 14 - Q - Nasal Goo
Level 15 - Right Talent
Level 16 - Q - Nasal Goo
Level 18 - R - Warpath
Tundra33’s Item Build:
First Buy: 3 Branches, Magic Wand
Tundra opts for some early Stat items and a Wand, hoping to out spam his opponents with multiple stacks of his Quill Spray. Unfortunately, his early aggression was just marginally unable to pay off.
2 Minutes: Bracer
This is the first time we see Bracer on Bristleback. Due to the high amount of aggression Tundra33 wants to put in, he opts for more stats early on, even leveling a point in Nasal Goo in an attempt to go for kills. Unfortunately, he gets ganked by the Marci at 5:20 and is forced to take some stacks in the jungle to catch up.
3 Minutes: Boots of Speed
Tundra33 goes for early Boots in an attempt to make the enemy Juggernaut as uncomfortable as possible.
7 Minutes: Ring of Health
Soul Ring is once again picked up to assist Mind Control with some mana problems.
9 Minutes: Vanguards
Once again, Vanguard is a must on Bristleback.
10 Minutes: Soul Ring
With Vanguards, Tundra33 complements his mana regeneration with Soul Ring’s active.
17 Minutes: Heart of Tarrasque and Hood of Defiance
Disassembling his Vanguard, Tundra33 is able to use both the components to build a Heart and a Hood, increasing his tankiness by a considerable amount. With that early timing, he is able to take Roshan at the 15 minute mark and push objectives with little resistance.
20 Minutes: Eternal Shroud
As a large portion of the enemy’s damage comes from magical sources, Tundera33 opts for an Eternal Shroud to also enable himself to lifesteal off his Quill Spray
22 Minutes: Boots of Travel
Understanding that the enemy team has almost no way of dealing with him at this point, Tundra33 goes for a relatively early Boots of Travel to not only be always available for team fights, but enable him to split push lanes and further his gold lead.
28 Minutes: Moon Shard
With no Breaking abilities in sight to deal with Bristleback’s passive, Tundra33 goes for a Moonshard to deal more damage and also to have more fun! As you can see with the gold lead, the Radiant team is already ahead by a lot with the team fight at 30:00 being not even close. Despite the enemy Dark Seer’s powerful initiation, the enemy Dire team were unable to deal with Tundra33’s Bristleback as they did not have enough damage, sealing Dire’s fate.
1. Arteezy’s Hard Carry Bristleback Build
We will finish off this list with Arteezy’s position 1 Bristleback with an all but even game right up until the mid to late game. Arteezy shows us the power of the hero by scoring himself a brutal rampage, showcasing the strength of the hero even with no damage items in his arsenal.
Arteezy’s Skill Allocation:
Level 1 - W - Quill Spray
Level 2 - E - Bristleback
Level 3 - W - Quill Spray
Level 4 - E - Bristleback
Level 5 - W - Quill Spray
Level 6 - R - Warpath
Level 7- W - Quill Spray
Level 8 - E - Bristleback
Level 9 - E - Bristleback
Level 10 - Q - Nasal Goo
Level 11 - Q - Nasal Goo
Level 12 - R - Warpath
Level 13 - Q - Nasal Goo
Level 14 - Left Talent
Level 15 - Right Talent
Level 16 - Q - Nasal Goo
Level 18 - R - Warpath
Arteezy’s Item Build:
First Buy: Tangoes, Branch, Magic Stick, Mango and Quelling Blade
Arteezy’s starting items are fairly standard for most carries. He opts for an early stick in lane, prioritizing high impact hero kills over creep kills.
2 Minutes: Ring of Health
Due to his rather aggressive plays, scoring 2 kills on the enemy Mirana, Arteezy gets himself an incredibly early Ring of Health, disregarding his need for any more consumables.
4 Minutes: 2 Mangoes and a Ring of Protection
Arteezy brings a Ring of Protection back into lane as his offlane opposition consists largely of physical damage dealers like Enigma’s Eidolons and Mirana.
5 Minutes: Vanguard
Arteezy gets one of the fastest Vanguards with additional items of top, making him in tip top shape to already push objectives around the map.
6 Minutes: Soul Ring
By now, you should know that the best item to increase his farming speed and to deal with his mana problems is the one and only Soul Ring.
6 Minutes: Soul Ring
By now, you should know that the best item to increase his farming speed and to deal with his mana problems is the one and only Soul Ring.
14 Minutes: Aghanim’s Scepter
Skipping his upgraded Boots, Arteezy instead goes for an Aghanim’s Scepter to enable him to take fights faster.
16 Minutes: Power Treads
Arteezy eventually upgrades his Boots to Treads to make use of the extra valuable stats they give.
22 Minutes: Black King Bar
Arteezy wants to force fights and end the game quickly. However, the enemy team has a wide array of stun and kiting abilities which makes it near impossible for him to just walk through. One item that allows him to walk on through is the Black King Bar which we can see he makes use of at the 22:00 team fight. Despite this, the Enigma was able to land a beautiful black hole, and without the Shadowfiend there to dish out the necessary damage, the Radiant team were unable to push.
However, we do see the merits of the item with successful team fights again and again after that set back, sealing the fate of the Dire team before they even knew what hit them.
You may also like:
- [Top 10] Dota 2 Best Carry Heroes That Wreck Hard!
- Top 10 Best Mid Heroes of Dota 2
- Top 10 Best Support Heroes of Dota 2
- In-game Best Settings for an Advantage in Dota 2
- Top 10 Best Offlane Heroes in Dota 2
- [Top 10] Dota 2 Best Agility Heroes That Wreck Hard!
- [Top 10] Dota 2 Best Junglers That Wreck Hard!
- [Top 10] Dota 2 Best Aghanim Upgrades That Are OP

