1. Enhanced Doom Hunters
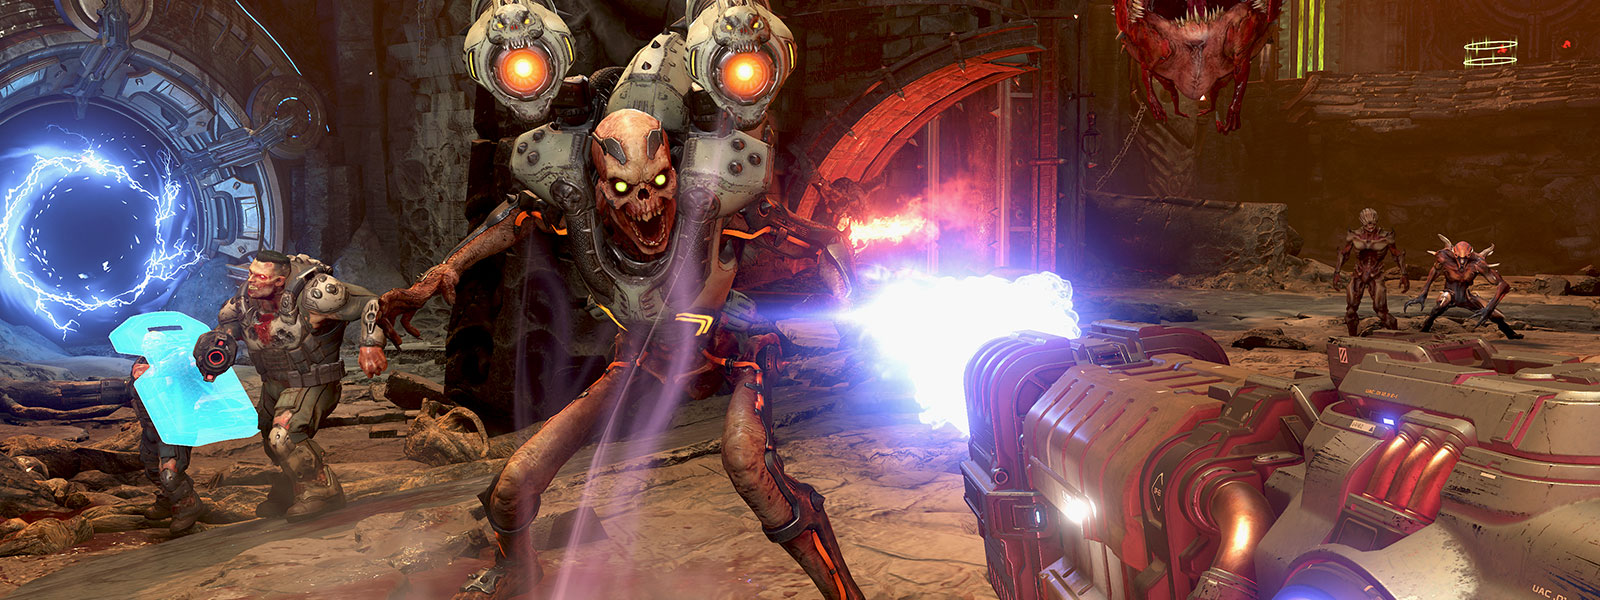
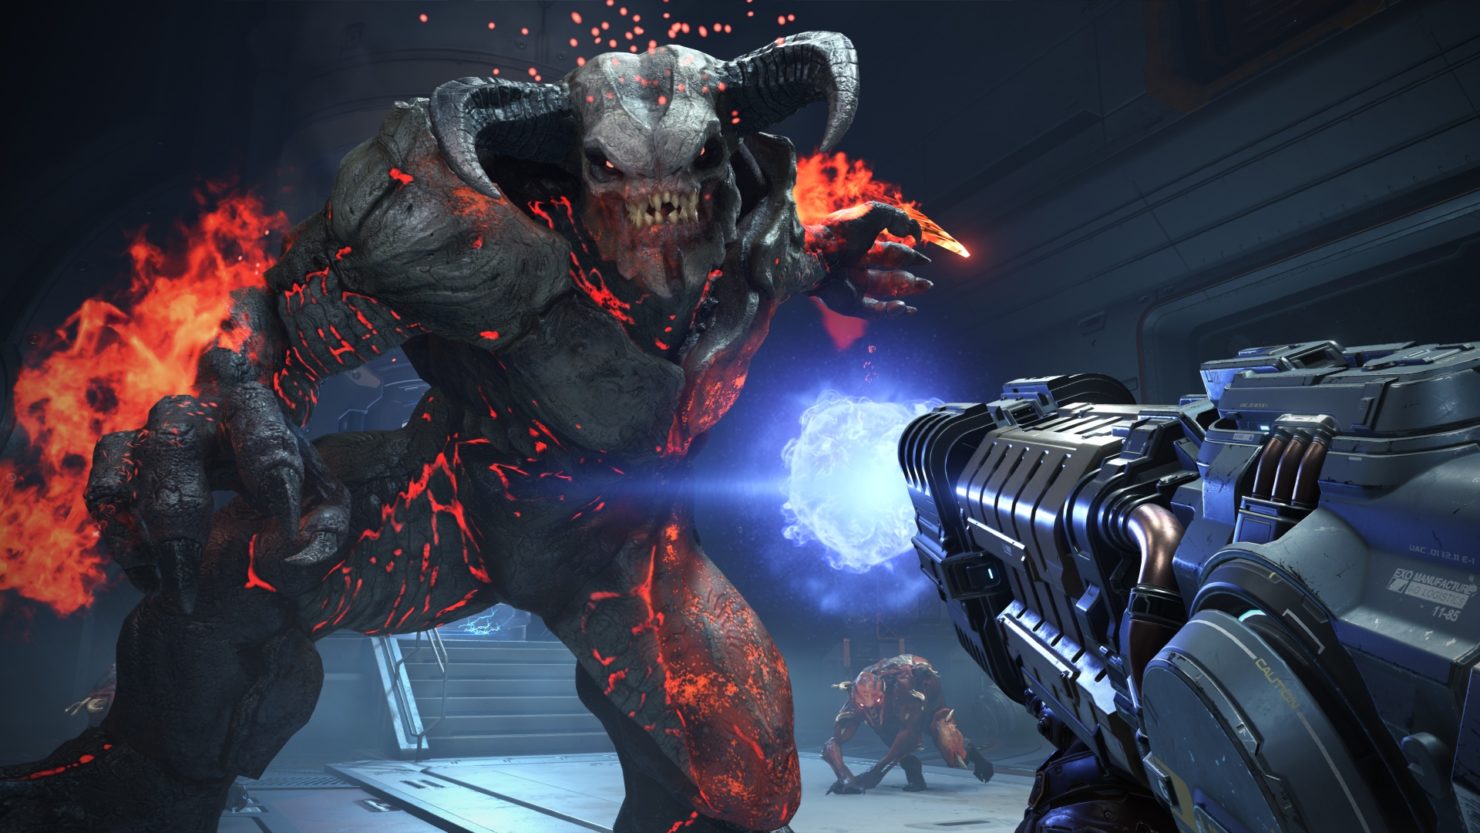
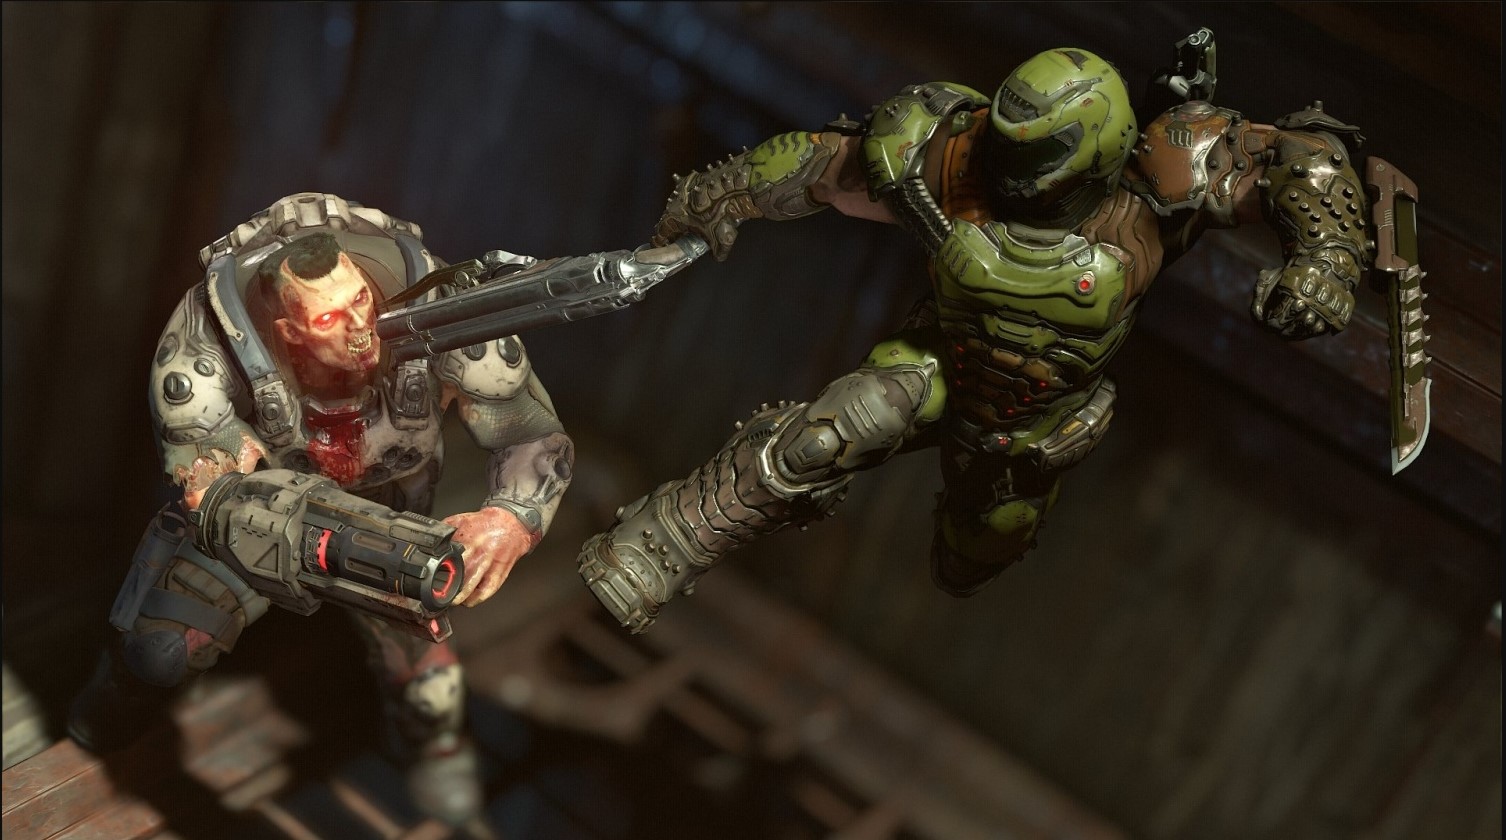
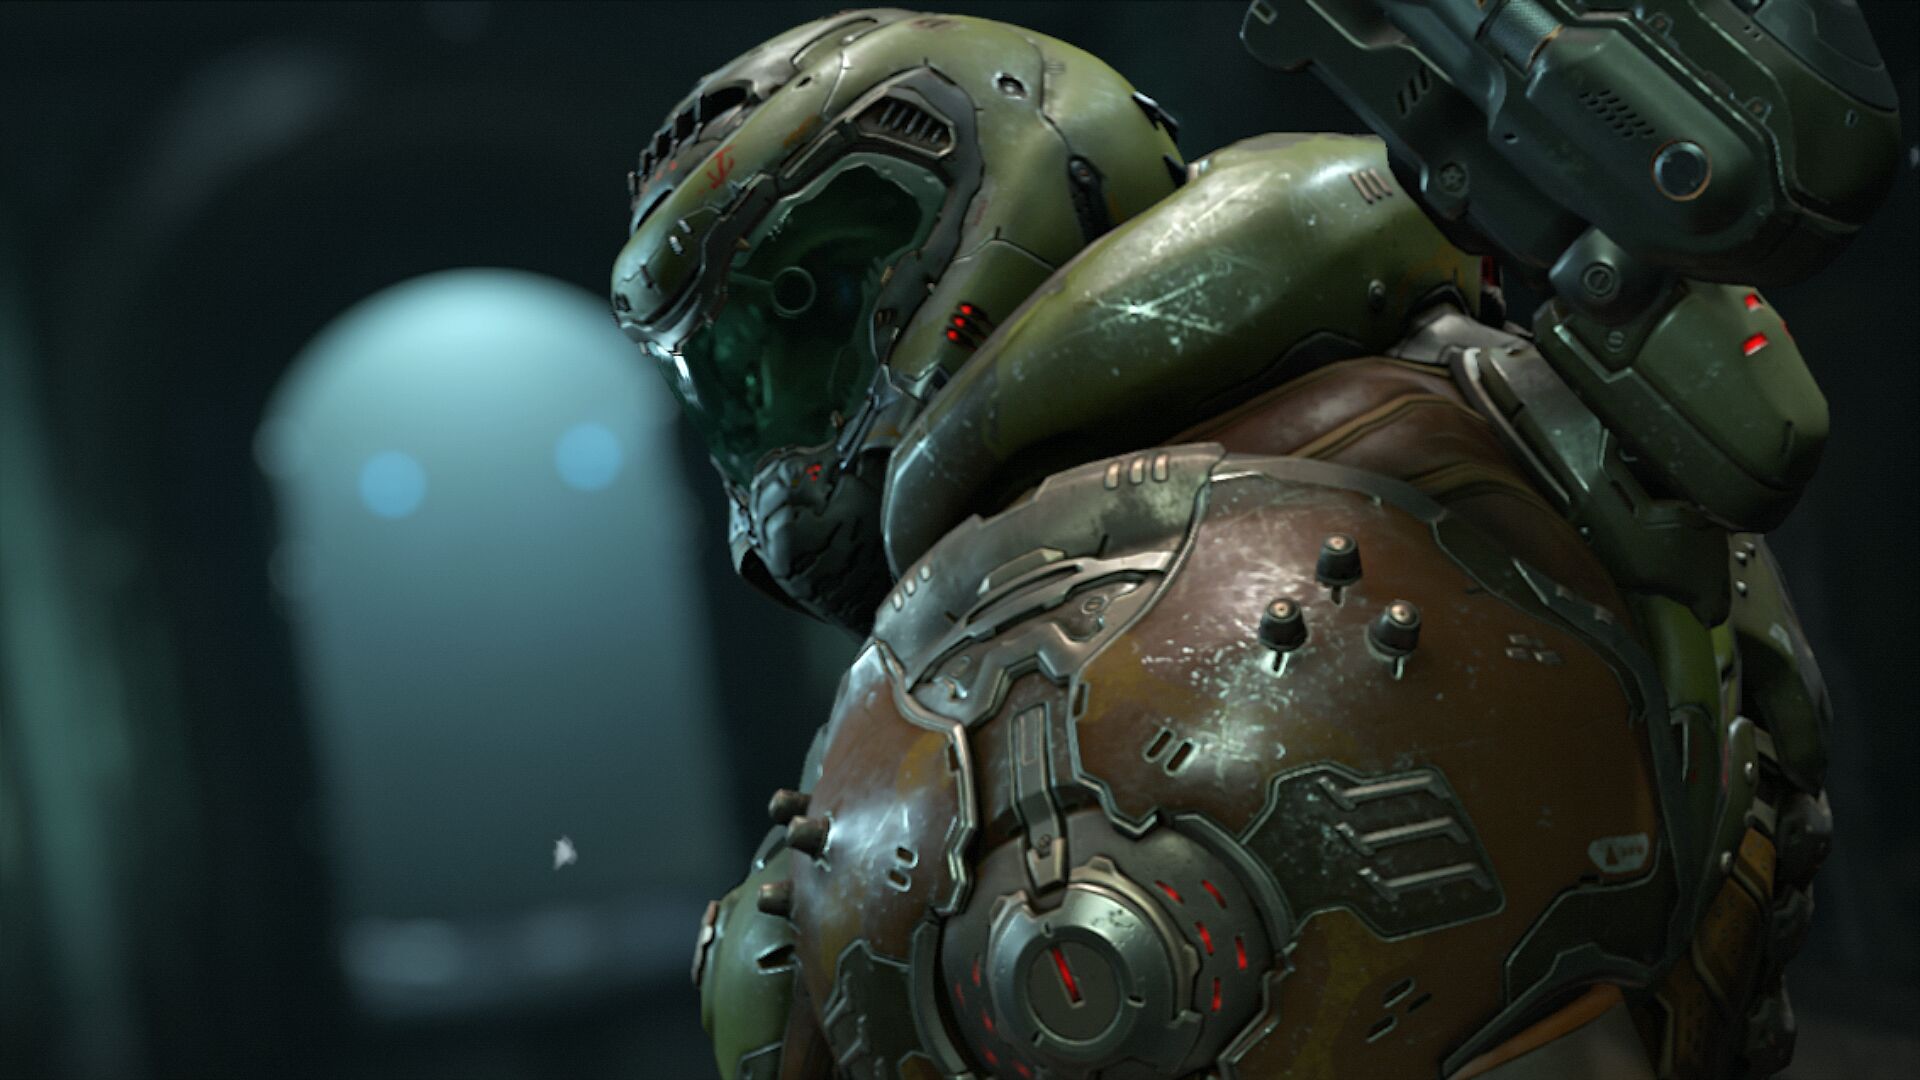
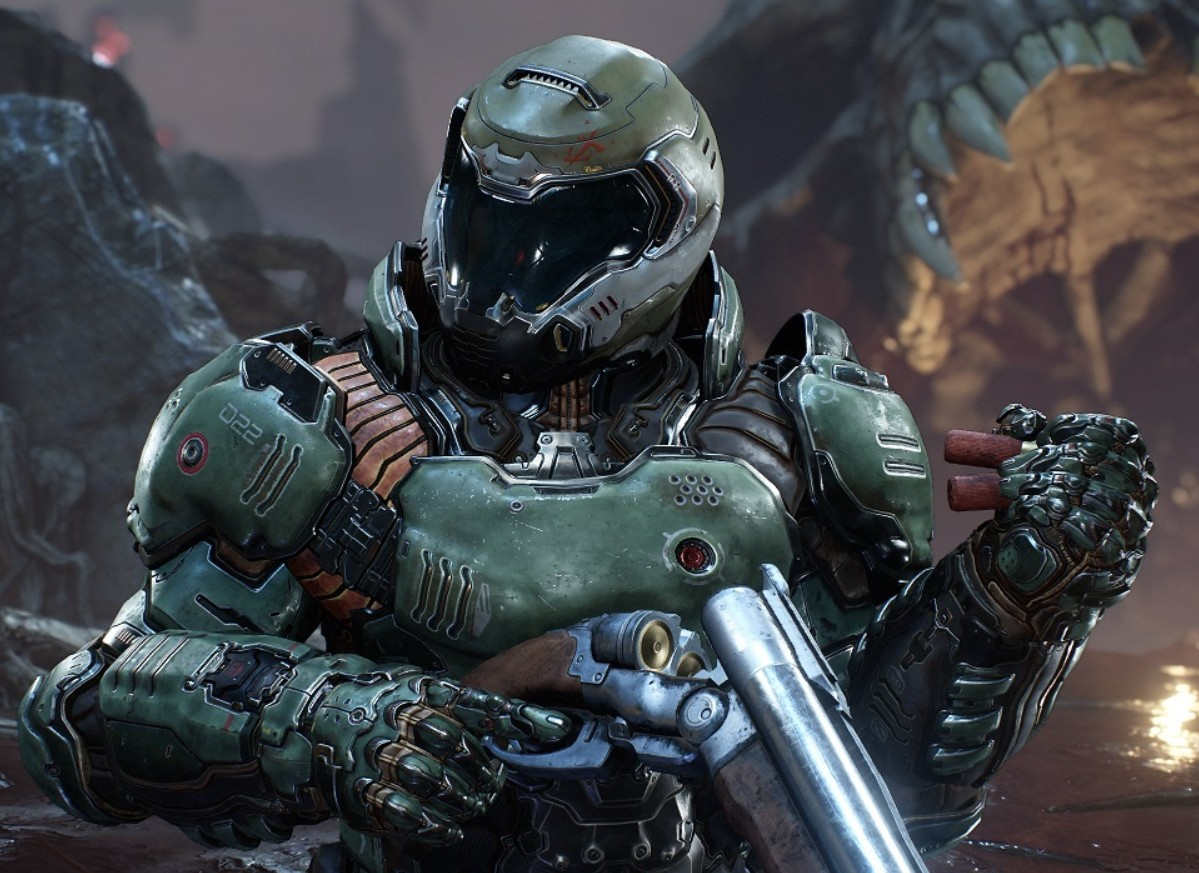
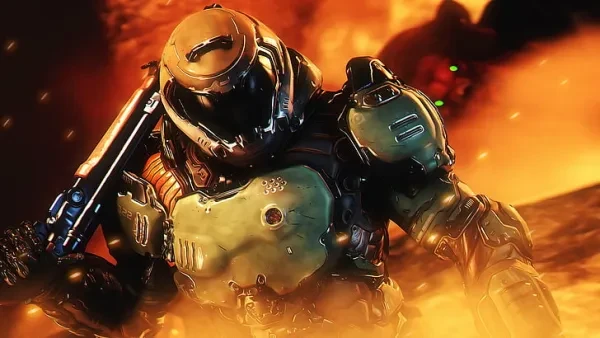
Welcome, brave slayer, to the infernal nightmare that awaits you in the accursed realm of Doom Eternal. Behold, the Doom Hunter, a harbinger of destruction who awaits your arrival as the nightmare takes form on the battlefield. Prepare yourself for a symphony of chaos and carnage as you face this formidable foe on Nightmare difficulty. Now, time to get serious…
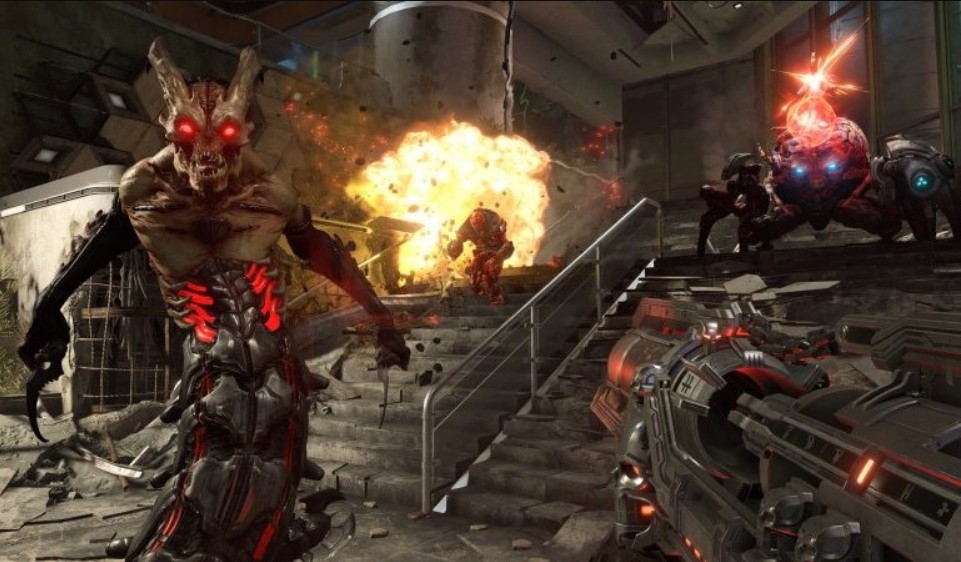
The Doom Hunter fight is the first true boss encounter in the game, and will require you to fight this robotic demon three times in rapid succession. his fight happens on the fourth level of the game, at the end of the aptly named Doom Hunter Base. In order to kill the Doom Hunters you have to be dealing as much damage as you can while trying to keep your wits about you. The Doom Hunters have what can feel like a lot of health, they hit pretty hard, and there are enemies (such as imps and prowlers) who are trying to kill you. But try and think of these basic enemies as being a good source of health and ammunition.
In order to apply enough damage, weapon swapping is going to be essential here. Get within range of the Doom Hunters and hit them with the super shotgun before quickly dashing away to use either a quick sniper shot with the rifle, or the lock on with the rocket launcher. And for this fight you are absolutely going to want the rocket launcher lock on mod, just make sure to not use it during the animation where the Doom Hunter gets out of its mech suit. Avoiding damage is done the same way as any other serious threat in this game, move and don’t stop moving. Think of the Doom Hunter as being a combo of several other heavy enemies, it has the mancubus’ alternating projectiles, it also has the revenant's homing missiles, and some other tricks up its sleeve.
Then, once you’ve beaten the first Doom Hunter, there will be two more to face in a bitter snowy combat arena. Luckily, this combat arena gives the player lots of options in terms of how they want to engage enemies. It’s very helpful to try and keep the Doom Hunters as separate as possible here, if they get too close to each other then disengage combat and run, there are lots of resources so use this as an opportunity to stock up if need be. This is also a very vertical combat arena, get into the habit of traversing this arena with fluidity as staying out in some of the open areas here can get you killed pretty quickly. Same rules as before apply for dealing damage, just make sure to maintain a safe distance from the Doom Hunter, too close and you’ll hit yourself with damage from the rocket launcher, too far away and you won’t do enough damage, so stay mobile. If possible get one Doom Hunter to its second phase but leave the other one at first phase, they seem to get more aggressive when they leave their mech suits so choose one to deal with first.
2. Marauder
As the battlefield ignites with the fires of hell, prepare to face a duel of cosmic proportions. The marauder, a twisted reflection of your own power, tests your combat prowess and strategic cunning.
While the reputation of the Marauder is as one of the game’s hardest enemies, playing on Nightmare difficulty will require you to dispatch this enemy as quickly as you possibly can. The developers will just start throwing the marauder or multiple marauders into fights at a certain part of the game, so you need to be prepared to take these guys out almost immediately wherever they may appear.
To do so we must employ weapon swapping and the use of grenades. While there is some variety in the options of weapon combos, many people prefer to use the rocket launcher, ballista, super shotgun, and sometimes the rifle with the sniper mod.
Dodge the marauder’s attacks and then hit it with the super shotgun or rocket launcher and send off a grenade while at it. Then quickly weapon swap from shotgun to rifle to rocket launcher while sending off more grenades as quickly as you can.
At worst you might have to dodge again and wait for another opening a couple of times if you’re learning this method or just unlucky. In any scenario, give the marauder full priority and stunlock it until it pops.
3. The Gladiator
Armed with a sinister blade that thirsts for your blood and a shield that repels all but the most cunning strikes, the gladiator is a manifestation of relentless aggression. The rhythmic dance of combat unfolds in this unholy arena, demanding not only strength but the strategic finesse to exploit the brief moments when the gladiator lowers its guard.
If you made it to this point then congratulations! It is pretty difficult to even reach this point on Nightmare, seven levels into the story. Luckily, the mechanics present in this fight will require you to use your skills in a similar but different way to how you’ve already been ripping and tearing.
To start off, always keep an eye on the gladiator, and when the eyes on his shield flash green, get ready to hit him with some heavy firepower Hitting the gladiator at the right time will allow you to then press the glory kill button to deal big damage. Just try and keep up this cycle, using resources around the combat arena when necessary, always stay moving and be prepared to dodge projectiles thrown from the gladiator’s shield.
Some pretty beefy enemies can spawn in as well, be prepared for hell knights and prowlers at regular intervals, try and think of all enemies smaller than the boss here as being clutch resource generators if you find yourself in a tight spot.Once the first health bar is down the gladiator will go into its second phase. The gladiator will drop its shield and opt for dual wielding, but the fight continues on pretty similar to the first phase. Again just wait until the green flash to shoot the gladiator with the ballista or super shotgun and then go in for the attack.
There is a nasty attack the gladiator can do which will require you to dodge left and then right similar to a mancubus’ projectiles except before this attack the gladiator’s weapons will quickly flash orange.
The gladiator can also trap you inside of a narrow space and force you to jump through literal hoops of energy, for this move just stick to the middle of the space and be prepared to move left and right, and to jump above or duck below these attacks. Which are immediately followed by a charge, the gladiator will shine green and you will want to dodge out of the way. In general this boss fight is difficult because it is a long fight, managing resources will be essential.
4. The Khan Maykr
The Khan Maykr, an architect of realms and a master of cosmic energies, floats amidst the celestial energies, commanding the very forces that bind existence. The Khan Maykr’s ethereal attacks, woven from the energies of the cosmos, demand nimble reflexes and an understanding of the arcane.
The real difficulty of this boss fight comes from the sheer amount of attacks that the Khan Maykr will be lobbing at the Doom Slayer nonstop from all directions. The Khan Maykr has homing missile projectiles, big orb projectiles, fiery-laser beams, fire on the ground of the arena, and a few more projectile attacks which will quickly slash your health bar. Make use of the dodge mechanics and really keep mobile for this fight, staying still is even more of a death sentence than normal.
Use cover and quickly escape behind walls if you can but never stop and rest, this boss will just start shooting around, over, or through your cover. Attacking the boss is straightforward though, just use your preferred set of weapons to shoot the Khan Maykr whenever you can, once its health bar goes down it will glow green and you will need to punch the Khan Maykr.
The smaller enemies that will spawn in around this arena are great for resources, just pop them in the head with the sniper rifle and they will drop health and ammo, however armor will be harder to maintain as these enemies don’t group up for easy flamethrower attacks.
This is again another boss fight that is difficult because it can go on for pretty long, you have to get the Khan Maykr’s health bar all the way six times in order to beat the boss. This will take a lot of tries, muscle memory, memorization, and relatively calm nerves in order to survive.
5. Icon of Sin
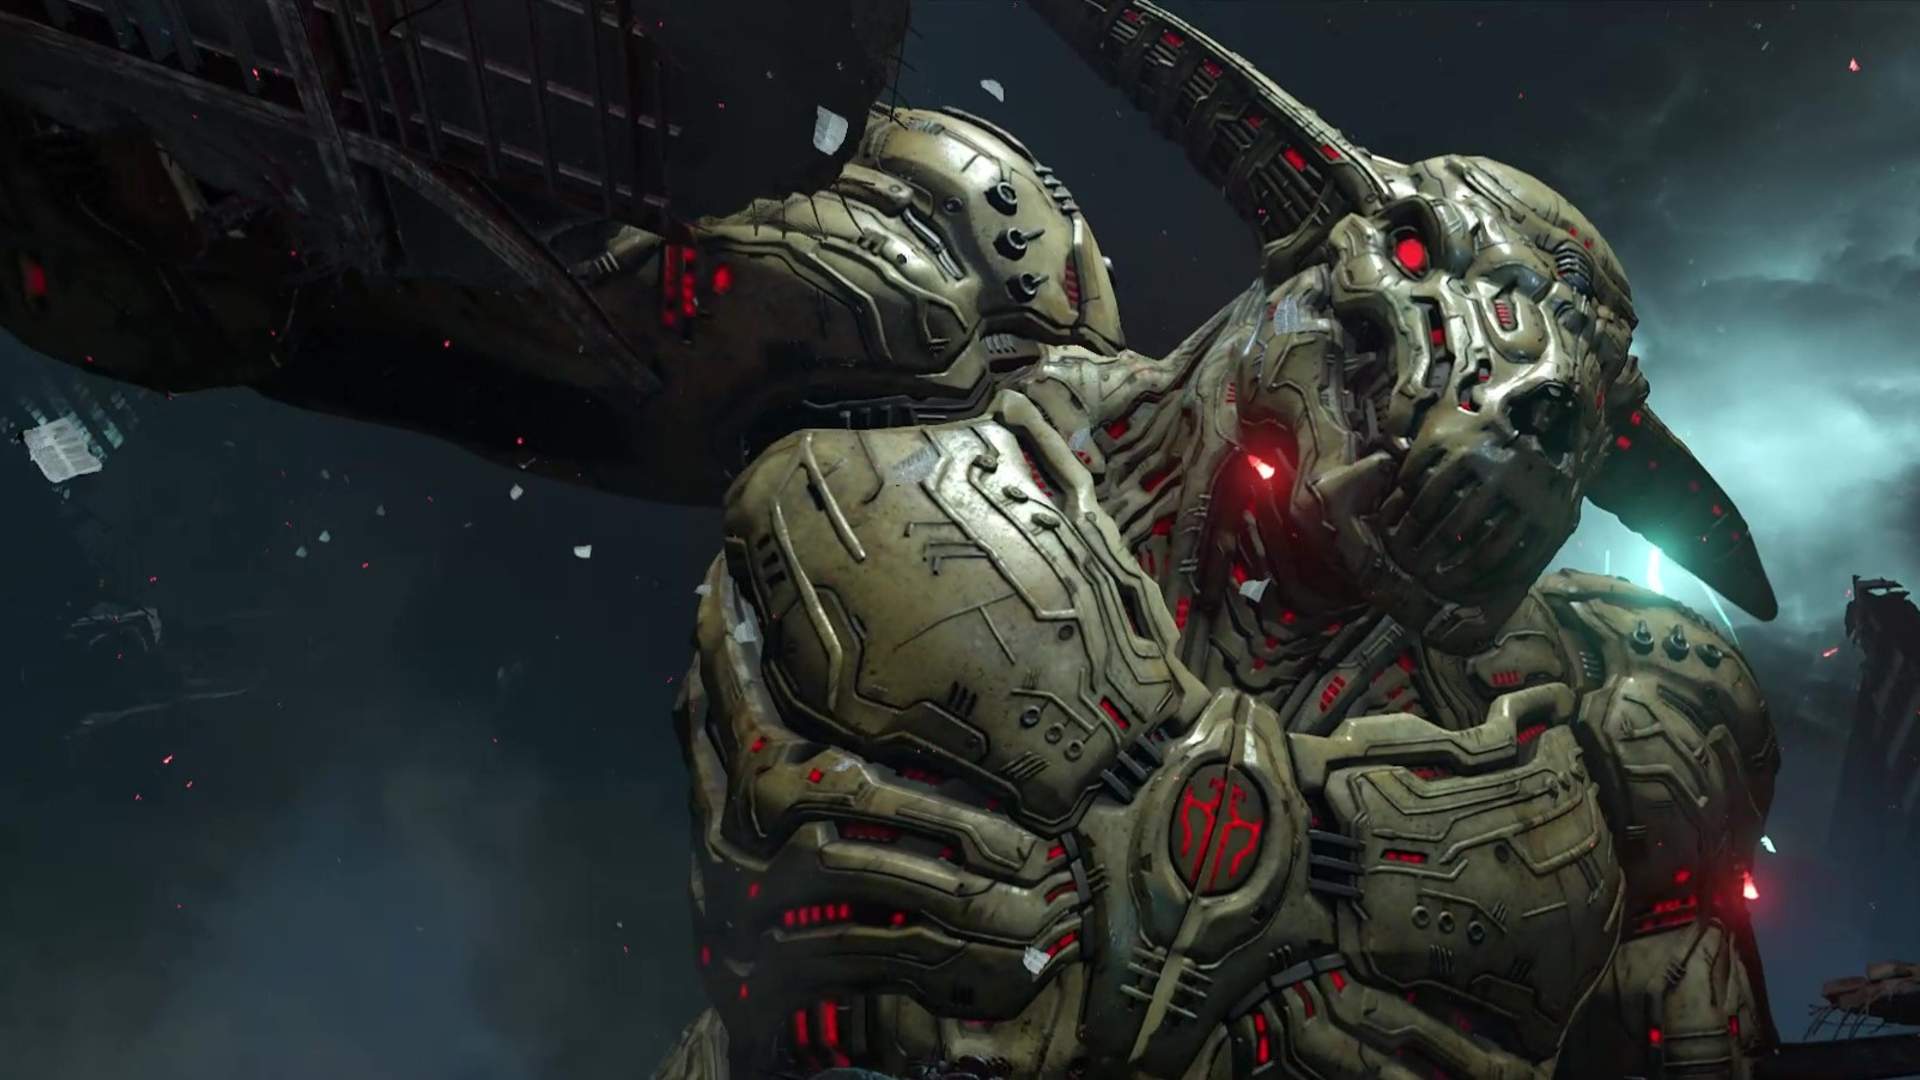
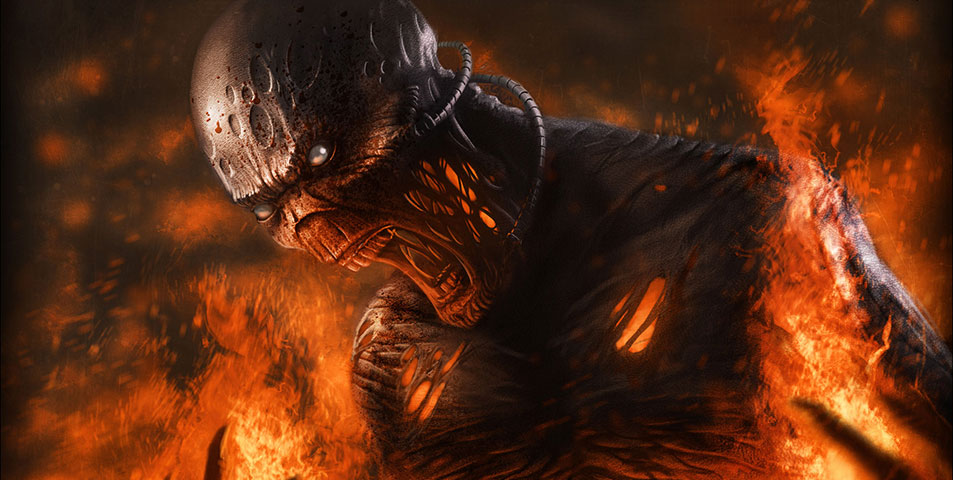
The Icon of Sin, a grotesque amalgamation of flesh and metal, is a monstrous entity spawned from the darkest pits of the inferno. Its colossal frame casts a long shadow over the realms of despair, and its roars reverberate with the echoes of countless tormented souls. Your arsenal will be pushed to its limits as you ascend the tortured terrain to confront the Icon of Sin.
This fight will throw everything the game can think of at you, but will also provide everything that you will need to win. And while the Icon of Sin itself is a gargantuan threat, the sheer volume of heavy demon spawns throughout this fight will test your ability to focus through the chaos. You will have to shoot off each of the different body parts of the boss, start with the arms and shoulders.
This is a very vertical and intricate arena that is full of essential items, get used to maneuvering this area and start memorizing the placement of items and enemy spawns. The Icon of Sin will occasionally punch the arena and spew fire all around it, hitting for lots of damage and creating hazards. You will regularly have to disengage from fighting the Icon and switch to resource management or momentary hiding.
Once the Icon of Sin’s health bar is all the way down it will casually walk away, opening a large green portal for you to jump on through. This will take you to the next phase of the fight, a rooftop combat arena which is different from the first but will still require you to become familiar with its layout, resources, and enemy spawns. The Icon of Sin will continue to pummel the arena, shoot projectiles out of its head, and spew fire all around, move quickly and be prepared to lose a lot of health and armor at any point.
Shoot the shoulders, arms, and chest of the Icon of Sin to reduce its health bar. There is a supercharge at the top of this arena which will set your health and armor to max if you pick it up, use it in a pinch.
This fight is overall more of the same, get the Icon of Sins health bar all the way down and then sit back and watch the cutscene that you worked so hard to get to. Now you’re ready for the master levels.
You May Also Be Interested In:
- Doom Eternal Best Weapons (Ranked Worst To Best)
- Top 10 Games Like DOOM: Eternal (Games Better Than Doom Eternal In Their Own Way)
- DOOM Eternal Best Mods for Every Weapon
- DOOM Eternal Best Demons, Ranked
- All DOOM Eternal Demons from Weakest to Strongest
- 10 Best DOOM Eternal Achievements and How to Get Them
- Top 5 DOOM Eternal Best Builds

