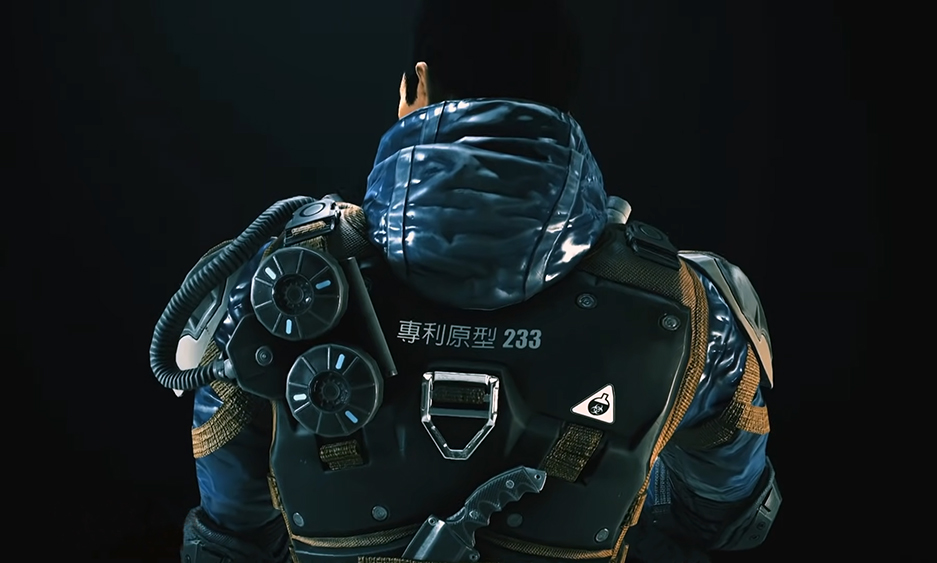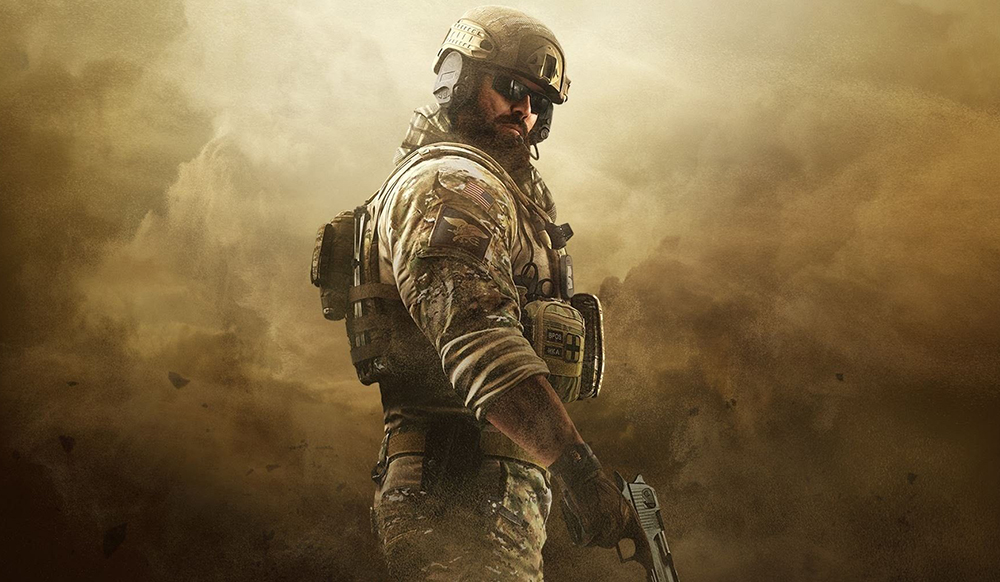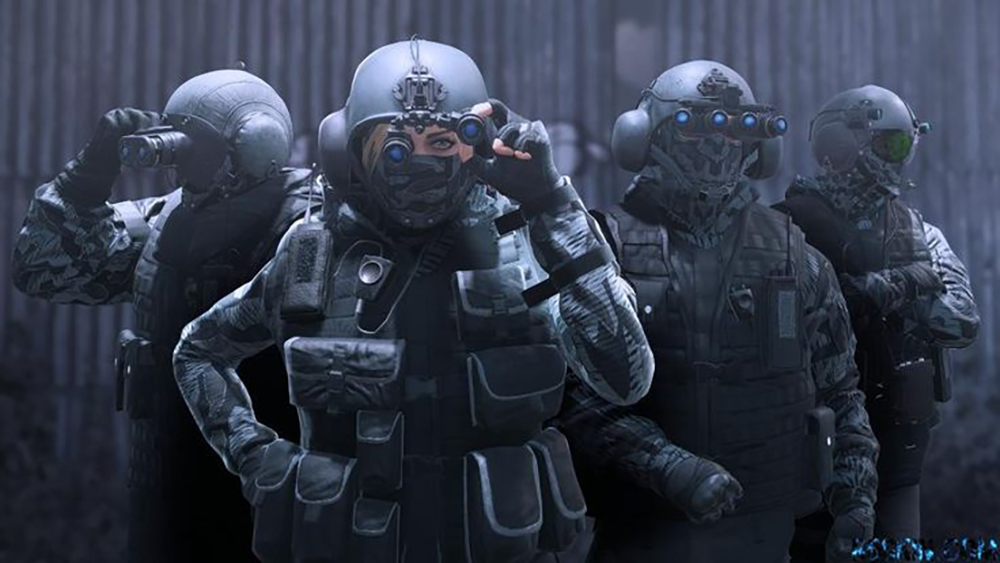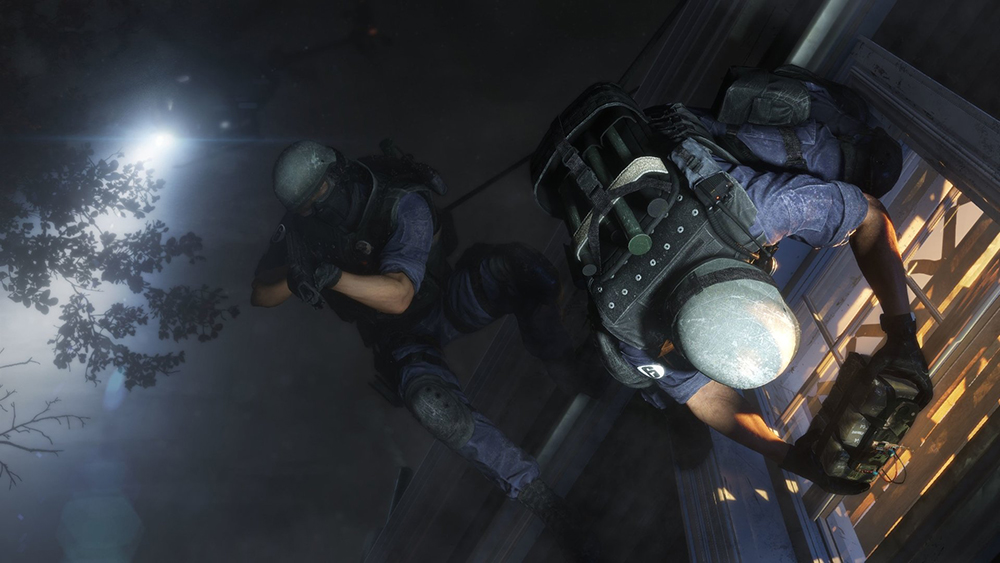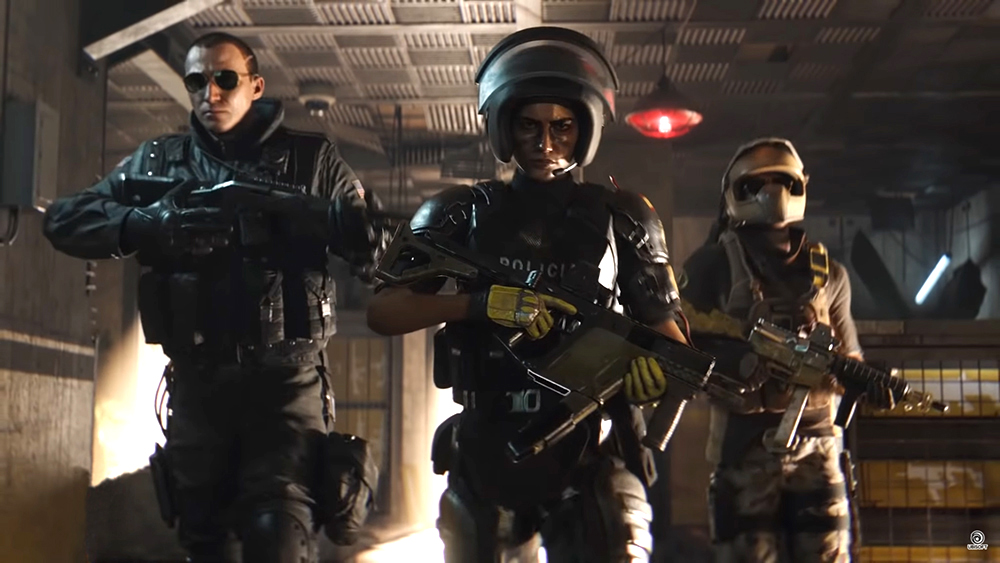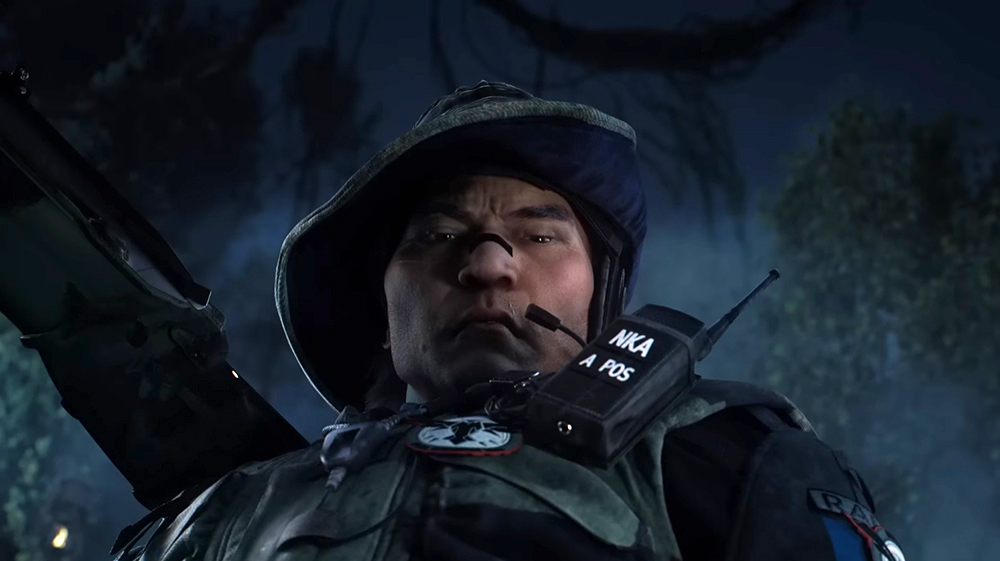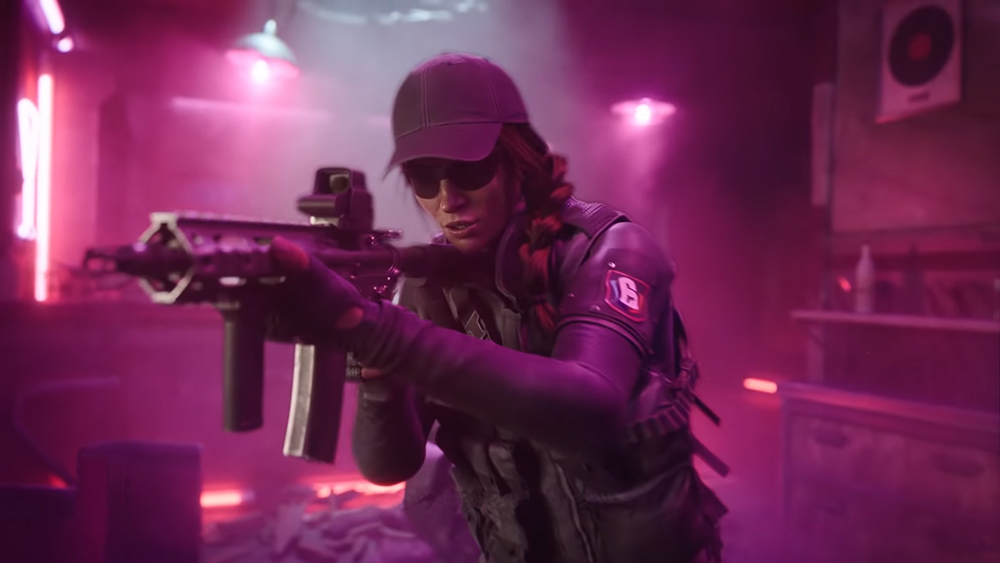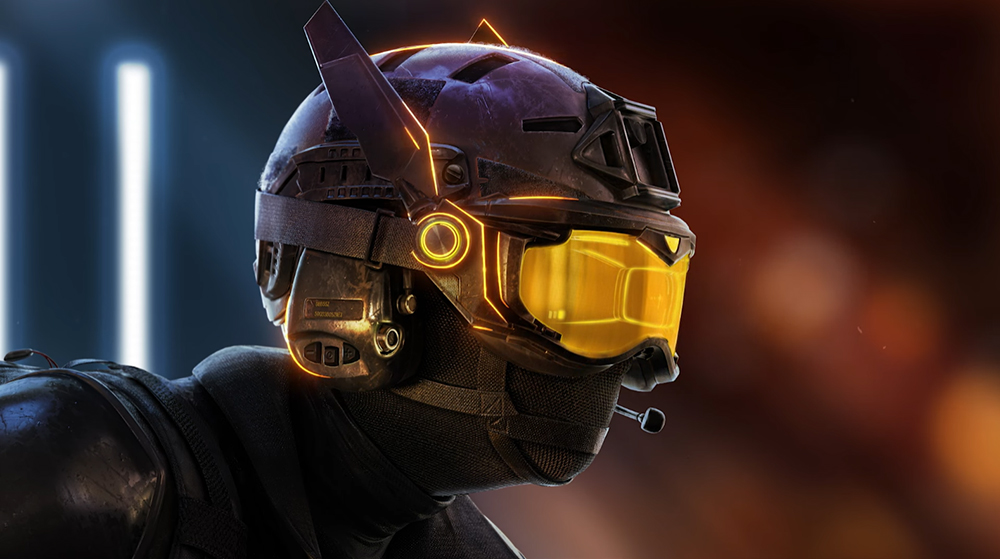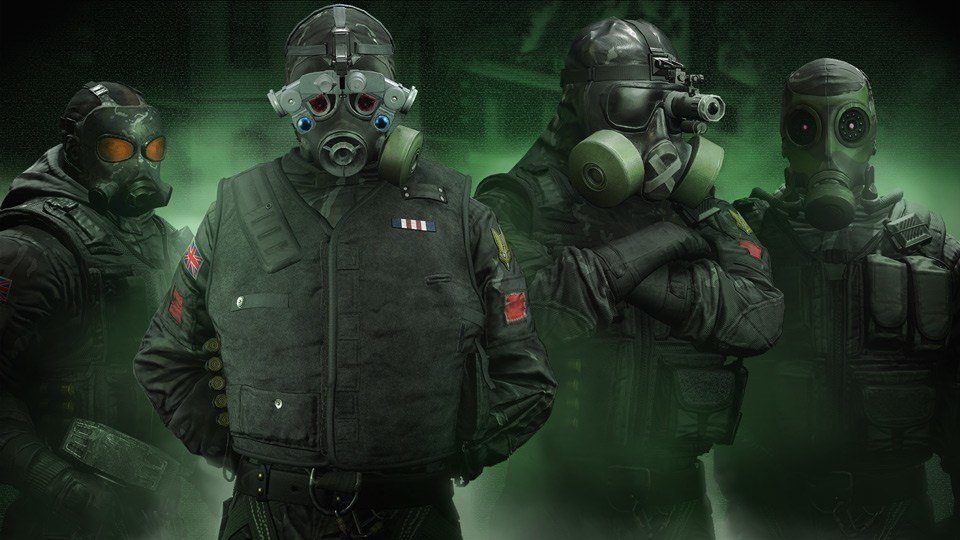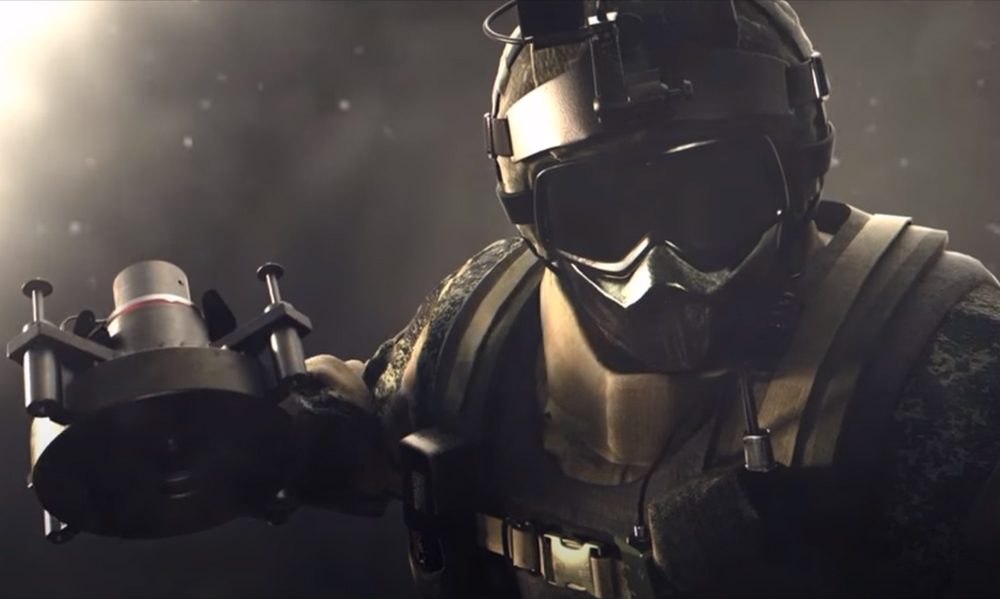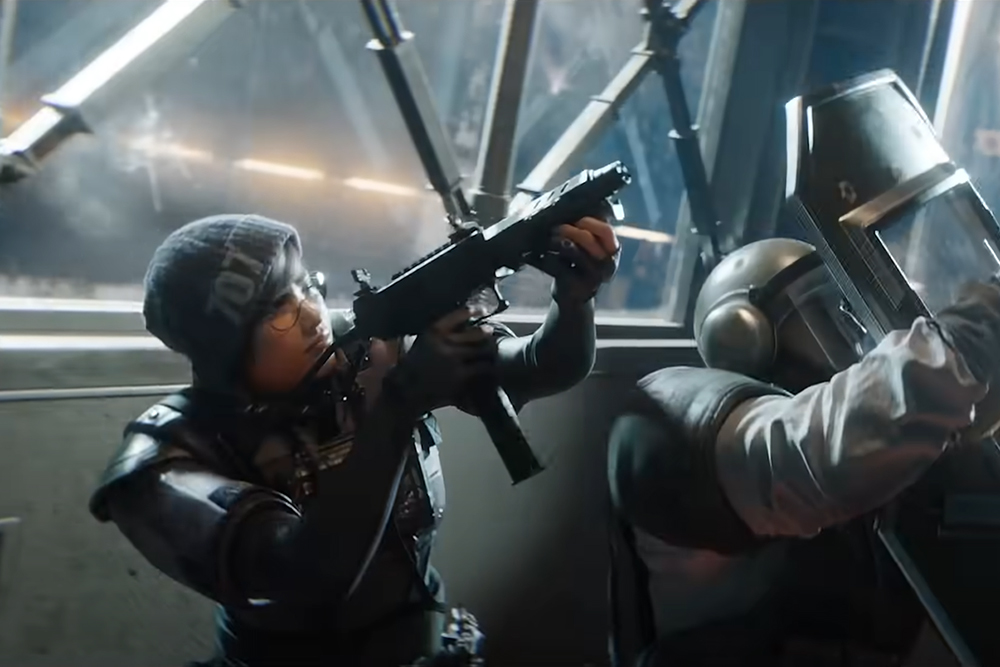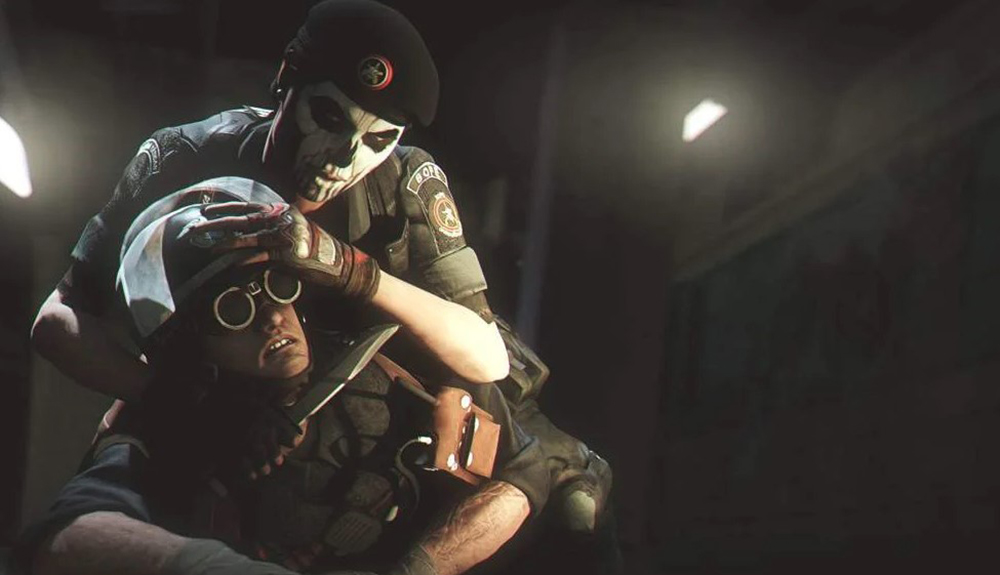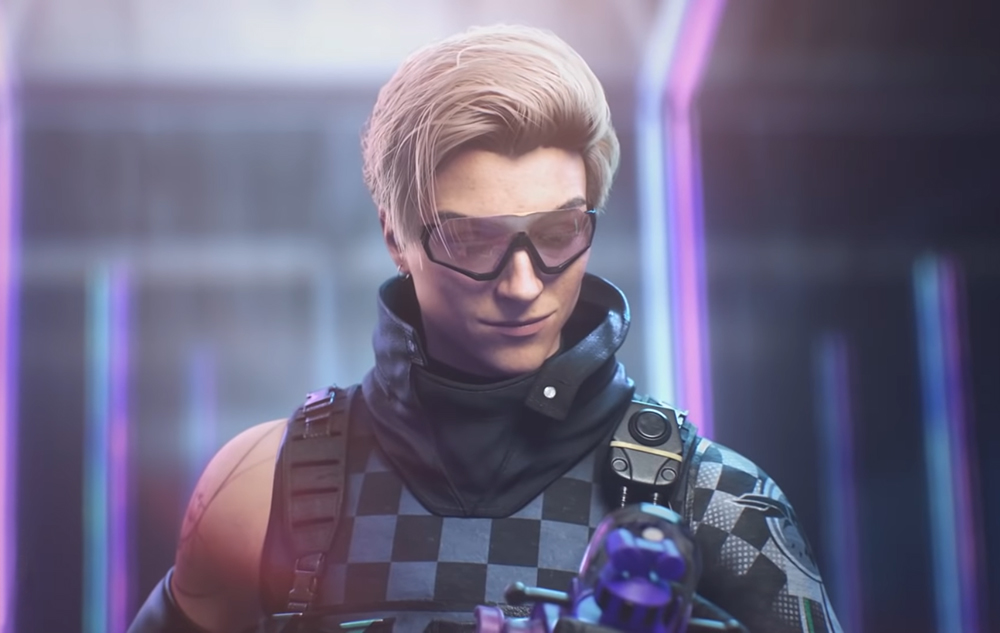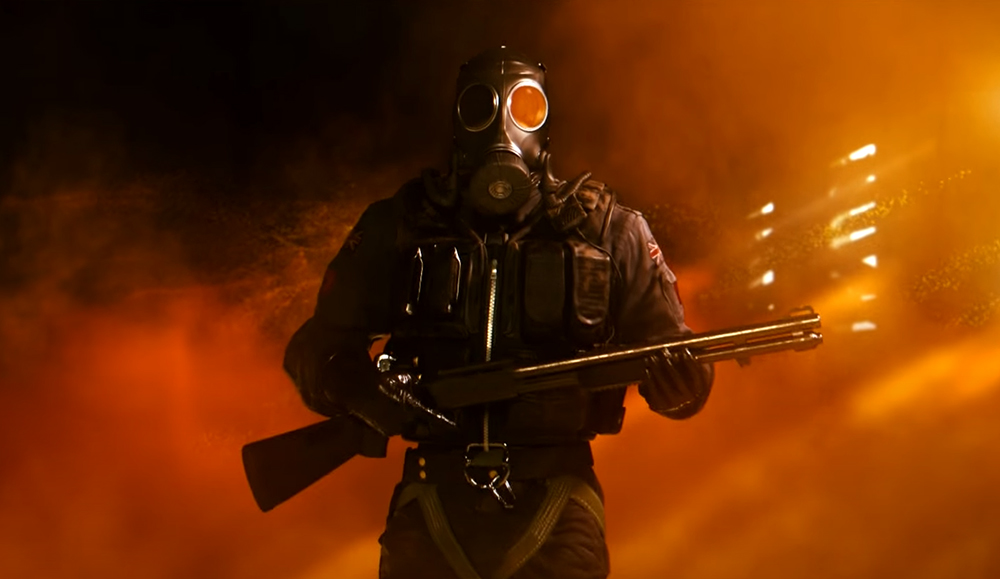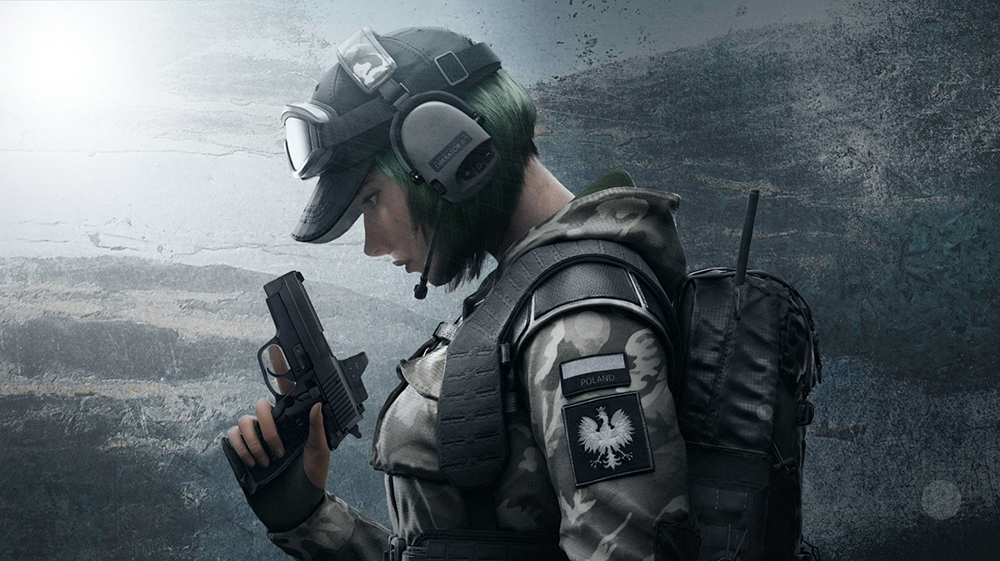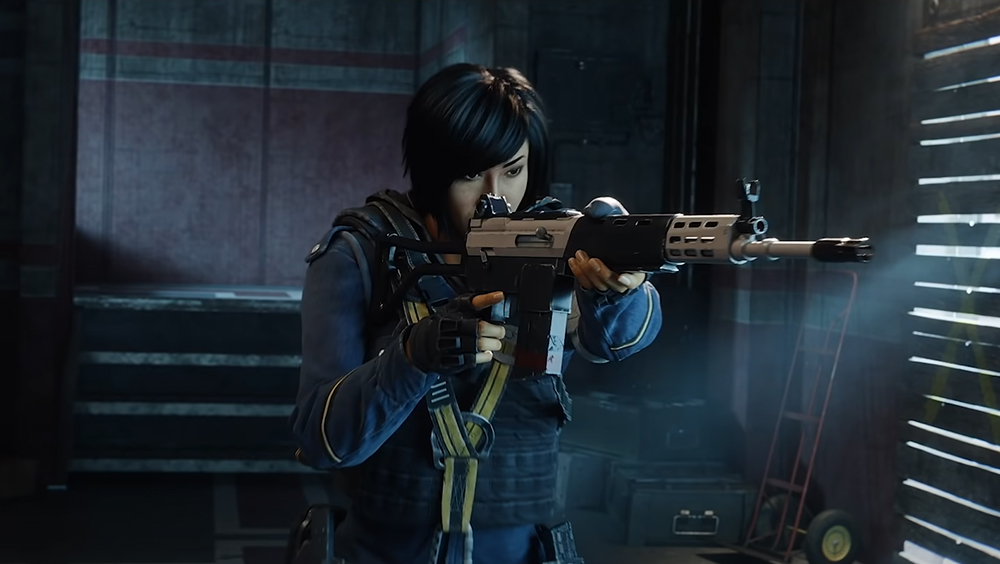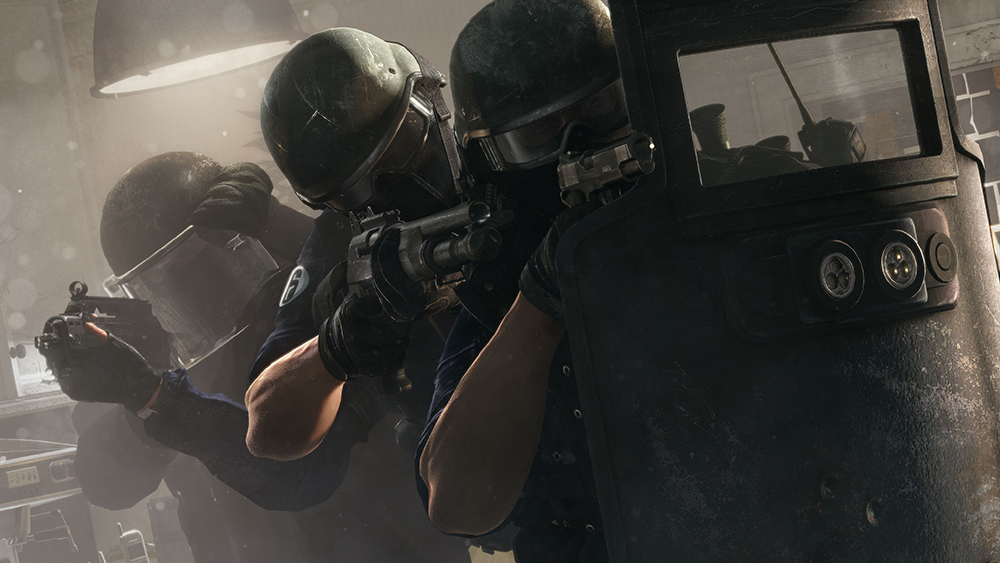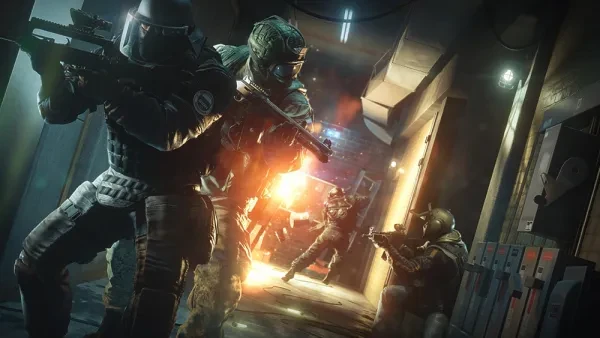
Heavy armored operators are the ones with a 3-health rating. They’re the tankiest operators around and are the ones who can withstand the most non-headshot gunshots. The downside to their heavy armor is they cannot move as quickly as the operators with lighter armor ratings. Therefore, it’s usually best for them to stay close to their teammates. And that's where they really shine.
Because of their heavy armor, they’re some of the best supports in the game. They may not be able to quickly go from area to area, but when it comes to tanking shots for their teammates, they’re the best. And they can give the opposing team a lot of problems because it takes more shots than normal to take them down.
10. Fuze (Anti-Gadget)

There’s no question that Fuze is one of the best 3-health operators because of all the damage he can inflict on the opposing team. With his special gadget, the Cluster Charge, he can drop explosives after explosives towards the defending team and their gadgets. That usually results in a lot of panic on the defending team and the destruction of their utilities. Fuze can bring four Cluster Charges per round and each of them releases five sub-grenades on the other side of the surface that they’ve been deployed to, and nowadays, Fuze can deploy them on more surfaces.
Unlike the old days of Siege, Fuze can now deploy his Cluster Charges on reinforced walls or hatches, and starting Operation Heavy Mettle, which is the current season, he can also deploy his Cluster charges on deployable shields as well as Osa’s Clear Shields. This gives Fuze more versatility as he’ll have more options when it comes to deploying his Cluster Charges. On top of his heavy armor rating and great special gadget, Fuze is also the only operator who can choose a loadout where he can carry a Ballistic Shield. He also has three options for his primary weapon and generic gadget.
What Makes Fuze Great:
- Fuze’s Cluster Charges are some of the best utilities in the game when it comes to destroying the opposing team’s utilities as the reach of their explosions is quite far
- Fuze, especially when he’s playing with a well-coordinated team, can use his Cluster Charges to forcefully displace defenders from their entrenched positions or hiding spots
- Fuze can cause a lot of panic on the opposing team because of the repeated explosions from his Cluster Charges, and when they’re panicking, they’re prone to making more mistakes
- To this day, Fuze is the only operator who can choose a Ballistic Shield for his primary weapon, and that gives him more versatility and complements his heavy armor rating, making him tougher to take down
Best Loadout for Fuze:
https://www.gamersdecide.com/articles/rainbow-6-siege-best-fuze-loadouts
9. Sens (Support, Map Control)
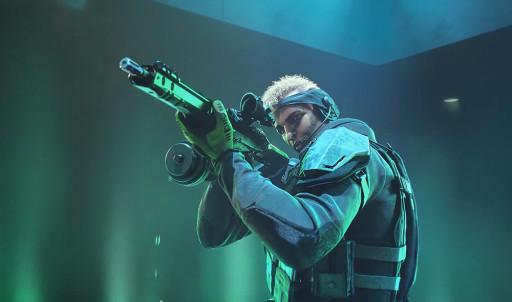
Sens wasn’t always a heavy armored operator, but the devs changed them into one because having 3-health fits their gameplay and role a lot more, and I totally agree with them. That’s because Sens’ roles are support and map control, and having heavy armor is a great perk for those roles. With their 3-health rating, Sens won’t go down easily from shots, and they need that because they transition a lot from being in the front and backline support a lot. They go to the front lines because that’s where their special gadget, the R.O.U. Projector System is needed the most.
The R.O.U. Projector System is basically a roll of tape that contains micro projectors. Sens deploys it by rolling it onto the ground and as it rolls, it deploys the micro projectors on the ground. Those micro projectors will then produce a green light, and because there are many micro projectors, that green light will resemble a wall of light. The wall of light that the R.O.U. Projector System provides is a great cover for the attacking team’s push and defuser plant attempt as it’ll greatly obstruct the view of the defenders. And what’s scary about Sens is that they have three R.O.U. Projector Systems.
What Makes Sens Great:
- Sens’ special gadget, the R.O.U. Projector System, produces a wide wall of light that is great in providing cover for the attacking team’s push and defuser plant attempt, and Sens has three of them
- The R.O.U. Projector System’s deployment method is versatile as they can be rolled or thrown. They’re also quite bouncy, so when they hit a wall, they’ll just bounce and continue deploying micro projectors
- Sens’ unique weapon, the POF-9 assault rifle, is a great weapon as it packs a good amount of firepower, is compatible to high level scopes, and most importantly, it has a huge magazine capacity
- Sens has great utilities as they have the gonne-6 hand cannon which can destroy a bulletproof enemy gadget and the claymore which will be great in protecting the attacking team
Best Loadout for Sens:
https://www.gamersdecide.com/articles/rainbow-6-siege-best-sens-loadouts
8. Ram (Breach)
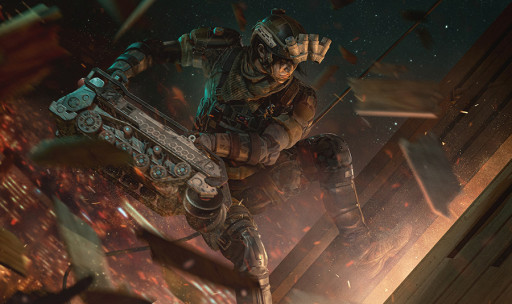
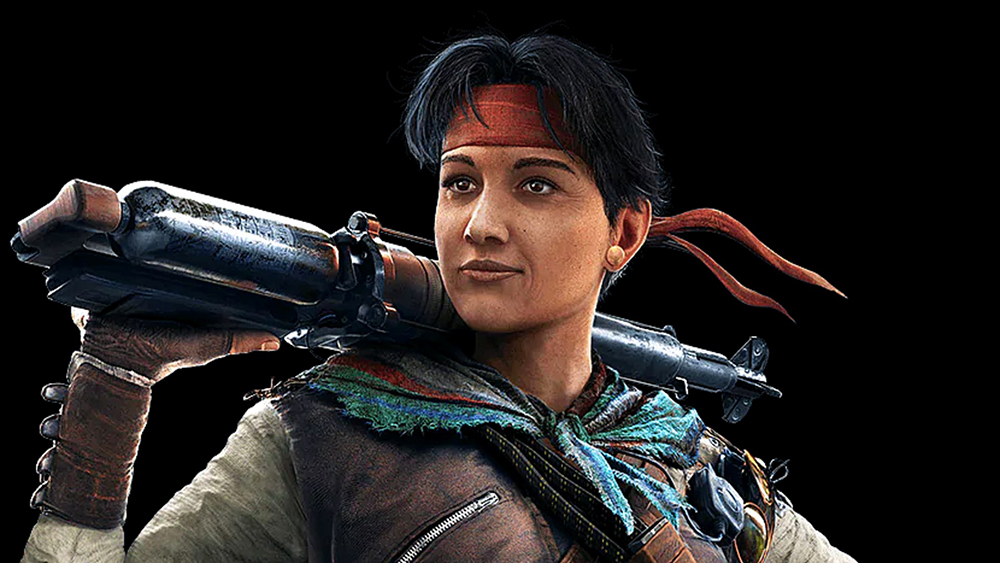
Operator Ram is the newest Team Rainbow member, and her strength lies with the destruction that she can inflict as well as her toughness. She’s a 3-health operator that can cause a lot of surface and utility destruction that will give the opposing team a lot of problems. That’s mainly because of her special gadget, the BU-GI Auto-Breacher. It’s basically a small tank that would ram and destroy any breakable object or surface that it’ll collide with. So when it hits a deployable shield, it’ll get destroyed, and when it hits an unreinforced wall, it’ll create a large hole.
That large hole can be used by attackers as an entry point or for flanking the opposing team. But Ram is most commonly used for vertical attacks, because her BU-GI Auto-Breacher also destroys the wooden floor or unreinforced hatch under it when it’s running. With the destruction of the wooden floor above the objective spot, the defenders will be more exposed and their movements will be limited. On top of that, Ram can bring three BU-GI Auto-Breachers per round, so when she’s around, one can be sure that there’s going to be a lot of destruction going on unless the defending team manages to take her out early.
What Makes Ram Great:
- Her BU-GI Auto-Breacher, causes a lot of destruction and that’ll give the defending team a lot of problems because the BU-GI Auto-Breacher can create entry points on unreinforced walls and destroy deployable shields
- The BU-GI Auto-Breacher will also be destroying breakable surfaces under it while it’s running like wooden floors or unreinforced hatches, making Ram one of the best vertical attackers around
- Ram’s BU-GI Auto-Breacher is bulletproof except for the red canister on its back, so it can be quite hard to disable them especially when they’re being supported by Ram and other attackers
- Ram has great utilities like the ITA12S shotgun which she can use to cause more destruction and rework the map to her advantage, and she has hard breach charges for destroying reinforced hatches
Best Loadout for Ram:
https://www.gamersdecide.com/articles/rainbow-6-siege-best-ram-loadouts
7. Gridlock (Support, Map Control)
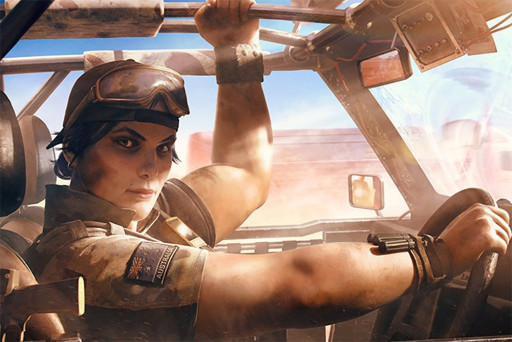
Gridlock is one of the best heavy armored operators on the attacking side because the support that she can provide has a huge impact on the match. That comes with her special gadget, the Trax Stingers. She has four Trax Stingers, and each of them can populate a large spot with barbed mats that will damage defenders who touch them. Each Trax Stingers releases nineteen barbed mats in an area. Defenders can destroy them by shooting them or by throwing explosives at them. Usually, the explosives method is what works best as shooting them one by one can take a lot of time.
With that said, shooting or throwing explosives at them will create a lot of noise, so when flankers or roamers do that to Gridlock’s Trax Stingers, they’re basically giving away their locations. That’s why Gridlock is such an excellent support. With her in the attacking team, rotation points or flanking spots that defenders can use to hit the attacking team on the side or on the back can be blocked by the Trax Stingers. On top of that, Gridlock also brings a lot of firepower to the table, with her M249 Saw LMG which can be reloaded fast due to its detachable magazine, as well as her F90 assault rifle which has good damage and very manageable recoil.
What Makes Gridlock Great:
- Her Trax Stingers can populate large spots with barbed mats that damages defenders that step on them, and that makes them great at preventing roamers and flankers from hitting the attacking team from behind
- For her Trax Stinger barbed mats to be destroyed, the defenders will have to shoot or throw explosives at them and that creates a lot of noise which will be detrimental, especially for roamers
- Gridlock has great choices for her primary weapon with the M249 Saw which is an LMG that can be reloaded fast due to its detachable magazine, and the F90 which has good firepower and recoil
- Gridlock also has great utilities that complements her support role in the Super Shorty shotgun which she can use to rework the map and the gonne-6 hand cannon for destroying a bulletproof gadget
Best Loadout for Gridlock:
https://www.gamersdecide.com/articles/rainbow-six-siege-gridlock-loadouts
6. Clash (Intel, Crowd Control)
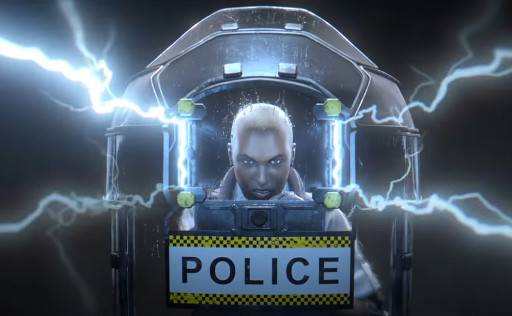
A list of the best heavy armored operators won’t be complete if Clash isn’t included. That’s because with her heavy armor, as well as her special gadget, the CCE Shield, she’s very hard to kill, and that makes her one of the most troublesome operators to deal with. That is why to this day, she remains as one of the most banned defenders in rank emerald and above. It’s troublesome to deal with her because her CCE Shield covers most of her body, even from the sides, so unless you catch her making the mistake of turning her back from you, she’s close to impossible to kill from medium to long range.
At close quarters combat, if an attacker is able to hit her shield with a melee attack, it’ll sway and expose Clash’s lower parts for a few seconds. That in itself can be very challenging though, because Clash’s CCE Shield can electrocute attackers in front of it. The electricity from Clash’s CCE Shield causes attackers to be slowed down, and that slow effect will be stronger the closer they are to the shield. On top of that, their health points will also be drained while the electrocution is active. So when Clash teammates are great at supporting her, that slowed attacker will have a very low chance of escaping.
What Makes Clash Great:
- Her CCE Shield covers her entire body, even from the sides, so it’s close to impossible to kill her from medium to long range, and at close range, she can use the CCE Shield to electrocute enemies
- Enemies who are being electrocuted by Clash’s CCE Shield will be greatly slowed down, especially if they’re close to the CCE Shield, and their health points will be continuously drained
- Clash also has great utilities for setting up the map to the defending team’s advantage because she has access to two impact grenades per round and she can run with the Super Shorty shotgun as her weapon
- Because she can see clearly through her CCE Shield, she can provide a lot of intel to her teammates regarding enemy positions, and she can do that while almost completely safe from being killed
Best Loadout for Clash:
https://www.gamersdecide.com/articles/rainbow-6-siege-best-clash-loadouts
5. Mira (Intel, Support)
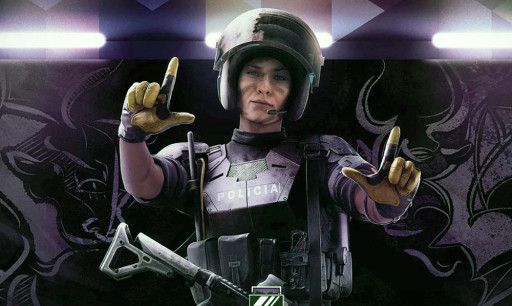
Speaking of most banned operators. When it comes to ranks emerald and above in competitive matches, Mira has the highest ban rate. That speaks a lot about the problems she can create for the opposing team, and being a heavy armored operator makes her even tougher to deal with. With Mira in the defending team, two angles could be very hard for the attackers to push. That’s because she has two Black Mirrors which she can deploy on walls, be they reinforced or unreinforced. Once deployed, they will provide a one-way view mirror that is great for gathering intel.
One side will be very heavily tinted, and the other side, the one that defenders will be looking through, will be clear as day. That allows the defenders to clearly see the attackers on the other side of the wall, and when deployed beside an unreinforced wall, as it should be, the Black Mirror can be an effective utility for fragging opponents. That’s because Mira or any other defender manning the Black Mirror can simply quick lean from it and frag an attacker on the other side of the wall with aim that was supported by the intel they just gathered the Black Mirror.
What Makes Mira Great:
- She can make two spots or angles very hard to push for the attackers, because she has two special gadgets that are one-way view mirrors aptly called the Black Mirrors
- With the Black Mirrors deployed beside unreinforced walls, defenders manning them can simply quick lean after seeing an opponent through them and frag them with great accuracy
- Mira is also great when it comes to setting up the map because she can equip the ITA12S shotgun as her secondary gadget, and it has enough destruction force for reworking the map
- Mira has great choices for her secondary gadget in the proximity alarms which she can use to detect enemies that will try to get her from behind, and the nitro cell which is great for countering multiple enemies that are pushing
Best Loadout for Mira:
https://www.gamersdecide.com/articles/rainbow-6-siege-best-mira-loadouts
4. Maestro (Anti-Gadget, Intel)
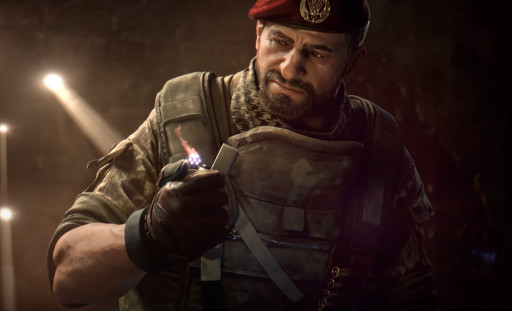
Maestro is one of the best heavy armored operators because not only does he have a lot of toughness, he can also dish out heavy firepower with his ALDA 5.56 LMG and the very powerful ACS12 shotgun. His main strength, however, comes with his special gadget, the Evil Eye. The Evil Eye is a bulletproof camera and can provide a full 180-degree view of the surroundings. It also has thermal sight, so enemies behind the cover of smoke or Sens’ R.O.U. Projector System will be seen by the defender manning it.
Maestro’s Evil Eye can also fire lasers which inflict five damage per shot on enemies’ health points. Its lasers can also destroy attacker utilities. However, while firing its lasers, the Evil Eye will be susceptible to gunshots. With that said, Maestro players who are good at timing when they should fire their lasers and when to stop can prevent it from being destroyed by gunshots. To top it all off, Maestro has two Evil Eyes, and that means double the trouble for the attackers, as not only can they compromise their positions, they’re also great at damaging them and their utilities.
What Makes Maestro Great:
- Maestro has two Evil Eyes and each of them can provide a full 180-degree view of an area, and since both of them are bulletproof, it can be very troublesome for attackers to disable them
- Maestro’s two Evil Eyes can also shoot lasers which damages enemies and destroy their gadgets, so not only are the Evil Eyes great for providing intel, they’re great anti-gadget utilities as well
- The Evil Eyes have a thermal sight which will allow Maestro to see enemies through smoke grenades or Sens’ R.O.U. Projector System and that’ll allow him to prevent them from planting the defuser behind the cover of said utilities
- Maestro has great choices for his primary weapon in the Alda 5.56 which is an LMG that has a very manageable recoil and the ACS12 which is a slug shotgun that has a very low recoil and high damage
Best Loadout for Maestro:
https://www.gamersdecide.com/articles/rainbow-6-siege-best-maestro-loadouts
3. Melusi (Intel, Crowd Control)
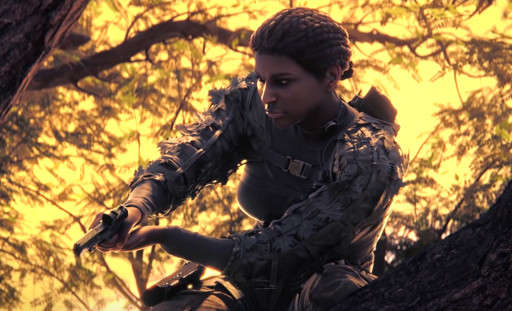
Speaking of causing trouble to enemies, Melusi does that so well with her special gadget, the Banshee Sonic Defense. She has three Banshees, and each of them can greatly slow opponents down when they enter their radius. When inactive, the Banshees are bulletproof and can only be destroyed by explosive utilities like frag grenades, Ash’s Breaching Rounds, Zofia’s KS79 Lifeline, gonne-6, and so on. But when they’re actively slowing attackers down, their top part will open, and the exposed part will be susceptible to gunshots.
With that said, it can be very challenging for the attackers to disable Melusi’s Banshees that way because in order to do that, they’ll have to trigger the Banshee first, and when a Banshee is active, aside from producing a slow effect on enemies within its radius, it’ll also produce a loud sound that is usually enough to warn defenders nearby. And as mentioned before, Melusi has access to three Banshees per round, and that’s usually enough to cover the most important paths that attackers use to attack the objective spot. So when Melusi is around, it can be very hard for attackers to catch the defenders off guard.
What Makes Melusi Great:
- Melusi has three Banshee Sonic Defense and each of them can greatly slow down attackers within their radius, and while slowing enemies down, they'll produce a loud sound that can warn nearby defenders
- Melusi’s Banshees are bulletproof when inactive and can only be destroyed by explosive utilities, so attackers will have to use up a number of their utilities if they want to disable them from a distance
- Melusi has access to great utilities like the impact grenades which she can use to rework the map to the defending team’s advantage and the bulletproof camera which is great for gathering intel on enemies
- Her MP5 submachine gun is a very decent weapon as it has good damage and low recoil, but her RG15 handgun is one of the best handguns in the game because of its integrated red dot sight
Best Loadout for Melusi:
https://www.gamersdecide.com/articles/rainbow-6-siege-best-melusi-loadouts
2. Kaid (Anti-Entry, Anti-Gadget)
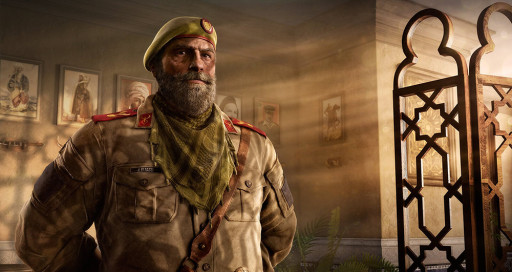
Kaid isn’t the flashiest operator around. He can have heavy firepower through the excellent choices he has for his primary weapon, but that’s not really why his rank is so high in this list. He ranks so high because of how huge of an impact his presence brings in a round. That’s because in many, if not most, objective spots, having Kaid on the team provides the defenders a good chance of preventing the attackers from performing a hard breach. That’s important because if the attackers succeeds in breaching a wall on the objective spot, it’ll be exposed from the outside.
That will make pushing much easier for the attackers, and since the objective spot will be more exposed, it’ll also limit the safe spots that defenders can move to. But as mentioned before, with Kaid, there’s a good chance of preventing that from happening because of his special gadget, the Electroclaw. He has two Electroclaws and they’ll electrocute reinforced walls or hatches within their radius, and their radius is pretty wide. When deployed right, Kaid can electrocute three walls with just one Electroclaw and to this day, he remains the only defender that can realistically prevent a reinforced hatch from being breached.
What Makes Kaid Great:
- With his two Electroclaws, he has a good chance of preventing attackers from successfully performing hard breaching the objective spot’s walls, especially when he’s supported by operators like Jager or Wamai
- Even now, Kaid is still the only defender that is capable of preventing reinforced hatches from being breached, and that’s because he can attach his Electroclaws to most surfaces
- Kaid has a great weapon in the TCSG12 slug shotgun which is basically like a rifle due to it being compatible with high level scopes and is capable of hitting headshots from any range
- Kaid can also prevent entry to enemies by using his Electroclaws to electrocute barbed wires as well as deployable shields that are deployed on entrances
Best Loadout for Kaid:
https://www.gamersdecide.com/articles/rainbow-6-siege-best-kaid-loadouts
1. Rook (Support)
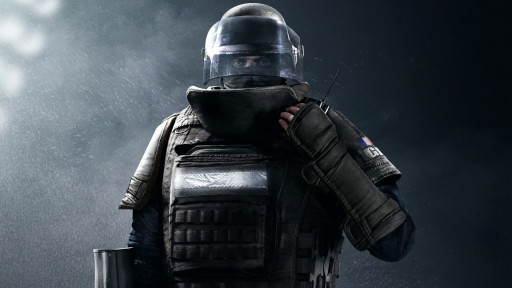
The rework on Rook’s armor plates have really cemented him as one of the best heavy armored operators around. He himself is a tough cookie due to his 3-health rating, but through his armor plates, he can make himself even tougher, and most importantly, he can share that with his teammates. That’s because his Armor Pack contains five armor plates. One for him, and the rest are for his teammates. The armor plates will boost the health points of the operators wearing them, effectively making them tougher to take down.
But what makes Rook’s presence in the defending team scary for the attackers is that his armor plates now add the ability to self-revive from a down-but-not-out state to operators who are wearing them. So when Rook is in the defending team, not only will the defenders be harder to take down with non-headshot gunshots. If they get put in a down-but-not-out state, they’ll have a second chance as well. On top of that, Rook’s offensive capabilities shouldn’t be underestimated as his MP5 submachine gun can be equipped with a scope 2.0x that’ll really up his accuracy.
What Makes Rook Great:
- When Rook is in the defending team, all of its members will be tougher because of the added health from his armor plates, as long as they get it from the Armor Pack that he drops.
- Rook’s armor plates now provides operators wearing them the ability to self-revive from a down-but-not-out state, so when he’s in the defending team, all five members of it can have second chances
- Rook’s MP5 is compatible with the scope 2.0x, allowing Rook to effectively frag enemies even at medium to long range. His P90 is also great and can be equipped with a scope 1.5x
- Rook can bring two impact grenades per round and they’re great utilities for setting up the objective spot with rotation holes, and to this day, they’re the best counter for Osa or even Blitz
Best Loadout for Rook:
https://www.gamersdecide.com/articles/rainbow-6-siege-best-rook-loadouts
Attention operator, please be advised. There is a new directive from Six. Read up on these related articles, and prepare for deployment:

