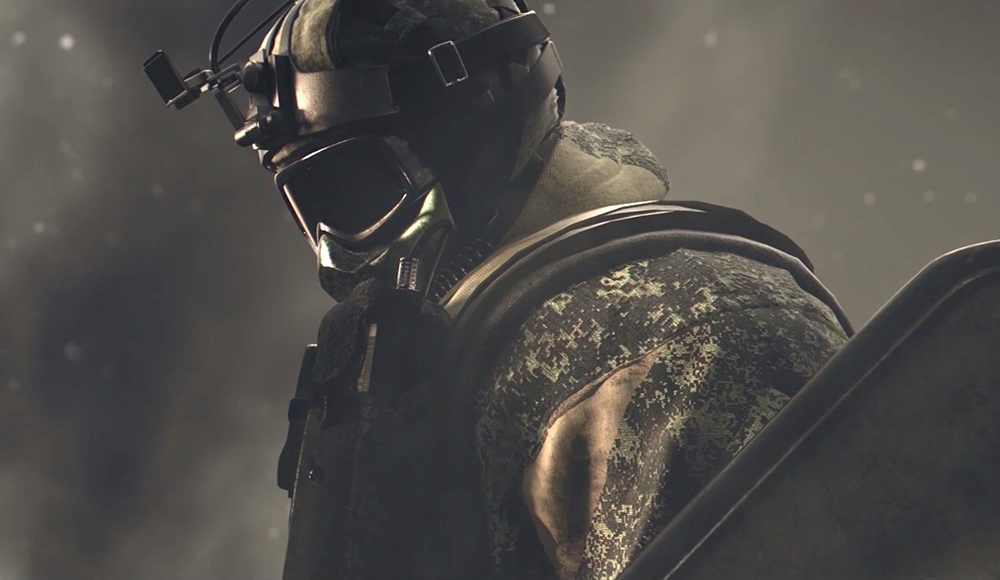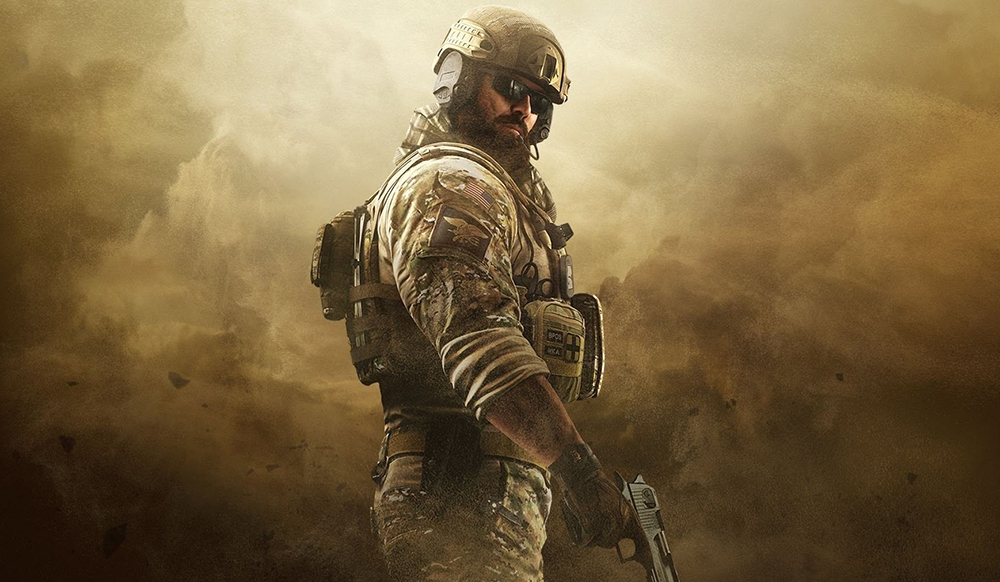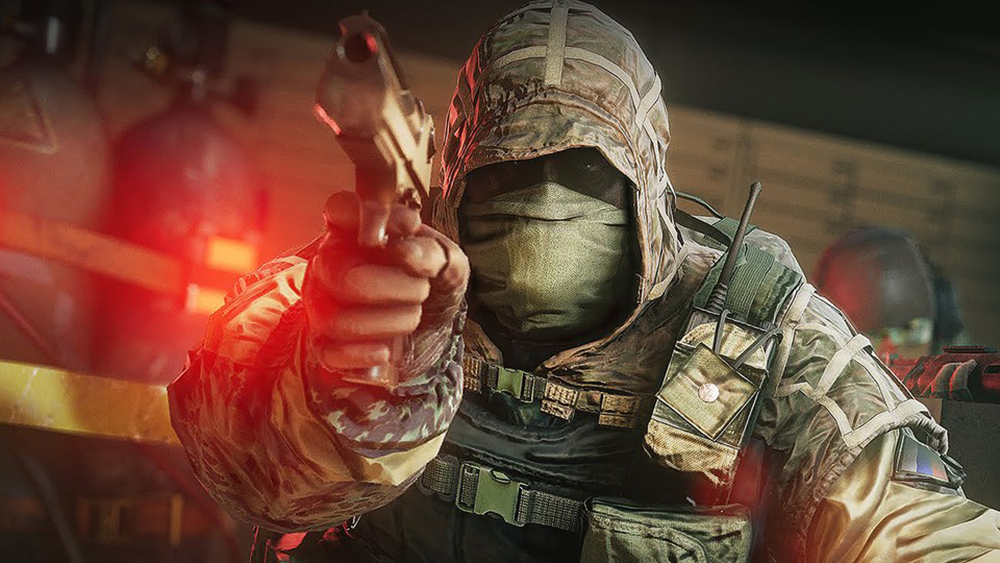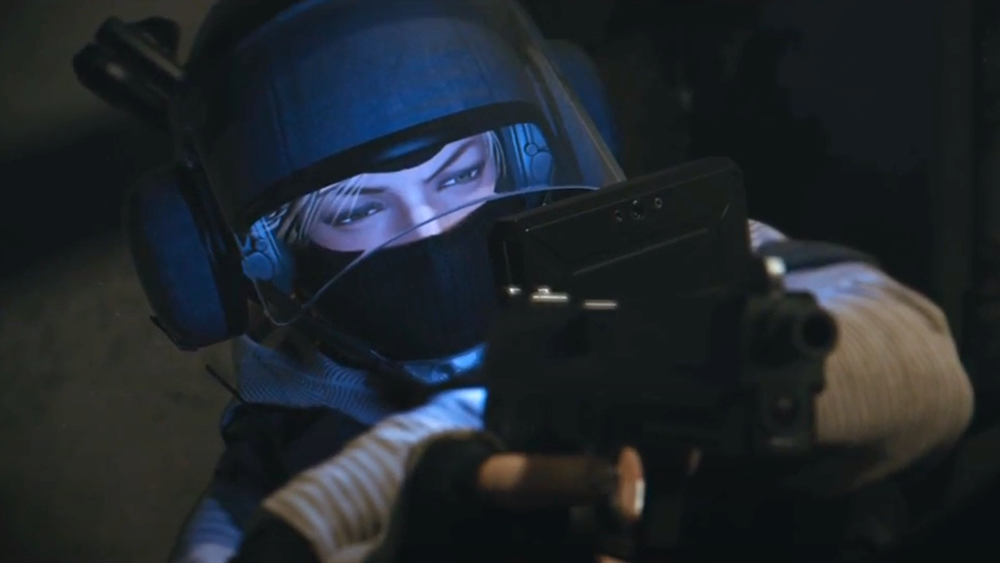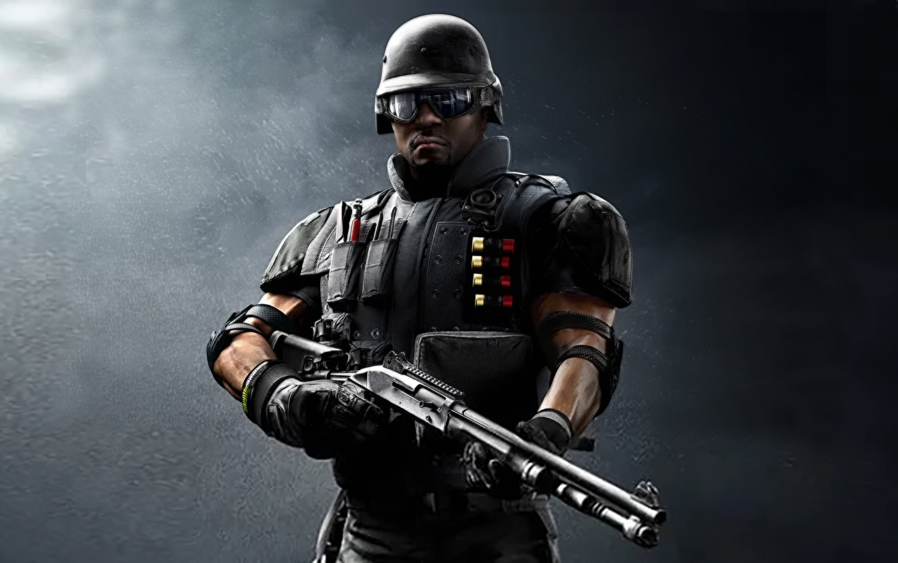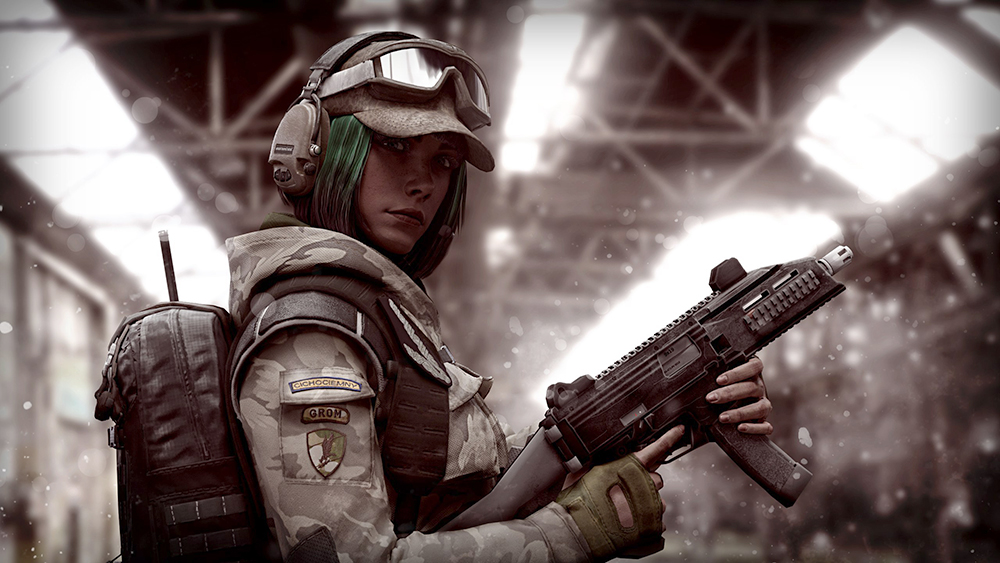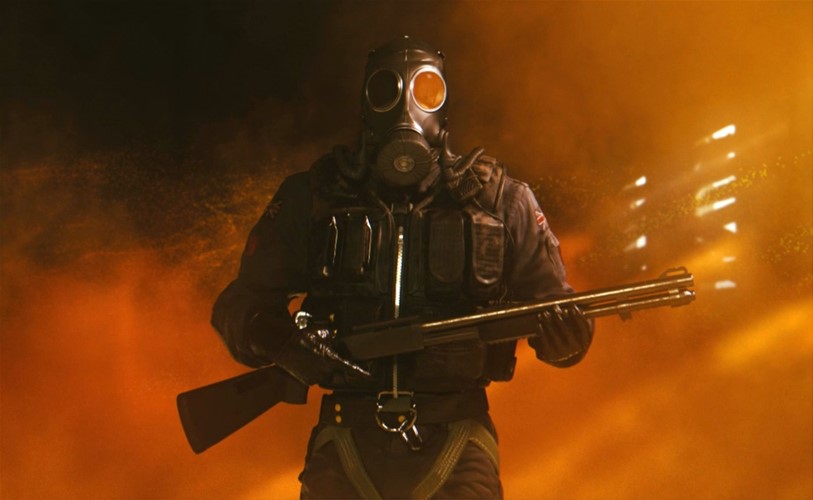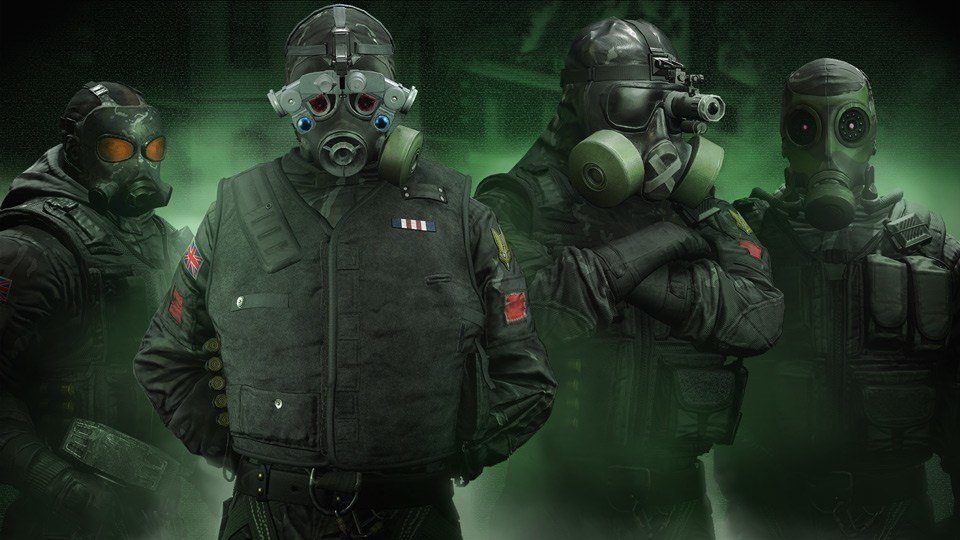
10. Blitz (Front Line, Map Control)
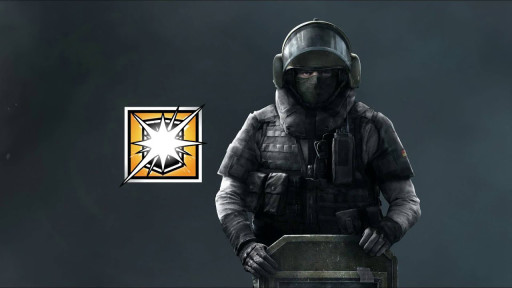
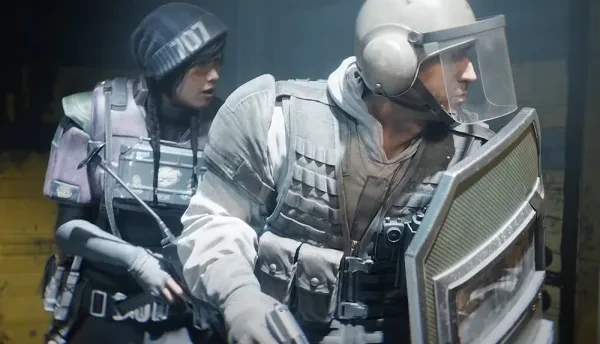
Map control, as the term implies, is all about taking control of an area of the map, and when it comes to forcing defenders out of an area, there’s no question that Blitz is one of the best. With his special gadget, the G52-Tactical Shield, he can rush towards enemies while taking minimal damage, and sometimes, no damage at all. That’s because unlike most shield operators in the game, Blitz can sprint while holding his shield in front of him, and the scary part is that the G52-Tactical Shield has flash charges that can blind operators in front of it.
A lot of players underestimate the range of the G52-Tactical Shield’s flash charges, but it’s actually pretty far. Its blind effects have a maximum range of seven meters, and operators will experience full blindness at a distance of four meters. The flash charges on the G52-Tactical Shield, combined with the difficulty of killing Blitz, allows him to take control of areas with ease, especially when he’s backed up with his teammates, because most defenders will try to run when Blitz is charging towards them. This is why his ban rate in the higher ranks is high.
What Makes Blitz Great for Map Control:
- Most defenders will have to run when Blitz is charging towards them because with his shield in front of him, it can be quite difficult to kill him, and he can blind them with his shield’s flash charges
- His G52-Tactical Shield has four flash charges and the range of their blind effects are surprisingly far, since it has a maximum range of seven meters, and at four meters, operators will be fully blinded
- Blitz is almost unstoppable when he’s playing with an organized team, because with his teammates backing him up when he’s charging, the chances of defenders giving up control of the area is much higher
- Unlike most shield operators, Blitz can sprint towards enemies while holding up his G52-Tactical Shield, and with 2-speed rating, he’s actually pretty fast, and enemies running from him leave themselves practically vulnerable
Best Loadout for Blitz:
https://www.gamersdecide.com/articles/rainbow-6-siege-best-blitz-loadouts
9. Sens (Support, Map Control)
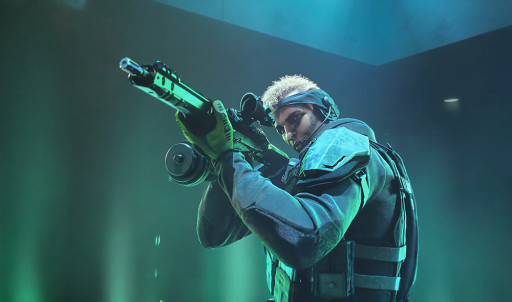
Smoke grenades are great utilities for the attacking team when it comes to gaining map control, and Sens’ special gadget, the R.O.U. Projector System is basically a much better version of a smoke grenade. Sens has access to three R.O.U. Projector System per round, and their deployment method is actually quite versatile. Sens can throw them and they’re quite bouncy. Once they land on the floor, they will start depositing lines of micro projectors on their track until they reach their limit. Those micro projectors will then start producing light which basically turns into a wide wall of light.
Those walls of light will obstruct operator vision, and that’s perfect for covering the attacking team’s push, especially their defuser plant attempt. The R.O.U. Projector System is a great device for taking and maintaining map control because most of the time, defenders will also avoid the walls of light instead of swinging them and would try to find ways to flank instead. But map control is also about preventing flankers from retaking control of an area, and when it comes to dealing with flankers, Sens can bring two claymores per round which are excellent utilities for countering flankers.
What Makes Sens Great for Map Control:
- Sens’ R.O.U. Projector System is a great utility for providing cover for the attacker team’s push, and when attackers get to push an area, they gain map control
- Sens has three R.O.U. Projector System so they can provide a lot of cover, and they’re not only great for taking map control, they’re also great for maintaining it, which is great for defuser planting
- The deployment method of the R.O.U. Projector System is quite versatile as they can be thrown or rolled down the floor, and they’re quite bouncy so the user can use that when deploying them behind cover
- Sens is also great in maintaining map control as she can counter flankers or roamers with her two claymores, and for taking map control, her gonne-6 hand cannon plays a huge part as it can destroy one bulletproof defender gadget
Best Loadout for Sens:
https://www.gamersdecide.com/articles/rainbow-6-siege-best-sens-loadouts
8. Capitao (Front Line, Map Control)
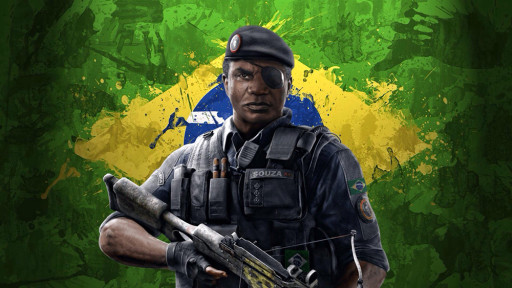
Capitao is probably the most underrated operator in this list, but really, players should use him more. He’s a very versatile operator, and of course, his full potential can be realized when he’s playing with a well-coordinated team. But even if you’re in solo queue and playing with randoms, you can do a lot of great things with Capitao. That’s because he's great, both at taking map control and maintaining it. With his special gadget, the Tactical Crossbow, he can shoot two smoke grenades and two fire grenades, and both of them have high impact when it comes to map control.
That’s because the smoke grenades are great for providing cover for the attacking team’s push, and the fire grenades, which cover large areas in fire, are great for area denial. The fire grenades can be used for maintaining map control as they are great for denying area to enemies, but they can also be used in conjunction with the smoke grenades when taking map control because they can be used to make certain angles or positions unusable to the defenders. And like Sens above, Capitao also has access to two claymores per round which are great for preventing roamers or flankers from regaining map control.
What Makes Capitao Great for Map Control:
- The two smoke grenades that he can deploy from his Tactical Crossbow are great for providing cover for the attacking team’s push as well as their attempt to plant the defuser
- The two fire grenades that he can shoot from his Tactical Crossbow are excellent area-denial utilities which are great, both at taking map control and maintaining it, as they can deny certain positions to enemies
- Capitao also has access to two claymores per round which play a huge role in maintaining map control as they’re excellent utilities when it comes to countering roamers or flankers
- Capitao can equip the gonne-6 hand cannon as his secondary weapon which is great for taking map control as it can be used to completely destroy a troublesome defender bulletproof gadget
Best Loadout for Capitao:
https://www.gamersdecide.com/articles/rainbow-6-siege-best-capitao-loadouts
7. Nomad (Front Line, Map Control)
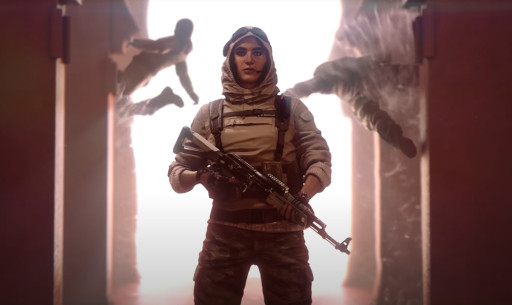
Nomad specializes in maintaining map control with the use of her special gadget, the Airjab Launcher. Once attackers take control of an area, especially important ones like the other half of the bomb site, defenders will try their best to regain control of that area, and one of the best ways for them to do that is by flanking. With Nomad on the attacking team, however, it can be very difficult for defenders to flank, because her Airjab Launcher deploys three repulsion grenades that stick to surfaces, and they basically act like proximity mines.
Nomad usually deploy those sticky repulsion grenades on entryways of common flanking spots, and when a defender enters their radius, they will detonate and knockdown any operator within their radius for a few seconds. Those few seconds can leave them very vulnerable to attacker fire if any is nearby, but most importantly, the detonation produces a loud sound that is usually enough to warn attackers of enemy presence. But Nomad isn’t only great at maintaining map control. She’s also great at pushing because of her stun grenades, and with her Airjab repulsion grenades, she and her teammates don’t need to worry so much about roamers.
What Makes Nomad Great for Map Control:
- She can attach three sticky repulsion grenades on surfaces around the entrances or pathways in common flanking spots, and enemies who enter their radius will detonate them and those enemies will get knocked down
- Enemies who got knocked down by Nomad’s Airjab repulsion grenades won’t be able to do anything for a few seconds, and that will leave them extremely vulnerable to any attacker that is nearby
- The detonation from Airjab’s repulsion grenades produces a loud sound that is usually enough to warn attackers of defender presence, so defenders who trigger them will basically give away their location
- While her Airjab repulsion grenades are great for maintaining map control, Nomad is also great at pushing and taking control of an area because of her three stun grenades
Best Loadout for Nomad:
https://www.gamersdecide.com/articles/rainbow-6-siege-best-nomad-loadouts
6. Jackal (Intel, Map Control)
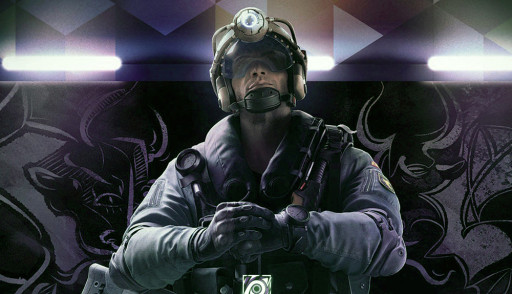
Roamers pose a great threat when it comes to map control because when attackers take control of a certain area, it could get easily retaken when they get hit from behind by roamers. That is why Jackal is one of the best operators when it comes to map control, because when he’s in the attacking team, they could easily neutralize the defender roamer first before pushing to the objective spot. That’s because Jackal’s special gadget, the Eyenox Model III, allows him to see enemy footprints, and with different colors for each defender, so he’ll always have a good idea about their movements.
The scary thing about his Eyenox Model III is that it allows him to perform a scan on a set of enemy footprints, and when that scan is successful, it will put a tracker on the owner of those footprints which will last for twenty seconds. That tracker is a ping which will be visible to the whole attacking team. So when an enemy roamer is tracked by Jackal, there’s a high chance that they’ll be hunted down by the attacking team, or they’ll be forced to go back inside the objective spot. Either way, they’ll be useless as a roamer and the attackers can proceed on pushing without worrying about getting hit from behind.
What Makes Jackal Great for Map Control:
- Jackal’s special gadget, the Eyenox Model III, allows him to see defender footprints that they left behind, and they’ll be separated by different colors each, so he’ll always have a good idea about where they went
- The Eyenox Model III also allows Jackal to scan a set of footprints and once that scan is successful, it will put a ping tracker on the owner of those footprints which will be visible to the whole attacking team and last for twenty seconds
- With Jackal on the attacking team, it’ll be quite easy for them to secure the surroundings and gain map control as roamers will either be hunted or be forced to go back inside the objective spot
- Jackal can equip the ITA12S shotgun which is great for map control as it allows him to create entry points or rotation holes on soft walls which will allow attackers to easily outmaneuver enemies
Best Loadout for Jackal:
https://www.gamersdecide.com/articles/rainbow-6-siege-best-jackal-loadouts
5. Grim (Front Line, Map Control)
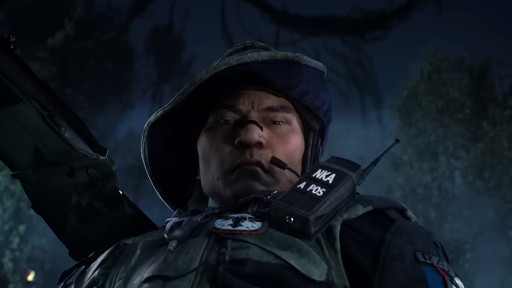
Speaking of putting trackers on enemies, Grim’s special gadget, the Kawan Hive Launcher, deploys swarms of nanobots which resembles bees, and defenders that touches them will get tracked with a ping, but unlike the ping from Jackal’s Eyenox Model III, it will be in real time. So the real-time position of the enemies tracked by Grim’s nanobots will be revealed to the whole attacking team, and that plays a huge part when it comes to map control. Obviously because intel plays a huge role in Siege, but also because of the large radius of Grim’s Kawan Hives.
Since the opponents know that they shouldn’t even get near Grim’s Kawan Hives, they’ll go away from the spot where they’re deployed. The problem is, Grim can launch five Kawan Hives and as mentioned before, each of them have a large radius. That will severely limit the areas that defenders can use for moving around, and since the Kawan Hives lasts for a long time, they’re also great to be deployed in flanking spots so that they’ll prevent flankers from going through them, and if the flankers decide to still use them, the attackers will immediately get a handle on their real-time position.
What Makes Grim Great for Map Control:
- Each of Grim’s five Kawan Hives have a large radius, and defenders who steps into their radius will get pinged for several seconds and that tracker will be in real-time
- Because defenders know that it’s dangerous to get even near Grim’s Kawan Hives, they’ll avoid them, and that will limit their movement, and limiting enemy movements is always great for map control
- Since the Kawan Hives lasts for quite a long time, after taking control of an area, Grim can deploy them on flanking sites so that enemies who will respond by flanking will be deterred from doing so or get tracked
- Grim also has great utilities for map control like the bailiff 410 which he can use to rework the map to the attacking team’s advantage and the claymores which are great for countering roamers and flankers
Best Loadout for Grim:
https://www.gamersdecide.com/articles/rainbow-6-siege-best-grim-loadouts
4. Lion (Intel, Map Control)
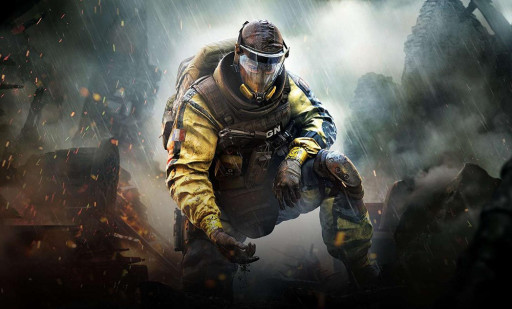
As mentioned before, being able to limit enemy movements or have some form of control over it plays a huge part when it comes to map control, and Lion’s EE-ONE-D scans is one of the best special gadgets for that. Lion can perform three EE-ONE-D scans and while each scans only lasts for a few seconds, during that time, enemies will be heavily discouraged from moving, because if they move while an EE-ONE-D scan is on-going, they’ll get pinged for several seconds and their position will be revealed to the whole attacking team, which of course make them much more vulnerable, especially if they’re roaming.
Now one might think that Lion’s EE-ONE-D scans don't really have much of an effect because all you have to do to avoid getting pinged by it is to stop moving for a few seconds. While that may be true at surface level, the problem is, when defenders stop moving during EE-ONE-D scans, attackers can move and gain control of areas with almost no resistance. That’s why Lion ranks so high in this list, because with him, attackers will be able to gain ground while enemies are forced to just sit tight.
What Makes Lion Great for Map Control:
- Lion’s EE-ONE-D scans are great for map control because they heavily discourage enemies from moving for a few seconds, effectively disrupting their momentum and allowing attackers to gain ground with impunity
- Defenders who will not stop moving during the EE-ONE-D scans will get pinged for several seconds, and that ping will be seen by the whole attacking team, which makes Lion a great intel gathering operator as well
- Lion’s gonne-6 hand cannon plays a huge role in map control because it allows him to destroy one pesky bulletproof defender gadget like a Maestro Evil Eye, a deployable shield, or a Melusi Banshee
- Lion’s choices for his generic gadget are also great for map control like the stun grenades which are great for pushing, the claymores which are great for countering flankers, and the impact emp grenades which are great for enabling hard breaching
Best Loadout for Lion:
https://www.gamersdecide.com/articles/rainbow-6-siege-best-lion-loadouts
3. Gridlock (Support, Map Control)
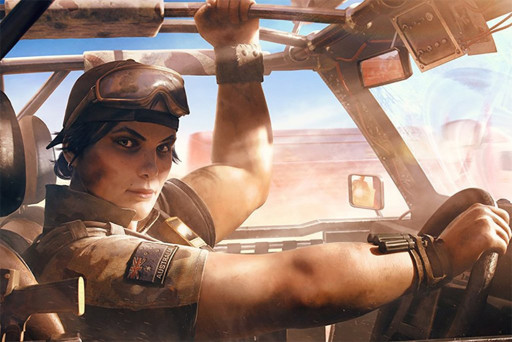
We’ve talked a lot about how affecting enemy movements plays a huge part in map control in Grim and Lion’s entries, and in a lot of ways, Gridlock’s special gadget, the Trax Stinger, is even more troublesome for defenders to deal with, and that’s why Gridlock is such a great operator for map control. She can deploy four Trax Stingers per round and each of them can cover a large spot in barbed mats that won’t disappear until they get destroyed, and yes, the defenders can just simply shoot them or throw explosives at them to make them disappear, but that’s also detrimental to them.
That’s because if they shoot the barbed mats from Gridlock or throw explosives at them, attackers would most likely hear that, and that would practically mean giving away their location or their plan to flank. So when it comes to map control, Gridlock is an expert in maintaining it. Once attackers gain control of an important area of the map, Gridlock can deploy her Trax Stingers on common flanking spots or on spots where the attackers don’t want defenders to be. On top of that, Gridlock has utilities like the gonne-6 hand cannon, Super Shorty Shotgun, and smoke grenades, which are also great for map control.
What Makes Gridlock Great for Map Control:
- Gridlock specializes in maintaining map control because after the attacking team gains control of an area, Gridlock can deploy her Trax Stingers on common flanking spots which will cover them in barbed mats
- The barbed mats from Gridlock’s Trax Stingers doesn’t disappear until they get destroyed, but the problem for defenders is that they have a high chance of giving away their position when they destroy them
- Gridlock can equip the gonne-6 hand cannon which will enable her to destroy a troublesome bulletproof defender gadget, or she can equip the super shorty shotgun which will allow her to rework to map to the attacking team’s advantage
- Gridlock’s generic gadgets are also great for map control, with the smoke grenades that are a great help when it comes to pushing and the breach charges which are great for entry or vertical plays
Best Loadout for Gridlock:
https://www.gamersdecide.com/articles/rainbow-six-siege-gridlock-loadouts
2. Ying (Front Line, Map Control)
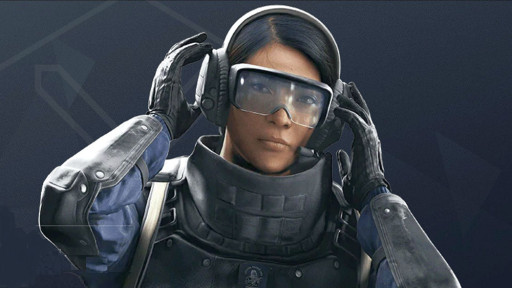
If Gridlock in the above entry specializes in maintaining map control, Ying’s expertise lies in taking it. That’s because of her special gadget, the Candela Device. It’s basically a more advanced stun grenade because it’s much more effective in blinding enemies, and that’s because it releases several flash charges when it pops off, and their blind effects have a large range. The scary part is that Ying has access to four Candela Device per round, and it’ll be really hard to stop her from using them even with a Jager or Wamai on the defending team, because she also has access to smoke grenades which she can use put Jager’s ADS on cooldown or use up Wamai’s Mag-NETs first.
With Ying’s four Candela Device, she can take control of an area all by herself, and then have teammates come through and set up their utilities for maintaining map control. The deployment method for the Candela Device is also very versatile as they can be “cooked”, and with that, Ying will be able to control whether she wants her Candela Device to detonate immediately or after a few seconds after landing. They can also be attached Cluster Charge-style on soft surfaces like barricaded doors or windows, and with that, the flash charges will be released on the other side.
What Makes Ying Great for Map Control:
- Ying specializes in taking map control because her Candela Device is very effective when it comes to blinding opponents, and she has four of them, and that’ll allow her to take control of an area even by herself
- Even with Jager or Wamai on the defending team, it can be hard to stop Ying from using her Candelas as she can deploy her smoke grenades first to offset their gadgets before throwing her Candela Devices
- The deployment method for her Candela Devices is quite versatile as they can be deployed Cluster Charge-style on soft surfaces, and they can be “cooked” like a frag grenade
- Her T-95 LSW is a great weapon for map control has it has high damage, very manageable recoil, and most importantly, huge magazine capacity, and that allows Ying to perform room clearing effectively
Best Loadout for Ying:
https://www.gamersdecide.com/articles/rainbow-6-siege-best-ying-loadouts
1. Dokkaebi (Intel, Map Control)

Dokkaebi’s special gadget, the Logic Bomb, can do so many things when it comes to map control, and that’s why she’s at the number one spot. The Logic Bomb is basically a hack that forces defender mobile devices to switch on and ring loudly. That loud ringing will give away their location and that’s important for map control because it will tell the attackers whether an area they’re about to push is clear or enemies are around, and if they are, the attackers would have a good idea where they’re positioned. That’s a really powerful perk to have when pushing, as it’s also hard for defenders to counter.
When defenders try to turn off the Logic Bomb, they won’t be able to move and do anything for five seconds, and even if the defenders are in a safe position while doing that, that’s still five seconds that they’re not doing anything or moving while the attackers are gaining ground. So the Logic Bomb is great for taking map control, but Dokkaebi can activate it two times, and if with the first one, the attackers successfully gain map control, Dokkaebi can use the second Logic Bomb in order to maintain it, as it will give away the position of enemies that are trying to regain control of the area that was just taken.
What Makes Dokkaebi Great for Map Control:
- The intel on enemy positions that she can provide through her Logic Bomb plays a huge role when it comes to taking control of areas in the map as it’ll allow attackers to respond to enemy presence or the lack of it
- The Logic Bomb lasts for twelve seconds, and the defenders can turn it off manually, but that will take five seconds, during which they won’t be able to do anything, and that’s five seconds of the attackers gaining ground on them
- Dokkaebi can activate the Logic Bomb two times, so she can use the first one for taking map control, and she can activate the second Logic Bomb for maintaining it
- Dokkaebi’s utilities, the gonne-6 hand cannon, stun grenades, and smoke grenades, are all great for taking map control as the gonne-6 can permanently disable a bulletproof defender gadget, while the stun and smoke grenades are excellent utilities for pushing
Best Loadout for Dokkaebi:
https://www.gamersdecide.com/articles/rainbow-6-siege-dokkaebi-loadouts
Attention operator, please be advised. There is a new directive from Six. Read up on these related articles, and prepare for deployment:
