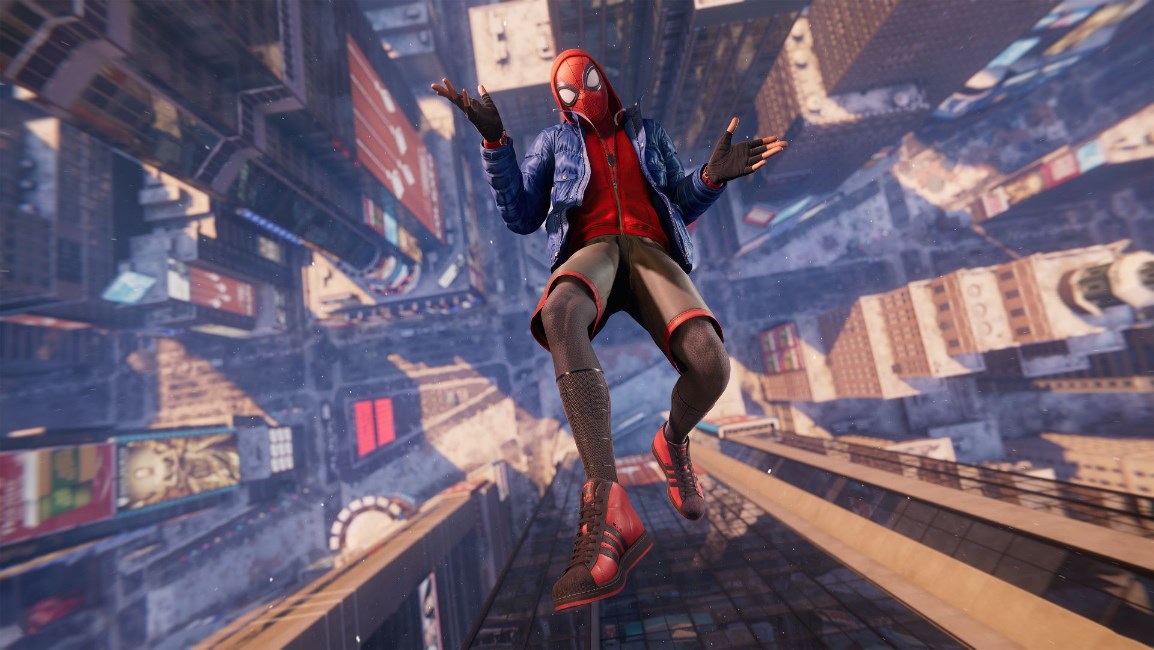
With the success of the 2020 launch of Miles Morales on the PlayStation 4 and PlayStation 5 systems, Sony decided to revamp their game and release the game for PC in 2022!
Now, PC ports have a history of being either completely buggy and not runnable or working like a charm. Thankfully, this game falls on the latter with its optimization settings that make the gameplay like an absolute breeze!
But in order to get the best gameplay experience as well as the most fun, you have to have your PC tailored according to your software and hardware requirements.
Here’s hoping you have the latest specs drivers as well as the CPU and GPUs installed. Let’s get down to the step-by-step list down below!
25. Close any background apps open on the Desktop.
This one is a definite no-brainer. You should turn off any or all of the background apps that your PC is running, this also includes Discord and Steam to give your CPU some load off.
Should you not do this, chances are that you’ll encounter framerate stutters and input lag as well. For high-end PCs, this shouldn’t even be a problem but for mid or low-end PCs, do this just so your game can run smoothly.
How to set:
- Open the Microsoft Windows Task Manager by pressing the classic Ctrl+Alt+Del,
- Select any programs or tasks that you find cumbersome.
- Click on End Task.
- Close the Task Manager and resume playing the game.
24. Activate Game Mode
It’s literally the same point as above. Game Mode is the Windows-provided function that, in one way, allows for a Do Not Disturb Mode whenever you’re gaming.
This means that whatever pop-ups, alerts, or any other error is coming, it stops them and lets you play beautifully.
How to set:
- Go to Control Panel Settings
- Search for Game Mode
- Turn “On” if it is not.
- Start the game.
23. Set Graphics to High Performance
Now, this may seem confusing but sometimes, the system configuration is set in such a manner that the CPU gets overclocked or should I say, overworked in layman's terms. Not only that, the desired graphical output wouldn’t be displayed as well.
To prevent that, you need to set the graphics in high-performance mode BEFORE you jump in the game. Refer to the below to see how it’s done.
How to set:
- Go to Windows settings
- Open Control Panel
- Go to System
- Go to Display
- Select MilesMorales.exe
- Right-click on it
- Select High-Performance Mode (which is connected to your GPU)
22. Update your Windows and Drivers
I can’t stress this enough but you HAVE TO update all of your drivers and the latest Window Software.
Should they not be updated, chances are the game and the system itself will be laggy, and trust me, lag during gaming is a big no-no. There are standard settings for Windows but in regards to GPU Drivers, check your company driver software and click on it to run the driver update.
For Nvidia and AMD GPUs, go to your respective program option and run for updates.
How to set:
- Go to Settings.
- Go to Windows Update
- Check for Updates
- Once the above-mentioned steps are done, go to your GPU Software Menu and check for any updates.
21. Adjust Delivery Optimization for PC
What this step means is that you disable your PC using updates in the background which might hinder or interrupt your gaming session in a way.
Simply turn them off in the following steps written below.
How to set:
- Go to settings.
- Go to Windows Update.
- Go to Advanced Options.
- Go to Delivery Optimization
- Once done, Turn Off “Allow Downloads from other PCs”.
20. Set the in-game Display to Exclusive Fullscreen
Exclusive Fullscreen means that the game renders directly onto the screen and reduces the chance of having input lag while playing the game.
How to set:
- Open in-game menu.
- Go to Display
- Set it to Exclusive Fullscreen
19. Set Display Resolution According to your Monitor/TV
Now, this one is a fairly simple step. Simply check/remember the type of monitor that you have and set the display resolution according to the monitor that you have! (Meaning Native Resolution)
For greater display and graphical power, go for 4k, otherwise, 2k and 1080p would work too!
How to set:
- Open in-game menu.
- Go to Display
- Adjust Resolution according to your requirement or Monitor/TV Settings.
18. Set Aspect Ratio to Auto.
Aspect Ratio’s the proportional relationship between Image Width and Image Height and it’s usually either 16:9 or 4:3.
You don’t need to worry about that and just set it to Auto as the game itself will calibrate the best ratio settings for you.
How to set:
- Open in-game settings.
- Go to Display.
- Go to Aspect Ratio
- Set to Auto
17. Adjust the Refresh Rate according to your Native Resolution of Monitor/TV
Alright, next is that you should adjust the refresh rate of your gameplay to your Native Resolution of the Monitor/TV so that the framerate should match accordingly.
The higher the framerate, the smoother the gameplay, meaning more fluid movements. So, it makes sense to have more refresh rate for fluid movement.
How to set:
- Go to in-game Settings.
- Go to Display
- Go to Refresh Rate and adjust according to your Monitor/TV’s Resolution rate.
16. Turn Off VSync
In cases where you are facing input lag despite all the optimization, chances are that you have your VSync on. VSync is basically a technology that synchronizes the game’s own set refresh rate with the monitor’s refresh rate.
This would cause lag and is not desirable, unless you’re seeing a screen tear, then turn it on.
How to set:
- Go to in-game Settings
- Go to Display
- Go to VSync and turn it “Off”
15. Turn on NVIDIA Reflex Low Latency
This point is only for those who have Nvidia GPU set up on their PC. What this does is it will reduce system latency and increase PC responsiveness during gaming.
Turn it on with Boost for the optimal setting.
How to set:
- Go to in-game settings.
- Go to Display
- Go to Nvidia Reflex Low Latency and Turn it to “On + Boost”.
14. Choose Upscaling Method tailored to your needs
Upscaling is basically Raytracing and you should enable this only when you have either an Nvidia 20 series or, preferably, an Nvidia 40 series GPU and its AMD Equivalent for those who are not willing to pick Nvidia.
How to set:
- Go to in-game settings.
- Go to Display.
- Go to Upscaling.
- Select “DLSS” or “IGTI” for NVidia users or “AMD FSR 2.1” for AMD users.
13. Enable FPS Counter.
There’s no harm in having an FPS Counter displayed at the top right corner of the screen. Or Top Left, whatever your preference.
Having this one activated would let you recognize frame drops and would definitely help you troubleshoot any problems encountered during the gameplay.
Or you can just flex your smooth framerate to others. Your call.
How to set:
- Hit the Shift and Tab button if you got the game via Steam and the options bar should pop up.
- Enable FPS Counter to “On” and it should appear on the Top-Left.
12. Adjust Presets according to your requirements
Now that we are done with the Display Tab, we will head on towards the Graphics Tab where your Presets will be adjusted according to your PC power.
If you have a potato PC, just set it to Very Low or Low but if you have the highest components installed for your PC, go for High or Very High.
How to set:
- Open in-game Settings
- Go to Graphics
- On Presets area, adjust according to your desired requirement.
11. Adjust Texture
If you have a very high-end GPU, you can set the Texture Quality to Very High or High and vice versa.
The more detailed texture you have, the more it will be possible for you to appreciate the environment in-game and utilize combat for longer periods of time.
How to set:
- Open in-game Settings
- Go to Graphics
- On Texture area, adjust according to your desired requirement.
10. Adjust Shadows
Adjusting Shadows in-game would give you better lighting as well as that crisp display during gameplay that will help you navigate through the city more clearly.
If you have a higher GPU, go for Very High Shadow Quality with HBAQ+ on, otherwise, go for Medium with SSAO.
How to set:
- Open in-game Settings
- Go to Graphics
- On Light and Shadow area, adjust according to your desired requirement.
9. Adjust Ray Tracing
This option is for those who have the newer-end Graphics Card and want to go with Quality over Quantity as it will make your gameplay look seamlessly beautiful.
Do note that enabling this option will have a direct effect on your FPS, so it’s better to keep it off, unless you want to go with Beauty over Smoothness.
How to set:
- Open in-game Settings
- Go to Graphics
- On Ray tracing area, adjust according to your desired requirement.
8. Adjust Geometry
This refers to whether you want more traffic or less and more level of detail as well as crowd density during your playthrough.
The same can be said for Hair Density and Weather Particle Density as well.
Do note that this will have a direct effect on your CPU as well as VRAM so adjust according to your CPU requirements.
How to set:
- Open in-game Settings
- Go to Graphics
- On the Geometry area, adjust according to your desired requirement.
7. Turn Depth of Field Off
Depth of Field basically focuses on what’s going on around Miles and blurs a bit of the environment around him.
I would recommend turning this Off so that you can see what’s going on throughout the game and spot some sweet loot while swinging throughout the city.
And of course, to prevent the shimmering effect.
How to set
- Open in-game Settings
- Go to Graphics
- On Camera Effects area, go to Depth of Field and turn it off.
6. Adjust Bloom and Vignette along with Lens Flare according to your needs.
Bloom refers to the blurred light appearing during the scene and Lens Flare refers to the Light shone by cars and Street Lights which give off a Flare effect that can hinder your play style.
Vignette refers to the black corners of the screen to give off a bit of a cinematic effect and honestly, all three of them are pretty much personal preferences.
How to set:
- Open in-game Settings
- Go to Graphics
- On Camera Effects area, adjust according to your desired requirement.
5. Reduce Motion Blur Strength according to your preference.
Now, Motion Blur is pretty self-explanatory. Whenever you’re moving, there is this blurriness present whenever you’re moving or swinging, giving the effect of you shaking whenever Miles is swinging.
Since I would assume most would get motion sickness, I’d highly recommend reducing it either to zero or to very low, like in 1 or 2.
How to set:
- Open in-game Settings
- Go to Graphics
- On Camera Effects area, adjust Motion Blue Strength according to your desired requirement.
4. Adjust the Field of View.
I’ll say this, the greater the Field of View whenever you’re moving your camera, the greater the environmental viewing coverage when moving your camera.
You can find hidden items as well as hidden enemies if set to high, so I say go for it!
How to set:
- Open in-game Settings
- Go to Graphics
- On Camera Effects area, adjust Field of View according to your desired requirement.
3. Turn Off Camera Shake
Camera Shake is probably the same effect as Motion Blur and it can drive you pretty dizzy at times.
Just go to Game Settings for this one, go to Camera Shake and turn it off. Simple yet effective.
How to set:
- Open in-game Settings
- Go to Game Settings.
- Go to Camera Shake and turn it off.
2. Adjust Film Grain Strength
In the instance that you are recording are streaming, I would recommend turning this off as this would add stress to your CPU and would fill up unnecessary storage along with it.
If in the case that you are not streaming, then do go for it as it will give off a cinematic feel to most gameplay!
How to set:
- Open in-game Settings
- Go to Graphics
- On Camera Effects area, adjust Film Grain Strength according to your desired requirement.
1. Setting up HUD for Ultrawide Screens
In the case that you’re amongst the chosen few who have Ultrawide curved screens, first, I’d like to say, respect. And second, do make sure to adjust the HUD when playing the game.
To do that, just go to Game Settings and HUD options and adjust HUD Widescreen Scale according to your requirement.
How to set:
- Open in-game Settings
- Go to Game Settings
- On HUD area, adjust HUD Widescreen Scale according to your desired requirement or your monitor.
And that’s about it with the optimization and settings! I really hope it helped. See ya next time.
You may also be interested in:
- [Top 5] Spider-Man: Miles Morales Plotholes That Leave Fans Wondering
- [Top 5] Spider-Man: Miles Morales Best Builds
- [Top 10] Spider-Man: Miles Morales Best Visor Mods (And How to Get Them)


