[Top 10] Diablo 3 Best Armor Sets for Witch Doctor
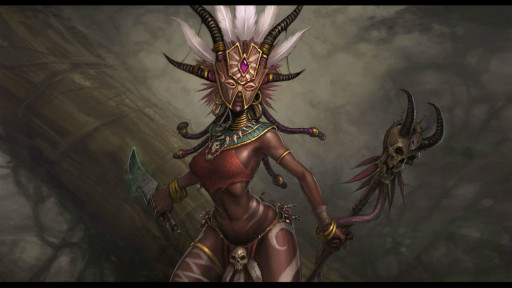
Witch Doctors can be the most powerful class, with the right armor.
The Witch Doctor in Diablo 3 throws firebombs, summons mammoth-sized toads, and can assemble massive armies of pets to aid in their combat. In other words: they are fun. However, to maximize their potential, armor sets can be equipped to best fit a Witch Doctor’s abilities, making them even more entertaining. Though all of the sets on this list are not class-specific, they will no doubt help beginning, experienced, and any other type of player in their quest to defeat the wretched Diablo.
10. Captain Crimson’s Trimmings (Best for pairing sets)
This non class-specific set is great for teaming up with other, smaller sets. There are only 2 bonuses for equipping the three items, but it's worth it. The character will receive 6,000 life per second and a 20% decrease in both cooldown and resource costs.
The second bonus pairs so well with the first, it is what makes this set great. Once you’ve fully equipped the set, your damage dealt will be increased by your cooldown reduction percentage, and that is already 20%! There is nothing amazing about this armor set. But to deny its effectiveness and versatility is silly. Use this set if you have it.
Pieces Required (2 of 3):
- Captain Crimson’s Silk Guide (Belt)
- Captain Crimson’s Thrust (Pants)
- Captain Crimson’s Waders (Boots)
Level Requirement: 70
How to get Captain Crimson’s Trimmings
There is no specific place to hunt for Captain Crimson’s Trimmings, so keep your eyes open. A plan can be found, which may mean doing more rifts since the level requirement is maxed out.
Captain Crimson’s Trimmings: https://diablo.fandom.com/wiki/Captain_Crimson%27s_Trimmings
9. Asheara’s Vestments (Best for pairing sets)
The level 70 counterpart to Ashera’s Uniform, the bonuses to this set are much more valuable. I guess that makes sense. This armor set is not class-specific. It is number 9 on this list not because of the great buffs it gives your character, but because of the unique bonus that comes with full equipment.
Characters get the chance of having followers aid them in combat. The chance is small for the Scoundrel, Sorceress, and Templar to appear suddenly. If they do, they will summon a reckoning. Still, this doesn’t happen very often, and we all know the Scoundrel’s priorities lie elsewhere. Probably somewhere with the Sorceress.
Pieces Required (4 of 4):
- Asheara’s Custodian (Shoulders)
- Asheara’s Ward (Gloves)
- Asheara’s Pace (Pants)
- Asheara’s Finders (Boots)
Level Requirement: 70
How to get Asheara’s Vestments
Search for the plan the normal way: rifts, bounties, and killing as many elites as possible. Then take that to the blacksmith. Be sure to stock up on your resources while searching.
Asheara’s Vestments full details: https://diablo.fandom.com/wiki/Asheara%27s_Vestments
8. Born’s Defiance (Best for softcore, early-level players)
Experience, experience, experience: it is what matters most for early-level players attempting to max-out their character. This armor set can be equipped by any class, but I particularly love it for the Witch Doctor. Moving through bigger hordes of monsters can be worrisome, but the bonuses in this set make it worth it.
When you are starting the game, grinding to reach higher levels can take hours. Awaiting to be equipped is a 20% experience boost per monster kill. Gone are the days of slaying hundreds of monsters only to receive minimal experience gains. The 2 piece bonus set is easily obtainable and highly useful.
Pieces Required (2 of 3):
- Born’s Heart of Steel (Gloves)
- Born’s Impunity (Shoulders)
- Born’s Searing Spite (One-Handed Weapon)
Level Requirement: 21
How to get Born’s Defiance:
Head to the Blacksmith after acquiring the Born’s Defiance plan, which can be found by slaying monsters who are at or near level 21. Some farming may be required, but eventually, the plan will be dropped. From the Blacksmith, you will be able to craft these items and equip them. Only level 21 is required.
Born’s Defiance full details: https://diablo.fandom.com/wiki/Born%27s_Defiance
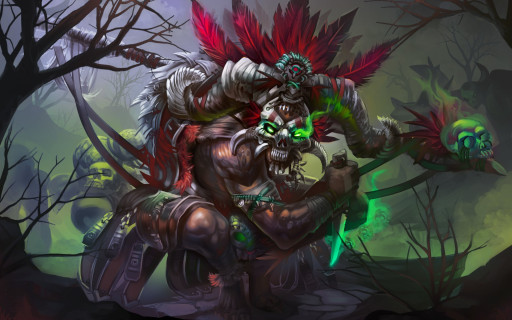
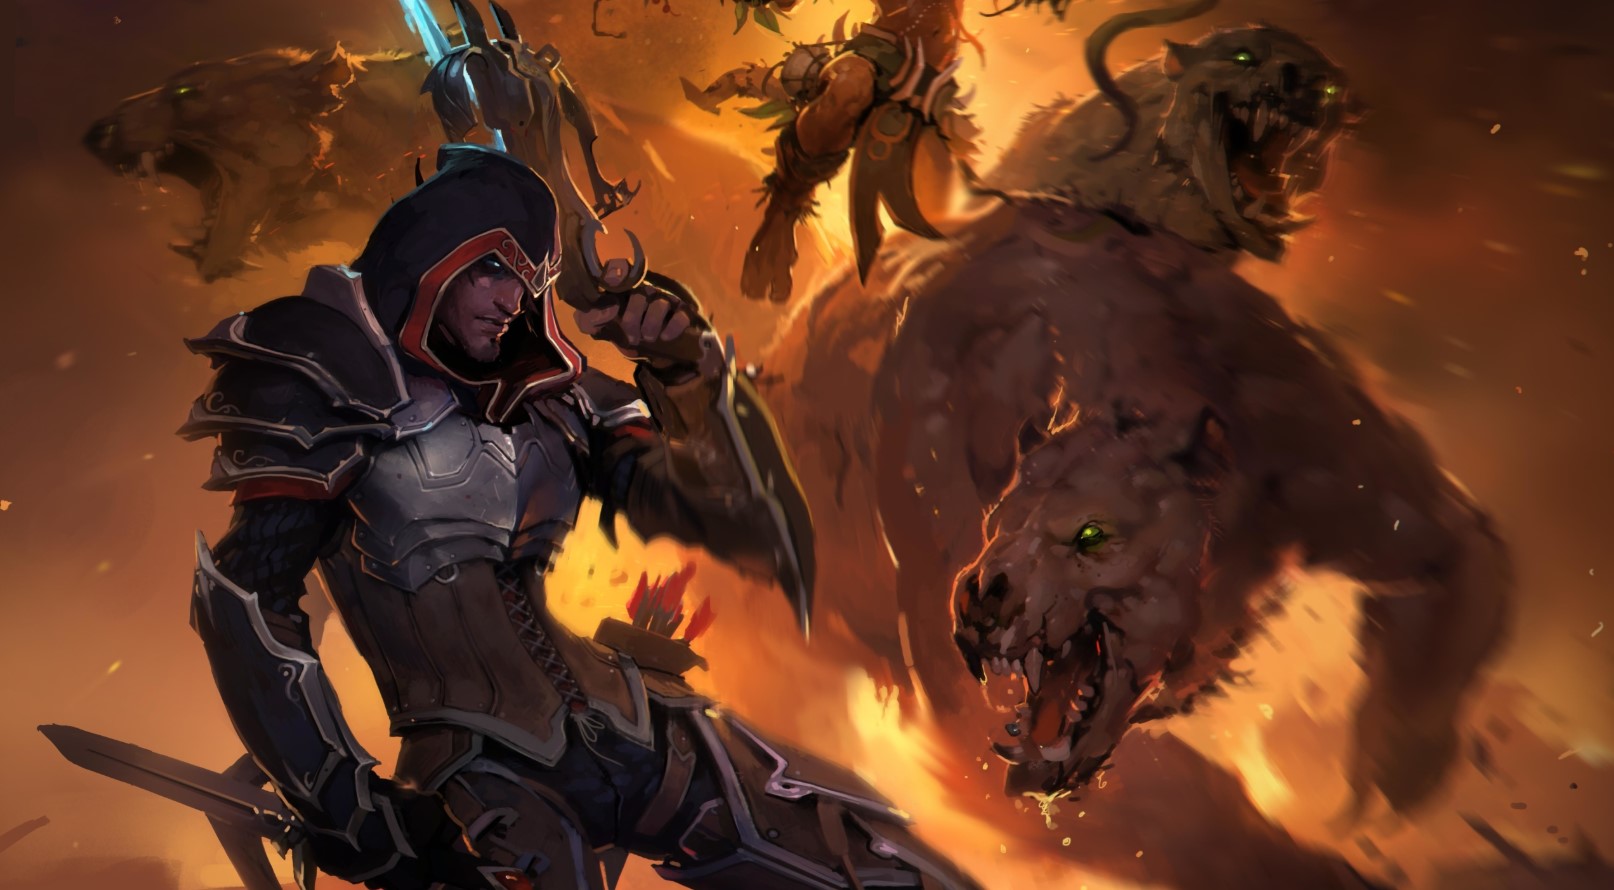
Level up quick so you can look like this!
7. Cain’s Fate (Best for farming, leveling up)
With the set level only being 23, it is hard to put Cain’s Fate so low on the list. This could easily be the most valuable armor set in the game. With 3 of the 4 gear equipped, players will receive a 10% increase in magic item find and a 50% experience increase.
Even better, this armor set isn’t class-specific. If you find the plan to this set, you should never have trouble leveling up your characters again. The only drawback to the set is that if you don’t find at least 3 pieces, the bonus is forgettable. A 2% attack speed increase isn’t the absolute worst, right?
Pieces Required (3 of 4):
- Cain’s Memory (Helm)
- Cain’s Robes (Pants)
- Cain’s Sandals (Boots)
- Cain’s Scribe (Gloves)
Level Requirement: 23
How to get Cain’s Fate
Since the level requirement is so low, start looking early and often for any type of “Cain” gear. It could be hiding in any monster, tree stump, or chest.
Cain’s Fate full details: https://diablo.fandom.com/wiki/Cain%27s_Fate
6. Mundunugu’s Regalia (Best for someone to maximize their damage output)
A great sorcerer once said, “Unlimited Pow-ah!”. Once this set is fully equipped, the Witch Doctor can relate. Not only do you produce an astounding 20,000% increase in damage for Spirit Barrage, but you also shoot blue ghosts out of your fingertips. It may as well be lightning of another form.
Other than the Spirit Barrage super buff, the set is okay. Your Big Bad Voodoo will now last double and follow you around. You also get a 60% damage reduction for 30 seconds when in the Spirit Realm. But the main motivation you have for locating this armor set is the fact that you get to rule the galaxy. Or the dungeons.
Pieces Required (6 of 6):
- Mundunugu’s Descendant (Shoulders)
- Mundunugu’s Robe (Chest Armor)
- Mundunugu’s Headdress (Helm)
- Mundunugu’s Dance (Boots)
- Mundunugu’s Decoration (Pants)
- Mundunugu’s Rhythm (Gloves)
Level Requirement: 70
How to get Mundunugu’s Regalia
No set dungeon here. It is time to farm. No doubt worth it, though. The Spirit Barrage power you’ll gain afterward will be worth the search.
Mundunugu’s Regalia full details: https://diablo.fandom.com/wiki/Mundunugu%27s_Regalia
5. Raiment of the Jade Harvester (Best for playing with incomplete sets at high levels)
This armor set is particularly versatile. It doesn’t belong solely to Witch Doctor, though I would have trouble seeing much use for it as anything other than. Each bonus is highly compatible with other armor sets. So even if you don’t find all 6 of these items, just equipping 2 of them can be effective.
The first bonus applies to the Haunt skill, which comes up fairly often in this class set. When an enemy is hit by Haunt twice, the second hit instantly damages the enemy for 3,500 seconds worth of Haunt damage. The other bonuses provide your Soul Harvest and Locust Swarm with major pairing buffs. Plus, you will also receive a 50% damage reduction bonus for 12 seconds.
Pieces Required (6 of 6):
- Jade Harvester’s Courage (Pants)
- Jade Harvester’s Joy (Shoulders)
- Jade Harvester’s Mercy (Gloves)
- Jade Harvester’s Wisdom (Helm)
- Jade Harvester’s Swiftness (Boots)
- Jade Harvester’s Peace (Chest Armor)
Level Requirement: 70
How to get Raiment of the Jade Harvester:
In Act IV, The Vestibule of Light, you’ll find the Raiment of the Jade Harvester Set Dungeon. Barging in without a plan will do you no good in this dungeon. Come up with a strategy to complete these tasks. First, you must equip the three skills Haunt, Locust Swarm, and Soul Harvest. From there, use Soul Harvest to affect 15 enemies at the same time. Do this 10 times total to complete the task. Then, kill 100 enemies that have been hit by Locust Swarm and Haunt.
Raiment of the Jade Harvester full details: https://diablo.fandom.com/wiki/Raiment_of_the_Jade_Harvester
4. Spirit of Arachyr (Best for high-level players, looking to have fun)
My absolute favorite skill to use in the entire game: Hex - Toad of Hugeness. This summons a massive toad, which shoots its tongue out and grabs enemies from up to 35 yards away. My satisfaction is at a maximum each time he pulls in another baddie. When this armor set is fully equipped with each of the 6 items, my toad gets a 9,000% damage increase. Let the toad eat.
However, if you are not invested in letting the Toad of Hugeness handle your dirty work, this may not be the set for you. The second bonus, which is acquired after equipping 4 of the items, automatically grants you the toad rune. I’m not sure why anyone would be opposed to watching an elephant-sized toad gobble monsters on their screen. Honestly.
Pieces Required (6 of 6):
- Arachyr’s Carapace (Chest Armor)
- Arachyr’s Claws (Gloves)
- Arachyr’s Legs (Pants)
- Arachyr’s Mantle (Shoulders)
- Arachyr’s Visage (Helm)
- Arachyr’s Stride (Boots)
Level Requirement: 70
How to get Spirit of Arachyr:
Head to Act II in the Dahlgur Oasis to find the Spirit of Arachyr Set Dungeon. Here is a detailed telling of how to reach the dungeon, which sounds quite exhausting. Again, I don’t mind if it means more toad action.
https://www.icy-veins.com/d3/witch-doctor-arachyr-set-dungeon-guide#:~:text=Once%20you%20reach%20the%20beginning,Arachyr%206%2Dpiece%20bonus%20active.&text=Piranhas.
Spirit of Arachyr full details: https://diablo.fandom.com/wiki/Spirit_of_Arachyr

3. Zunimassa’s Haunt (Best for farming)
Summon the hoard with this armor set. Your pets are at their very best when you’ve equipped all 6 of these items. With that sixth item equipped, enemies hit by the Witch Doctor’s Mana spending skills receive 15,000% more damage from pets. Yes. 15,000% more damage. This is a great time to summon Zombie Dogs, Fetish Army, and the Gargantuan.
The only reason to stray from this armor set is it can be a little redundant. If you enjoy playing with the character and combo-ing skills, the necessity for that is all but lost. You’ll find yourself sitting back, watching your Fetish Army dominate, which now lasts until either it or the Witch Doctor dies.
Pieces Required (6 of 7):
- Zunimassa’s Cloth (Pants)
- Zunimassa’s Finger Wraps (Gloves)
- Zunimassa’s Marrow (Chest Armor)
- Zunimassa’s Pox (Ring)
- Zunimassa’s String of Skulls (Mojo)
- Zunimassa’s Vision (Voodoo Mask)
- Zunimassa’s Trail (Boots)
Level Requirement: 60
How to get Zunimassa’s Haunt
Greater Rifts and Bounties might be the way to go for obtaining these 6 items. You’ll get hordes of enemies to plow through, and with more elites coming up in these places, the chances might be a little higher.
Zunimassa’s Haunt full details: https://diablo.fandom.com/wiki/Zunimassa%27s_Haunt
2. Manajuma’s Way (Best for grinding for set gear)
The comedic brilliance of Diablo 3 is on full display with this set. It is not the highest rated in terms of bonuses, with bonuses only applying to the Witch Doctor’s “Angry Chicken” skill. Your screen will be transformed into an Old McDonald Nightmare. Angry Chickens now explode with 400% more damage and they last 15 more seconds and movement speed is increased by 100%.
I love how the developers of this game use their nerdy sense of humor in this instance. The Witch Doctor can be a rather terrifying character. Maybe in this instance, that terror is personified. Take control of your power. Become the chicken.
Pieces Required (2 of 2):
- Manajuma’s Carving Knife
- Manajuma’s Gory Fetch
Level Requirement: 60
How to get Manajuma’s Way
Players only have to reach level 60 before they can start to hunt these two items. There’s not much to it: farm, loot, repeat. There are no specific drop points for the items, so start smashing all urns and filling out the map if you truly are destined to be the angriest chicken.
Manajuma’s Way full details: https://diablo.fandom.com/wiki/Manajuma%27s_Way

1. Helltooth Harness (For hardcore experts of Witch Doctors)
You must be a Witch Doctor yourself if you have this armor set equipped. Supplying the heaviest hitting buffs to primary skills, the Helltooth Harness set not only gives you the most power, it looks the coolest.
After equipping each of these armor pieces, you will start to feel the power in your Witch Doctor you didn’t know possible. A damage boost of 9,000% for 15 seconds to all primary skills leaves even Torment 10 monsters in the dust. Which might explain the ghostly look of the armor set itself.
Pieces Required (6 of 6):
- Helltooth Gauntlets (Gloves)
- Helltooth Greaves (Boots)
- Helltooth Leg Guards (Pants)
- Helltooth Tunic (Chest Armor)
- Helltooth Mantle (Shoulders)
- Helltooth Mask (Helm)
Level Requirement: 70
How to get Helltooth Harness
The only caveat to these armor pieces is that you must be playing on at least Torment difficulty. The pieces can drop anywhere and by any enemy. Torment difficulty sounds scary, but if you’ve pushed your way through the earlier difficulty levels, and updated your Witch Doctor accordingly, there shouldn’t be any problem continuing at a steady pace. Since the armor set requires a 70 rank, the Torment difficulty might be expected.
These items are difficult to find. There is no way of saying anything otherwise. Try using blood shards with Kadala, and upgrading rare items as other ways to purchase these.
[Witch Doctor - Game Guide - Diablo III] Helltooth Harness full details: https://diablo.fandom.com/wiki/Helltooth_Harness
Also Be Sure To Read:
- [Top 5] Diablo 3 Best Ways To Get Primals
- Diablo 3 Best Class [Ranked Tier List] 2.6.9
- 10 PC Games That Feature Hell and Demons
- 16 Bosses in Diablo 3 and the Story Behind Them
- Diablo Movie: 10 Movies Like Diablo 3 You Need To Watch
- Is Diablo 3 Going to Hell?
- Diablo 3 Best Follower For Each Class
- [Top 10] Diablo 3 Best Legendary Gems That Are Overpowered
- [Top 10] Diablo 3 Best Elite Killer Builds
- [Top 10] Diablo 3 Best Legendary Gems
- Diablo 3 Best Followers For Each Class
- Diablo 3 Best Gems for Wizard (Every Slot)
- Diablo 3 Best Gems for Demon Hunter (Every Slot)
- [Top 5] Diablo 3 Best Demon Hunter Builds Right Now
- [Top 10] Diablo 3 Best Solo Class Builds Right Now
- [Top 5] Diablo 3 Best Wizard Builds Right Now

