Once you leave the monotony of your old life behind and move to Stardew Valley, you’ll be swamped with tasks to improve your grandpa’s farm. Year 1 is especially challenging for new players as it comes with a lot of big decisions to make. One of the less apparent ones is deciding on which tool you should upgrade first.
Money will be hard to come by early in the game. Thus, you must make your purchases wisely. And unfortunately, not all tools are made equal. Some have more uses than others. If you want to get the best value for your resources, you need to understand what each tool does.
In this article, I’ll tell you which tools you should upgrade first and why.
6. Watering Can
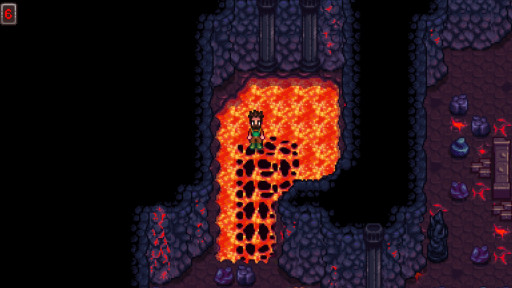
The farmer uses his watering can to tread on lava.
At the bottom of the list lies the Water Can. Not as much because it’s useless – it just pales in comparison to the other alternative. Let’s take a closer look at what upgrading your Watering Can shouldn’t be that high up on your priority list.
The Water Can upgrades gradually increase its area of effect. While it sounds good, this tool will quickly become obsolete once you get your hands on Sprinklers. You get the recipe for the basic one at the Farming level 2, which is ridiculously early. Each one costs only one Copper Bar and one Iron Bar to make. Thus, you don’t even need access to all the floors of the Mines to make them.
Another reason why it’s not that useful is because of how few crops you’ll have early into the game. Since you won’t have much money to buy seeds in bulk, you won’t be using your watering can all that much. You’ll eventually unlock even better Sprinklers, which makes the Watering Can useless past Year 1.
The only place where the Watering Can is useful is the Volcano Dungeon. Without it, you won’t be able to move past certain levels. Having the extra range is a nice quality-of-life bonus here, as it helps you reach new islands faster.
The range is also somewhat useful for filling the water tray in a Slime Hutch. However, not many people build Slime Hutches. And even if you decide to use one, you can simply wear the Slime Charmer Ring to negate all damage from Slimes.
Why Upgrade Watering Can First:
- Makes watering your crops much faster
- Cuts down the amount of clicking you have to do to water the tile (good carpal tunnel prevention)
- The extra reach comes in handy in the Volcano Dungeon
Item Stats:
- Regular: Waters a single tile over your cursor
- Copper: Waters three tiles in front of your cursor
- Iron: Waters five tiles in front of your cursor
- Gold: Waters nine tiles in an 3x3 area
- Iridium: Waters fifteen tiles in a 6x3 area
5. Trash Can
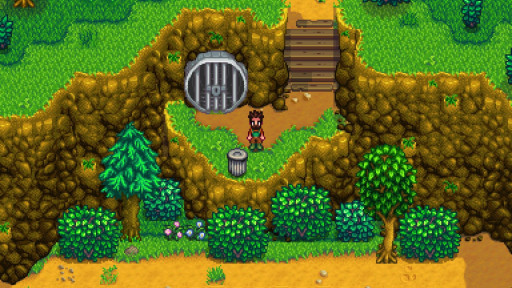
The farmer stands in front of a trash can, ready to emty his inventory.
The Trash Can is a unique tool because you don’t actively use it. It is instead the only way you can delete items directly from your Inventory (other than dropping them in water, which is not exactly practical).
At the beginning of the game, you start with a basic Trash Can that simply deletes your items. Each upgrade makes your Trash Can recover a certain percentage of the item’s value, affected by Professions.
I don’t find it very useful. I always keep valuable items on me. As the name implies, I use the Trash Can to delete items that are useless and thus worthless. Even 100% return value of Fiber is laughable, making the Trash Can upgrades very weak.
In the late game, trashing items such as Diamonds will still be incomparable to the money you get from selling a bunch of Wine. Thus, upgrading your Trash Can should be among your lowest priorities.
Why Upgrade Your Trash Can First:
- Helps you recover some value from each Trashed Item
- May help you make a bit of extra money
- Makes you feel less guilty about trashing items (and thus, prevents hoarding)
Item Stats:
- Regular: Recovers 0% of the item’s original value
- Copper: Recovers 15% of the item’s original value
- Iron: Recovers 30% of the item’s original value
- Gold: Recovers 45% of the item’s original value
- Iridium: Recovers 60% of the item’s original value
4. Hoe
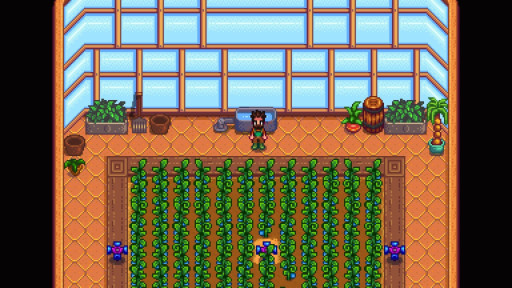
The farmer uses his hoe to plant Ancient Seeds in his greenhouse.
You can use the Hoe to till soil, allowing you to plant seeds in it. Stardew Valley is a farming simulator, first and foremost. This might make you think that upgrading your Hoe early is a good idea. However, it’s not as important.
Most players, myself included, plant high-value crops. These tend to take over 10 in-game days to grow. Once you harvest them, you just repeat the cycle. Tilled soil doesn’t disappear once you harvest your crops. This means you can plant your next batch of seeds right away.
If you do this each season, you use your Hoe only once every season, except in Winter. Thus, you likely won’t be using this tool all that much. The extra range has little use outside of farming, other than for farming clay.
You should upgrade your Hoe during the Winter, as you won’t need it much during this season.
Why Upgrade Your Hoe First:
- Helps you till soil faster
- Can be the difference between tilling your farm in one or two days
- It’s one of the best quality-of-life upgrades
Item Stats:
- Regular: Tills one tile over your cursor’s location
- Copper: Tills three tiles in the direction you’re facing
- Iron: Tills five tiles in the direction you’re facing
- Gold: Tills nine tiles in a 3x3 square area
- Iridium: Tills fifteen tiles in a 6x3 area
3. Fishing Rod
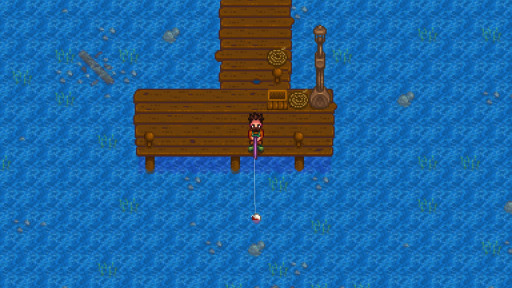
The farmer uses his Iridium Rod to catch some ofthe toughest fish.
Fishing in Stardew Valley is an activity you either love or hate. There is no middle ground. But regardless of how you feel about it, you need this skill to progress the game.
Some fish are harder to catch than others and I don’t mean just the legendary ones. Many rare fish dart around, which can be incredibly frustrating to deal with. The Iridium Rod can make your life a bit easier. With it, you can equip one of the many useful tackles. These provide you with benefits such as a slower escape rate or a larger fishing bar.
The Iridium Rod is unique in that it doesn’t cost any resources to craft. All you need is to reach Fishing level 6 and to pay 7,500 g. This makes it one of the easiest tools to upgrade.
Why Upgrade Your Fishing Rod First:
- Allows you to use tackles
- Helps you catch rarer fish much more easily
- It’s a relatively cheap investment
Item Stats:
- The only rod that allows you to use tackles
2. Axe
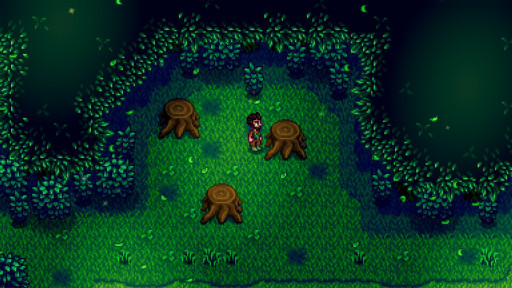
The farmer cuts down large stumps with his upgraded axe.
The Axe is an important tool at all stages of the game. You need to upgrade it to progress the game.
In the early game, you will need your Axe to clean the farm and scenes such as the Cindersap Forest and the Mountains.
As you progress through the game, you’ll encounter large stumps and logs. If your Axe’s level is too low, you won’t be able to remove these.
From there on, the main purpose of your Axe will be simply to farm resources. You’ll need both Wood and Hardwood at all stages of the game to craft equipment. Some projects may cost you over a thousand pieces of wood.
Each upgrade makes chopping down trees much easier. After the Iridium upgrade, you can fell a fully grown tree in two hits. Removing the stomp will take only a single hit.
Why Upgrade Your Axe First:
- Makes farming Wood/Hardwood much faster
- The upgrades are necessary to unlock certain areas in the game
- Remains useful throughout most of the game
Item Stats:
- Regular: It takes ten hits to cut down a grown tree, five to remove a small stump
- Copper: It takes eight hits to cut down a grown tree, four to remove a small stump. Allows you to cut down large stumps.
- Iron: It takes six hits to cut down a grown tree, and three to remove a small stump. Allows you to cut down large logs. Necessary for unlocking the Secret Woods.
- Gold: It takes four hits to cut down a grown tree, two for a small stump.
- Iridium: It takes two hits to cut down a grown tree, one for a small stump.
1. Pickaxe
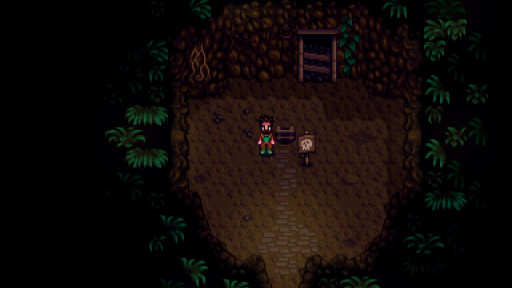
The farmer prepares to enter the quarry to farm resources.
The first on the list is the Pickaxe. Mining is an important skill in Stardew Valley. With the arrival of the Ginger Island patch came altered Mines and Skull Cavern. Both dungeons have sturdy rocks and ore nodes that take two hits to break even with the Iridium Pickaxe. I don’t recommend running either dungeon without the last upgrade as it takes too long.
While it’s true bombs break all types of rock in one hit, you won’t always use them. And even if you do, there are always situations where using your Pickaxe is just better, especially if you don’t want to accidentally destroy forageables and fallen items.
Getting the last upgrade as quickly as possible will help you a lot in the early to mid-game when bombs are a luxury. Because the upgrade makes you mine faster, you’ll gain more time to explore deeper levels which often hold better items. I rush Pickaxe upgrades in all my playthroughs since it is the most valuable tool in the game.
Why Upgrade Your Pickaxe First:
- Necessary to progress the game
- Helps you run dungeons more efficiently
- Necessary for removing large boulders and meteorites on your farm
Item Stats:
- Regular: Can remove most basic types of rock, can’t remove boulders on your farm
- Copper: Allows you to break rocks and nodes slightly faster.
- Iron: Allows you to break rocks faster, necessary to remove the large boulder in the entrance to the Mines
- Gold: Breaks rocks and nodes faster, can break meteorites
- Iridium: Breaks rocks in the Skull Cavern in a single hit, rocks in the Volcano Dungeon and Danger Mines/Cavern in two hits.
You may also be interested in:
- [Top 5] Stardew Valley Best Weapons and How to Get Them
- [Top 15] Stardew Valley Best Mods of Today
- [Top 15] Stardew Valley Best Farm Layouts
- [Top 10] Stardew Valley: Best Crops (2021 Edition)
- Stardew Valley Best Wife Guide - Who To Marry
- Top 11 Games Like Stardew Valley for PC
- Stardew Valley Best Farm. Which Stardew Valley Farm is Best?
- Stardew Valley Best Fishing Spots (Top 5)
- Stardew Valley Best Farm. Which Stardew Valley Farm is Best?
- [Top 15] Stardew Valley Best Armors

