Top 10 Rust Tips and Tricks To Improve Your Gameplay
Rust is an unforgiving game that has a very steep learning curve. In this article I will go over 10 tips and tricks that will help you improve your gameplay and allow you to overcome the odds that are stacked against you. In no time you will be conquering servers and flourishing within the Rust world.
Tip 1: Choose the correct server for your wants.
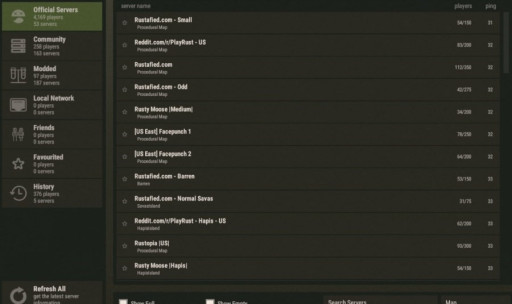
Making sure that you choose a server that properly fits your playstyle is very important to enjoying Rust. There are many different servers to choose from, so you have plenty of options.
- Choosing a high pop server will result in more PvP but also higher chances of your base being raided.
- While you’re learning, there are modded servers with increased farming rates, loot etc. that can really help accelerate your time learning the game.
- There are different servers in multiple regions, try to choose one with the lowest ping to help your gameplay.
- You have the option to choose between servers that wipe weekly, bi-weekly or monthly. I prefer the ones that wipe bi-weekly but that is a personal preference.
Tip 2: Choose your desired living location.
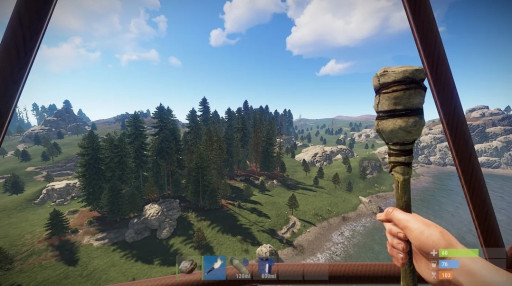
Something that has always helped me get going quicker is looking at the map and finding an ideal location to call home. This way you aren’t running around with no direction.
- Put a marker on the map, it will show on your navigation bar at the top to help guide you.
- Look for a location with monuments that you can farm for materials and scrap.
- Decide which biome you want to be in depending on your needs or playstyle. Snow, Desert or Woods.
Tip 3: Craft multiple sleeping bags.
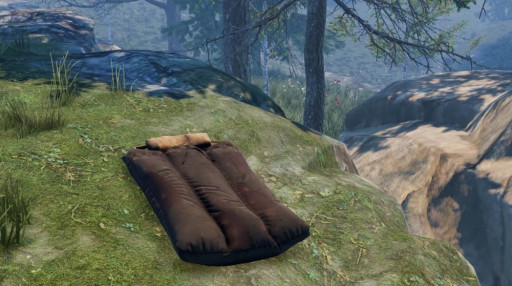
Crafting as many sleeping bags as you can and placing them everywhere on the map is crucial to your survival in Rust. I recommend to start crafting bags as soon as you can while running inland from the beach and place them along the way as you go. This way if you die, especially starting out, you don’t have to make that dreaded run from the beach every time.
- Multiple bags provide multiple spawn points.
- Each bag has its own timer, making it important to have multiple.
- Space them out as they share a timer if they are within 50 meters of each other.
- You can make beds which have a much shorter cooldown than a bag. Crucial if you are being online raided.
Tip 4: Head East for Animals
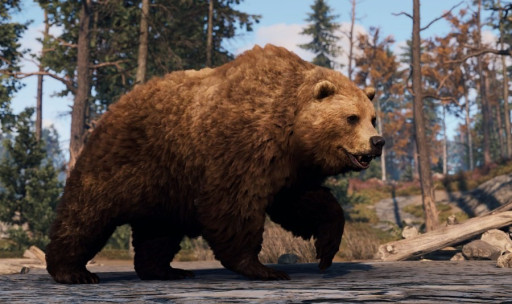
In Rust you will always need to be hunting animals for the resources that they provide. The animals in Rust also like to migrate East on the map.
- If you’re in need of animals, head East.
- If you’re trying to avoid animals, head West.
- Wolves, bears and boars (when you get close to the boars) are all hostile so keep that in mind. They will attack you if you get close to them.
- Use your terrain or a building plan and foundation to help elevate you when fighting animals.
Tip 5: Be careful of radiation.
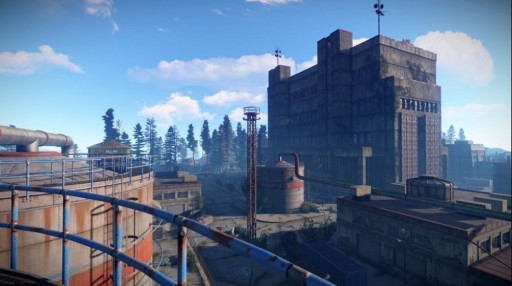
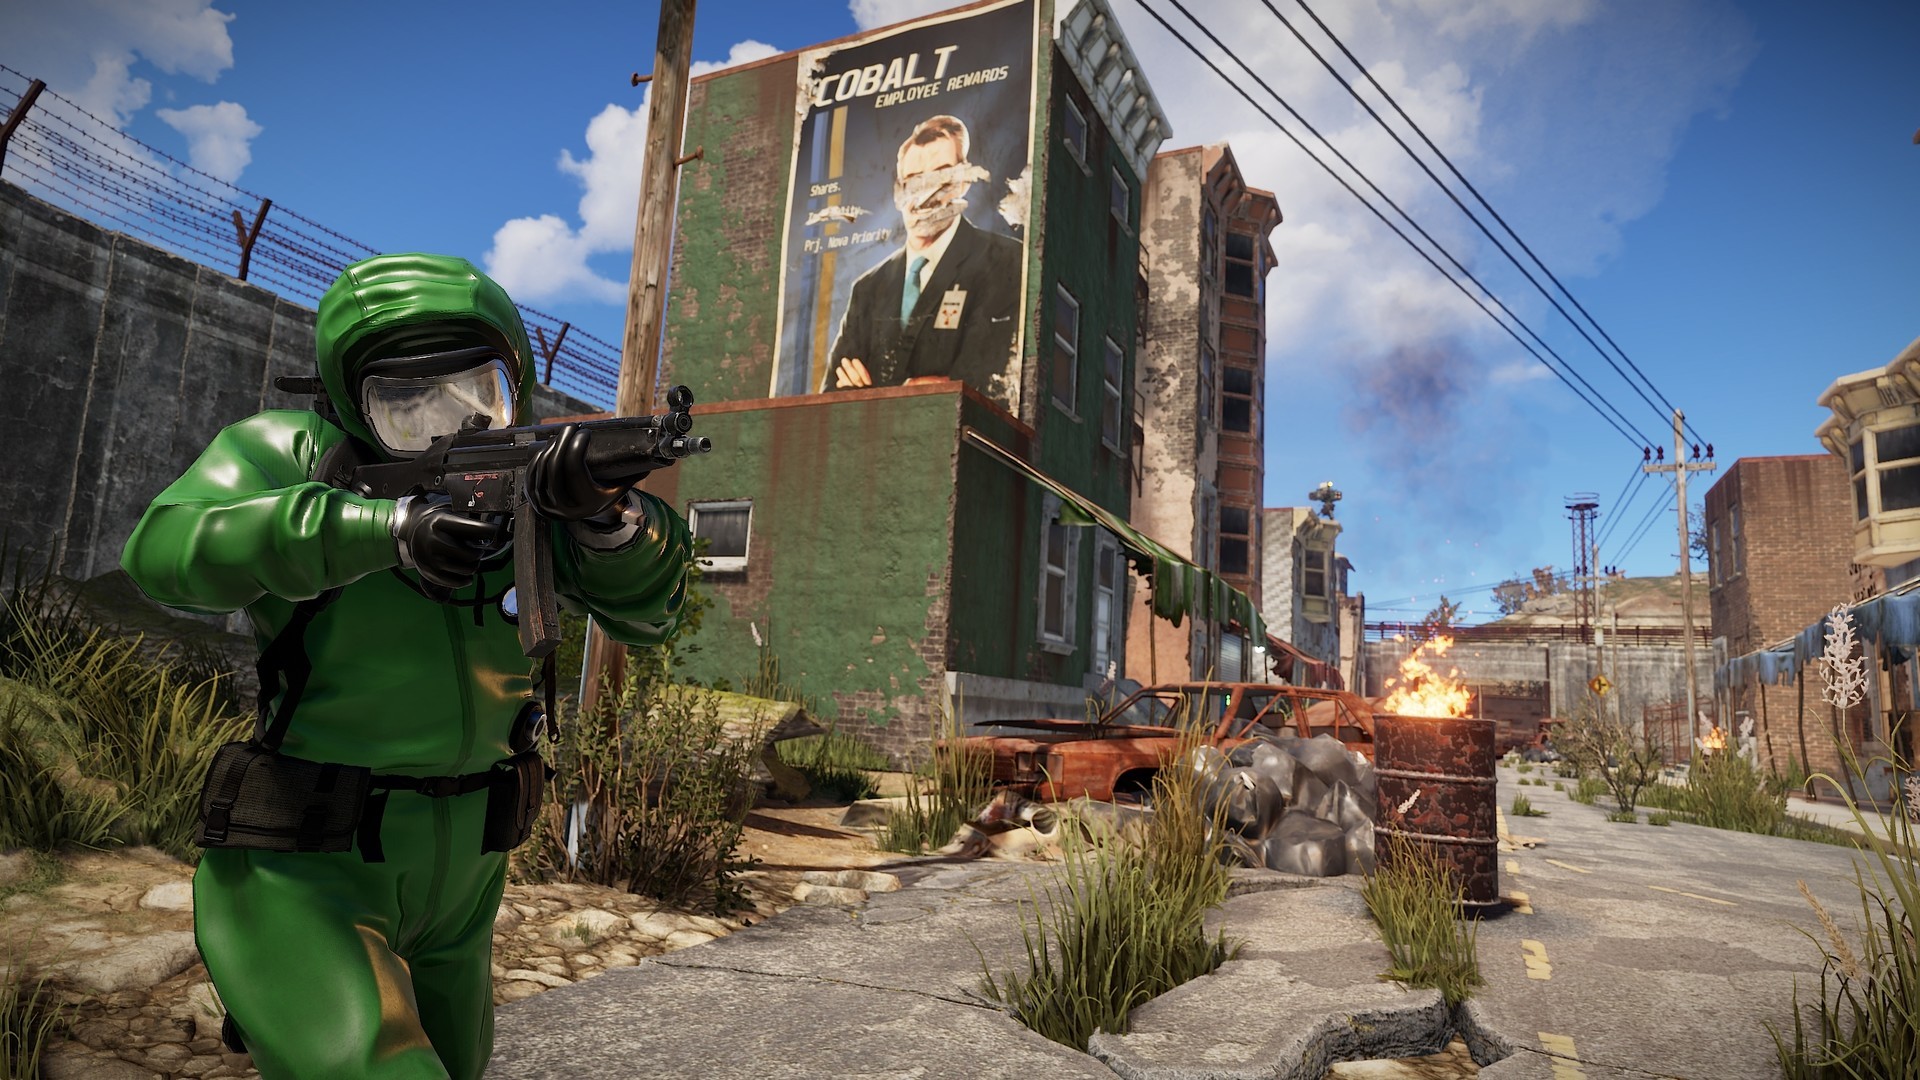
Radiation is one of the many survival elements in Rust. You will need to make sure you have proper gear before heading into areas with radiation.
- Larger monuments such as Power Plant, Airfield and Launch Site all have radiation and will require you to have gear which will protect you against the radiation.
- The smaller monuments have no radiation, but also less loot.
- It depends on the monument but a safe rule of thumb is to have around 12% radiation protection. That will allow you to freely roam most areas/monuments.
- Basic gear that you can make from cloth will get you above the required radiation protection threshold, you don’t need any fancy gear.
Tip 6: Focus on getting scrap.
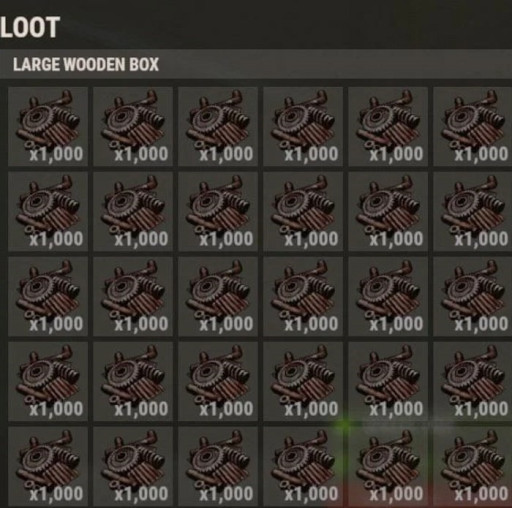
This tip goes hand in hand with the first one. Choosing a good base location next to important monuments will help you gather scrap much more efficiently. For example, if you build in the middle of nowhere with no roads or monuments, you won’t be getting much scrap at all. If you build near monuments and roads, there is plenty of scrap to farm (or PvP for).
- As mentioned above, farm the roads and monuments to gather as much scrap as you can.
- You can throw any items you don’t need into the recyclers (another important reason to build next to monuments) and you can get large amounts of scrap in return.
- If you’re a gambling junkie, you can partake in a few different gambling methods with your scrap, such as slots or poker located at the Bandit Camp.
Tip 7: Hit the x on trees and the sparkle on minerals when farming.
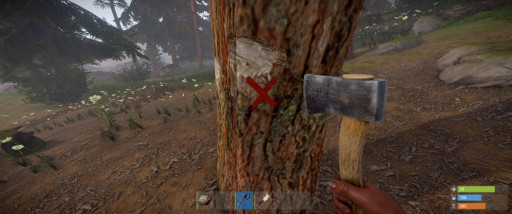
Making sure you are efficiently farming will be a huge help in the long-run when you are working on gathering materials.
- There is an x as shown in the photo above on trees that you need to hit in order to gather the wood as quickly as possible.
- When gathering minerals there is a similar indicator, a sparkle that you will aim for in order to finish mining the node much quicker.
Tip 8: Utilize the alt key to look around.
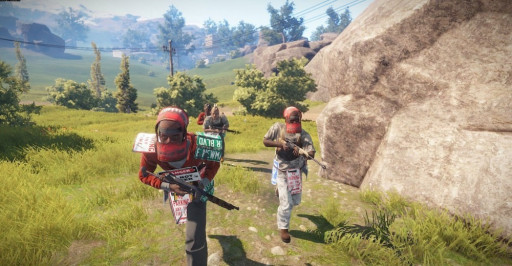
In Rust when you hold down the alt key it lets you freely look around you without actually physically turning your character. This can be very useful when running from another player or just needing the advantage to look around without someone noticing that you are looking.
- Using alt allows you to “play dumb” if you see another player that is chasing you. They can’t tell when you are using the key to look over your shoulder. You can make a lot of plays with this.
- You can have auto-run enabled and still use the key.
- Rust is a lot about getting the first jump on someone. Using this key will allow players to think they see you while you don’t see them, but little do they know!
Tip 9: Utilizing hover loot.
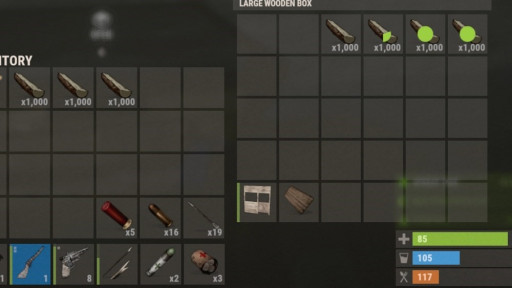
As you can see in the photo above, the green circle on the wood means that hover looting is in progress. Hover looting is a mechanic that allows you to loot items MUCH quicker than clicking on each one individually. The hover key is defaulted to H and as long as you are holding the key down with your mouse cursor over an item it will auto loot it for you.
- This allows you to quickly loot especially in situations where you need to be fast.
- Hover looting will save you many deaths as well as loot you may miss out on.
- There will be numerous times in Rust where you have to loot within a few split seconds while you have a chance especially if you are mid PvP.
Hold the hover loot key and just scroll your cursor over all the loot you want to auto loot it into your own inventory, or vice versa, into a loot box.
Tip 10: Create an airlock.
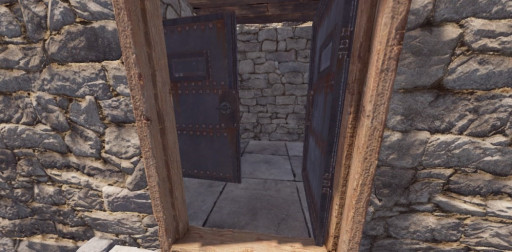
Having an airlock in Rust is a MUST. As you can see it is the process of your two front doors blocking anyone from getting in while they are both open.
- This allows you to PvP out of your base if needed, without the enemy being able to freely walk in.
- Prevents door campers from going deep into your base. If they kill you when you open your door you have the other one blocking them from getting in.
- There is basically never a time where you wouldn’t want an airlock. If you care about your base and loot, it is a necessity.
Tip 11: Store your items frequently.
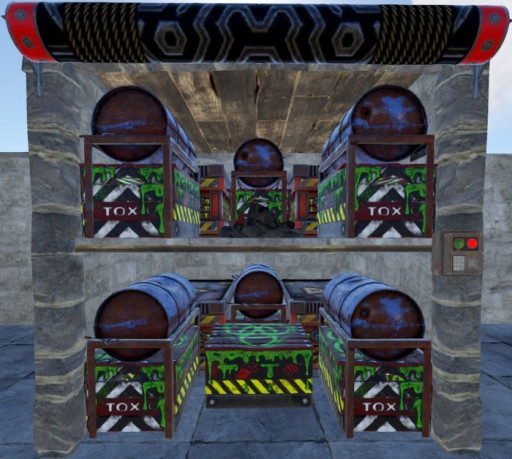
Making sure that you are depositing your valuable items into your base is crucial to making sure you don’t lose everything. You will die in Rust, quite a lot depending on the server, no matter how good you are.
- Get in the habit of taking trips back to your base frequently to ensure you don’t lose everything.
- There are drop boxes that you can add to your base to easily deposit things without actually going inside.
- Make sure that your main loot room is in the core of your base which is typically the most protected and armored portion of your base design.
Tip 12: Turn your lights off at night.
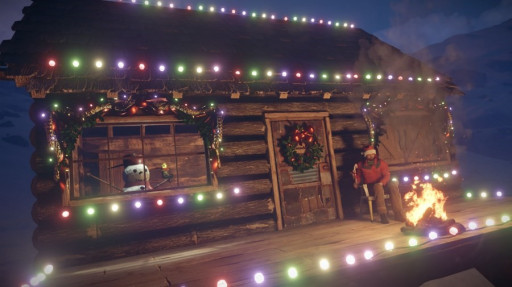
Having your base nice and lit up can be very visually appealing. But that can also lead to your downfall if there are other players on the hunt for active bases to raid. Making sure you are drawing minimal attention to yourself in Rust is crucial.
- Keep unwanted attention away.
- Helps prevent night time door campers.
Tip 13: Add defenses in and around your base.
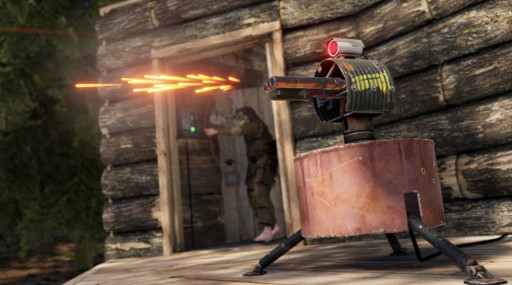
Rust has a wide variety of options available to help make sure your base is secure both inside and outside. This is a step you will not want to overlook unless you don’t mind starting over frequently from being raided.
- Make use of external high walls. This helps prevent players from just walking right up to your base.
- Utilize turret placements both inside your base as well on the outside within your external walls. This is a huge deterrent to raiders if the turrets are placed in good spots.
- There are many different traps to use that are easy to manage and create such as spikes, shotgun traps, flame turrets, etc.
- When adding defenses to your base consider all the weak spots and areas you think raiders will be trying to get in at.
Tip 14: Use a research table.
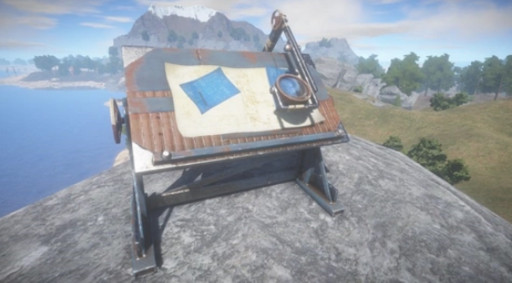
Research tables in Rust are crucial to your progression. Many of the items you find in the game, you will be able to research. This means you have the ability to craft the item after researching it.
- You will need scrap in order to research items.
- After researching an item, it will show up in your crafting menu and allow you to craft it (as long as you have the appropriate work bench down)
- This is a great way of progressing and allowing yourself the ability to create items rather than using one and having the danger of losing it.
Tip 15: Utilize the tech tree on the workbench.
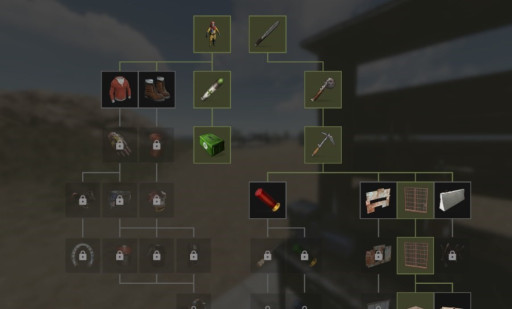
One of the best additions that Rust added in my opinion, is the tech tree. You can access the tech trees on the three different levels or workbenches.
- Level 1 workbench tech tree offers many of your more basic tools/armor.
- Level 2 workbench tech tree offers you mid game weapons/gear/items.
- Level 3 workbench tech tree offers you end game explosives, weapons and gear.
- Utilize the tech trees along with the research table to learn items and be able to craft them whenever you need afterwards.
- Keep in mind if you learn a workbench level 3 item, you will need a workbench level 3 in order to create that item. Same goes for the level 1 and 2 workbenches as well.
You may also be interested in:
- [Top 10] RUST Best Base Locations
- Top 10] Rust Best Weapons for Kills
- Top 10] RUST Best Items to Recycle
- [Top 10] RUST Best Armors That Are Excellent
- [Top 25] RUST Best Practices and Tips Every Beginner Should Know

