15. Montagne + Fuze
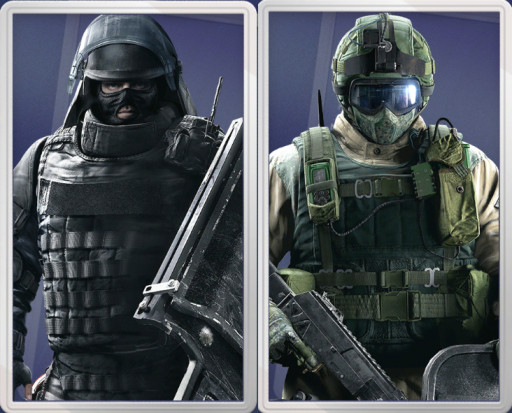
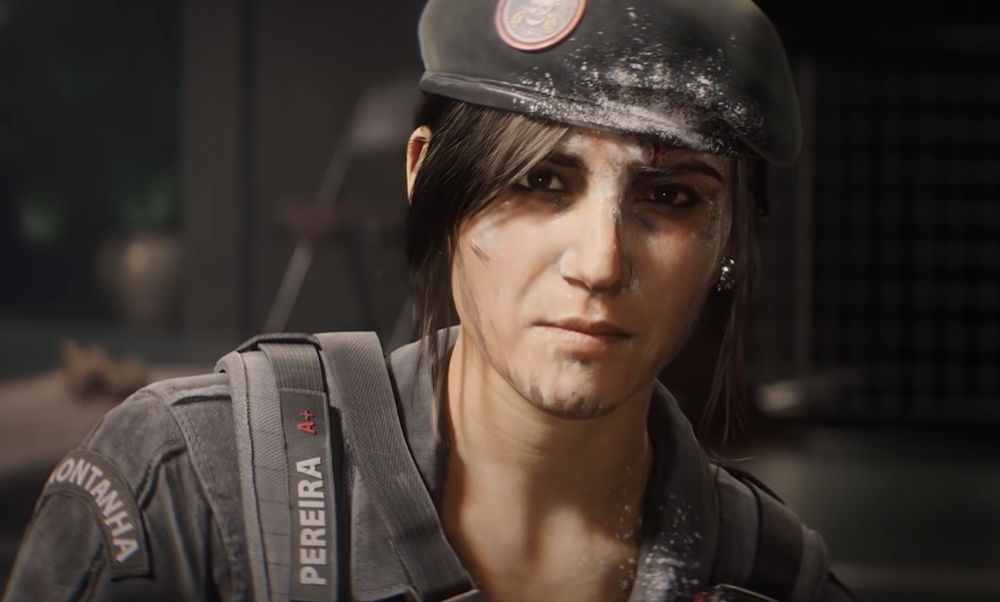
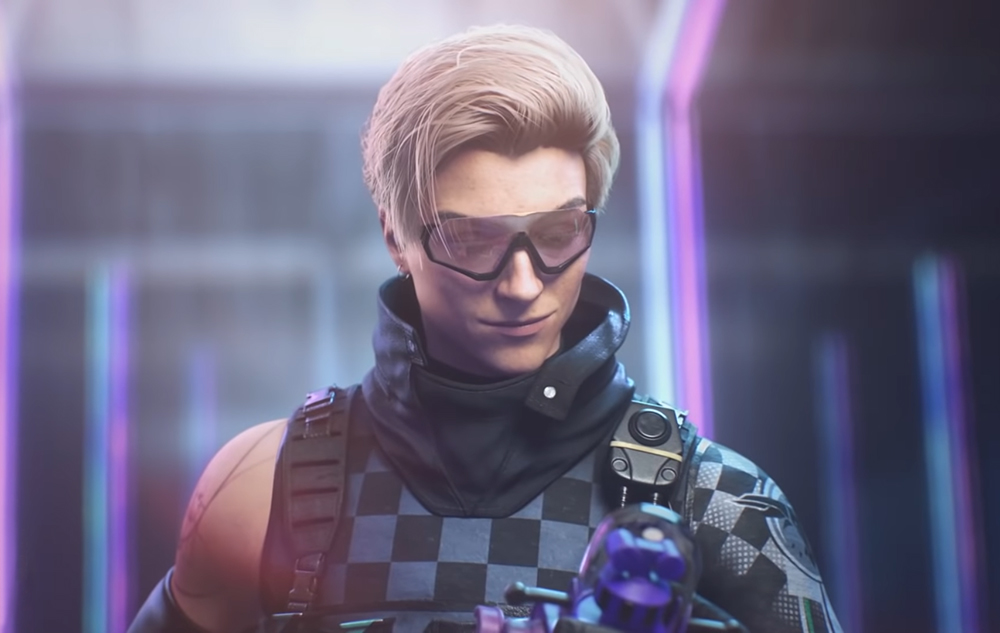
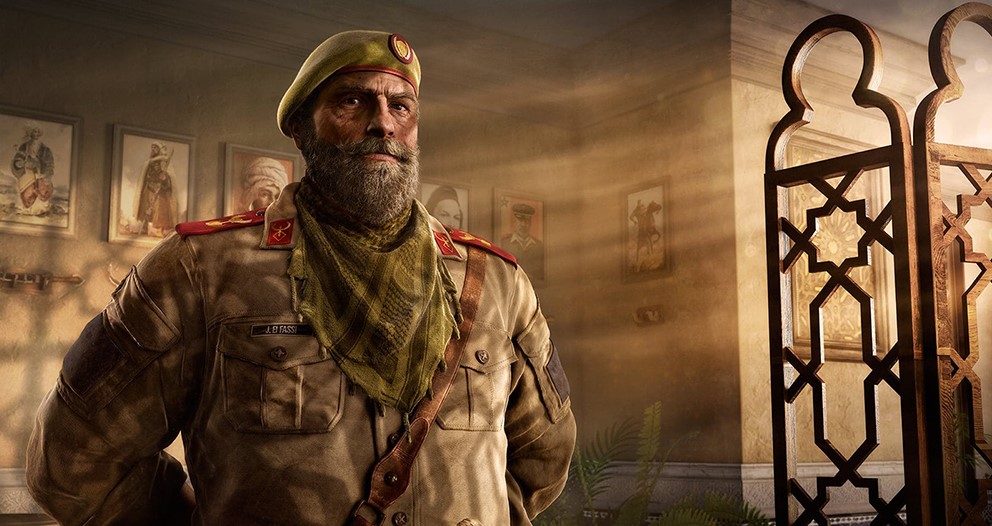
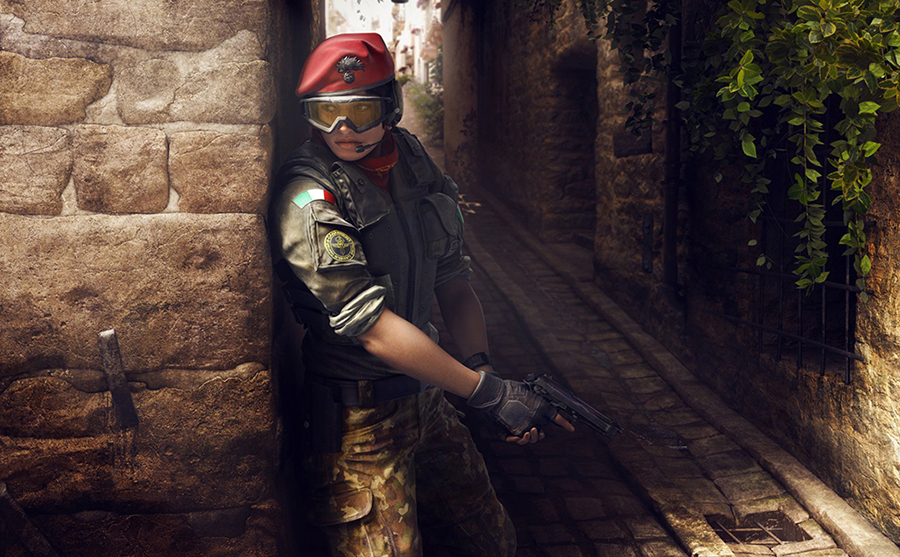
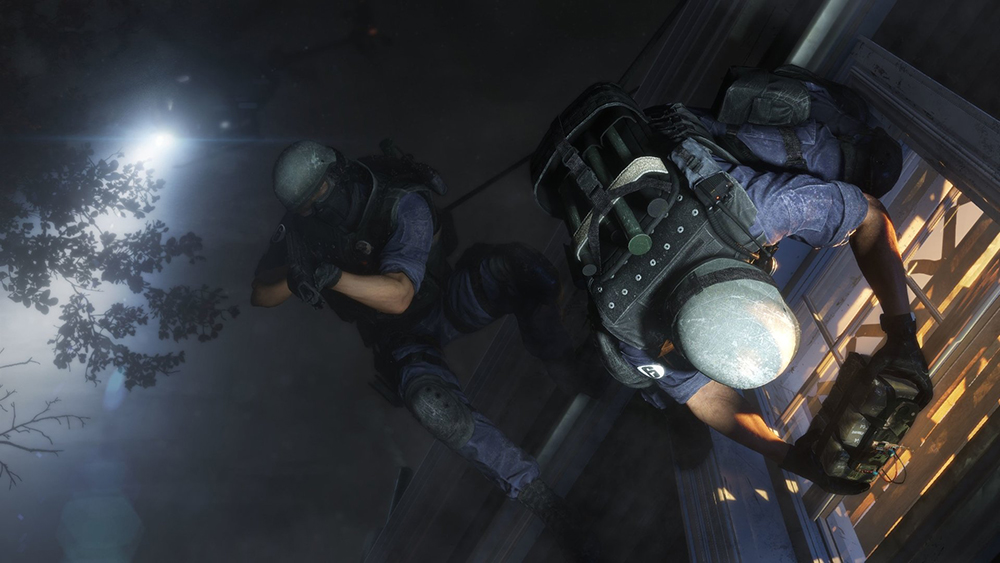
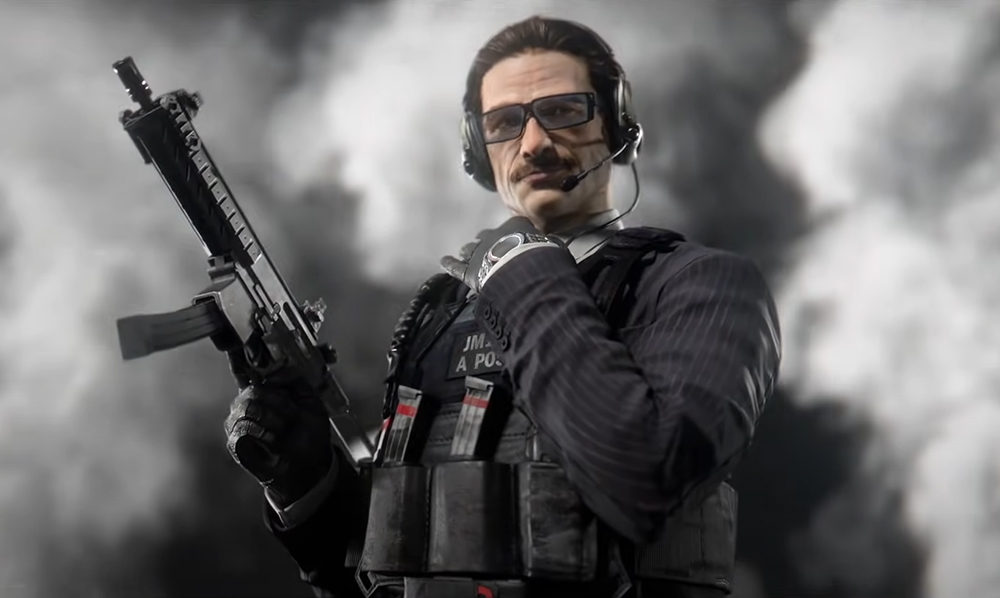
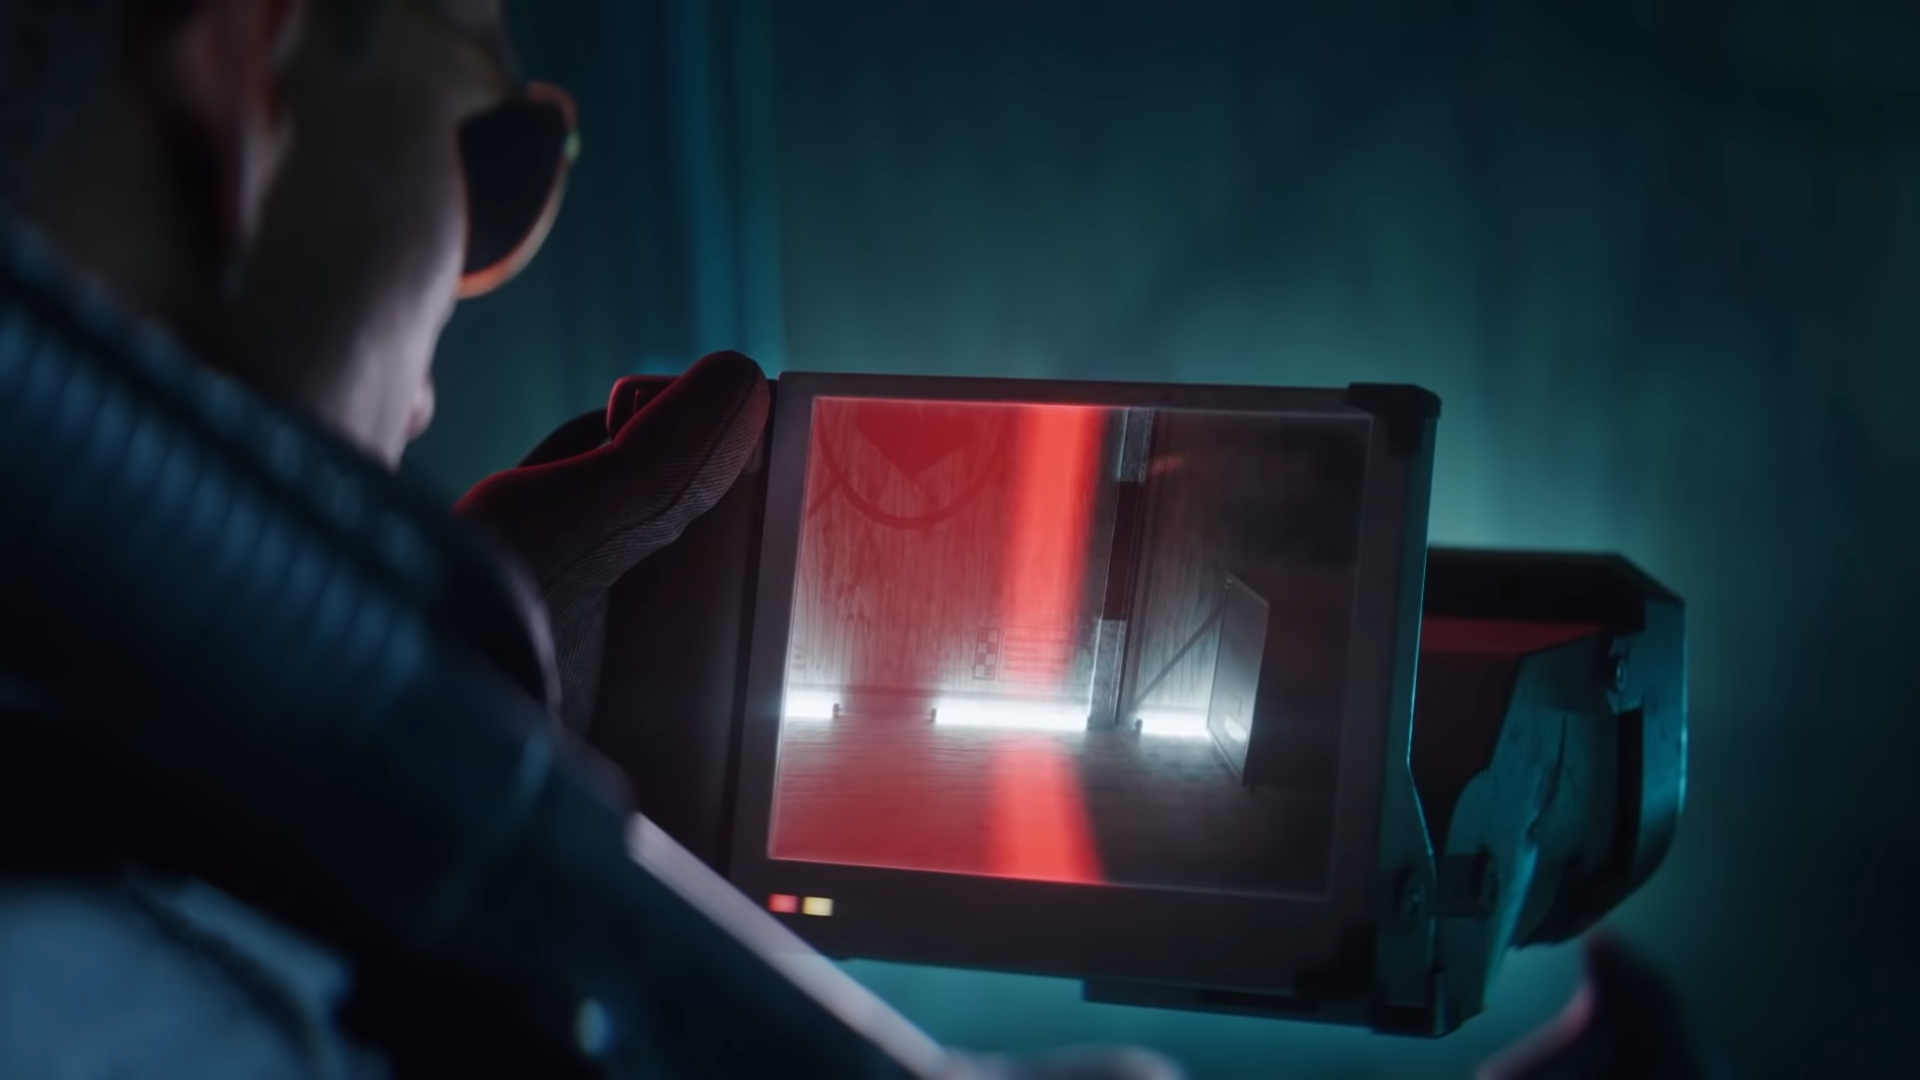
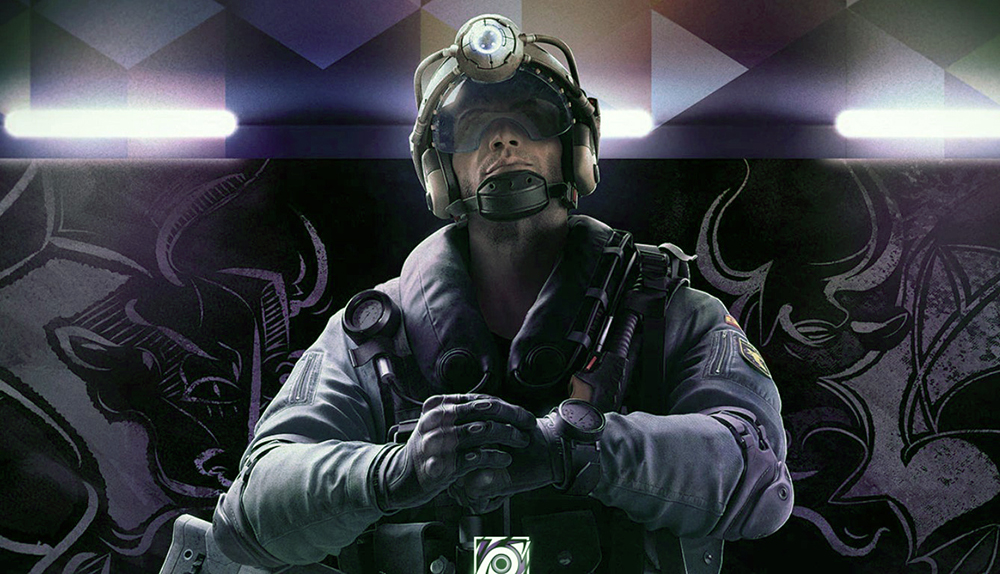
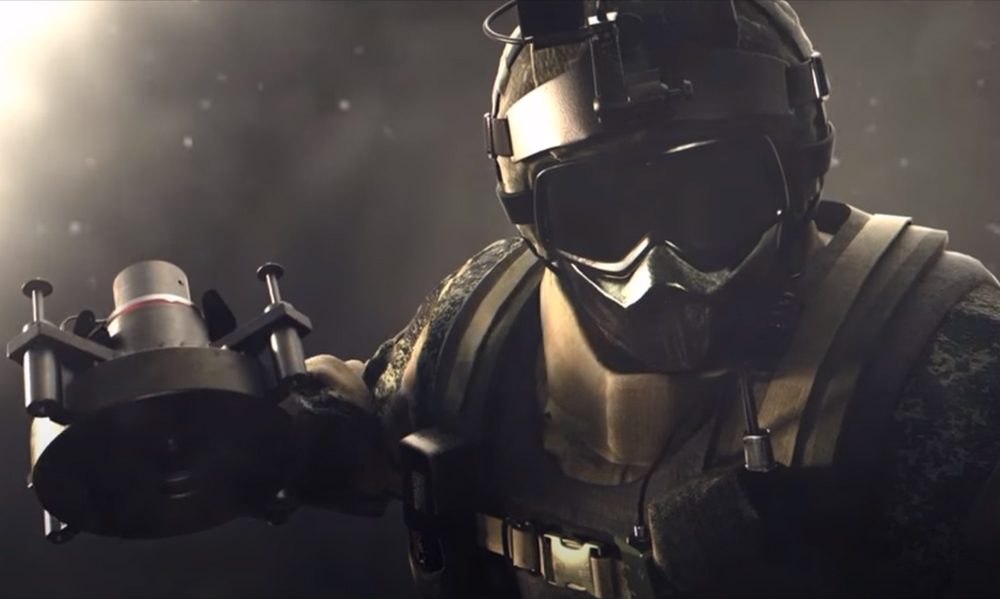
These two operators both have 3-armor ratings so they may be the slowest duo in this whole list, but their combo is one of the most unique because they don't even have to be side by side with each other to perform their combo. For starters, Fuze is a great vertical attacker, because through the wooden floor above objective spots, he can rain down explosives after explosives towards the defenders inside using his four Cluster Charges which releases five sub-grenades to the other side of the surface they're attached to.
That is a really great way to instill panic on the defenders inside the objective spot and destroy a lot of their utilities. However, its weakness is, Fuze doesn't have a visual below him. That's where Montagne comes in. Due to his Extendable Shield protecting most of his body from gunshots, he can push and gain some ground on the objective spot without getting damaged or killed. And while doing so, he can issue callouts to Fuze above about where the enemies and their gadgets are. The best thing is, Montagne can simply ping them so that Fuze will know the exact spot.
What Makes Montagne + Fuze Powerful:
- Montagne can get inside the objective spot and tell Fuze where to deploy his Cluster Charges by pinging the defenders
- Montagne can also advice Fuze on the location of vital defender utilities so that he can destroy them from above
- With Montagne and Fuze duo, the destruction from the Cluster Charges will be more precise and efficient
- Enemies will be facing a two-pronged attack with Montagne pushing horizontally and Fuze attacking vertically
- When the Fuze players chooses to, both Fuze and Montagne can be shield operators, making both of them much harder to kill
14. Lion + Amaru

This is one of the best operator combos that attackers can have because Lion and Amaru's special gadgets work so well together. First off, Amaru specializes in surprising enemies with her Garra Hook which she uses to pull herself towards the mission building's windows or ledges. This result is Amaru being able to get inside the objective spot in just a matter of seconds after the start of the action phase. Now the main problem with this is that when Amaru rushes to the objective spot, most of the time, she also does not know what to expect.
However, with Lion's EE-ONE-D scans, Amaru can have a pretty good picture of what's going on in the objective spot right before she bursts through one of its windows. That's because opponents who will keep moving while Lion's EE-ONE-D scan is on-going will get pinged for the whole attacking team to see. That makes most defenders stop from moving, and those that will not stop will be visible to Amaru through a ping. And that's what makes this operator duo very dangerous. The loud sound of the EE-ONE-D scan can also mask some of the sound coming from Amaru's Garra Hook, increasing the chances of surprising the defenders.
What Makes Lion + Amaru Powerful:
- Lion's EE-ONE-D scans will stop a lot of defenders from moving, making them easier targets for Amaru once she executes her rush
- The defenders that won't stop moving while Lion's EE-ONE-D scan is on-going will get pinged, so Amaru will also know where they are
- Lion's EE-ONE-D scans are pretty loud, and it has the tendency to mask the sound cue that Amaru's Garra hook makes
- Both operators have weapons that has a huge magazine capacity, allowing them lay down suppressive fire on enemies for a long time
- Both operators are highly versatile and has access to utilities like the gonne-6 that are excellent for disabling enemy utilities
13. Jager + Kaid
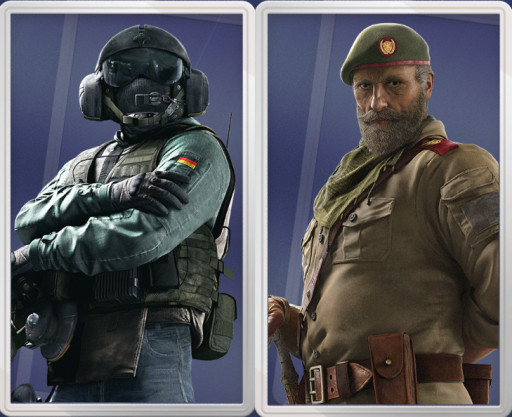
This operator duo may be the least flashy in this list, but their importance is top tier. That's because Jager and Kaid working hand in hand is essential in so many rounds because they're so effective in preventing hard breaching. With Thatcher still being banned most of the time, Kaid has become the best hard breach preventing defender, because his Electroclaw has a wide reach and can be attached to most surfaces. That means it can easily be out of reach by Maverick's Breaching Torch, Kali's LV Explosive Lance, and others.
However, Kaid's Electroclaw remains susceptible to explosions from frag grenades, and that's where Jager comes in. Jager's special gadget, the ADS-MKIV "Magpie", or just ADS for short, is great at supporting Kaid in preventing hard breaching. That's because it completely obliterates enemy projectiles in the air, so when it intercepts a frag grenade, it ensures that there won't be any kind of explosion that could potentially destroy the Electroclaw that is preventing attackers from performing a hard breach. This is very important because denying attackers from hard breaching means they'll be forced to take other paths of attack where it'll be easier to counter them.
What Makes Jager + Kaid Powerful:
- This operator duo is the best when it comes to preventing attackers from hard breaching due to their special gadgets
- Kaid will prevent attackers from hard breaching because his Electroclaws can electrocute reinforced walls and has a wide reach
- Jager's special gadget, the ADS, will prevent attackers from destroying Kaid's Electroclaws by neutralizing their frag grenades or other projectiles
- Also great at preventing attackers from performing vertical hard breaching even if they manage to perform a horizontal one
12. Thatcher + Thermite
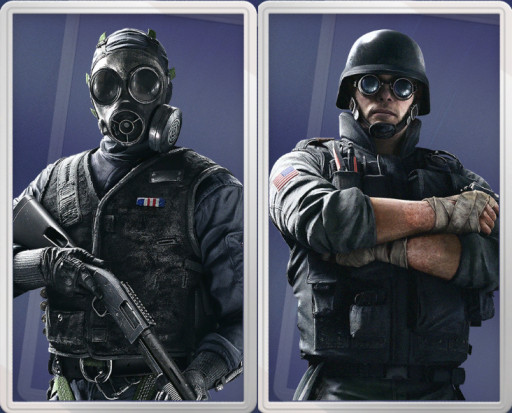
If the above duo specializes in preventing hard breaching, this operator combo does the opposite. To this day, these original operators are still the best when it comes to enabling a horizontal hard breach. Well, as long as Thatcher is not banned of course. That's because his EMP Grenades have a wide area of effect, so it's very hard for hard breach-prevention gadgets like Electroclaws, Shock Wires, or Mute's Signal Jammers to avoid being disabled. On top of that, Thatcher has three EMP Grenades, so even if Bandit on the other side knows how to "Bandit trick", it can be quite hard to time each EMP blast.
Once Thatcher's EMP Grenades start disabling the hard breach preventing devices on the other side, Thermite can go to work with his special gadget, the Exothermic Charge. It's the fastest working hard breach device in the game, so again, even if the defender's Bandit is good at "Bandit tricking", it'll be very hard to stop Thatcher and Thermite from performing a hard breach due to the speed of how their special gadgets work. Another great thing about Thermite's Exothermic Charge is that it destroys a wall completely. Meaning that for attackers to get through the breach, they won't need to vault or crouch.
What Makes Thatcher + Thermite Powerful:
- They're the best duo when it comes to performing hard breaching because of Thatcher's EMP Grenade and Thermite's Exothermic Charge
- Thatcher's EMP Grenade has a wide range so it's very hard for hard breaching preventing defender gadgets to avoid its effect
- Thermite's Exothermic Charge works faster than any hard breach devices in the game, making it much harder to "Bandit trick"
- Thatcher's EMP grenade doesn't only affect defender electronic gadgets, it even affects the enemies' aim because it disables their reticle
- Thermite's Exothermic Charge completely destroys the wall, so he and his teammates won't have to vault or crouch when they're penetrating the objective spot
11. Thorn + Ela
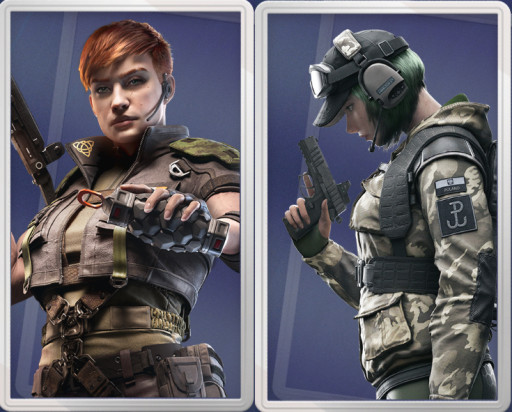
This operator duo has one of the best combos when it comes to anchoring the objective spot and stopping rushes. First off, Thorn's special gadget, the Razorbloom Shell, has an explosion power similar to that of a nitro cell and its short explosion countdown starts when an opponent steps into its radius. Of course, enemies who have fast reflexes can simply run away to avoid getting killed by the Razorbloom Shell's explosion, however, if they lose the ability to sprint and become so disoriented that telling which way is forward or back is difficult, it could be very difficult for them to avoid getting killed.
And that's where Ela's combo with Thorn comes in. Ela's Grzmot Mines when triggered by an enemy will inflict a very strong concussion effect on anyone that's within a six-meter radius. Of course, the concussion effect will be stronger the closer the operator is from the Grzmot Mine, and it will even prevent the operator from sprinting. So when deployed near Thorn's Razorbloom Shell, they become extra deadly, because it could be very hard to avoid getting caught in the explosion of a Razorbloom shell if you're unable to sprint and heavily disoriented
What Makes Thorn + Ela Powerful:
- They're both excellent at stopping rushes and disrupting the enemies' rhythm as well as instilling panic
- The Razorbloom and Grzmot Mine's combo can score some easy kills for the defenders because the Grzmot Mine will make attackers unable to sprint
- Both of their special gadgets aren't only great for scoring kills and maiming enemies, they're great early warning devices as well
- Thorn's Razorbloom Shell is a great utility for pushing back enemies on common flanking spots or defuser planting spots
- Ela's Grzmot Mines are very versatile, and it detonates immediately as soon as an enemy comes into its radius, therefore, it's easy to use it offensively as well
10. Dokkaebi + Amaru
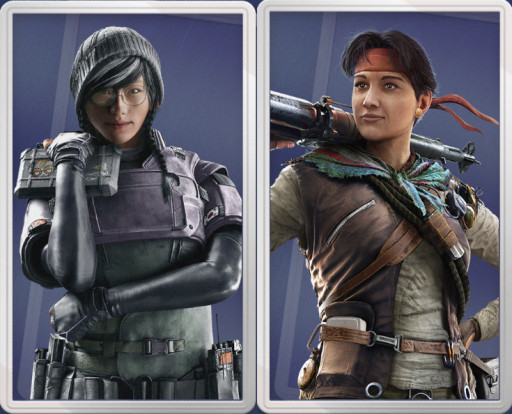
This is one of the best operator combos for rushing, if not the best, because as mentioned before, Amaru can get inside the objective spot in a matter of seconds, especially if it's on a higher floor. That's because her Garra Hooks can latch on the edge of windows, balconies, and roofs, and it pulls Amaru towards them. The mechanism from her Garra Hook allows Amaru to burst through one of the windows on the objective spot and kill defenders that are caught unawares, especially those who are still setting up the objective spot.
However, Amaru's biggest weakness is that her Garra Hook makes a lot of noise when she's being pulled by it. Because of this, defenders are able to anticipate her. And that's where Dokkaebi comes in. With her special gadget, the Logic Bomb, she hacks the defenders' mobile phones and makes them ring loudly. That ringing can mask the sound that the Garra Hook makes, and most importantly, it compromises the defenders' current locations, so after bursting through a window, there's a good chance that Amaru will have a good idea on where the enemies are, and that intel will greatly help her in engaging them.
What Makes Dokkaebi + Amaru Powerful:
- To cancel Dokkaebi's Logic Bomb, defenders will have to hold the observation tool button for a few seconds, and that could leave them off-guard to Amaru's rush
- Dokkaebi's Logic Bomb makes defenders' phones ring loudly, and that could mask the sound from Amaru's Garra Hook
- The loud ringing on the defenders' phones due to Dokkaebi's Logic Bomb will let Amaru know where the defenders are when she's rushing
- Due to the loud ringing from the defenders' mobile phones, they could also be slower to react to Amaru's rush
- Both Amaru and Dokkaebi have access to utilities that allow them to disable bulletproof defender gadgets
9. Sens + Capitao
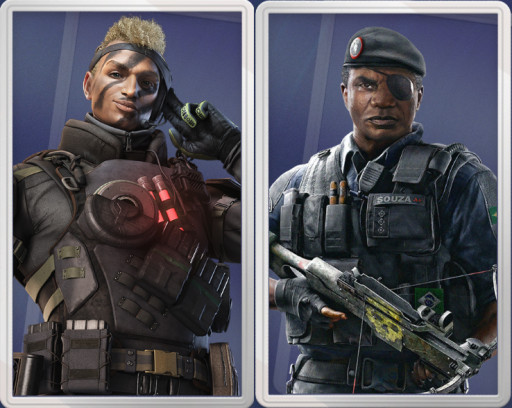
This is a terrifying operator duo when it comes to pushing and defuser plant plays. That's because both Sens' and Capitao's special gadgets specialize in it. With Sens' R.O.U. Projector System and Capitao's smoke grenades from his Tactical Crossbow, the attacking team will have a lot of cover to severely limit the defenders' visuals while pushing. This will greatly help the attackers gain a lot of ground in the objective spot and establish their positions for a defuser plant. And with Sens and Capitao, it would be very risky for defenders to swing the smoke grenades and R.O.U. Projectors Systems.
That's because Capitao, with the fire grenades that he can shoot with his Tactical Crossbow, can cover the area behind Sens' R.O.U. Projector Systems in flames. So if defenders try to push through the cover that Capitao and Sens provide, they can end up getting severely damaged by Capitao's fire grenades. Both Sens and Capitao also have claymores, making it a total of four claymores that they can use to guard their backs, counter roamers, and of course, they can also use those claymores for post-plant plays.
What Makes Sens + Capitao Powerful:
- Both attackers can provide a lot of cover for the attacking team when they're pushing and planting the defuser
- Sens' R.O.U. Projector System creates large walls of light that obstruct enemies' vision and Capitao can deploy his fire grenades behind them, preventing enemies from swinging the walls of light
- Both Sens and Capitao have access to claymores which will protect them and their whole team from roamers and flankers
- With Capitao and Sens timing the use of their special gadgets well, they can obstruct the enemies' vision for a long time
- Both Sens and Capitao have access to powerful assault rifles with low recoil and are great for suppressive fire
8. Thorn + Lesion
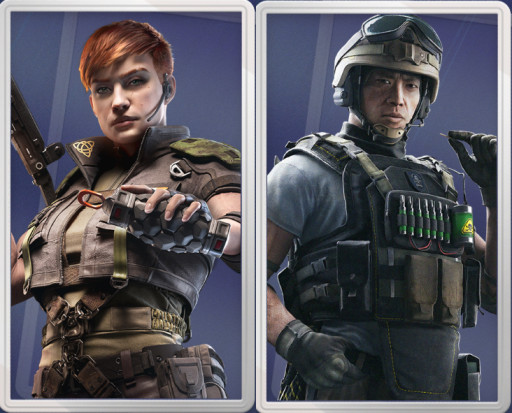
As mentioned in one of the entries above, without any obstacles or any status effects, it could be quite easy for players who have a fast reaction time to avoid the explosion from Thorn's Razorbloom Shell. That's because its countdown to explosion sound effect is quite loud and there's an on-screen indicator on the enemy's screen that a Razorbloom Shell has been triggered. However, it's a different matter when the enemy has been effectively slowed down. With the status effect that prevents enemies from sprinting, once a Razorbloom Shell starts its countdown near them, it'll be very hard to avoid death.
And that's exactly what Lesion brings to this great operator combo. If placed near a Razorbloom Shell, once an enemy steps onto Lesion's Gu Mine, they would start getting damaged overtime due to the poison from it, and until they pull out the Gu Mine, they will keep getting damaged and unable to sprint. And this is why this is such a terrifying operator combo. And Lesion's Gu Mines are also good early warning devices. There would be times when Thorn can just simply throw one of her Razorbloom Shells towards an enemy who just stepped on a Gu Mine. That way, it'll be even harder for them to escape its explosion effect.
What Makes Thorn + Lesion Powerful:
- Their special gadget combo allows for defenders to get some easy kills without having to shoot at opponents
- When an attacker steps on a Lesion Gu Mine, they won't be able to sprint, and that would leave them susceptible to Thorn's Razorbloom Shell
- Both Thorn and Lesion's special gadget aren't just great at inflicting damage to enemies, they're great early warning devices too
- Both Thorn and Lesion are great at anchoring the objective spot and can redeploy their special gadgets when they have a better idea of where the enemies are attacking
7. Sens + Glaz
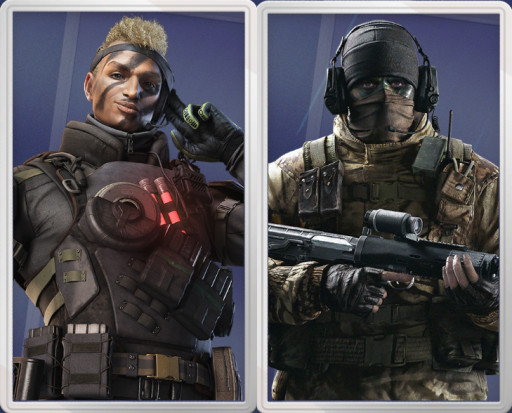
This operator duo is one of the trickiest in the list, especially when defenders have no idea that there's a Glaz on the attacking team. That's because Glaz's unique weapon, the OTs-03 marksman rifle, has a thermal flip sight which highlights enemies in a bright yellow hue, allowing Glaz to see them through smoke grenades easily. That thermal sight on the OTs-03 has the same effect for Sens's R.O.U. Projector Systems, and with it, Sens can provide much wider cover for the attacking team than with smoke grenades.
So when the defenders haven't detected Glaz on the other team and they see Sens' R.O.U. Projector Systems being deployed, a lot of them could peek or swing by the walls of light, not knowing that Glaz is seeing them clearly. This operator combo is even more effective when Glaz is using a suppressor on his OTs-03 because with a suppressor, they won't immediately realize that there's a Glaz on the attacking team through the gunshot sounds from his OTs-03 which is very recognizable without a suppressor. The suppressed OTs-03 also won't give enemies a directional threat indicator, so chances are, they won't be that effective in protecting themselves when swinging Sens' R.O.U. Projector Systems.
What Makes Sens + Glaz Powerful:
- The thermal scope on Glaz's OTs-03 marksman rifle allows him to see enemies through Sens' R.O.U. Projector System
- Both Sens and Glaz have claymores which will allow them to protect themselves from run outs or flankers while they're pushing
- Even when the thermal gauge on Glaz's OTs-03 runs out, the thermal never really goes below 0%, so he will always see enemies behind Sens' R.O.U. Projector System
- Sens's POF-9 has a huge magazine capacity making it perfect for suppressive fire on enemies behind the R.O.U. Projector System's wall of light
- Both Glaz and Sens have access to the gonne-6 hand cannon which will allow them to disable bulletproof defender gadgets
6. Dokkaebi + Lion
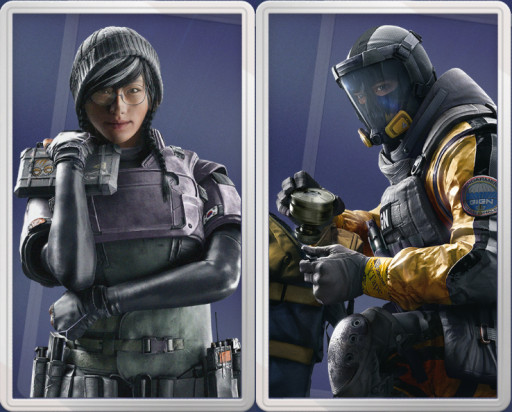
When it comes to gathering intel on enemy positions and interrupting their movements, this operator duo is the best. That's because both of their special gadgets are excellent at gathering intel and stopping enemies from moving. First off, we have Lion, whose EE-ONE-D scans are excellent in making enemies stop moving, because during the scan, if they don't stop from moving, they will get pinged, and that ping will be visible for the whole attacking team. That's why most defenders would choose to stop moving when a Lion EE-ONE-D scan is on-going.
On the other hand, Dokkaebi forces enemy mobile devices to ring loudly through her special gadget, the Logic Bomb. The loud ringing on their mobile devices gives away their locations, and if they want the ringing to stop faster, they'd have to hold the observation tool view button, and while canceling the Logic Bomb with that, they'll not be able to do anything for a few seconds. So when the attackers are pushing or are rushing, activating these two operators' special gadgets one after the other will really disrupt enemy movements and tell the attackers where they are
What Makes Dokkaebi + Lion Powerful:
- Both Dokkaebi and Lion's special gadgets are great when it comes to disrupting enemy movements and stopping them on their tracks
- Both Dokakei and Lion's special gadgets are great at intel gathering, especially at compromising enemy locations
- Both Dokkaebi and Lion have access to the gonne-6 hand cannon which will allow them to disable two pesky bulletproof defender gadgets
- Both Lion and Dokkaebi can bring stun grenades which are great for pushing the objective spot
- Dokkaebi and Lion can excel at any range, making them the one of the most versatile operator duos in the game
5. Frost + Thorn
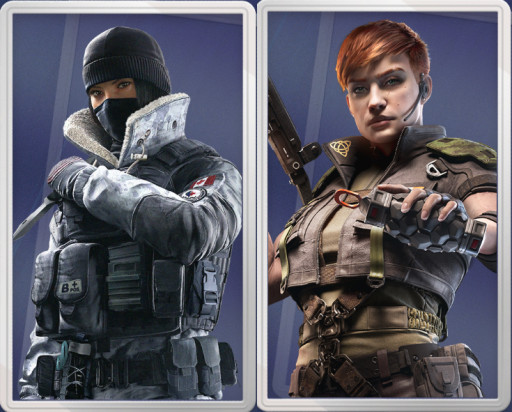
This operator duo specializes in anti-rush, trapping, and finishing opponents who were caught in their trap. That's because with Frost's special gadget, the Welcome Mat, she can trap opponents who step on them, and she has three of these Welcome Mats. Once trapped on a Welcome Mat, the attackers will be put in a down-but-not-out state, unable to do anything until another attacker rescues them or Finka revives them from a distance using her Adrenal Surge. Usually what happens though is that before they get rescued, they'd be finished off by Frost since she receives a notification when one of her Welcome Mats ensnares someone.
However, that can also be used against Frost because attackers can use their trapped teammates as bait to frag Frost. And that's where Thorn comes in. With her Razorbloom Shells placed near Frost's Welcome Mats, defenders won't even have to peek just to finish off trapped enemies. Once an attacker gets trapped on a Frost Mat, the counter from the Razorbloom Shell will start, and in just a few seconds, it will explode. If another attacker tries to rescue their trapped teammate, there's a high possibility that that other attacker will die from the explosion too.
What Makes Frost + Thorn Powerful:
- Once they set up their special gadgets next to each other, they're free to focus on shooting enemies while waiting for them to spring their trap
- Thorn's Razorbloom Shell is a proximity bomb, so when an opponent gets trapped by Frost's Welcome Mat near a Razorbloom Shell, it's almost a sure kill for the defenders
- Both Thorn and Frost's special gadgets aren't just great for killing enemies, they're great early warning devices as well
- Both Thorn and Frost have powerful submachine guns that has very low recoil and high damage
- Both Thorn and Frost have 2-armor and 2-health rating, allowing them to move fast while maintaining decent toughness
4. Melusi + Thorn
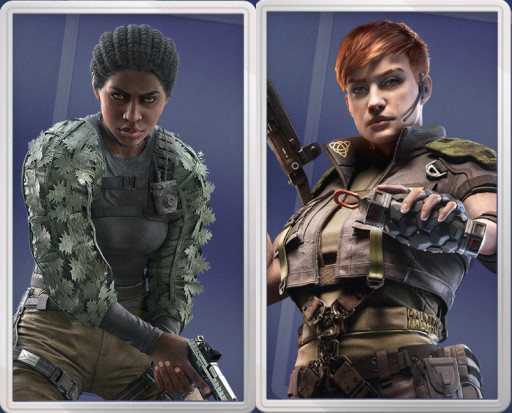
If being unable to sprint when Thorn's Razorbloom Shell started its countdown near means it'll be hard to avoid its explosion, being under the slow effects of Melusi's Banshee Sonic Defense is even worse. That's because it's the best special gadget in the game when it comes to slowing down enemies. So when you make the mistake of going inside the effect of one of Melusi's Banshees and a Thorn Razorbloom Shell has been deployed at the same spot, you better be able to shoot the Razorbloom Shell before it explodes, or you'll provide Thorn with an easy frag.
That's essentially what makes this operator combo one of the most dangerous duos in the game. Thorn doesn't even need to deploy her Razorbloom Shells at the same spot as Melusi's Banshees from the beginning. She could also wait until an attacker is being slowed by one of them, and then she can throw her Razorbloom Shell on that spot. That way, Thorn can prevent her Razorbloom Shells from being destroyed by IQ or other attackers who will notice it. Thorn even has access to the barbed wires which are great in supplementing the slow effects of Melusi's Banshees.
What Makes Melusi + Thorn Powerful:
- Melusi's Banshees are the best at slowing enemies down, so when Thorn's Razorbloom Shell is near it, it's almost a sure death for the attacker who will step on their radius
- Instead of deploying it early, Thorn can also throw her Razorbloom Shell at an attacker once they're being slowed by Melusi's Banshee
- Both Thorn and Melusi can move well while maintaining a good amount of toughness due to their 2-armor 2-health rating
- Both Melusi and Thorn are great at anchoring the objective spot due to their special gadget and utilities
3. Dokkaebi + IQ
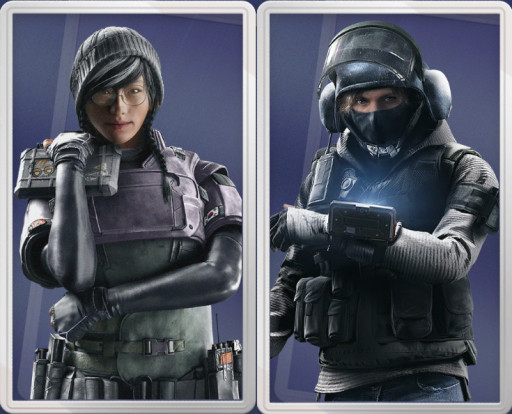
This operator duo is an intel gathering powerhouse combo. That's because IQ, with her special gadget, the Electronics Detector, can detect defender electronic gadgets in real-time. That includes mobile devices whenever they bring them out for using their observation tools. However, when Dokkaebi's Logic Bomb is active, the enemies' mobile devices will ring loudly and vibrate a lot. That would make them detectable through IQ's Electronics Detector even when they're still in the enemies' pockets. With the aid of Dokkaebi's Logic Bomb, it'll be like IQ has a wall hack.
The scary thing about this is that IQ can use her handgun while scanning enemy electronics gadgets. So when she detects enemies on the other side of an unreinforced wall through the ringing of their mobile phones due to Dokkaebi's Logic Bomb, she can simply wall bang them and score some easy kills. This strat is much more effective when IQ is using a suppressor on her handgun. That way, her gunshots won't create a directional threat indicator telling enemies where her shots are coming from, and that can prevent them from effectively protecting themselves or counter attacking.
What Makes Dokkaebi + IQ Powerful:
- IQ can detect enemy electronics in real-time, so when Dokkaebi activates her Logic Bomb, IQ will be able to see the real-time positions of enemies
- Both IQ and Dokkaebi specializes in intel gathering, IQ on gathering intel on their utilities, and Dokkaebi on their locations
- IQ has a 3-speed rating and Dokkaebi has 2, which makes them a great character duo at rushing or aggressive plays since they're fast
- When Dokkaebi activates her Logic Bomb and enemies are behind unreinforced walls, IQ can use her Electronics Detector to wall bang them
2. Mira + Azami
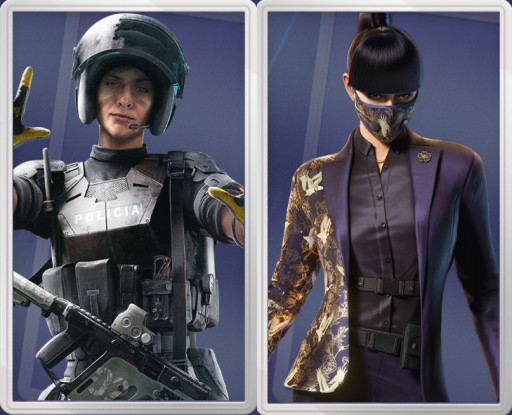
This is the strongest defender operator duo, and in many maps in Siege, it'll make it close to impossible to push certain areas. Mira alone already has that effect and that's why her ban rate is so high. Having Azami on her side will make that effect much stronger, and here's why. Normally, Mira attaches her Black Mirrors on reinforced walls in order to protect her lower parts from being wall banged. She just leaves the wall beside her Black Mirror unreinforced so that she can use that unreinforced wall to wall bang her enemies instead, using the the intel she's gathered from her Black Mirror.
However, with Azami around. Mira can attach her Black Mirror to an unreinforced wall and just have Azami make its bottom part bulletproof by deploying a Kiba Barrier there. With that, Mira will be free to destroy the upper part so that she can use it to hurl her nitro cell over to the enemies on the other side. In some areas, Mira can also deploy the Black Mirror much lower, and again, have Azami reinforce the bottom part with her Kiba Barrier. This way, Mira will be protected from shots to the legs and feet, and instead of quick leaning to wall bang enemies, she can just stand up to peek and frag enemies on the other side which is usually much easier to do than from the sides.
What Makes Mira + Azami Name Powerful:
- With this combo, Mira can attach her Black Mirror to an unreinforced wall because Azami's Kiba Barrier can make the bottom part bulletproof
- With their special gadget combo, Mira will be able to utilize the upper part of the wall for throwing her nitro cell to the enemies
- Azami's Kiba Barrier can also be used to reinforce the bottom part of the unreinforced wall beside Mira's Black Mirror, offering more protection
- Azami's Kiba Barrier can also be used for blocking pathways behind Mira's Black Mirror so whoever holding the Black Mirror don't have to worry about getting hit from the back
- Azami and Mira are great for anchoring the objective spot since Azami can provide more cover while Mira can prevent enemies from pushing two angles
1. Dokkaebi + Blitz
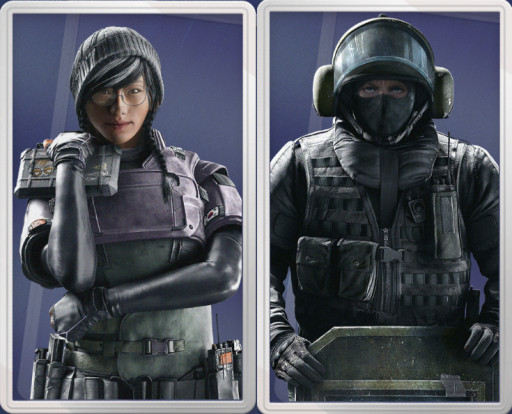
This is one of the scariest attacking operator duos, especially when it comes to rushing. That's because through the loud ringing from the defenders' mobile devices when Dokkaebi activates her Logic Bomb, Blitz will have a really good idea of where they are. That intel will tell him where to go and if there would be enemies on the sides so that he can avoid being fragged by them. The loud phone ringing from their phones can also prevent defenders from hearing Blitz charging at them. At the very least, it will definitely muffle a lot of the sound cues coming from him.
While Blitz is charging at enemies, Dokkaebi can provide great backline support through her Mk 14 EBR marksman rifle, especially since it has a very manageable recoil, and is highly customizable due to the wide variety of attachments available to it. When the Mk 14 EBR needs to reload and there are still enemies around, Dokkaebi can switch to the C75 Auto or the SMG-12 machine pistol. Both of these machine pistols can be considered as primary weapons themselves due to their high damage per shot and high rate of fire. She also has access to the gonne-6 hand cannon which she can use to disable a pesky enemy bulletproof gadget that would hinder Blitz from pushing.
What Makes Dokkaebi + Blitz Name Powerful:
- One of the best combos for rushing and pushing because Blitz will be able to tell the location of the enemies through Dokkaebi's Logic Bomb
- Dokkaebi's Logic Bomb will cause a lot of distraction to enemies, preventing them from dealing with the charging Blitz more effectively
- Dokkaebi's marksman rifle and machine pistols will allow her to provide great backline support while Blitz is charging at enemies
- A lot of times, the loud ringing from their mobile phones due to Dokkaebi's Logic Bomb will make it hard for defenders to hear Blitz
- Both Blitz and Dokkaebi have access to smoke grenades, allowing them to provide a lot of cover for their rush and defuser plant plays
Attention operator, please be advised. There is a new directive from Six. Read up on these related articles, and prepare for deployment:

