10. Prisma
https://youtu.be/eHinvT9VHQ4?t=362
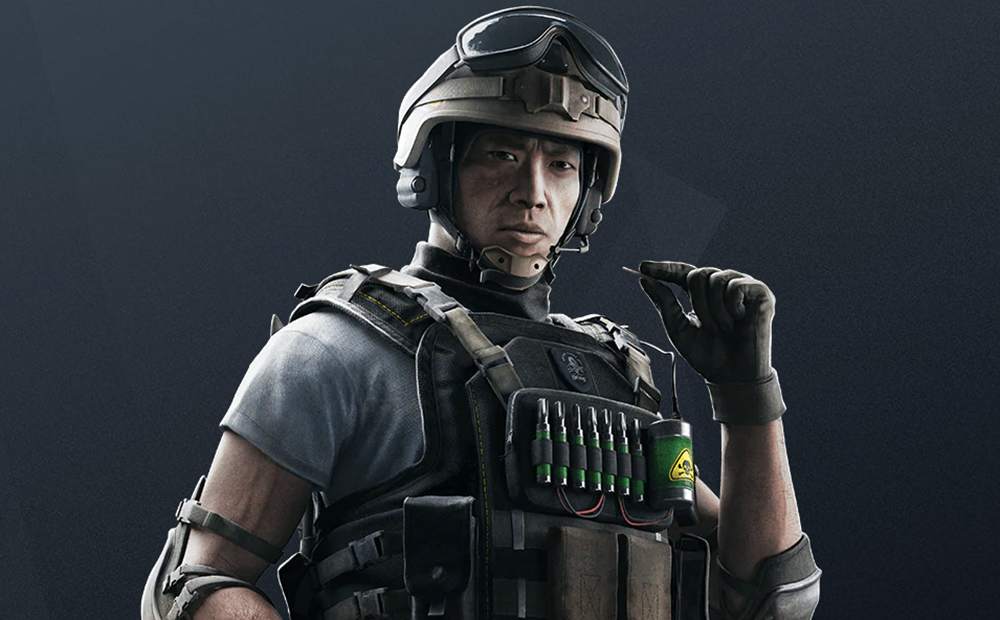
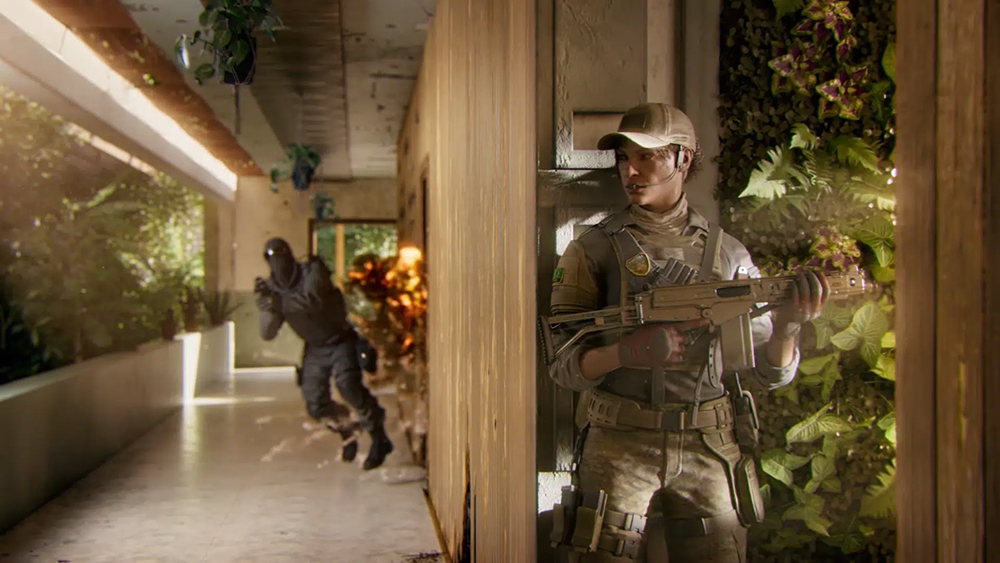
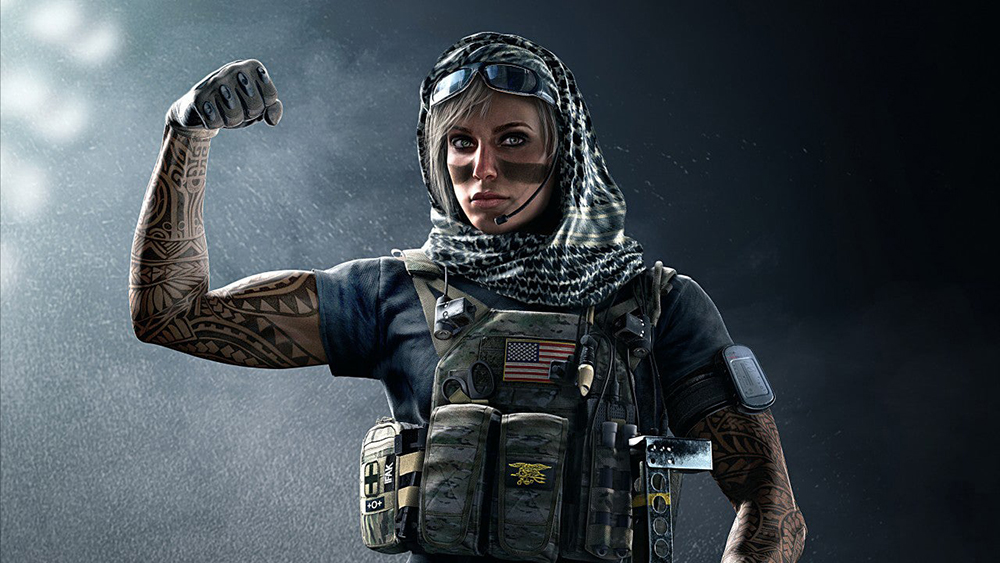
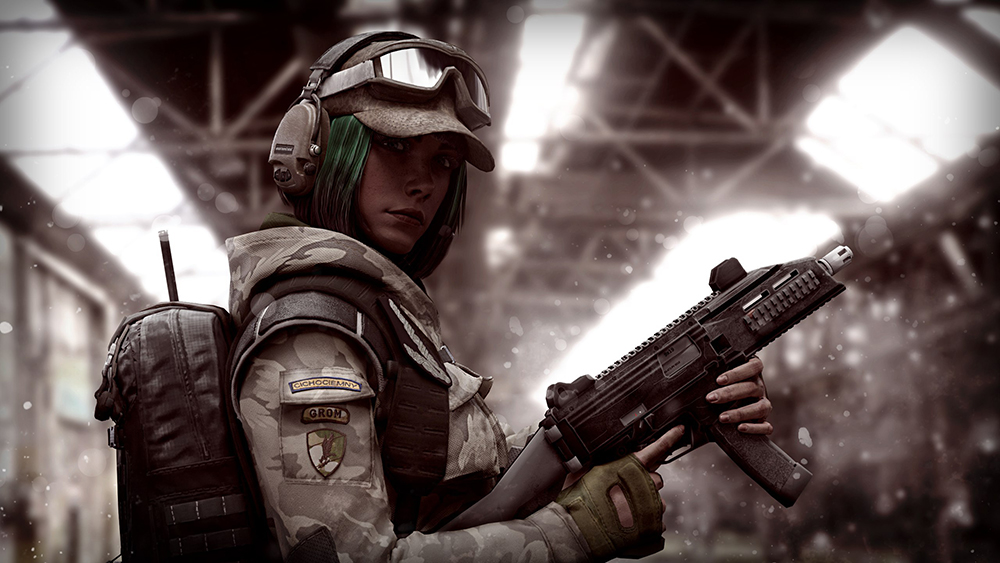
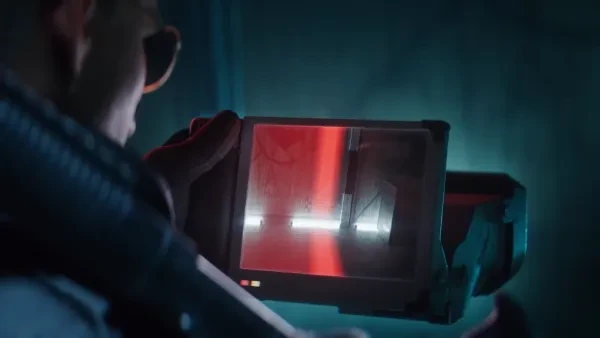
Alibi’s special gadget is one of the most troublesome defender utilities, well, troublesome for the attackers at least. That’s because it can do a lot of things aside from its main purpose. The Prisma produces three holographic clones of Alibi, and as clones, they look exactly like her. Its main purpose is to confuse and gather intel on enemies. That’s because anything that comes from an attacker that touches any of the holographic Alibi clones will result in a tracker being activated on that particular attacker, and that tracker is basically a ping that will last several seconds.
That ping will be visible to the whole attacking team, and since it lasts quite long, it can really ruin the attacker’s momentum and make them hesitant. That is of course because they know that the whole defending team has a good grasp on where they are. For that reason, Alibi can greatly discourage enemies from going through windows by putting her Prisma holographic clones behind them. And they look exactly like her, she can capitalize on the confusion that they bring by quickly substituting herself to a holographic clone that just got shot. That way, when the opponent peeks again, they’d have no idea that the real thing just took the place of the holographic clone that they just shot.
What makes the Prisma great:
- It’s a great defender special gadget for gathering intel on enemies because there’s a high likelihood that opponents will shoot them and that’ll activate its tracker
- They’re great for discouraging enemies from vaulting through windows because they know that if they continue vaulting and touch the Prisma behind it, they’ll get pinged
- It’s a great utility for baiting opponents with the Alibi substitution technique wherein she quickly takes the place of a Prisma that just got shot by the enemy
- If Alibi places one of the Prisma holographic clones outside the map, it’ll result into a warning message on the opponents’ screens that a defender is outside, and that could distract them a lot
Item Stats:
- Deploys holograms of Alibi and tags hostiles when fired upon
- Alibi has three Prismas
- Its tracing function will ping an attacker if they:
- Shoot the Prisma
- Their drones touch the Prisma
- Their own body touches the Prisma
- Any projectile from them passes through the Prisma
- Tracking function will result into a five second ping
9. Evil Eye
https://youtu.be/xrHaRDzWpvM?t=46
This defender special gadget probably has the most appropriate name in the game, because if you’re an attacker trying to push the objective spot, this utility can make it feel like hell. That’s because Maestro’s Evil Eye can shoot lasers that can damage attackers and destroy their gadgets. It’s vulnerable to being disabled by gunfire when its front is open and it’s shooting lasers, but it can easily close up and be bulletproof again. Its protective bulletproof glass can be shattered by a melee attack, but if Maestro puts it up, the attacker won’t be able to reach it.
And that’s why the Evil Eye is one of the best defender gadgets around. Because it can fire its lasers rapidly, and can really damage an attacker a lot. It’s a great utility for countering defuser plant attempts, especially since it can see through smoke grenades with its thermal sight. The only way to disable them really is through the melee attack on its glass barrier which I mentioned earlier and using explosives to destroy them. That means that for the attackers to disable Maestro’s two Evil Eyes, they’d have to use their utilities as well, or risk a lot with a melee attack.
What makes the Evil Eye great:
- It can provide a wide view of an area, making it a great defender gadget when it comes to surveillance, especially since Maestro has two of them
- It can shoot lasers and they can be fired rapidly, so while the individual lasers don’t do much damage, the damage can really accumulate and hurt attackers, especially when they’re planting the defuser
- It has a thermal sight which allows Maestro to see attackers pushing the objective spot through the cover of smoke grenades
- It’s one of the best defender utilities for destroying attacker gadgets because its lasers can disable most of them and attackers usually don’t see the Evil Eye until it shoots its lasers
Item Stats:
- A remote-controlled bulletproof camera armed with a high-energy laser
- Maestro has two Evil Eyes
- Its laser deals 5 damage per shot
- It can fire 20 shots before it overheats
- When it overheats, it takes 5 seconds for it to recover and cool down
- It takes one second to open or close the Evil Eye
8. SPEC-IO Electro Sensor
https://youtu.be/xikxYqkj3wY?t=47
This is one of the newest additions to the game and really has a big effect on its gameplay dynamics. The SPEC-IO Electro Sensor, or just “Electro Sensor” for short, is Solis’ special gadget, and it allows her to scan and detect enemy electronic gadgets. This is a very useful gadget for the whole defending team because Siege’s gameplay heavily revolves around the use of gadgets, and most of them are made up of electronics. So if the attackers thought that they were able to leave some drones in some sneaky areas for added surveillance, they thought wrong, because Solis could easily find them.
What’s more is that Solis can cast the scan from her Electro Sensor to the whole defending team’s view, so they would also be able to see the enemy electronics that Solis detected. This is very useful at countering the attackers because the presence of their utilities will give the defending team a good idea on their positioning. This is also an excellent utility for run outs because usually, attackers will use their drone when they’re outside the objective spot, but their observation tool is also made up of electronics, so Solis will know if they’re in drone mode and if it’s safe to run out and kill them, since she will also be able to know if they’re being protected by a claymore.
What makes the SPEC-IO Electro Sensor great:
- It allows Solis to detect and scan attacker utilities that are made of electronics, and most of gadgets in this game are
- Because of this special gadget, it’s very hard for attackers to place their drones on sneaky spots near the objective spot for surveillance as Solis will be able to detect them
- This special gadget allows Solis to cast the electronics she detected to her whole team’s view, making them aware of the enemy electronics’ positioning
- It makes Solis one of the best operators for run outs because she will know if the enemies outside are using their drones and if they’re being protected by claymores
Item Stats:
- Device that identifies opponent electronic devices, then scans them to ping their locations
- Any attacker electronic gadget can be scanned and pinged
- Its detection range is 15 meters
7. Banshee Sonic Defense
https://youtu.be/0nNQB6qFP5k?t=67
It’s been quite some time since Melusi joined Team Rainbow, but to this day, her Banshee Sonic Defense remains to be one of the most troublesome special gadgets around. Well, troublesome for the attackers, but highly beneficial to the defenders. That’s because her Banshees serve a lot of purpose, and it’s actually very hard for attackers to penetrate the objective spot without alerting the defenders when Melusi’s Banshees are present. That's because they emit a loud noise when enemies enter their radius and that sound is usually enough to alert the defenders.
But that sound is only another effect of Melusi’s Banshee Sonic Defense. The Banshee’s main effect really is to slow any attacker that enters its radius, and that slow effect from the Banshee is one of the strongest slow effects in the game, perhaps second only or on par with the slow effects from Clash’s CCE Shield. To top this all off, Melusi has three Banshees, and that’s usually enough to cover most entrances to the objective spot. The Banshee can also only be destroyed by explosives or shooting at its top part when it’s active, and that’s why even if attackers disable it, they would probably still be alerting the defenders.
What makes the Banshee Sonic Defense great:
- Melusi has three Banshee Sonic Defense and that’s usually enough to guard most entrances to the objective spot, so with the Banshees around, the objective spot is very well protected
- The Banshee will greatly slow attackers when they enter its radius and its slow effects are one of the strongest in the game, and it will be very hard to move when you’re close to a Banshee
- The Banshee emits a loud sound when it’s actively slowing an attacker, and that loud sound is usually enough to alert the defenders around
- The only way to disable the Banshee is through explosives or shooting its top part when its active, so it makes attackers use up their explosive utilities and give away their positions
Item Stats:
- Deployable device with a bulletproof shell and exposed center that emits sound to slow down opponents in range
- Melusi has three Banshees
- Its effect radius starts at 4 meters
- At 3-4 meters, the Banshee will put the opponent at 75% of its movement speed
- At 2 meters, the Banshee will reduce the opponent’s movement speed by 50%
6. Black Eye
https://youtu.be/FYK-S60BlU8?t=382
Valkyrie’s Evil Eye is one of the best defender gadgets because intel plays a huge part in Siege’s gameplay, and usually, the team that handles intel better is the one that wins. That’s because Siege isn’t like most other multiplayer shooters out there where the players with the better aim always win. In Siege, strategy is very important, but without intel, you can’t really make strategic plays or adjust to the strategy of your opponents. As for intel gathering when you’re playing as a defender, Valkyrie is one of the best, and that’s because of her Black Eye.
The Black Eye is basically a small camera that can be attached to most surfaces, and Valkyrie has three of them. They’re capable of providing a full 180-degree view of the surroundings depending on how they were deployed. Similar to other cameras in the game, when a Black Eye is being used, it will emit light, so when it’s not active, it could be quite hard to find. And since there are three of them and each of them can provide a wide view of the surroundings, so they’re really excellent utilities for gathering intel. The Black Eyes also really make it worthwhile for any dead defenders to watch the remaining cameras and advise their teammates.
What makes the Black Eye great:
- They can provide a full 180-degree view of the surroundings especially when deployed on a surface with no objects that can obstruct their view
- They’re quite small in size so they’re very hard to find especially when they’re not being actively used as they won’t emit any light
- They’re compatible to most surfaces in the game so the user can really be creative when it comes to their deployment and place them in very hard to find places
- Like all cameras in the game, they can be used by dead defenders, and that’s a really powerful way for them to contribute even when they’ve been taken out
Item Stats:
- Can set up “Black Eye cameras, feed accessible by whole team via observation tools
- Valkyrie has three Black Eye cameras
- Its throwing profile is similar to normal grenades
- Can be attached to most surfaces and also retrievable
- Can provide defenders a 180-degree view of the surroundings
- Its feed will be gone after 10 seconds of being outside the mission building
5. Armor Pack
https://youtu.be/ECcOETmFyMI?t=79
Rook’s Armor Pack, as its name implies, is a pack containing armor plates, and everyone who wears it will have more health points. Sounds pretty simple and straightforward, but its simplicity is what makes it so great. Because it means that all Rook has to do is to drop it on the ground and let his teammates get their armor plates, and with that simple action, he’s already helping the whole team a lot. The added health rating makes the defenders much tougher, and unless they get shot in the head, there’s a high probability that they’d be winning one-on-one encounters.
That's because they’d be able to endure more gunshots while dishing out their own damage. On top of that, the armor plates from Rook’s special gadget also adds the ability to revive themselves from a down-but-not-out state, effectively providing defenders a second chance. This is a really powerful perk to have, considering that all five defenders can have it as long as all five of them take their armor plates. So with Rook’s Armor Pack, not only will the whole defending team be much tougher, they can also revive themselves from a down-but-not-out state.
What makes the Armor Pack great:
- When Rook drops it to the ground, he equips it automatically, and everyone who takes their armor plates will have added health rating, effectively making them tougher
- The armor plates from Rook’s Armor Pack provides anyone who has equipped them the ability to revive themselves from a down-but-not-out state
- It’s very simple to use, it only takes one action for Rook to drop it to the ground and for him and his teammates to equip it, and that will already be a big benefit to the defending team
Item Stats:
- Drops a supply bag full of armor plates for his team to use
- It takes 3 seconds to equip Rook’s armor plate
- An armor plate provides 15% damage reduction
- Though it looks like a chest and back armor, the damage reduction is applied throughout the body except for the head
- Doubles the bleed out timer when in a down-but-not-out state
4. Remote Gas Grenade
https://youtu.be/paY_PNwNWZ8?t=11
The Remote Gas Grenade is one of the best area-denial devices in the game, and area-denial plays such a huge role in Siege. That’s because in most cases, the team who’s able to get the better position wins, so to be able to deny the attackers positioning is a really powerful ability. So what separates the Remote Gas Grenade from other area-denial utilities in the game? It’s the fact that its user, Smoke, can go inside its effects without being harmed by it. That’s a great perk to have because Smoke can use it not just for area-denial but also for outmaneuvering the attackers.
So picture this, when attackers have taken over a certain spot for a defuser plant attempt, Smoke can disperse them using his Remote Gas Grenade, and as soon as they begin backing out, Smoke can take over the area while the Gas Grenade is still in the air. And unlike most area-denial devices in the game, Smoke’s Remote Gas Grenade creates a big cloud and it can also obstruct vision. This could make it hard for enemies to see Smoke inside the effects of the Remote Gas Grenade, and he can use it as cover or fragging them.
What makes the Remote Gas Grenade great:
- It quickly damages enemies who enters its radius, making it one of the best defender utilities when it comes to denying area to attackers
- Its user, Smoke, can enter its radius while it’s still popping out gas, making it an excellent gadget for outmaneuvering enemies and taking areas back from them
- It creates a huge cloud of poisonous chemical gas that can also obstruct vision, allowing Smoke to use it as cover for fragging enemies
- They’re quite small so they’re hard to notice, and Smoke can pre-deploy them on one spot so that when enemies push that spot, all Smoke has to do is to detonate it
Item Stats:
- Sets remote detonated toxic gas charges
- Smoke has 3 gas grenades
- The gas cloud’s radius is 5 meters
- It deals 15 every two-thirds of a second
- Can take a full health operator in just 3 seconds
- It takes 10 seconds before the gas cloud dissipates
3. Rtila Electroclaw
https://youtu.be/MP6xP5wYc_s?t=60
If denying area to your enemies is important, it’s even more important to prevent them from performing a hard breach in many areas of the game. That’s because if, like in many basements of the game, the objective spot has a wall that leads to the outside of the mission building, it’s very important to protect that wall from being breached. Since if that wall is breached, the attackers will find it much easier to push through the objective spot and plant the defuser. It will be like they’ve already won the first few steps.
And the best defender gadget for preventing attackers from hard breaching is Kaid’s Rtila Electroclaw. That’s because it has a wide radius, so the user can get quite creative when deploying it. One Electroclaw can electrocute three reinforced walls when placed on the right angle, and when the user really knows what they’re doing, they can deploy the two Electroclaws in Kaid’s arsenal to spots where it would be very hard to disable them even with the new impact EMP grenades. The user can also use it to electrocute barbed wires and deployable shields to make it much harder for enemies to get through an entryway.
What makes the Rtila Electroclaw great:
- To this day, it’s the best defender gadget when it comes to preventing attackers from performing a hard breach due to its wide radius
- It’s also still the only defender gadget that is capable of preventing attackers from performing hard breaching on reinforced hatches above objective spots
- It can electrocute barbed wires and deployable gadgets, and that will damage attackers who will try to destroy them, making at least one spot of the map very hard to push
- Due to its wide radius, the user can get really creative on its deployment, and when they deploy it on hard-to-reach angles, even impact EMP grenades can have a hard time disabling them
Item Stats:
- Electrifies reinforced walls and hatches, barbed wire, and deployable shields in its affected area
- Kaid has two Electroclaws
- It has a radius of 1.4 meters
- Its effective radius goes through surfaces, even unbreakable ones
- It takes 4 seconds to completely electrify affected objects
2. Mag-NET System
https://youtu.be/vhlQc2V_72s?t=51
Another important part of defending is defending against projectiles, because without anti-projectile utilities, it’ll be too easy for the attackers to kill defenders with frag grenades, and push through the objective spot and plant the defuser with the aid of smoke grenades. And when it comes to anti-projectile utilities, Wamai’s Mag-NET is the best. For the whole round, Wamai could deploy up to six Mag-NETs, and that number is the reason why it’s the best for countering enemy projectiles. Mag-NETs can be attached to most surfaces in the game so it’s quite easy to deploy them.
While the drawback to using the Mag-NET for countering enemy projectiles instead of Jager’s ADS is that the Mag-NET doesn’t completely destroy some of them, it’s still the best anti-projectile utility in the game, and that’s because Wamai can just keep them in his inventory until he has a better idea of where the enemies are going to push. That way, he won’t end up wasting them by deploying them to spots that the enemies won’t even take. The Mag-NETs will also create a loud sound when they’re pulling enemy projectiles, making them great early warning devices too.
What makes the Mag-NET System great:
- Wamai can deploy a total of eight Mag-NETs per round and because of that, the defenders can really make a lot of attacker projectiles useless
- Since they become available to Wamai through cooldown and he can just keep them in his inventory, he can deploy them late and when he’s has more idea of where the attackers are pushing
- The Mag-NET creates a pretty distinct sound when it’s pulling an enemy projectile, and that loud sound is usually enough to warn defenders that attackers are trying to push at a certain spot
- They can be attached to most surfaces, making them very easy to deploy, and it allows the user to get creative when it comes to their deployment
Item Stats:
- Throwable device that sticks to a surface, captures an incoming projectile, then detonates it and self-destructs
- Wamai starts with one Mag-NET and gains another every forty second
- Has an effective radius of 3.5 meters
- It also takes 3.5 seconds to neutralize a pulled projectile
- Wamai can neutralize up to six projectiles in total
1. Kiba Barrier
https://youtu.be/lpAtU-JGWCI?t=49
The Kiba Barrier is number one in this list because it’s the most versatile defender gadget. When you just see its name and item description, it can make it sound like the only thing it does is to provide more cover for defenders so that they can protect themselves better, and largely, that’s its main purpose. However, the Kiba Barrier can also be used for intel denial and area denial. That’s because it can be deployed to many surfaces in the map, and if the user knows what they’re doing or has a good amount of experience playing Azami, the Kiba Barriers will really have a high impact on the defenders’ chances of winning.
For its intel-denial capabilities, the Kiba Barrier can be used to block drone holes, effectively preventing attacker drones from entering. That’s very helpful, especially for preventing Twitch’s Shock Drones or Brava’s Kludge Drones from disabling or converting defender electronic gadgets. For area-denial, the user can deploy Azami’s Kiba Barriers to quickly block entrances, including broken hatches, or broken parts of the wall that have been breached. Of course, as mentioned before, its main purpose is to provide additional cover in order for defenders to protect themselves better from attacker gunshots.
What makes the Kiba Barrier great:
- It’s one of the most versatile defender gadgets around and is capable of doing many other things than its main purpose
- The Kiba Barrier provides the defending team with additional cover due to it being bulletproof and is excellent for reinforcing exposed areas
- It can be used for intel denial by deploying it on drone holes in order to prevent attacker drones from entering the objective spot
- It can be used for area denial as well because it can be used to block doors, windows, and even broken hatches and walls.
Item Stats:
- Throwable devices that sticks to surfaces and releases a gas that solidifies to create a bulletproof barrier
- It takes 3 melee hits to destroy a Kiba Barrier
- Azami can deploy a total of five Kiba Barriers per round
Attention operator, please be advised. There is a new directive from Six. Read up on these related articles, and prepare for deployment:

