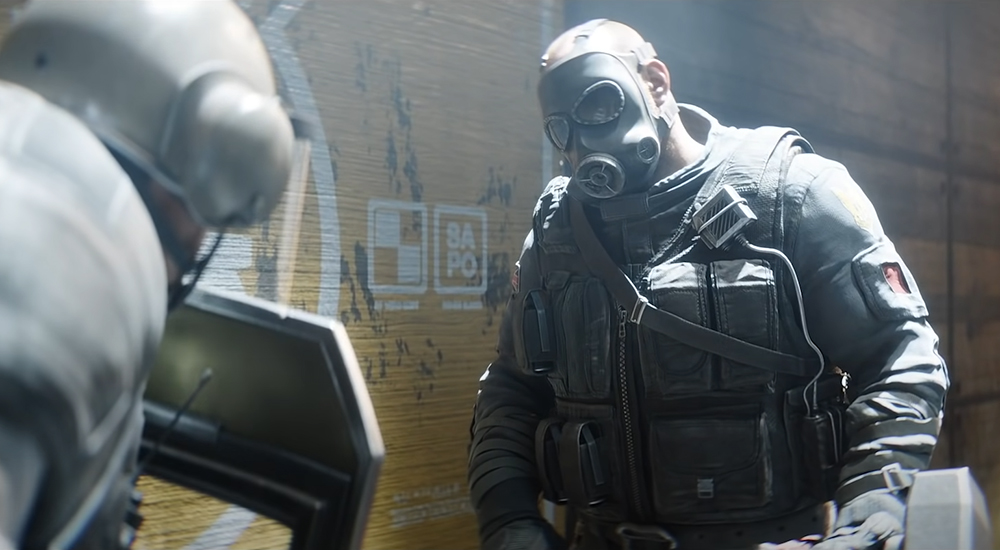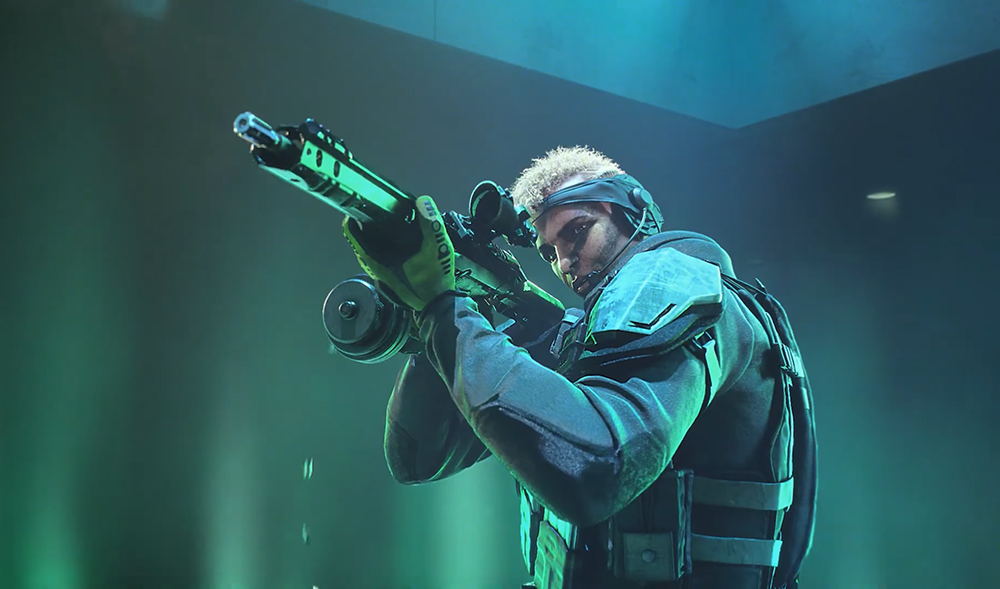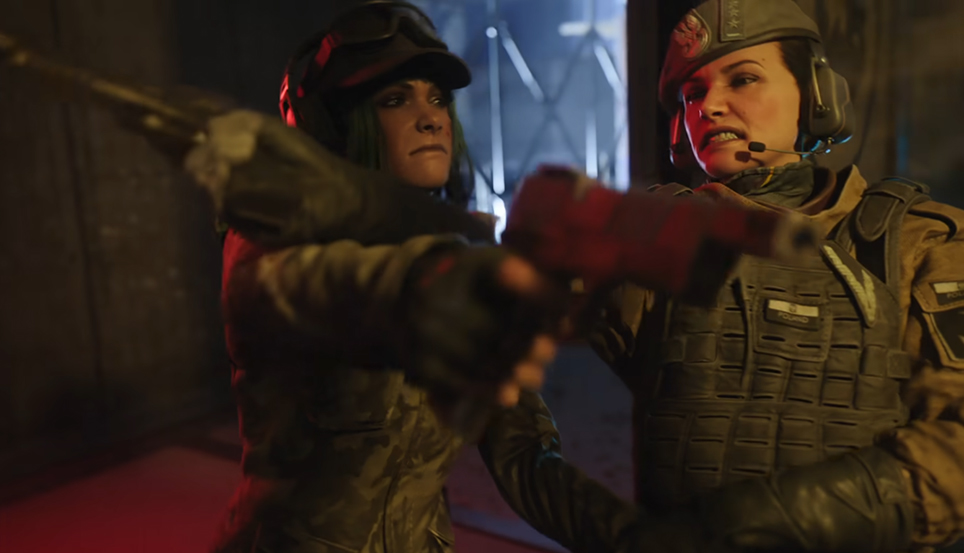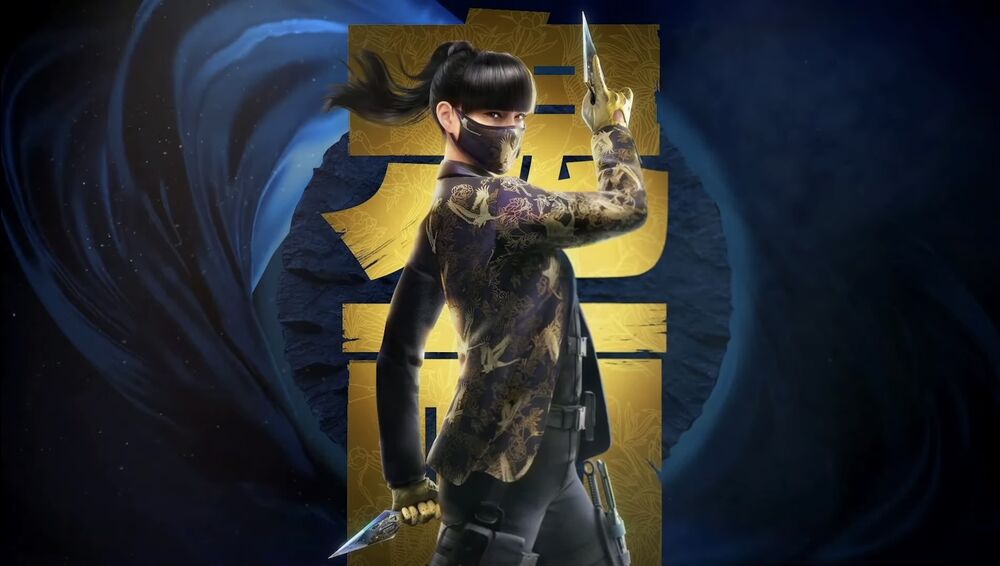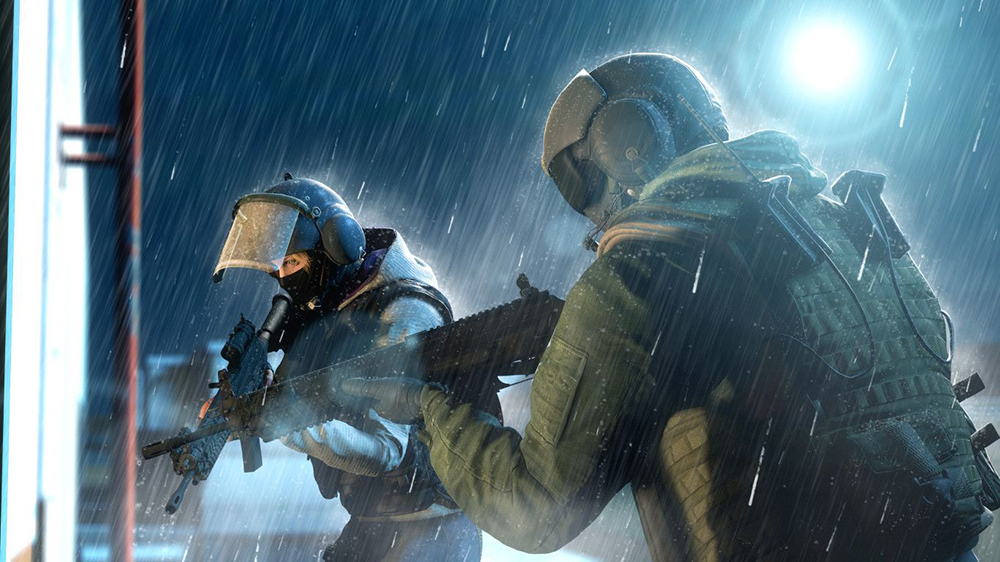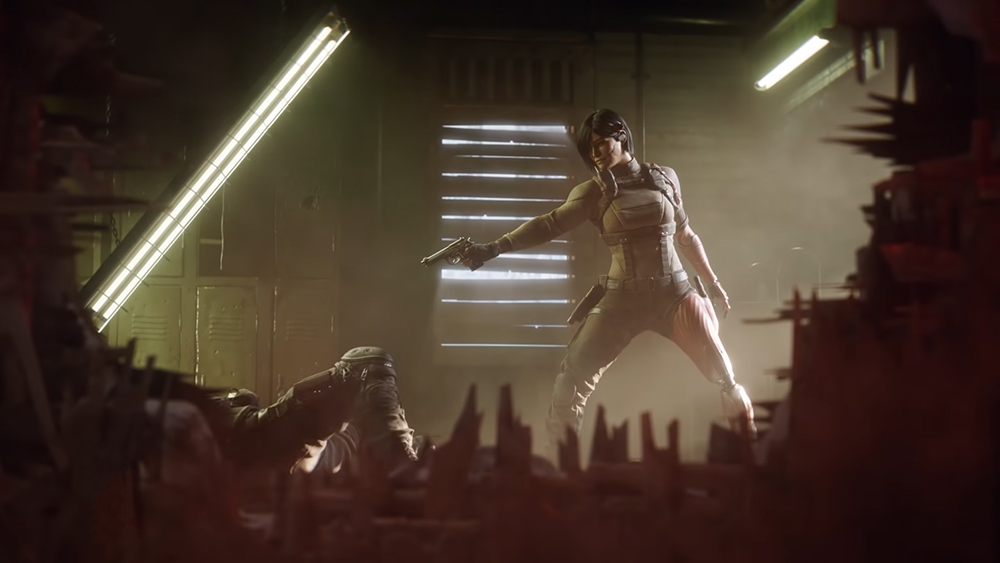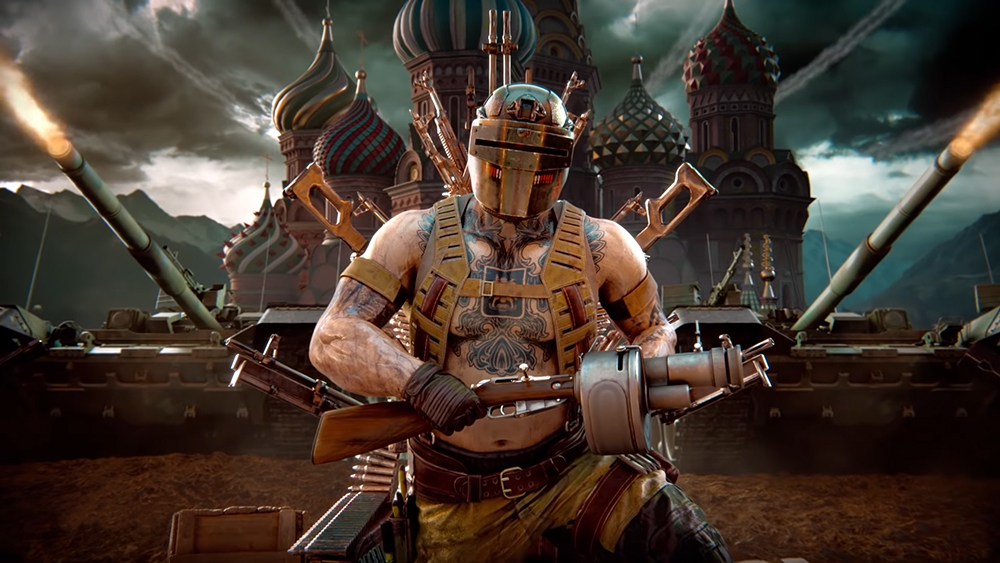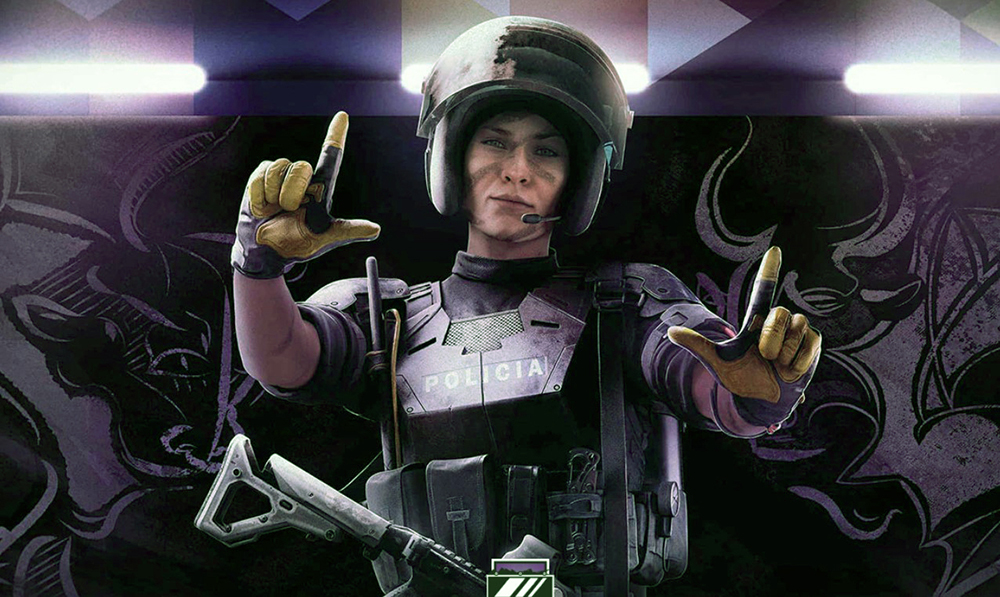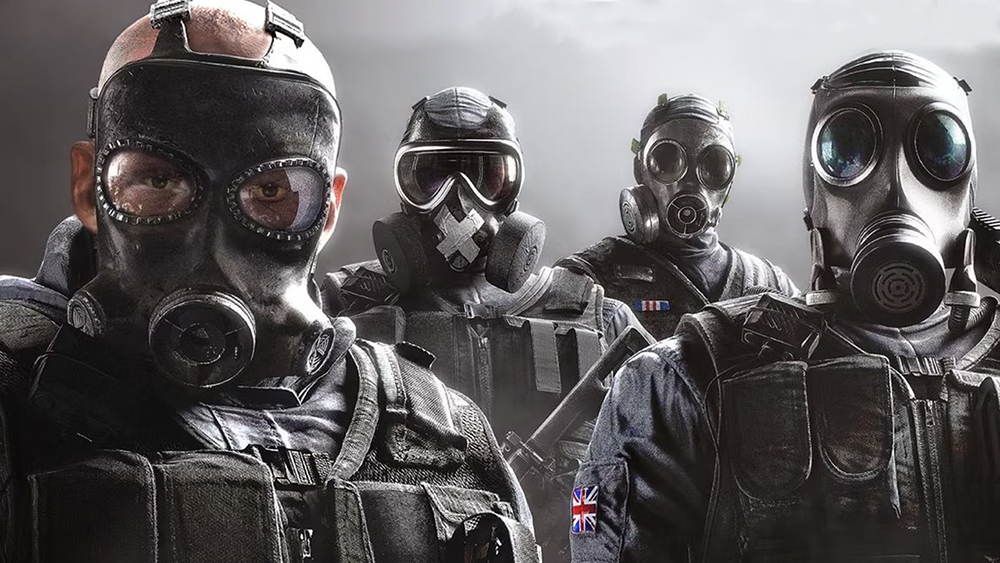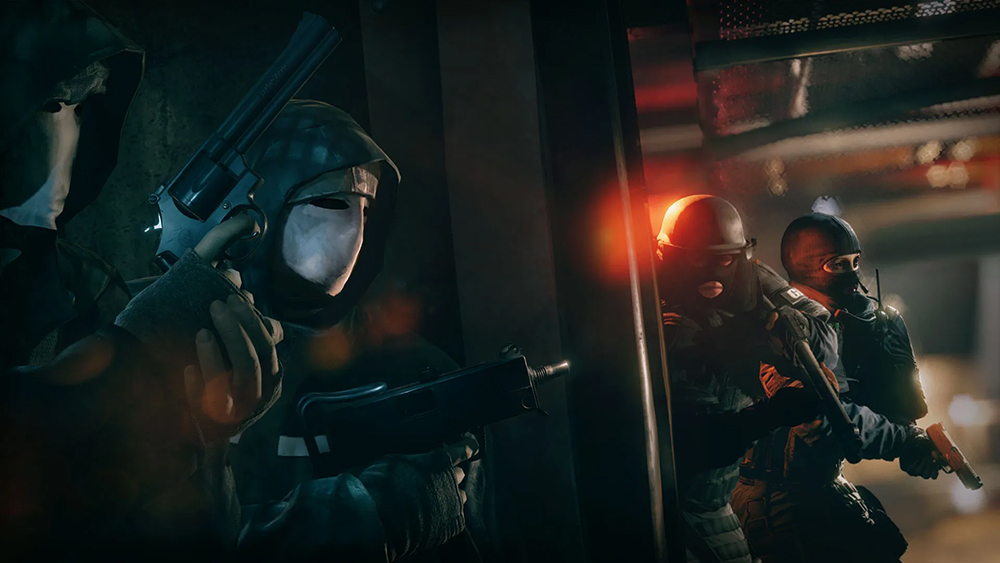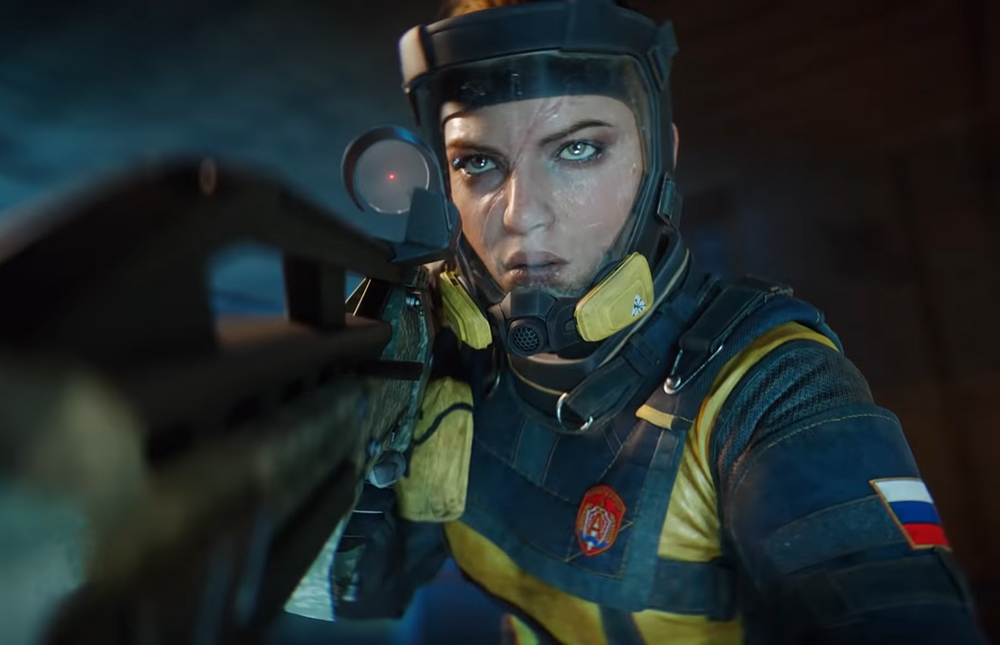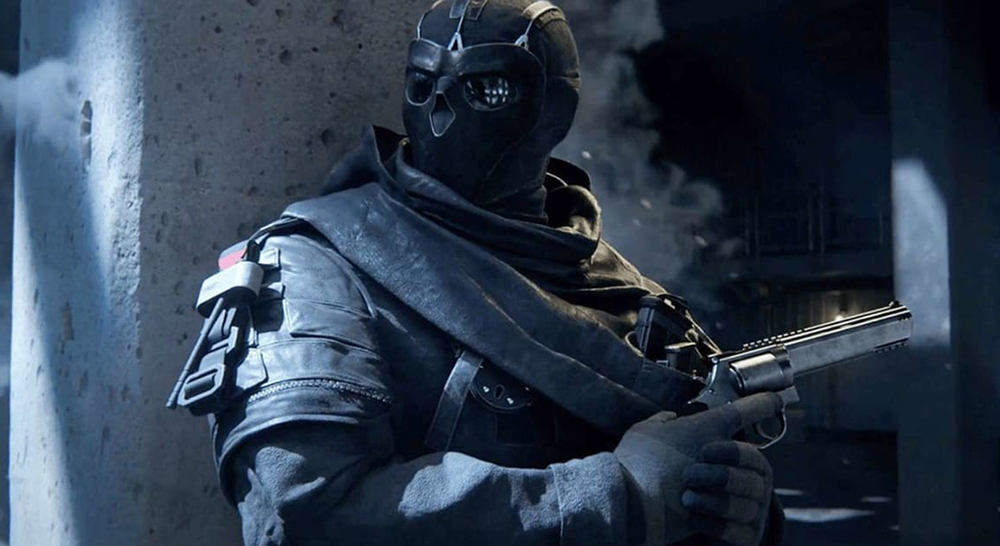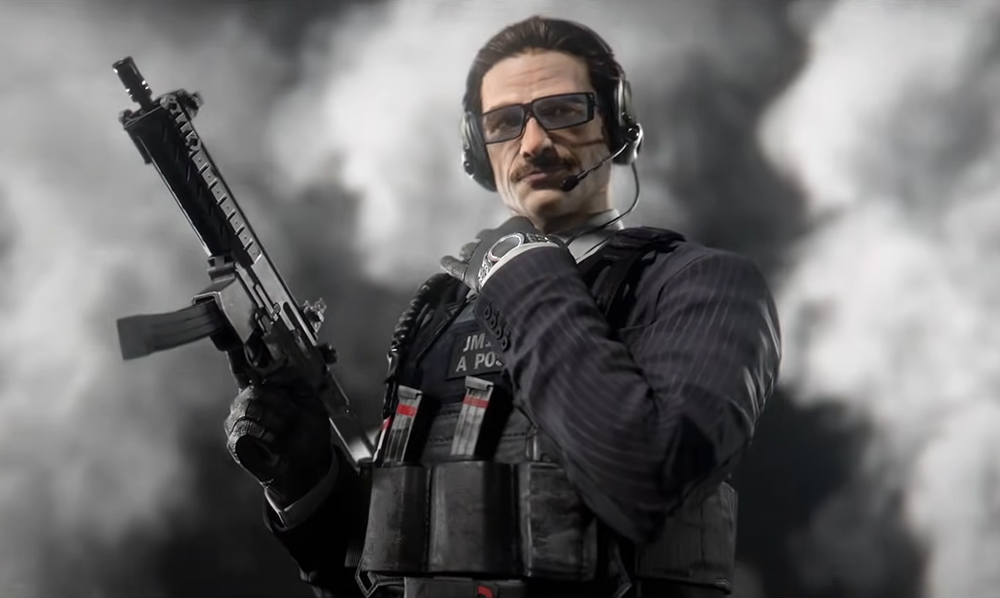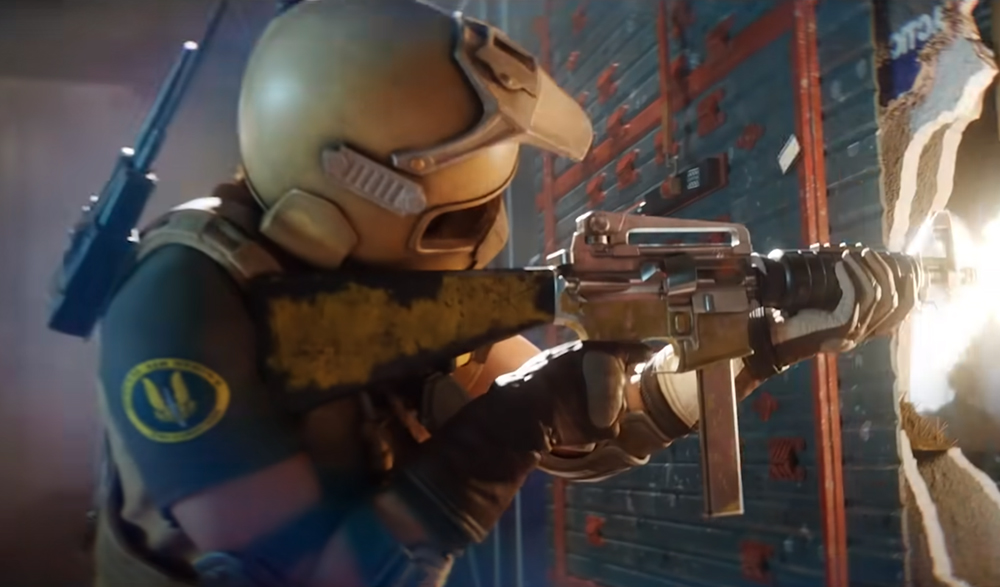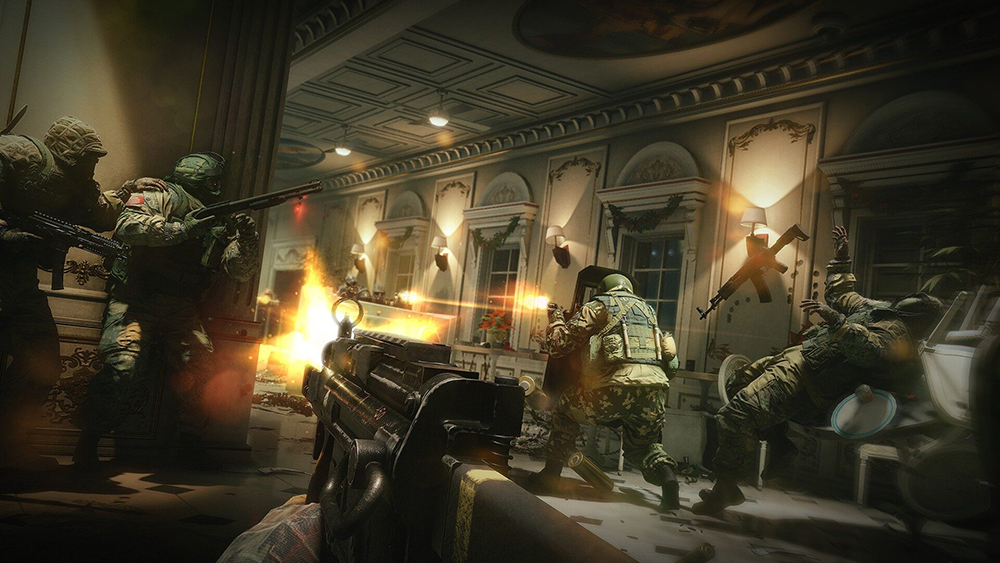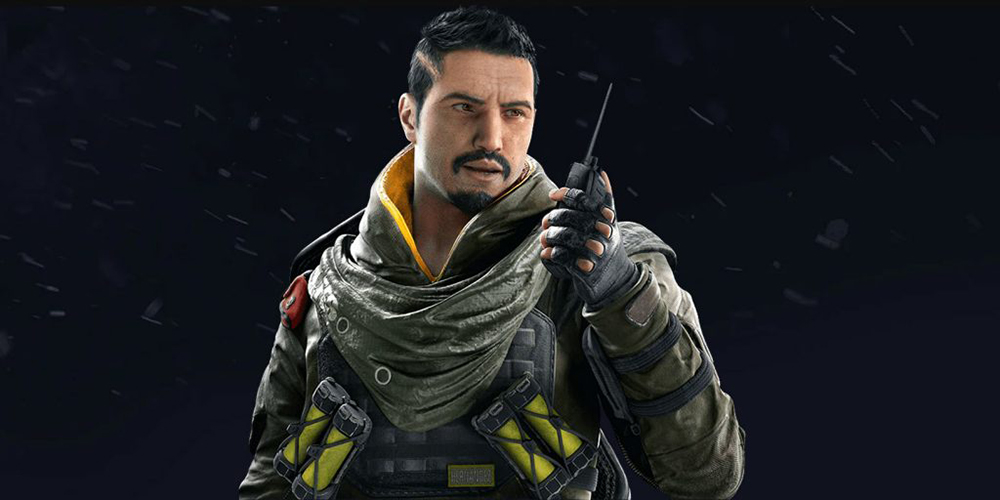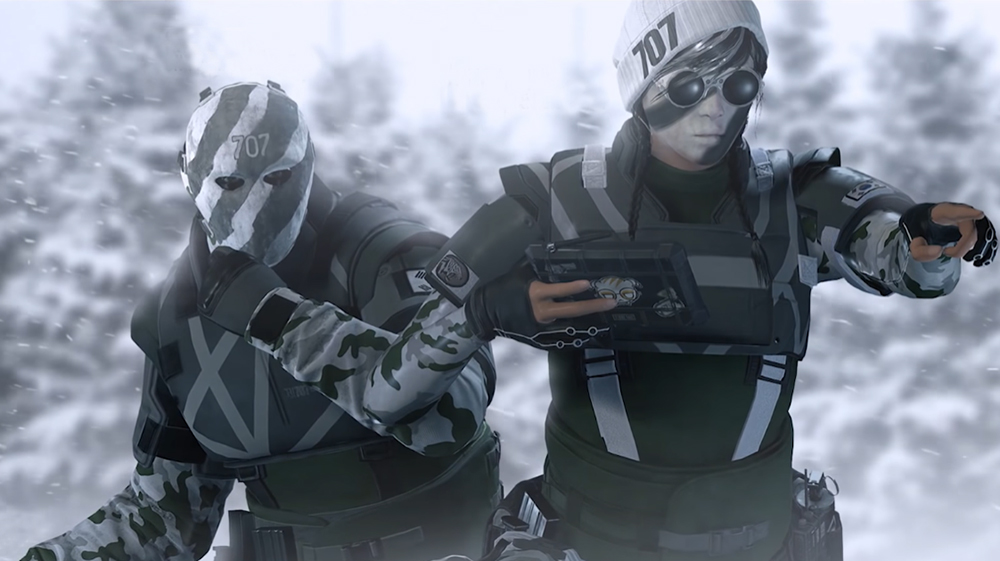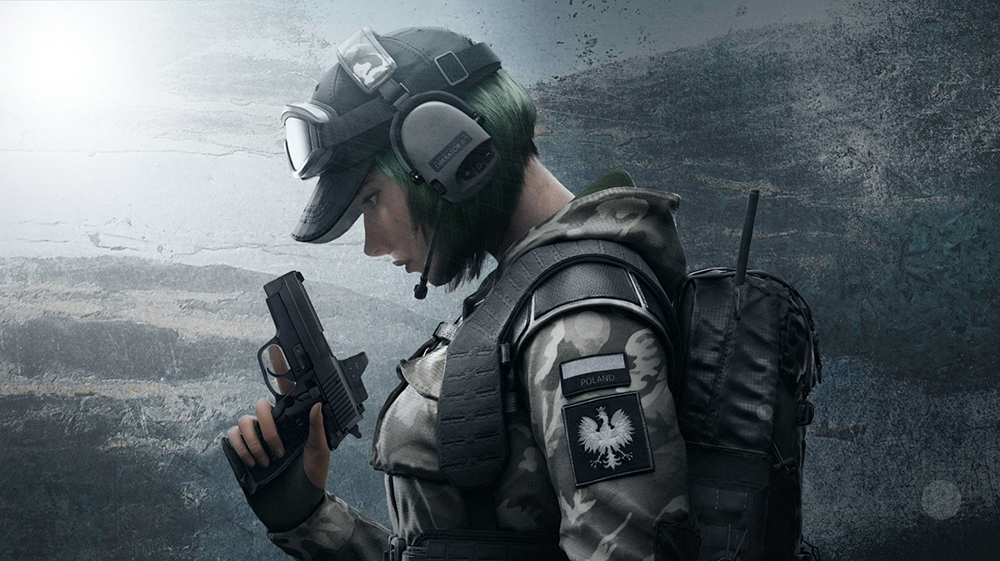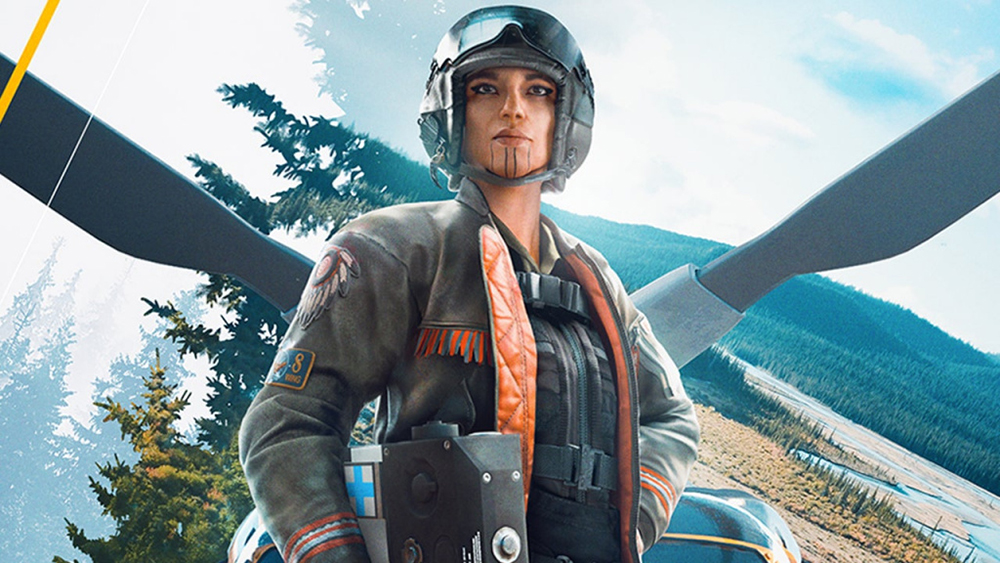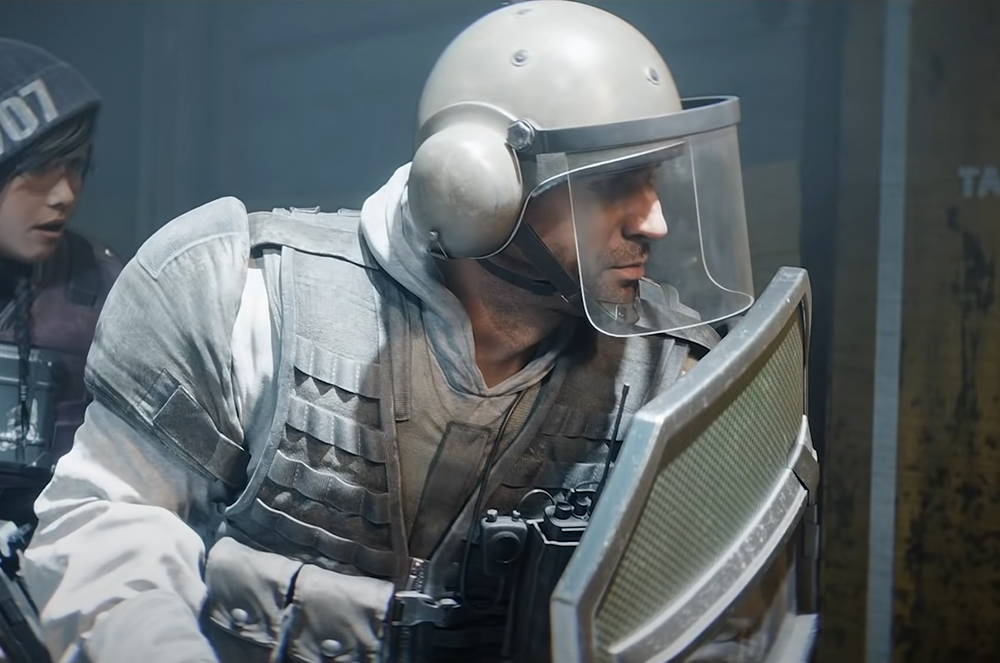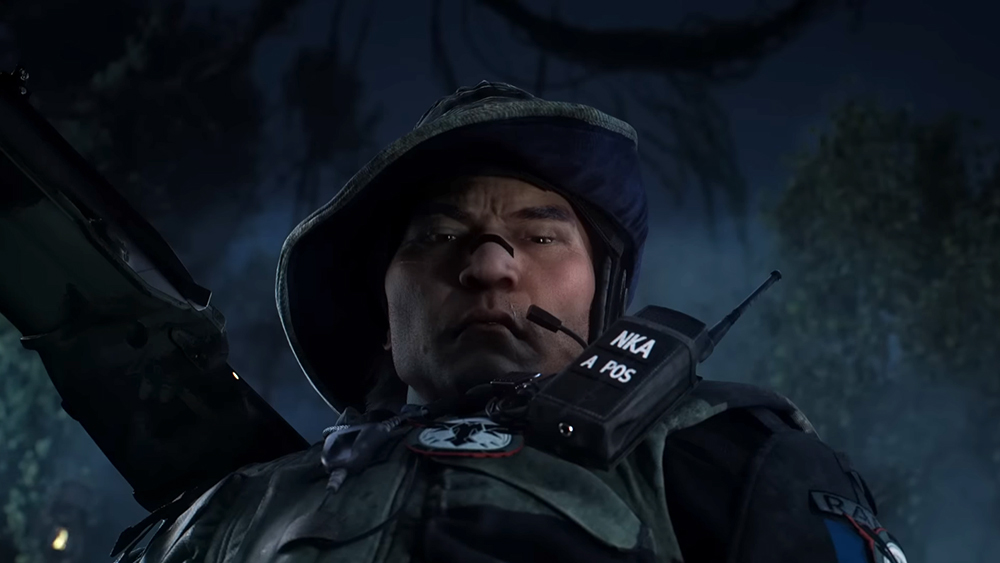
S Tier – Defenders in this class are considered S tier because their impact on the team when they’re around is very high and they really put a lot of fear into their enemies’ minds. Some of them like Kaid and Wamai are usually essential parts of the defending team and when they’re not around, it usually means the round is lost because it’ll be much easier for the attackers to do what they want. Some of them excel so much in their role that they get banned in most competitive matches, and many of them get targeted first because most attackers know that when they’re around, it’ll be too hard for them to win the round.
Kaid: 94/100
Alibi: 99/100
Rook: 98/100
Wamai: 94/100
Smoke: 92/100
Azami: 95/100
Solis: 96/100
Fenrir: 98/100
A Tier – Defenders in this class may be a class below the S tier but do not make the mistake of thinking that they’re not that powerful. They’re very powerful defenders alright, and the only reason they’re not on S tier is because they’re more situational operators compared to the S tier ones and there are more ways for attackers to counter them. However, during the situations where they excel, they’re powerful enough to really ruin the attacking team’s strategies, and that’s why some of the operators in this class also have high ban rates in competitive matches.
Mira: 86/100
Lesion: 87/100
Valkyrie: 89/100
Kapkan: 88/100
Maestro: 86/100
Bandit: 86/100
Mute: 87/100
Melusi: 88/100
Goyo: 86/100
Thunderbird: 89/100
Vigil: 88/100
B Tier – The defenders in this class are even more situational and easier to counter than the ones in the A tier, and that’s why it’s a lower class. They’re also not that needed in most cases because there are other operators that can fill in their roles and, in many cases, play them better. That doesn’t mean, however, that these defenders are not viable, because when played well, these operators can still cause so much trouble to the attacking team. In situations or maps where they excel, they can even be the main factor for the defending team winning the round.
Caveira: 82/100
Zero: 83/100
Doc: 84/100
Warden: 84/100
Thorn: 83/100
Pulse: 85/100
Castle: 85100
Oryx: 85/100
Mozie: 84/100
Jager: 83/100
Tachanka: 84/100
C Tier – This may be the last tier but that doesn’t exactly mean that the defenders in this class are the weakest. It’s just that they are more irreplaceable and situational, but when they work, they can really cause a lot of problems for the attackers. Their presence is not necessary at all in most cases, but they can still be very effective in their roles and are quite fun to play. So don’t mistake them being in the last tier as non-viable operators to play. They’re very viable, especially when it comes to casual matches, but in competitive, there are other defenders that can contribute more to the team.
Frost: 75/100
Echo: 75/100
Aruni: 79/100
Ela: 78/100
Clash: 77/100
Kaid (S Tier Anti-Entry & Anti-Gadget)
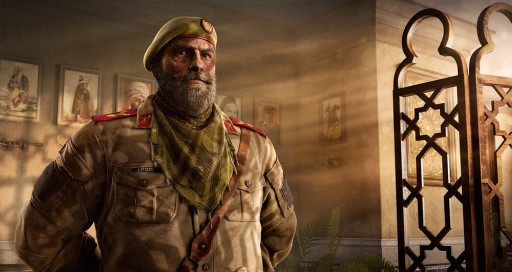
Kaid belongs in the S tier defender class because in many cases during competitive matches, his presence is needed. That’s especially when the objective spot has a wall that connects to the outside. That’s because if attackers breach that wall, it will open up another path of attack and pushing will just simply be much easier for them. With Kaid’s presence in the defending team, however, it can be very difficult for the attackers to perform a hard breach, especially when Thatcher is banned, and that’s because of Kaid’s special gadget, the Electroclaw.
Kaid has access to two Electroclaws per round and each of them has a wide radius. Basically, metallic utilities like reinforced walls, hatches, barbed wires, or deployable shields, will be electrocuted when they’re within the range of an Electroclaw. And since an Electroclaw has a wide reach, it can prevent hard breaching on reinforced walls or hatches without really being near them. That can make it harder for attackers to disable the Electroclaw because there’s a higher chance that their utilities won’t reach them.
Kaid’s Stats:
- Speed: 3
- Health: 1
Best Weapon Loadout:
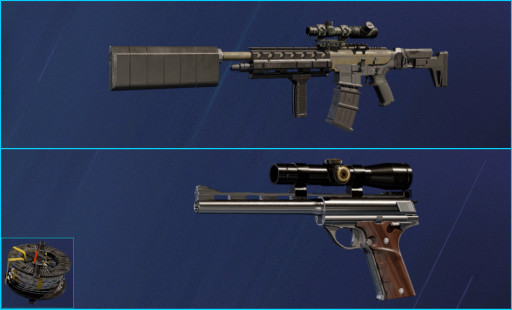
- Primary weapon - TCSG12 with Scope 2.0x, Suppressor, and Vertical Grip
- Secondary weapon - .44 Mag Semi-Auto
- Generic gadget - Barbed Wire
Kaid’s Strengths:
- Kaid is very effective at preventing reinforced walls from being breached because of his Electroclaws that can electrocute them and destroy breaching devices
- Since Kaid throws them when deploying them, he’s still the only defenders that can realistically prevent reinforced walls from being breached
- Kaid has great primary weapons to choose from in the TCSG12 and AUG A3, the player basically can’t go wrong whichever he chooses, and Kaid also has great utilities in the nitro cell and the barbed wires
Kaid’s Weaknesses:
- The biggest strength of his Electroclaws is their reach, but that reach won’t matter much when Thatcher is around because his EMP Grenades have a much larger radius, and it even passes through walls
- His 3-health rating makes him tougher than most operators but it also makes him slower and easier to hit
Best Loadouts for Kaid:
https://www.gamersdecide.com/articles/rainbow-6-siege-best-kaid-loadouts
Alibi (S Tier Intel & Trapper)
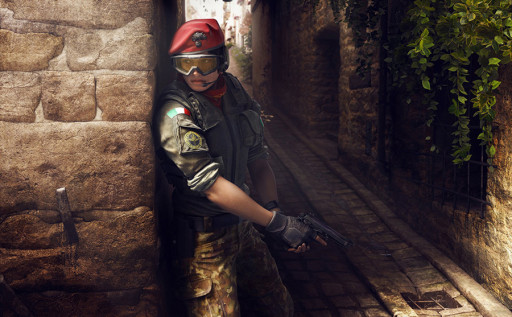
Alibi is definitely an S tier because of all the things she can do. She can effectively play both the roles of a roamer and an anchor. When she’s anchoring, she can prevent enemies from vaulting through windows by deploying her Prisma holographic clones right behind them. That way, when an attacker vaults through that particular window, they’ll get pinged for several seconds. That’s what Alibi’s special gadget, the Prisma does. It produces a static holographic copy of Alibi’s default skin, and when something from an attacker passes through it, be it their bullets, utilities, or their own bodies, they’ll get pinged for the whole attacking team to see for several seconds.
She has three Prisma holographic clones, and on the other hand, when she’s roaming, she can use them as bait for confusing and baiting enemies. She can also perform the very deadly substitution technique wherein she quickly substitutes her real self to a Prisma holographic clone that just got shot. Usually, when defenders shoot a Prisma holographic clone, they’d go behind cover until the ping goes away. But if Alibi substitutes herself to the holographic clone that they just shot, it could be very deadly for them as chances are, they’ll peak again thinking that the one they’ll see is just the same holographic clone that they just shot.
Alibi’s Stats:
- Speed: 3
- Health: 1
Best Weapon loadout:
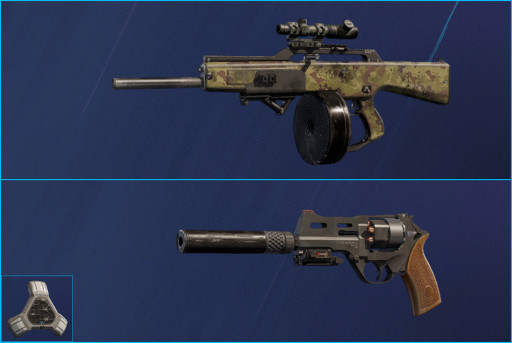
- Primary weapon - ACS12 with Scope 2.0x and Angled Grip
- Secondary weapon - Keratos .357 with Suppressor and Laser
- Generic gadget - Proximity Alarm
Alibi’s Strengths:
- Alibi is a very versatile operator who can perform the role of a roamer or an anchor really well, and that’s due to her special gadget, the Prisma holographic clone
- By deploying her Prisma holographic clones right behind windows, she can prevent enemies from vaulting them as enemies will know that they’ll get pinged if they touch one of the Prismas
- Alibi has a very powerful weapon in the ACS12 shotgun due to its high stopping power, very low recoil, compatibility to high powered scopes, as well as quick reload
Alibi’s Weaknesses:
- When roaming, even when she has her holographic clones around, a Jackal can easily identify her and put her on the defensive with his tracking ability
- He has 3-speed and 1-armor rating, and while that gives her a lot of speed, it can also mean that she can only endure a few shots before dying
Best Loadouts for Alibi:
https://www.gamersdecide.com/articles/rainbow-6-siege-best-alibi-loadouts
Rook (S Tier Support)
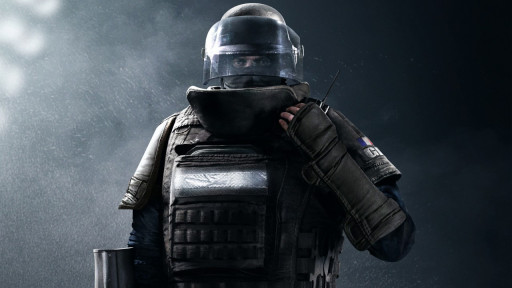
Rook’s impact on his whole team is so high nowadays because of the relatively recent rework on his special gadget. That rework basically made rook jump from a B tier defender to one that now belongs to the S tier. That’s because now, any operator who’s wearing his armor plates will not just have extra health points that will make them tougher. They’ll also have the ability to revive themselves from a down-but-not-out state. So with Rook in the defending team, if all of them get his armor plates, then all of them will have extra health points and the ability to self-revive.
This becomes even more valuable because nowadays, players do not receive a notification anymore that tells them if they put someone in a down-but-not-out state. That lessens the chances of attackers going after the kill once a defender is in a dbno state. On top of all these, Rook is one of the very few defenders that can equip his primary weapon with a scope 2.0x. Rook can do that with his MP5 submachine gun and that allows him to hit enemies well even from long range. Even his choices for generic gadget is great as he can run with the impact grenades that he can use to rework the map to the defending team’s advantage,
Rook’s Stats:
- Speed: 1
- Health: 3
Best Weapon loadout:
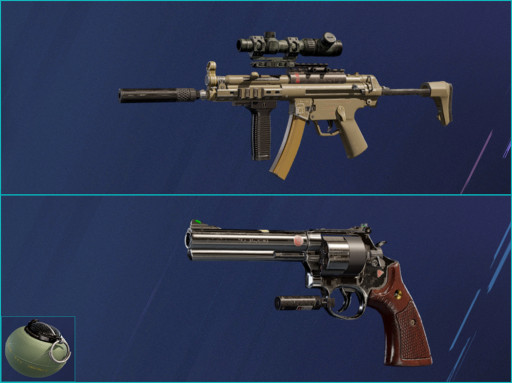
- Primary weapon - MP5 with Scope 2.0x, Suppressor, and Vertical Grip
- Secondary weapon - LFP586 with Laser
- Generic gadget - Impact Grenade
Rook’s Strengths:
- With his special gadget, the Armor Pack, he can equip the whole defending team with armor plates that will boost their health rating, effectively making them tougher
- With the rework on his armor plates, anyone who wears them will now have the ability to self-revive from a down-but-not-out state
- He’s one of the very few defenders that can use a scope 2.0x and that really adds a lot to his accuracy especially for medium to long-range shooting
Rook’s Weaknesses:
- His weapons have low damage, so while they can be equipped with high-powered scopes, if Rook doesn’t hit enemies with headshots, it can take a lot of shots before he downs an enemy
- His 3-health rating plus his armor plate makes him much tougher than most operators but it can also make him slower and easier to hit or hunt down
Best Loadouts for Rook:
https://www.gamersdecide.com/articles/rainbow-6-siege-best-rook-loadouts
Wamai (S Tier Anti-Gadget & Trapper)
Wamai is another defender that belongs to the S tier class because his absence can really be felt by the whole defending team. If Wamai is not around, and no other anti-projectile operator is present in the defending team, it can be much more convenient for attackers to push while leading with their grenades. And yes, there are other anti-projectile operators like Jager or Aruni, but Jager is the one in S class because he’s a step above them in other ways. Wamai doesn’t only excel at neutralizing enemy projectiles, he’s also a very well-rounded operator because of his weapons and utilities.
When Wamai is present in the defending team, it will be very hard for the attackers to be effective with their grenades and other projectiles or throwables. That’s because his special gadget, the Mag-NET, will pull them and neutralize or set them off on a spot that the attackers didn’t intend on. As for his weapons, Wamai has the MP5K which he can equip with a scope 1.5x. It has a very manageable recoil and with the scope 1.5x, Wamai can be effective at any range. For his utilities, Wamai can easily rework the map to his team’s advantage with the use of his impact grenades and keratos .357 handgun.
Wamai’s Stats:
- Speed: 2
- Health: 2
Best Weapon loadout:
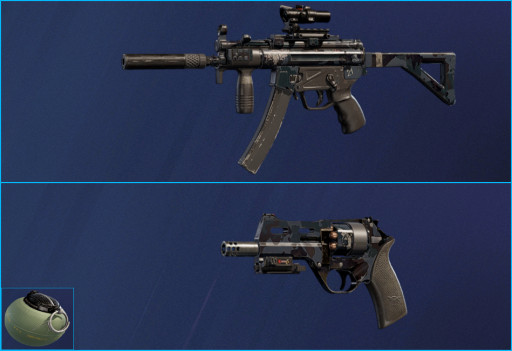
- Primary weapon - MP5K with Scope 1.5x and Suppressor
- Secondary weapon - Keratos .357 with Muzzle Brake and Laser
- Generic gadget - Impact Grenade
Wamai’s Strengths:
- Wamai can deploy a total of six Mag-NETS per round and that means he can neutralize six enemy projectiles or throwables
- Wamai has an incredible weapon in the MP5K which inflicts a good amount of damage per shot, has a very manageable recoil, and it can be equipped with a scope 1.5x
- He possesses a lot of capability to rework the map to his team’s advantage with the destruction rate per shot of his keratos .357 as well as his impact grenades which are great for making rotation holes
Wamai’s Weaknesses:
- Wamai starts with one Mag-NET and gains another every forty seconds, so to reach his full potential, that means he needs to stay alive until late into the round
- His Mag-NETs doesn’t fully destroy any projectiles or throwables, they only pull them towards them and have them detonate in the location where the Mag-NET has been deployed
Best Loadouts for Wamai:
https://www.gamersdecide.com/articles/rainbow-6-siege-best-wamai-loadouts
Smoke (S Tier Anti-Entry & Trapper)
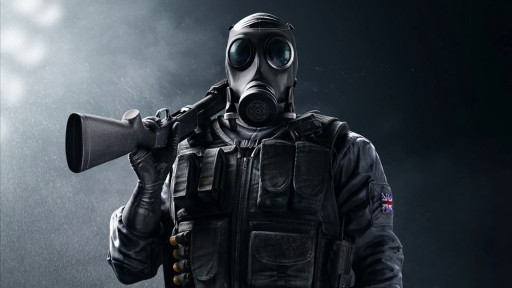
When it comes to area and entry denial, there’s no question that Smoke is an S tier defender. With his special gadget, the Remote Gas Grenade, he can prevent an area from being taken by the enemies for a long time. That’s because his Gas Grenade covers a large area in chemical gas which takes ten seconds before dissipating. So since he has three Gas Grenades, he can deny an area to enemies for a total of thirty seconds. And it’s usually really bad for attackers to just risk and tank it because even a full health 3-health rating operator will be downed by a gas grenade in a few seconds.
It damages operators really fast, so when it pops off, the attackers are always pushed back. Not Smoke himself though, because he’s the only one who can enter the effects of his Gas Grenade without getting hurt. With that perk, it’s much easier for him to retake control of an area as he can enter it while the Gas Grenade’s effects are still active. What’s more is that Smoke usually has close range superiority due to his M590A1 shotgun, while still being very effective at fragging enemies from medium range because of his SMG-11 secondary weapon.
Smoke’s Stats:
- Speed: 2
- Health: 2
Best Weapon loadout:
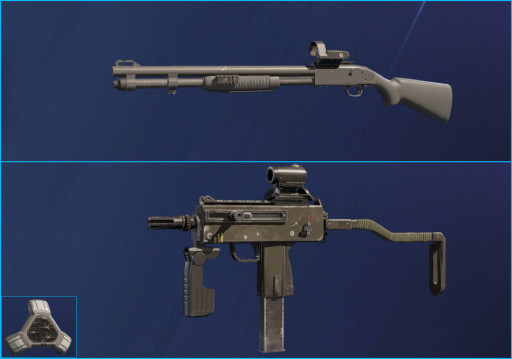
- Primary weapon - M590A1 with Reflex B and Laser
- Secondary weapon - SMG-11 with Red Dot A and Flash Hider
- Generic gadget - Proximity Alarm
Smoke’s Strengths:
- Smoke can deny entry and area for a long time because of his Remote Gas Grenade which lasts ten seconds each and damages enemies very quickly
- Smoke is able to enter the effects of his Gas Grenades without being harmed by it, so he can use that to quickly take back control of an area and outmaneuver enemies
- Smoke has superiority in close range due to his M590A1 shotgun while still having the capability to frag opponents well at medium range due to his SMG-11 machine pistol
Smoke’s Weaknesses:
- His Gas Grenades are very sticky, so if he’s throwing it at an area when enemies are already there, it can be tricky, because that can expose him to enemy gunfire
- Deploying his Gas Grenade early, however, can make it very vulnerable to being disabled by operators like IQ and Thatcher
Best Loadouts for Smoke:
https://www.gamersdecide.com/articles/rainbow-6-siege-best-smoke-loadouts
Azami (S Tier Anti-Entry & Support)

Azami is an S class defender because her impact on the team is undeniably high. That's mostly because of her special gadget, the Kiba Barrier. Azami can deploy a total of five Kiba Barriers per round and they’re basically bulletproof round surfaces that are pretty sizable, so they’re excellent for providing more cover for the defending team. She starts with one Kiba Barrier and gets another every time it finishes its cooldown which is quite fast. Now her Kiba Barriers aren’t limited to providing more cover for the defenders. Because it’s quite versatile, it can serve other purposes too.
When Azami deploys them to block drone holes, it’ll make it harder for attackers to gather intel inside the objective spot using their drones. They can also be used to quickly prevent entry to attackers by deploying them on doorways. That's because it’ll take three melee hits for a Kiba Barrier to be destroyed. Of course, they can be destroyed by explosive utilities like gonne-6 hand cannons, Ash’s breaching rounds, frag grenades, and so on. But that just makes Azami’s Kiba Barrier even more useful as it’ll mean that the attackers will use up their utilities on her Kiba Barriers instead of the defenders themselves.
Azami’s Stats:
- Speed: 2
- Health: 2
Best Weapon loadout:
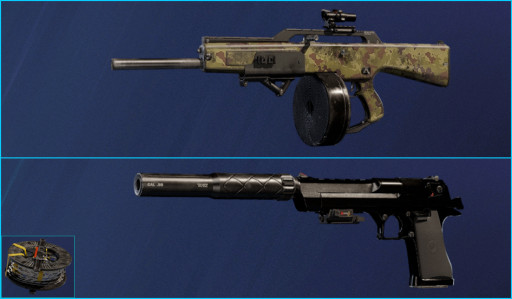
- Primary weapon - ACS12 with Scope 1.5x and Angled Grip
- Secondary weapon - D-50 with Suppressor and Laser
- Generic gadget - Barbed Wire
Azami’s Strengths:
- With her Kiba Barriers, she can provide more cover for the defending team in order to defend themselves better from enemy gunfire
- Her Kiba Barriers are very versatile so they can be used for intel-denial by deploying them on drone holes and entry-denial by deploying them on entryways
- Azami has access to the great ACS12 slug shotgun which has devastating fire power, high destruction rate, high magazine capacity for a shotgun, and quick reload time
Azami’s Weaknesses:
- The best counter for Azami is Sledge because he has a lot of uses on his Tactical Breaching Hammer and just one hit from it can destroy Azami’s Kiba Barrier
- Azami only has five Kiba Barriers and they only become available to her through cooldown so when the round is just starting, she won’t be able to deploy many of them
Best Loadouts for Azami:
https://www.gamersdecide.com/articles/rainbow-6-siege-best-azami-loadouts
Solis (S Tier Intel & Support)
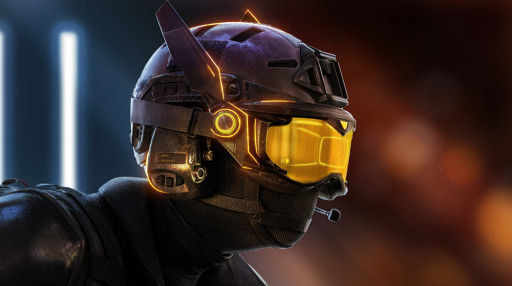
Solis is an S tier defender because of her expertise in gathering intel. Most special gadgets and utilities in the game are made up of electronics or at least have some electronics in them. That allows them to be detectable with gadgets like Solis’ SPEC-IO Electro Sensor. With her SPEC-IO Electro Sensor, Solis can detect enemy electronic gadgets in real time, so even as soon as the prep phase, Solis’ contribution to the team is already apparent as she’ll be able to destroy a lot of attacker drones. This is really important because attackers, when they’re smart, will try to leave their drones somewhere around the objective spot for surveillance.
Knowing where the attacker gadgets are and where they’re coming from would usually give Solis a good idea of where the attackers are gonna come from as well. On top of all that, she can also perform a Cluster Scan which will tag the attacker electronic gadgets she’s detected for the whole defending team to see. It’s a great way for her to conveniently share intel to her teammates. With Solis around, the whole attacking team will usually have a good idea on where the enemies and their gadgets are. Solis also has great utilities for reworking the map like the impact grenades and the ITA12L shotgun.
Solis’ Stats:
- Speed: 2
- Health: 2
Best Weapon loadout:
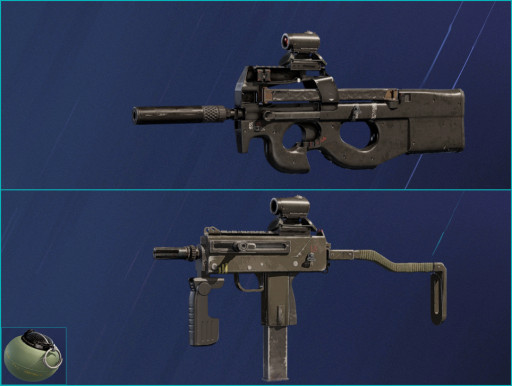
- Primary weapon - P90 with Red Dot A and Suppressor
- Secondary weapon - SMG-11 with Red Dot A, Flash Hider, and Vertical Grip
- Generic gadget - Impact Grenade
Solis’ Strengths:
- She’s able to gather a lot of intel on enemy electronic gadgets as she’s able to detect them in real time with her SPEC-IO Electro Sensor which makes her one of the best anti-gadget operators around
- Solis can perform Cluster Scans from her SPEC-IO Electro Sensor which will tag enemy electronic gadgets she’s detected and it’ll be seen by all members of the defending team
- She has a great utility in the impact grenades for reworking the map to the defending team’s advantage, and her SMG-11 is a great fully automatic alternative weapon
Solis’ Weaknesses:
- She can’t use her weapons while she’s actively using her SPEC-IO Electro Sensor and that could leave her vulnerable to incoming attackers while she’s scanning for their gadgets
- Her P90 submachine gun lacks damage and the alternative, the ITA12L shotgun lacks range. Her SMG-11 has a very rough recoil. So she lacks a lot of offensive power
Best Loadouts for Solis:
https://www.gamersdecide.com/articles/rainbow-6-siege-best-solis-loadouts
Fenrir (S Tier Trapper)
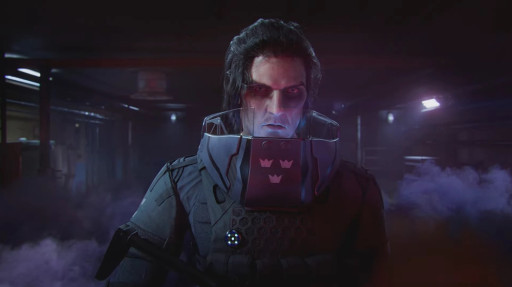
Fenrir is the second newest operator in the game and even though he’s been out for a few months now, a lot of players still haven’t used him a lot in competitive matches. That’s because his ban rate is so high that it’s quite rare for him to be usable in ranked. When he’s available to be played, however, it’s highly recommended to do so when you’re playing as a defender. That’s because Fenrir can contribute so much to the defending team and the kind of contribution he adds is top tier. Of course, that's mostly because of his special gadget, but there are a lot of great things about his weaponry and other utilities as well.
With his special gadget, the Dread Mines, he can really ruin the momentum of enemies and stop them from pushing. That's because when active, his Dread mines basically act as proximity mines wherein once an enemy enters their radius, that enemy will experience their effect. That effect is called fear and will severely limit the attacker’s vision range. Leaving them very vulnerable to defender gunfire even at close range. What’s more is that Fenrir has access to five Dread Mines per round, and he can have three of them active at the same time.
Fenrir’s Stats:
- Speed: 2
- Health: 2
Best Weapon loadout:
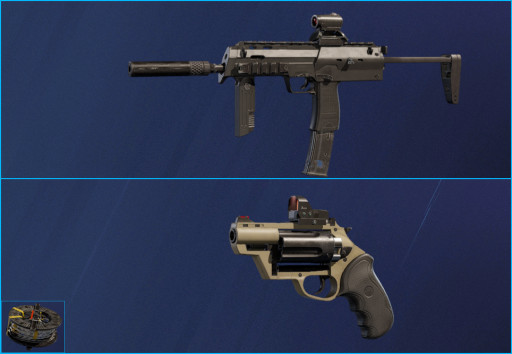
- Primary weapon - MP7 with Red Dot A and Suppressor
- Secondary weapon - Bailiff 410 with Laser
- Generic gadget - Barbed Wire
Fenrir’s Strengths:
- He can ruin the momentum and strategy of attackers who are pushing with the fear effect from his special gadget, the Dread Mine, which acts like a proximity mine
- He has access to five Dread Mines per round. He can have three of them active at the same time, and they’re quite small so it’s easy to hide them in corners or behind objects
- With his bailiff 410 revolver shotgun, he can rework the map to the defending team’s advantage, and with his barbed wires, he can slow down enemies who are being affected by his Dread Mines
Fenrir’s Weaknesses:
- He lacks weapons or utilities that inflict damage to enemies, and that’s likely because if they made his offensive capabilities great, he’ll be too OP because his special gadget kind of is already
- When they’re active, the Dread Mines loses their bulletproof status so they can be vulnerable, especially to IQ who can detect and destroy them through soft walls or surfaces
Best Loadouts for Fenrir:
https://www.gamersdecide.com/articles/rainbow-6-siege-best-fenrir-loadouts
Mira (A Tier Intel, Support)

Mira may be a situational operator, but she’s in A tier in general because during the situations where she excels, she actually jumps to being an S tier defender. That’s because her special gadget, the Black Mirror, is one of the most troublesome intel gathering utilities in the game. Troublesome for Mira’s enemies that is. The Black Mirror is a one-way mirror and Mira has two of them. It’s very heavily tinted on the other side but on the other, it provides a clear view. So when deployed on the objective spot, Mira’s Black Mirrors can almost block two angles from being pushed by enemies.
That’s because on the angles where Mira’s Black Mirrors were deployed to, the defenders manning them will get a clear view of the enemies on the other side, while the enemies won’t be able to see them at all. So when there’s an attacker on the other side of the Black Mirror, all Mira or another defender manning it has to do is quick lean from it and shoot the attacker using the intel they’ve gathered from the Black Mirror. Mira is actually the most banned defender in the higher ranks, and that’s because she’s really troublesome on certain areas of the maps in Siege.
Mira’s Stats:
- Speed: 1
- Health: 3
Best Weapon loadout:
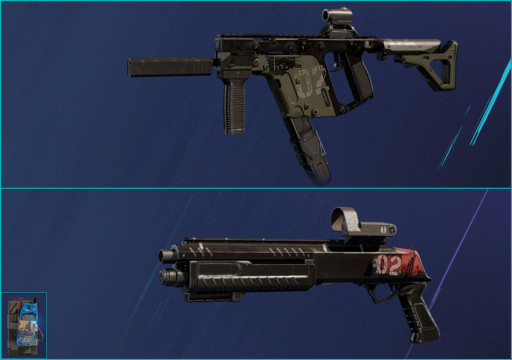
- Primary weapon - Vector .45 ACP with Red Dot A, Suppressor, and Vertical Grip
- Secondary weapon - ITA12S with Red Dot A and Laser
- Generic gadget - Nitro Cell
Mira’s Strengths:
- With her Black Mirrors, she can make two angles very hard to push for the attackers, as the Black Mirrors will enable defenders to see the attackers on the other side clearly while in cover
- She can equip the ITA12S shotgun which is a great utility for setting up the map with rotation holes and lines of sight
- Mira has great secondary gadget choices in the nitro cell which is great for countering pushing enemies and the proximity alarm which is a great early warning device against enemy flankers
Mira’s Weaknesses:
- Mira is quite vulnerable to attacks from below and above when the spots for her Black Mirrors are on or below wooden floors
- Mira’s 3-health rating allows her to endure more shots that are not in the head, but it also makes her very slow so she mostly has to anchor the objective spot
Best Loadouts for Mira:
https://www.gamersdecide.com/articles/rainbow-6-siege-best-mira-loadouts
Lesion (A Tier Anti-Entry, Trapper)
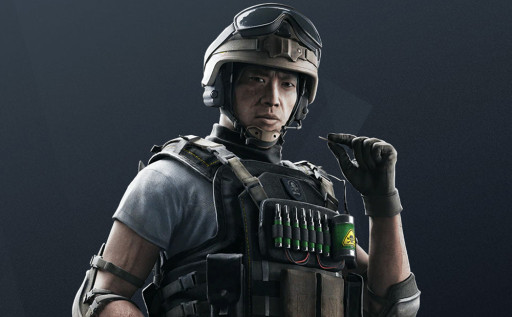
There is no question that Lesion is an A tier operator, especially after the recent buff on his special gadget, the Gu Mine. Lesion can deploy a total of eight Gu Mines per round, and now with the recent buff, their initial damage is back, and their damage-over-time have been increased. They do not turn transparent anymore, so they can be seen much easier, so that’s the catch. But because they have lost their only electronic part, that means they now won’t be detected by IQ through her Electronics Detector, won’t be disabled by EMP grenades, and won’t be affected by Brava’s Kludge Drones.
All Lion has to do really is to tuck them in corners and they won't easily be seen by enemies. The Gu Mines have a one-meter radius so enemies don’t exactly have to step on them for them to get triggered. Enemies who are affected by Lesion’s Gu Mines are prevented from sprinting and will experience damage-over-time similar to being poisoned until they remove it. When triggered, Gu Mines also produces a loud sound, which makes them good early warning devices as well. All in all, when Lesion is around, it’s going to be very hard for enemies to rush and catch the defenders off guard.
Lesion’s Stats:
- Speed: 2
- Health: 2
Best Weapon loadout:
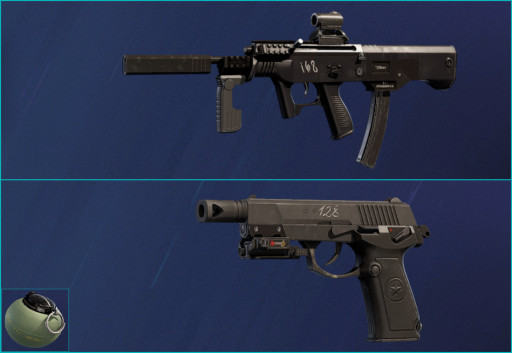
- Primary weapon - T-5 SMG with Red Dot A, Suppressor, and Vertical Grip
- Secondary weapon - Q-929 with Muzzle Brake and Laser
- Generic gadget - Impact Grenade
Lesion’s Strengths:
- Lesion’s Gu Mines will now inflict initial damage and their damage-over-time has been increased. They’ll also prevent enemies from being able to sprint.
- With Lesion around, it’ll be hard for the defenders to get caught off guard because he can deploy Gu Mines on entryways around the objective spot and they produce a loud sound when triggered by enemies
- Lesion has a great utility in the impact grenade for setting up the objective spot with rotation holes and they’re also great for countering shield operators like Blitz and especially Osa
Lesion’s Weaknesses:
- His Gu Mines doesn’t turn transparent anymore, so if the Lesion player deploys them on an open spot, enemies will be able to see them well
- Lesion starts with one Gu Mine and gains another every thirty seconds. That means if enemies attack early in the round, he won’t have that many Gu Mines deployed yet
Best Loadouts for Lesion:
https://www.gamersdecide.com/articles/r6-best-lesion-loadouts
Valkyrie (A Tier Intel, Support)
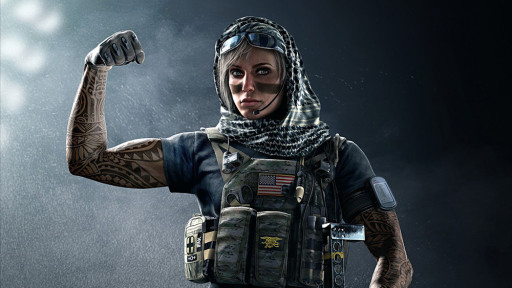
Valkyrie may be quite difficult to use for new players, but in the hands of veteran ones, especially those who main her, she can really cause so much trouble to the attackers. That’s because of her special gadget, the Black Eye. She can deploy three Black Eyes per round, and each of them provides a clear and wide view of an area as they can be rotated 180-degrees. Like normal cameras, they can also be accessed by the whole defending team, so even when a member of the defending team dies, they’ll still be able to contribute a lot by manning Valkyrie’s Black Eyes.
Valkyrie’s Black Eyes are some of the best intel gathering devices in the game, not just because they can provide a lot of intel on enemy positions, but also because they can be very hard to find. When they’re not active, they do not produce any light, and they’re quite small, so they can look like just another unimportant detail or object in the map. So when the defenders are good at using them, meaning that they only peak at it to get a quick look for gathering intel, and much importantly, they do not scan enemies with them, Valkyrie’s Black Eyes won’t only provide intel on enemies, they can also cause them a lot of stress as it’ll be very challenging for them to be found.
Valkyrie’s Stats:
- Speed: 2
- Health: 2
Best Weapon loadout:
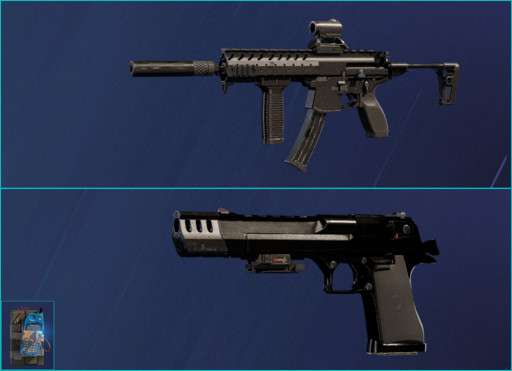
- Primary weapon - MPX with Red Dot A, Suppressor, and Vertical Grip
- Secondary weapon - D-50 with Muzzle Brake and Laser
- Generic gadget - Nitro Cell
Valkyrie’s Strengths:
- She has three Black Eye cameras and each of them can provide a full 180-degree view of an area which is great for gathering intel on enemies positions
- Her Black Eye cameras are quite small and would stick to most surfaces in the map, and that makes it easy for Valkyrie to hide them in corners or on spots where they won’t easily be seen
- Every member of the defending team can access the Black Eye cameras so even dead team members would still be very useful as they can watch the Black Eyes and advice the remaining members
Valkyrie’s Weaknesses:
- When there’s an IQ on the attacking team, it’ll be very hard to prevent them from disabling Valkyrie’s Black Eyes unless the defending team is able to take out IQ early on
- Valkyrie is also a great roamer, but the problem is, when she’s switching cameras from operator view to observation tool view, it creates a sound cue that enemies could hear
Best Loadouts for Valkyrie:
https://www.gamersdecide.com/articles/rainbow-6-siege-best-valkyrie-loadouts
Kapkan (A Tier Anti-Entry, Trapper)

Kapkan is an A tier defender because of all the trouble he can cause to the attacking team. Even his presence alone has an impact on them. That’s because of his special gadget, the EDD. The EDD is basically a trap that is deployed on entryways such as doorways or windows. Once deployed, it extends a laser to the other side of the entryway, and attackers who touch that laser will trigger the EDD and it will explode. The explosion from one EDD can cause a lot of damage to an attacker’s health points, and the scary part is, Kapkan has five of them and he can deploy more than one in a single entryway.
The damage of one EDD is sixty, so usually two would be enough to kill an attacker, and three would definitely do the trick. What’s great for Kapkan players is that they can deploy their EDDs really low on a doorway and as high as they can reach. They can even place EDDs on both sides in order to trick the attacker into thinking that there are no remaining EDDs after they disabled the ones on one side. Kapkan’s weapons and utilities are great too because he has the very reliable 9x19VSN submachine gun and his impact grenades are great for reworking the map to the defending team’s advantage.
Kapkan’s Stats:
- Speed: 2
- Health: 2
Best Weapon loadout:
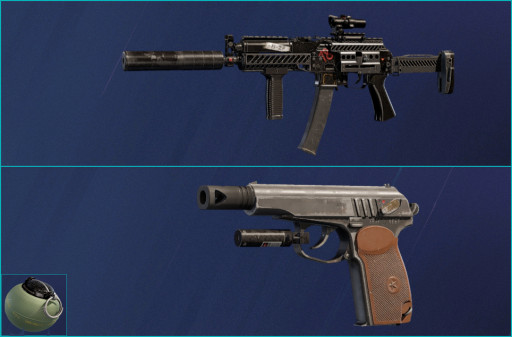
- Primary weapon - 9x19VSN with Scope 1.5x, Suppressor, and Vertical Grip
- Secondary weapon - PMM with Muzzle Brake and Laser
- Generic gadget - Impact Grenade
Kapkan’s Strengths:
- Kapkan can really punish rushing or overly aggressive enemies with the use of his special gadget, the EDDs, which are traps deployed on doorways and explodes when triggered by enemies
- Kapkan is one of the very few operators in the game that can score a kill with just one detonation of his special gadget, and that’s because he can now deploy multiple EDDs in one entryway
- He has a very reliable 9x19VSN submachine gun which has good damage and low recoil, and he also has impact grenades which are great for creating rotation holes
Kapkan’s Weaknesses:
- Brava’s Kludge Drones can convert Kapkan’s EDDs into attacker gadgets, so if defenders aren’t careful, they, or Kapkan himself, can be victim of his own EDDs
- Shield operators like Montagne and Blitz receive a much-reduced damage from triggering EDDs and IQ can detect them easily as well as ping them for the whole attacking team to see
Best Loadouts for Kapkan:
https://www.gamersdecide.com/articles/rainbow-6-siege-best-kapkan-loadouts
Maestro (A Tier Anti-Gadget, Intel)
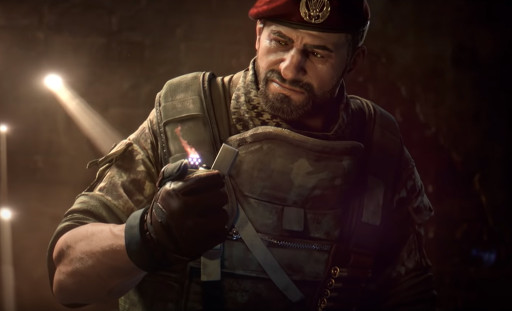
Maestro is a very powerful operator and his special gadget, the Evil Eye, is popular in Siege for being one of the most troublesome special gadgets in the game. Maestro can deploy two Evil Eyes per round. They are bulletproof and can only be destroyed by explosives or a gonne-6 hand cannon. They’re basically cameras that can provide a full 180-degree view of the surroundings, and when the user opens their bulletproof visor, they can also shoot lasers which are great for shooting enemy gadgets like drones, breach charges, and so on.
Since the Evil Eyes can fire lasers rapidly, they can also damage operators a lot. I’ve seen a lot of attackers underestimate the damage that Maestro’s Evil Eyes can do to them and they paid for it. When the Evil Eye’s bulletproof visor is open while it’s shooting lasers, attackers can shoot it on its exposed part and it’ll be disabled. But if the user knows when to close it again and they apply good timing, it can really cause a lot of stress to the attackers. On top of how troublesome Maestro’s Evil Eyes are, he also has great choices for his primary weapon in the ACS12 shotgun and his unique gun, the ALDA 5.56.
Maestro’s Stats:
- Speed: 1
- Health: 3
Best Weapon loadout:
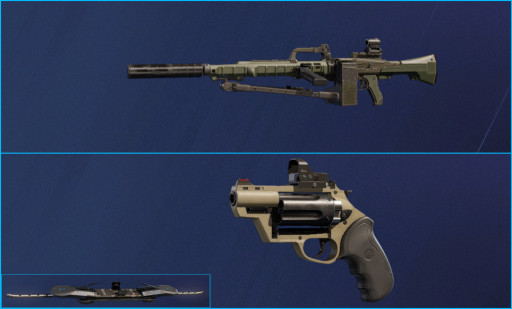
- Primary weapon - ALDA 5.56 with Red Dot A, Suppressor, and Vertical Grip
- Secondary weapon - Bailiff 410 with Laser
- Generic gadget - Observation Blocker
Maestro’s Strengths:
- Goyo’s Evil Eyes are some of the most troublesome special gadgets in the game because they can be very hard to destroy, and they also shoot lasers that are great for disabling attacker gadgets
- For fragging opponents, Maestro has great primary weapons to choose from in the ALDA 5.56 light machine gun and the ACS12 slug shotgun
- Maestro also has great utilities in the bailiff 410 revolver shotgun which he can use to rework the map and the observation blocker which is great for intel-denial
Maestro’s Weaknesses:
- If he’s not protected by his teammates or if he’s not well hidden, he can be very vulnerable while he’s controlling his Evil Eyes
- Enemies that have access to the gonne-6 hand cannon can easily destroy Maestro’s Evil Eyes, as well as Ash and Zofia with their special gadgets
Best Loadouts for Maestro:
https://www.gamersdecide.com/articles/rainbow-6-siege-best-maestro-loadouts
Bandit (A Tier Anti-Entry, Anti-Gadget)
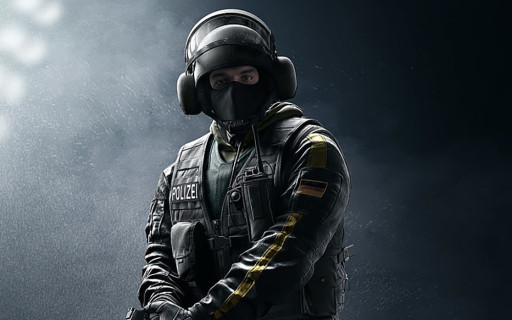
Preventing attackers from hard breaching is a very important task because once attackers breach the wall of the objective spot that is connected to the outside, it’s like the attackers are already one step closer to victory. And when it comes to preventing attackers from performing a hard breach, Bandit is definitely A tier. His special gadget, the Shock Wire, will electrocute a wall when placed next to it. Bandit has four Shock Wires so he can prevent large walls from being breached, because obviously, attacker hard breach devices will be destroyed when attached to electrocuted walls.
However, attackers have a lot of hard breach enabling devices. The best is probably Thatcher’s EMP Grenades. But with Bandit, even Thatcher’s EMP Grenades might not be enough to enable attackers to perform a hard breach because Bandit can perform the “Bandit Trick” wherein he quickly picks up his Shock Wire before the EMP blast pops off and then puts it back beside the wall right after that. That’s possible because the deployment and picking up action of the Shock Wire is quite fast. As for his offensive capabilities, Bandit has the MP7 submachine gun which is a very underrated gun, as well as the nitro cell which is great for countering pushing enemies.
Bandit’s Stats:
- Speed: 3
- Health: 1
Best Weapon loadout:
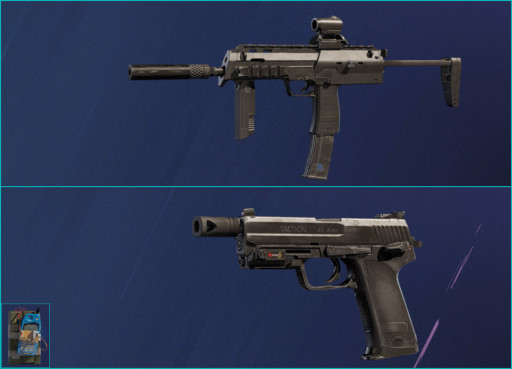
- Primary weapon - MP7 with Red Dot A and Suppressor
- Secondary weapon - P12 with Muzzle Brake and Laser
- Generic gadget - Nitro Cell
Bandit’s Strengths:
- Bandit specializes in preventing attackers from performing hard breaching on the walls that connect the objective spot to the outside with the use of his special gadget, the Shock Wire.
- Because he can deploy and pick up his Shock Wires quite quickly, he’s able to perform the “Bandit Trick” wherein he protects his Shock Wire from being disabled by Thatcher’s EMP Grenades
- He also has good offensive capabilities since he has the MP7 submachine gun as his primary weapon, and if the user excels with shotguns, Bandit can also equip the famous M870
Bandit’s Weaknesses:
- If the hard breach enabler that the attackers have is Maverick, then it will almost be impossible for Bandit to prevent them from hard breaching
- Bandit cannot use weapons or look to his surroundings while deploying and picking up his Shock Wires, so he can be quite vulnerable from behind or the sides while preventing attackers from hard breaching
Best Loadouts for Bandit:
https://www.gamersdecide.com/articles/rainbow-6-siege-best-bandit-loadouts
Mute (A Tier Anti-Gadget, Crowd Control)
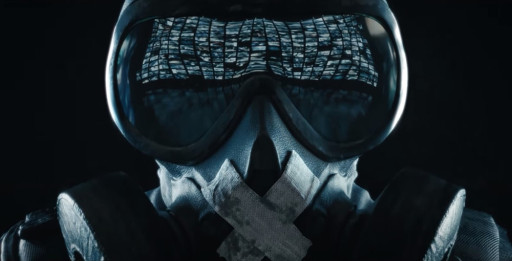
Mute always has a huge impact in the match and that’s why he definitely belongs to the A tier class. With his special gadget, the Signal Jammer, he can cause a lot of inconveniences to his enemies. As its name implies, it blocks the signal coming from enemies within its radius. So attacker electronic gadgets won’t work when they’re affected by Mute’s Signal Jammer. Mute has four of them, so he can place them in strategic spots where they can be used for preventing attacker drones from gathering intel, jamming Fuze’s Cluster Charges on windows, and so much more.
When there’s no Kaid or Bandit in the defending team, Mute can also use his Signal Jammers to prevent attackers from breaching hard walls. Brava is one of the most powerful attackers in the current meta, but even she will have a lot of difficulty when Mute is around because there’s a good chance that her Kludge Drones will be blocked from entering the objective spot. The great thing is that for fragging opponents, Mute also has a lot of firepower, especially at close to medium range due to his M590A1 shotgun and SMG-11 machine pistol.
Mute’s Stats:
- Speed: 1
- Health: 3
Best Weapon loadout:
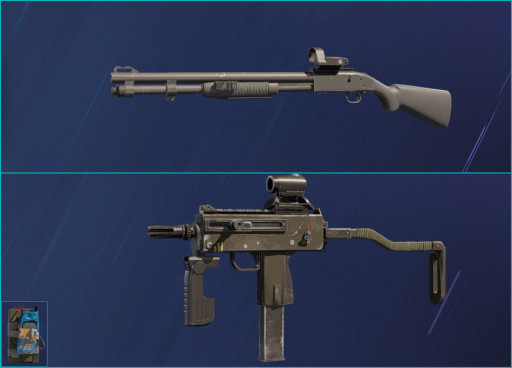
- Primary weapon - M590A1 with Reflex B
- Secondary weapon - SMG-11 with Red Dot A, Flash Hider, and Vertical Grip
- Generic gadget - Nitro Cell
Mute’s Strengths:
- His four Signal Jammers are great utilities for preventing attackers from gathering intel with their drones when they’re deployed on drone holes and pathways leading to the objective spot
- Mute’s Signal Jammers are also good alternative anti-hard breach devices when Kaid or Bandit aren’t present as they can also prevent attacker breaching devices from working
- Mute is great in close quarters combat because he can equip the M590A1 shotgun for his primary, and for fragging enemies beyond the reach of his shotgun, he has the SMG-11 machine pistol
Mute’s Weaknesses:
- The Signal Jammers takes quite a long time to be deployed and picked up, so he can’t do something like a Bandit or Kaid trick when preventing attackers from hard breaching
- His best loadout setup provides him with great firepower at close to medium range, but he would really not do well when it comes to long range shooting
Best Loadouts for Mute:
https://www.gamersdecide.com/articles/rainbow-6-siege-best-mute-loadouts
Melusi (A Tier Intel, Crowd Control)
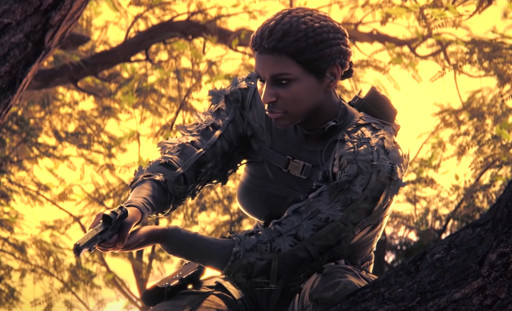
When it comes to crowd control, Melusi belongs to A tier, and crowd control plays a huge role when it comes to defense. Melusi plays that role really well with the help of his special gadget, the Banshee Sonic Defense. She can deploy three Banshees per round and each of them will greatly slow enemies who are within their radius. Their slow effects are triggered when an enemy enters their radius, and when that slow effect is active, they also produce a distinct sound. That sound is usually enough to warn defenders of enemy presence, so the Banshees also serve as early warning devices.
When not active, the Banshees are bulletproof and can only be destroyed with explosive utilities. When actively slowing an enemy, its top part will be open, and it’ll be vulnerable to gunshots. With that said, while there are ways to disable Melusi’s Banshees, it’s always troublesome for the attackers. That’s because it would always involve using their utilities, or triggering them, and when they do the latter, it basically means giving away their position as it’ll involve the Banshees producing its distinct sound. All in all, Melusi can cause so much trouble to the attackers and that’s why she’s in A tier.
Melusi’s Stats:
- Speed: 1
- Health: 3
Best Weapon loadout:
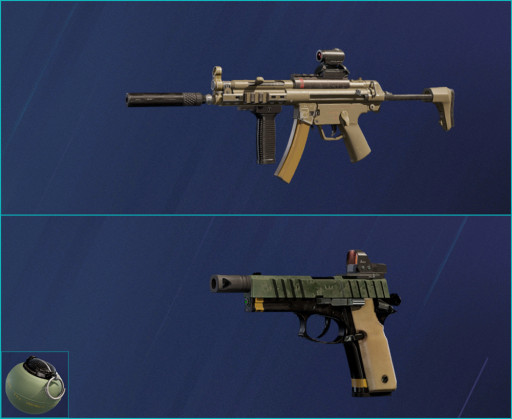
- Primary weapon - MP5 with Red Dot A, Suppressor, and Vertical Grip
- Secondary weapon - RG15 with Muzzle Brake and Laser
- Generic gadget - Impact Grenade
Melusi’s Strengths:
- She can deploy three Banshees per round and each of them can slow opponents greatly within their radius, which makes them great anti-rush utilities
- Melusi’s Banshees also produce a loud distinct sound when they’re slowing down enemies, effectively making them good early warning devices
- Melusi’s weaponry and utilities are very solid. Her MP5 has good damage and low recoil and her RG15 is one of the best pistols in the game due to its integrated red dot sight.
Melusi’s Weaknesses:
- Her heavy armor makes her tougher and allows her to endure more enemy gunfire, but that also makes her one of the slowest operators around
- Her Banshees can be easily disabled by explosives so it’s best to not deploy them on areas where Fuze usually drops his Cluster Charges.
Best Loadouts for Melusi:
https://www.gamersdecide.com/articles/rainbow-6-siege-best-melusi-loadouts
Goyo (A Tier Anti-Entry, Trapper)

Goyo is an A tier defender because area denial is one of the most important roles in defense, and when it comes to area-denial, Goyo is one of the best. His special gadget, the Volcan Canister, is a utility that can be attached to most surfaces. It has a red explosive canister, and when that gets shot or affected by an explosion, it will cover the area around it in fire which has a wide radius. The scary part is that Goyo has four Volcan Canisters and the fire from each of them only dissipates after twenty seconds. That’s very long in Siege time considering that competitive rounds only last for only three minutes.
The fire from Goyo’s Volcan Canisters damages operators quickly so it’s a very effective area denial device. When attached to a barricaded door or window, the attacker who breaks that door or window will automatically trigger the Volcan Canister. As for his weapons and utilities, Goyo has the great TCSG12 shotgun and the Vector .45 ACP as his choices for his primary weapon. Both are great weapons in their own right, and Goyo also has access to two impact grenades per round which he can use to detonate his Volcan Canisters.
Goyo’s Stats:
- Speed: 2
- Health: 2
Best Weapon loadout:
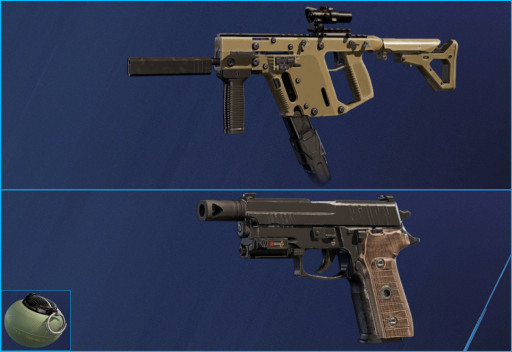
- Primary weapon - Vector .45 ACP with Scope 1.5x, Suppressor, and Vertical Grip
- Secondary weapon - P229 with Muzzle Brake and Laser
- Generic gadget - Impact Grenade
Goyo’s Strengths:
- Goyo is a very effective area-denial operator due to his four Volcan Canisters which can cover large areas in fire which lasts twenty seconds before dissipating
- Goyo’s Volcan Canisters are compatible to most surfaces and as long as it’s flat and reachable, chances are, Goyo can attach a Volcan Canister to that spot
- Goyo has excellent weapon choices in the Vector .45 ACP and the TCSG12, and his impact grenades are great utilities that he can use for detonating his Volcan Canisters.
Goyo’s Weaknesses:
- If defenders want to detonate a Volcan Canister by shooting it, they’d have to hit its red canister, which can be hard if it’s on an awkward angle
- The TCSG12 is a great shotgun but it’s not fully automatic and has a strong recoil, while the Vector .45 ACP has a very fast rate of fire but its recoil is also very strong and its damage is low
Best Loadouts for Goyo:
https://www.gamersdecide.com/articles/rainbow-6-siege-best-goyo-loadouts
Thunderbird (A Tier Support)

Thunderbird is an A tier support operator, probably even the best in defense. That’s because when Thunderbird is on the defending team, it’s a guarantee that they’ll get a lot of healing. That’s because all she has to do is deploy all her three Kona Stations during the prep phase and they’ll do their job even without her supervision. Thunderbird has access to three Kona Stations per round, and when a damaged defender enters a Kona Station’s radius, they’ll receive a 30 health point heal. That will put that particular Kona Station on cooldown, so if that defender needs more healing, they can just simply go to another.
Thunderbird’s healing is basically only limited by cooldown. As long as they’re not under cooldown they can provide healing. What’s more is that a defender who’s in a down-but-not-out state can self-revive when they’re within the radius of a Kona Station. That’s why Thunderbird’s impact on the team can be greatly felt. With her around, defending team members can have second chances. But Thunderbird isn’t only great as a support. She has excellent offensive capabilities as well, especially in close to medium range due to her SPAS-15 shotgun and Bearing 9 machine pistol.
Thunderbird’s Stats:
- Speed: 2
- Health: 2
Best Weapon loadout:
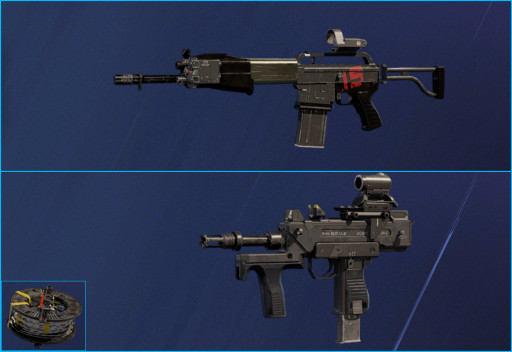
- Primary weapon - SPAS-15 with Reflex B and Laser
- Secondary weapon - Bearing 9 with Red Dot A and Flash Hider
- Generic gadget - Barbed Wire
Thunderbird’s Strengths:
- Thunderbird can deploy three Kona Stations per round. They can heal thirty health points per heal and their healing is only limited via cooldown
- Defenders who are in a down-but-not-out state can also self-revive provided they’re inside the radius of a Kona Station. This is a really great perk to have for anchoring defenders.
- Thunderbird excels in close quarters combat due to her SPAS-15 shotgun primary weapon while having great offensive capabilities at medium range due to her bearing 9 machine pistol
Thunderbird’s Weaknesses:
- Her three Kona Stations can be disabled by IQ through walls or wooden floors, and they can easily be disabled by Thatcher’s EMP grenades or the impact EMP grenades
- She’s not great at long-range shooting, even if she’s using the Spear .308 as her primary weapon, and especially if she’s using the SPAS-15 bearing 9 loadout setup
Best Loadouts for Thunderbird:
https://www.gamersdecide.com/articles/rainbow-6-siege-best-thunderbird-loadouts
Vigil (A Tier Anti-Gadget, Crowd Control)
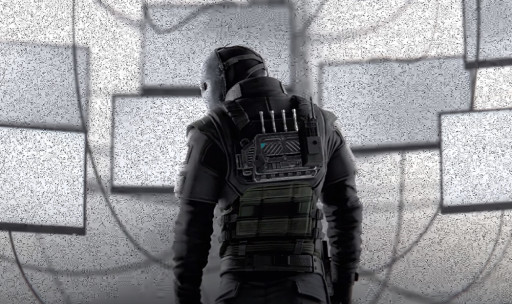
There’s no question that Vigil belongs to A tier, and that’s because he can cause so much trouble to the attacking team. But first, let’s talk about his special gadget, the ERC-7. When active, the ERC-7 will make Vigil invisible to all attacker cameras. That invisibility will last for twelve seconds and once that’s over, the ERC-7 will start recharging. As long as the ERC-7 has a 25% charge, Vigil will be able to activate it. Vigil can also manually deactivate his ERC-7 in order for it to be on full charge faster. It’s really a simple special ability but it’s very troublesome.
Intel plays a huge role in Siege, and since it can be very hard to get intel on where Vigil is, he can cause a lot of unease to the attackers. That’s because he can hit them from behind when they’re not expecting it, and then go back to the shadows. Because of his ERC-7, Vigil is a master of hit and run tactics. But it’s not just in stealth that Vigil excels in. He also has the weaponry and utilities that help him play his role well. Vigil can run with two impact grenades per round which are excellent for creating rotation holes for flanking enemies or for escaping them. He also has great offensive capabilities due to his K1A primary weapon and C75 Auto machine pistol.
Vigil’s Stats:
- Speed: 3
- Health: 1
Best Weapon loadout:
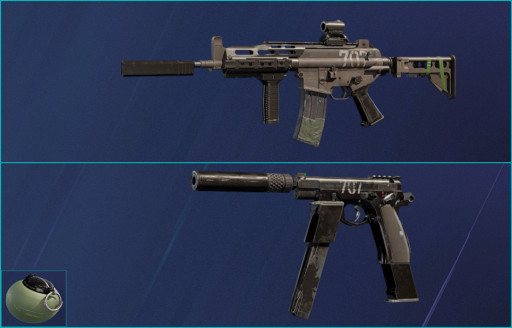
- Primary weapon - K1A with Red Dot A, Suppressor, and Vertical Grip
- Secondary weapon - C75 Auto with Suppressor
- Generic gadget - Impact Grenade
Vigil’s Strengths:
- With his ERC-7 special gadget, Vigil can turn invisible to all attacker cameras, preventing them from gathering intel on him which causes them a lot of uneasiness
- Vigil can easily flank enemies because he can use his impact grenades to quickly create rotation holes. He can also use them for escaping when the attackers start hunting him
- Vigil has excellent weaponry in the K1A submachine gun as his primary weapon, and the C75 auto machine pistol as his secondary
Vigil’s Weaknesses:
- His light armor means he can move quickly which is very important for his role, but that also means that once he’s caught in enemy fire, he can go down pretty fast
- While the ERC-7 makes him invisible to enemy cameras, it also creates an interference on their feed, so enemies would still have an idea that vigil is around
Best Loadouts for Vigil:
https://www.gamersdecide.com/articles/rainbow-6-siege-best-vigil-loadouts
Attention operator, please be advised. There is a new directive from Six. Read up on these related articles, and prepare for deployment:

