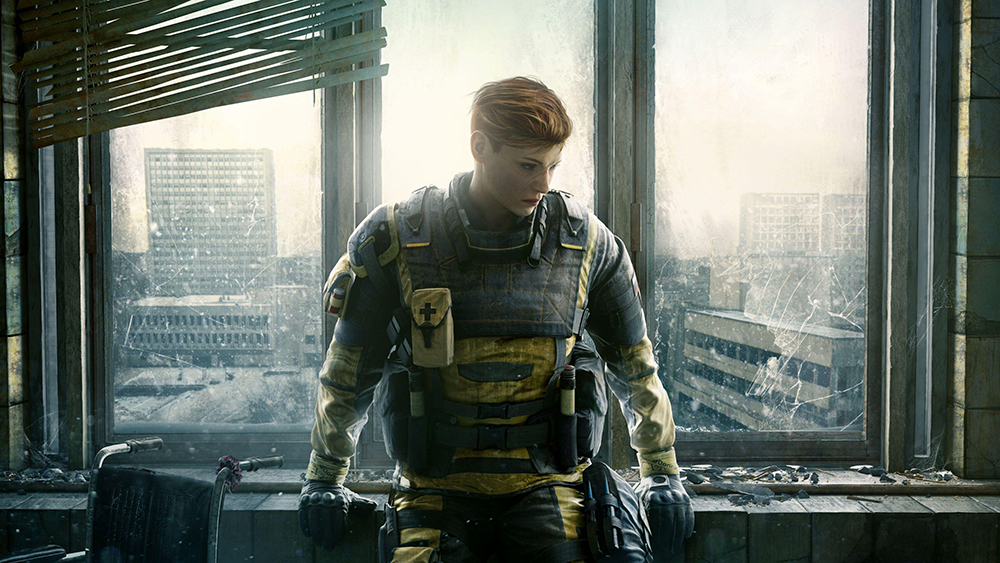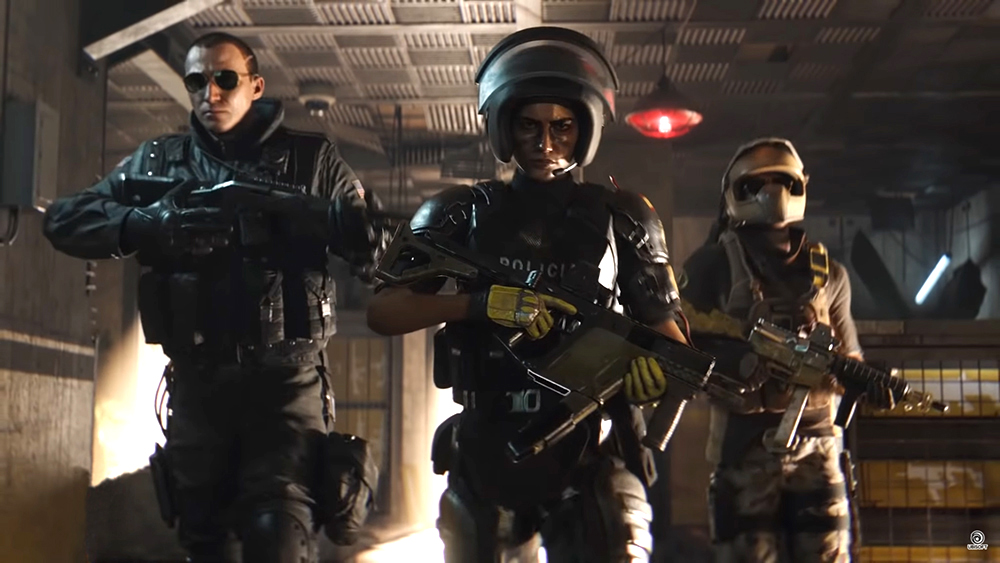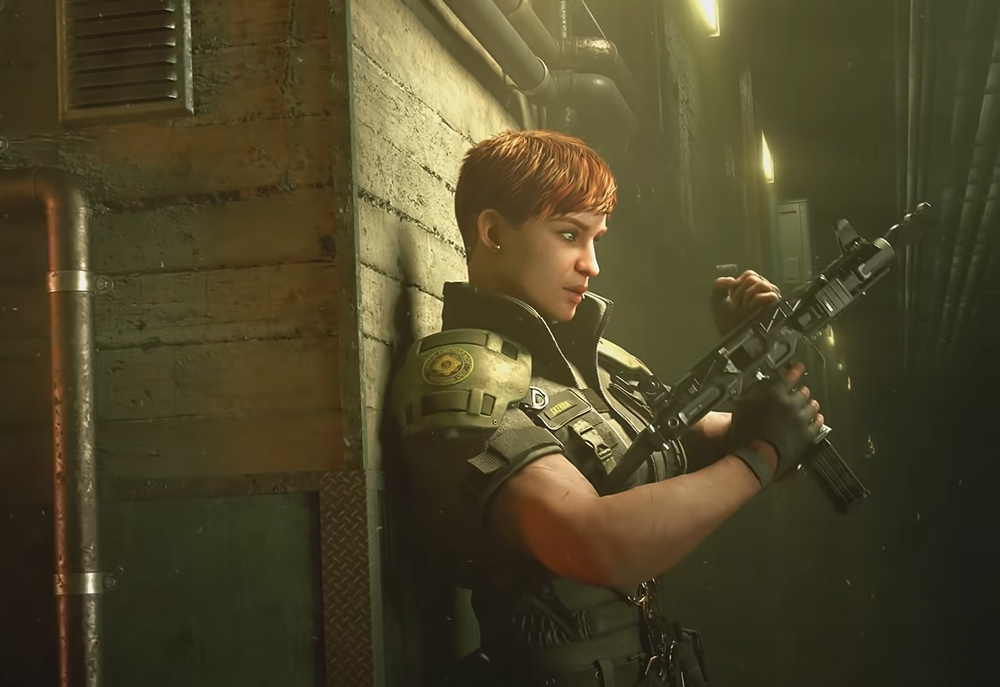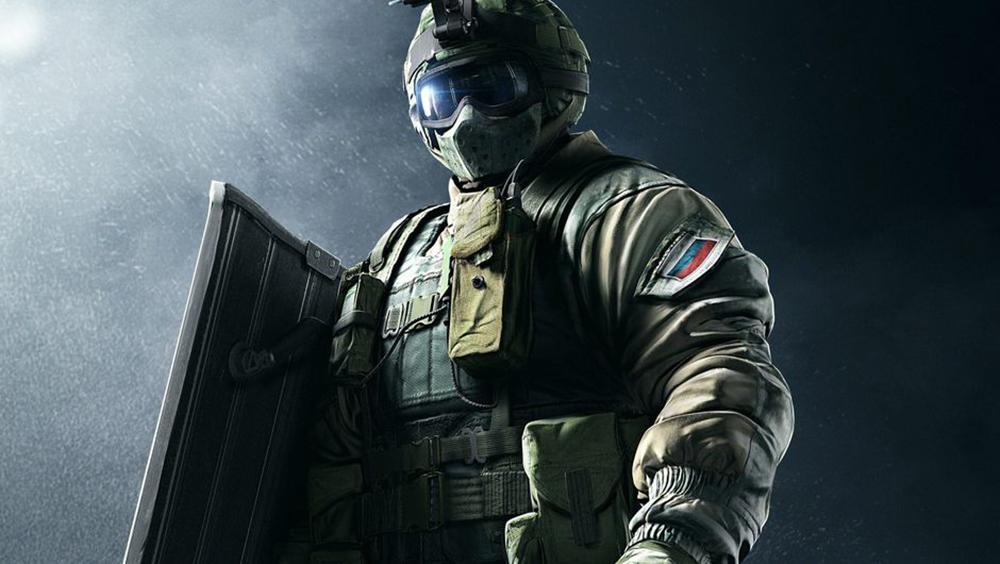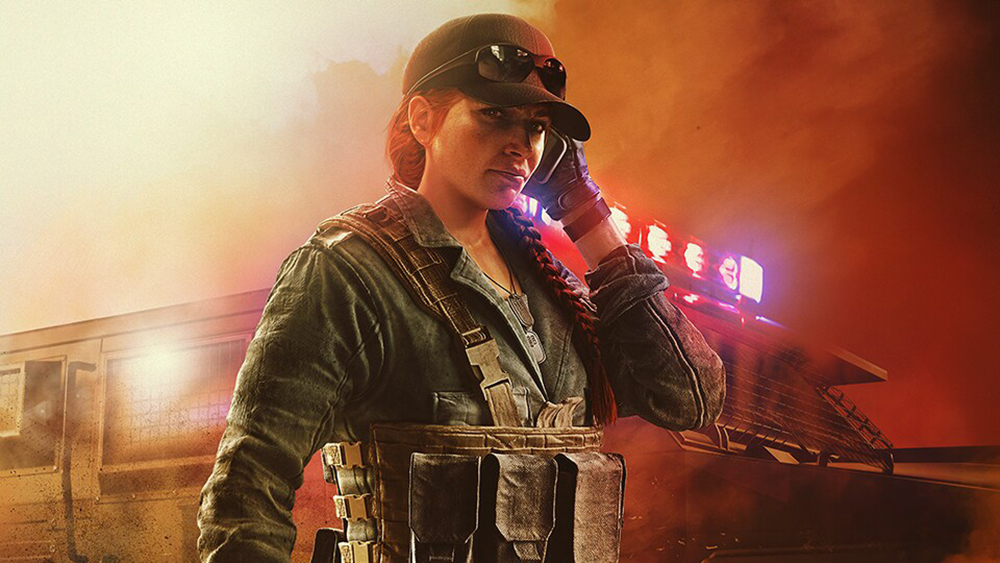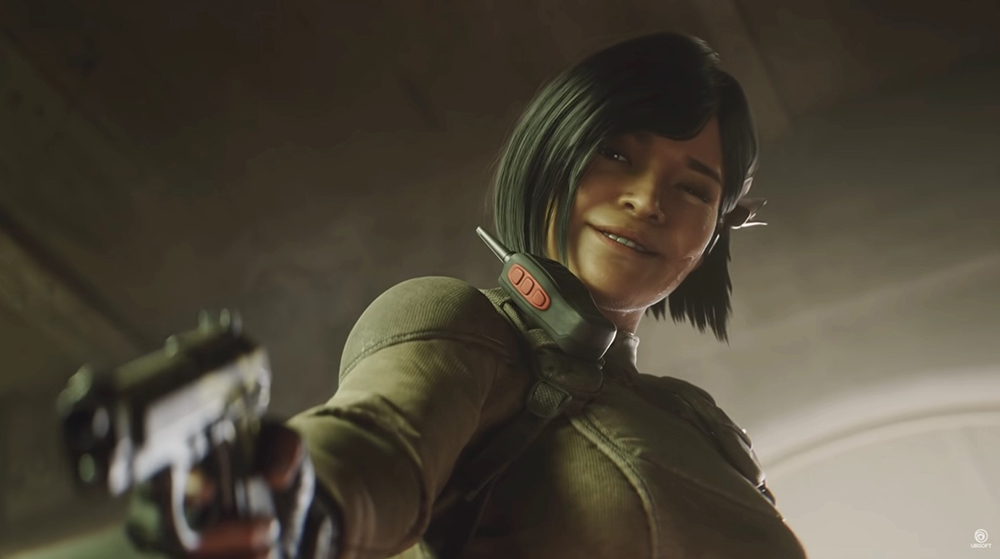
Osa’s Clear Shield may not be as tough as Montagne or Blitz’s shields, but it is definitely more versatile in that Osa can deploy it on the floor, attach it on windows, and even on entryways. Her Clear Shield doesn’t just provide extra cover for her and her teammates, it can also be used in creative ways like concealing a claymore or a Nomad Airjab because attackers can make Osa’s Clear shield opaque by hitting it with a melee attack.
Because of her Clear Shield, Osa can also gather intel for her whole team while avoiding getting hit by enemy bullets. But it’s not just her Clear Shield that makes Osa one of the most tactical operators in the game. Her loadout choices also complement the use of her special gadget, and we’re going to discuss them in this article.
5. PDW9 with Scope 1.5x, Flash Hider, and Vertical Grip + PMM with Suppressor and Laser + Impact EMP Grenade
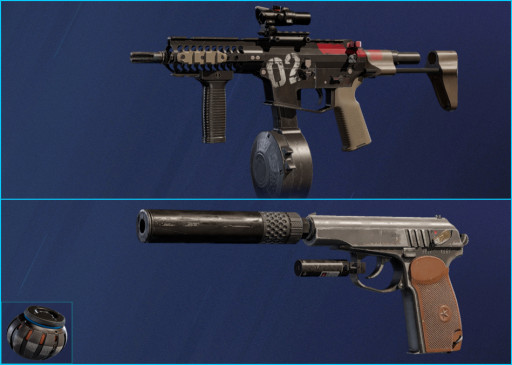
Most Siege players consider the amount of damage first when selecting their primary weapons, so it’s understandable that a lot of them, when playing Osa, would go for the 556XI assault rifle rather than the PDW9 submachine gun. However, the PDW9 offers some advantages that cannot be found in the 556XI. The most obvious advantage of the PDW9 over the 556XI is its huge magazine capacity. The huge magazine capacity of the PDW9 submachine gun will really help Osa during situations where she has to deal with more than one enemy.
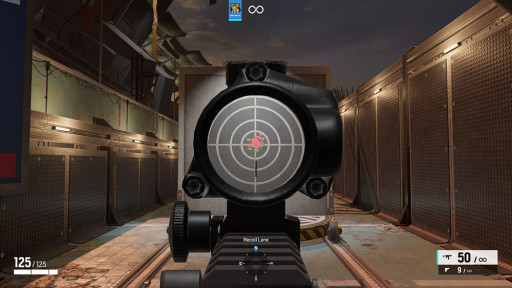
That’s because the bigger the magazine capacity of the weapon is, the less likely it will need to be reloaded in the middle of a gun fight. And the great thing about this loadout setup is that it will provide the best recoil control possible on the PDW9. As you can see from the recoil test screenshot below, one could empty a whole clip from the PDW9 submachine gun without losing much control. That means that with this loadout setup, Osa will be able to deal with multiple enemies effectively and with great accuracy.
Excels in:
- Having the best recoil control possible on the PDW9 submachine gun with both the flash hider and vertical grip lowering its vertical recoil
- The removal of the PDW9’s muzzle flash can make it harder for enemies to see where Osa is shooting from
- Having a good balance between zoom level and peripheral view through the scope 1.5x on Osa’s PDW9 submachine gun
- Being able to shoot defender gadgets with much less risk of alerting enemies due to the suppressed PMM handgun
- Having the ability to enable hard breaching with the impact EMP grenades that could disable hard breach preventing defender gadgets
Build Details:
- Primary weapon - PDW9 with Scope 1.5x, Flash Hider, and Vertical Grip
- Secondary weapon - PMM with Suppressor and Laser
- Generic gadget - Impact EMP Grenade
Recoil pattern test on the PDW9 in this setup with the author’s own recoil control applied:
4. PDW9 with Scope 1.5x, Extended Barrel, and Vertical Grip + PMM with Suppressor and Laser + Smoke Grenade
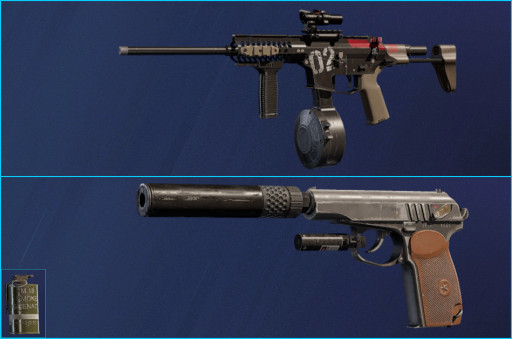
As mentioned before, damage is a big factor for Siege players when choosing their guns, and the best way to increase the damage of Osa’s PDW9 submachine gun is by attaching an extended barrel to it. Thanks to a recent buff, extended barrels now add 15% damage on weapons while retaining their previous benefit of reducing the weapon’s range damage drop-off. With this loadout setup, Osa will be dealing a good amount of damage per shot on the PDW9 submachine gun regardless of range.
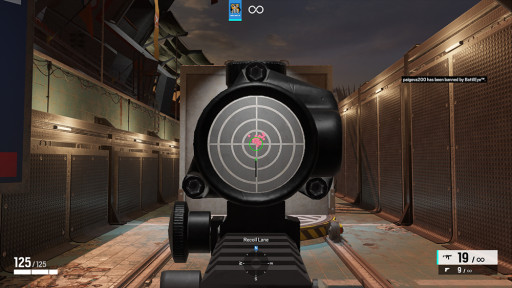
Now because the extended barrel doesn’t add recoil control benefits to the weapon, it could be harder for the user to control the recoil of the PDW9, especially since it has a fast rate of fire. The good news is, what I found out through my recoil test is that with this loadout, one could fire around thirty bullets on the PDW9 without losing much control of the weapon. So one could think of it as just having a more powerful PDW9 that can fire thirty bullets per clip, only, instead of reloading after firing thirty bullets, all Osa has to do is stop for a bit and reset.
Excels in:
- Inflicting heavier damage on enemies with Osa’s PDW9 submachine gun with the extended barrel increasing its base damage
- Having heavy stopping power on Osa’s PDW9 submachine gun with the extended barrel reducing its range damage drop-off
- Providing Osa with a good balance between zoom level and peripheral view on her PDW9 through the scope 1.5x
- Being able to silently shoot enemy gadgets with the use of the suppressed PMM handgun which also has a tight hip fire due to the laser
- Providing cover for a defuser plant attempt with the use of the two smoke grenades in Osa’s generic gadget slot
Build Details:
- Primary weapon - PDW9 with Scope 1.5x, Extended Barrel, and Vertical Grip
- Secondary weapon - PMM with Suppressor and Laser
- Generic gadget - Smoke Grenade
Recoil test on the PDW9 in this setup firing 31 bullets before I started feeling like I’ll lose control of the gun:
3. 556XI with Scope 2.0x, Flash Hider, and Vertical Grip + PMM with Suppressor and Laser + Smoke Grenade
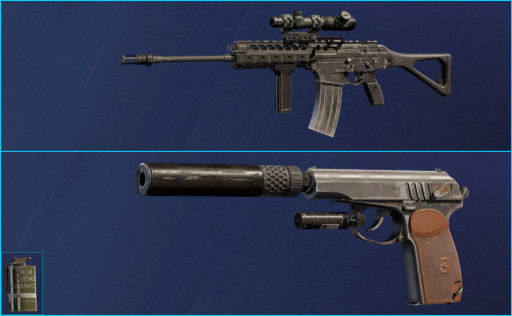
Now to the 556XI assault rifle which has much higher damage than the PDW9 submachine gun. A lot of Osa players choose this weapon because obviously, the higher your gun’s damage is, the faster you can take out an enemy. And when playing Osa who would mostly be strafing enemies after peeking from her Clear Shield, being able to inflict a lot of damage during that short burst goes a long way. For the 556XI’s barrel attachment, the flash hider is a very solid choice because it will provide a lot of vertical recoil control on the weapon.
Partnering with the vertical grip and holding the vertical recoil of the 556XI will be quite easy, and that’s great when firing after peeking around or over the Clear Shield. Another overlooked benefit of using a flash hider is that the removal of the weapon’s muzzle flash can have a positive effect on the player’s aim as well, because there are a lot of guns that have a strong muzzle flash, and that can blur the player’s vision while firing at enemies. As for the scope 2.0x, it’s a great scope that will make enemies appear bigger on the player’s screen, making them easier for the player to hit.
Excels in:
- Having a great vertical recoil control on Osa’s 556XI assault rifle with the flash hider and vertical grip working hand in hand to lower its vertical recoil
- Providing Osa with a high level of zoom through the scope 2.0x that will make enemies appear bigger on her screen
- Being able to shoot defender gadgets with less risk of giving away your location through the use of the suppressed PMM handgun
- Having a tight hip fire on the suppressed PMM handgun due to the laser attachment
- Being able to provide cover for pushing and planting the defuser with the use of the two smoke grenades in Osa’s arsenal
Build Details:
- Primary weapon - 556XI with Scope 2.0x, Flash Hider, and Vertical Grip
- Secondary weapon - PMM with Suppressor and Laser
- Generic gadget - Smoke Grenade
Recoil pattern test on the 556XI in this setup with the author’s own recoil control applied:
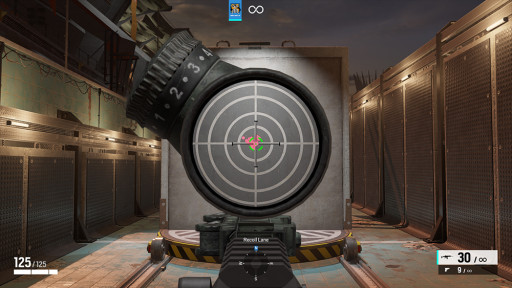
2. 556XI with Scope 2.0x, Compensator, and Vertical Grip + PMM with Suppressor and Laser + Claymore
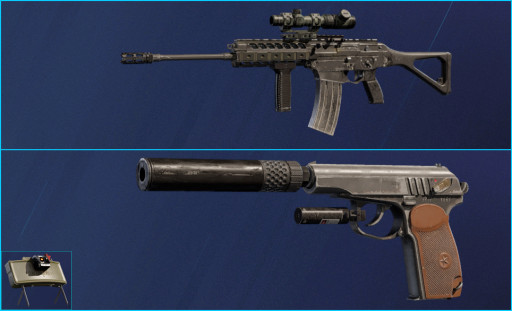
This loadout setup is what will provide the best stability for Osa’s 556XI. That’s because the compensator, especially with the recent buff, will greatly lower the weapon’s horizontal and random recoil from all directions. This goes a long way in stabilizing the 556XI especially when it comes to longer sprays because the weapon has a pretty strong horizontal recoil after the third shot. And by reducing the recoil diamond size of weapons, the compensator weakens their horizontal and random recoil by up to 35%.
With the compensator reducing the horizontal recoil and the vertical grip reducing the vertical recoil, the overall weapon kick of the 556XI assault rifle will be more stable, therefore, providing Osa with better accuracy. As for the secondary weapon, the suppressed PMM will allow Osa to go into stealth mode when penetrating the mission area because with it, she’ll be able to shoot defender gadgets like cameras and traps with much less chance of giving away her position.
Excels in:
- Having the best recoil control possible on Osa’s 556XI due to the compensator greatly reducing its horizontal and random recoil from all directions
- Maintaining a great vertical recoil control on Osa’s 556XI with the use of the vertical grip attachment
- Having a great amount of zoom level through the scope 2.0x without compromising a lot on peripheral view
- Being able to shoot defender gadgets such as cameras and traps with less risk of giving away your position with the use of the suppressed PMM handgun
- Protecting yourself from run outs, roamers, and flankers, with the use of the two claymores in Osa’s arsenal
Build Details:
- Primary weapon - 556XI with Scope 2.0x, Compensator, and Vertical Grip
- Secondary weapon - PMM with Suppressor and Laser
- Generic gadget - Claymore
Recoil pattern test on the 556XI in this setup with the author’s own recoil control applied:
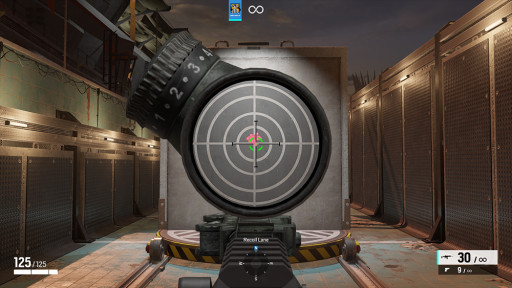
1. 556XI with Scope 2.0x, Suppressor, and Vertical Grip + PMM with Muzzle Brake and Laser + Claymore
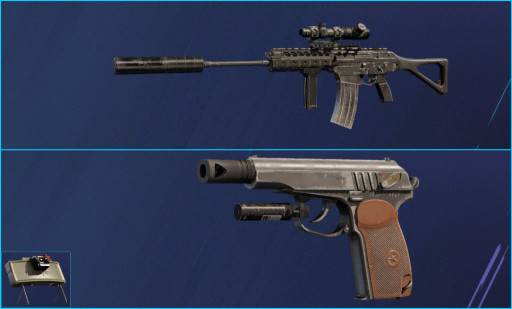
Osa may not be a stealthy operator most of the time, but the stealth benefits from the suppressor on her 556XI assault rifle will still provide her with a lot of advantages and that is why this loadout setup is at number one. First of all, Osa doesn’t always have to carry her Clear Shield in front of her, nor does she always have to be behind it. A lot of Osa players tend to forget that even without her Clear Shield in front of her, she’s an effective fragger. That’s because her 556XI deals heavy damage per shot, and due to her 3-heath rating, she can tank damage better than most attackers.
And when shooting enemies with her 556XI, it’s always great to not provide them with a directional threat indicator of where her shots are coming from. The suppressor will remove that directional threat indicator, remove the weapon’s muzzle flash, as well as greatly silence its gunshots. With this loadout setup, Osa could reduce the enemies’ effectiveness when it comes to quickly returning fire. As for the claymore, it’s a great partner for Osa’s Clear Shield because there are times when Osa can use her Clear Shield to hide a claymore from the enemies.
Excels in:
- Shooting enemies without them receiving a directional threat indicator of where Osa’s shots are coming from due to the suppressor
- The suppressor silencing the 556XI’s gunshots can make it harder for enemies to find Osa, and can help Osa hear incoming enemies better
- Maintaining a strong vertical recoil control on the 556XI assault rifle with the use of the vertical grip attachment
- Having great recoil control on the PMM handgun due to the muzzle brake barrel attachment
- Having a tight hip fire on the PMM handgun due to the laser attachment
- Having two claymores as Osa’s generic gadget which has a great combo with her Clear Shield
Build Details:
- Primary weapon - 556XI with Scope 2.0x, Suppressor, and Vertical Grip
- Secondary weapon - PMM with Muzzle Brake and Laser
- Generic gadget - Claymore
Recoil pattern test on the 556XI in this setup with the author’s own recoil control applied:

Attention operator, please be advised. There is a new directive from Six. Read up on these related articles, and prepare for deployment:

