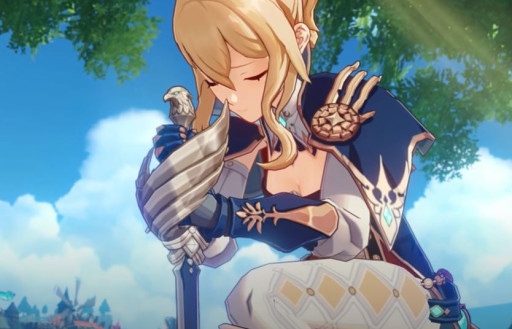
[Top 10] Genshin Impact Best Healers (Ranked)

Genshin Impact Best Healers
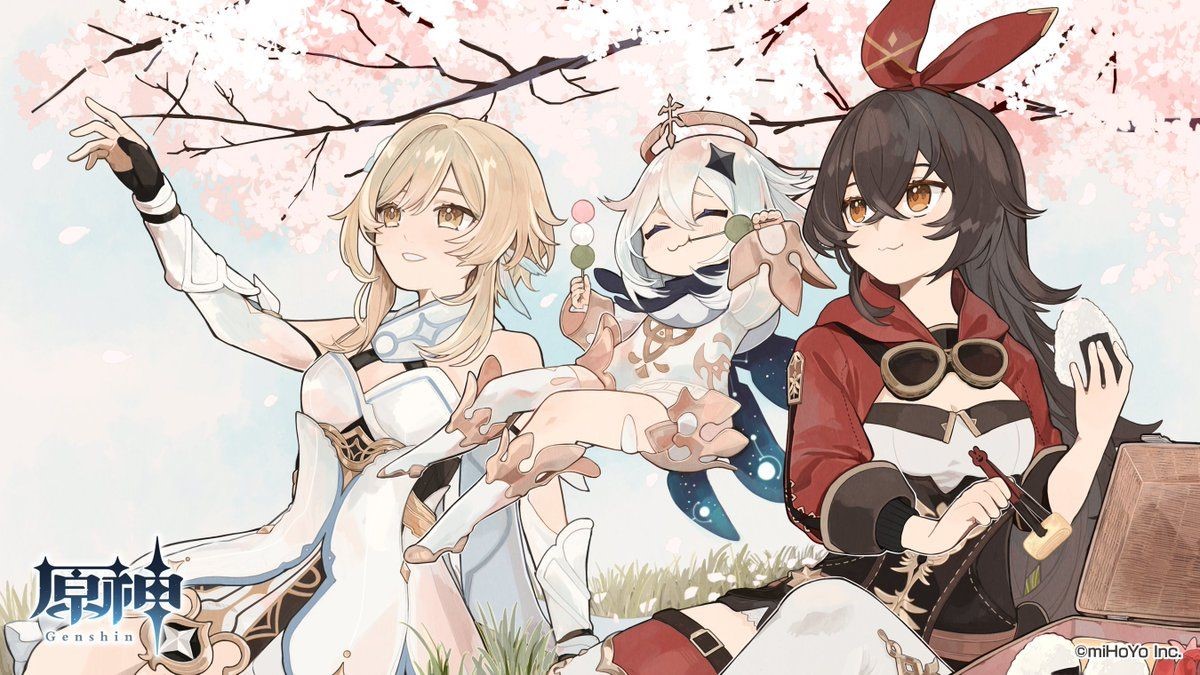
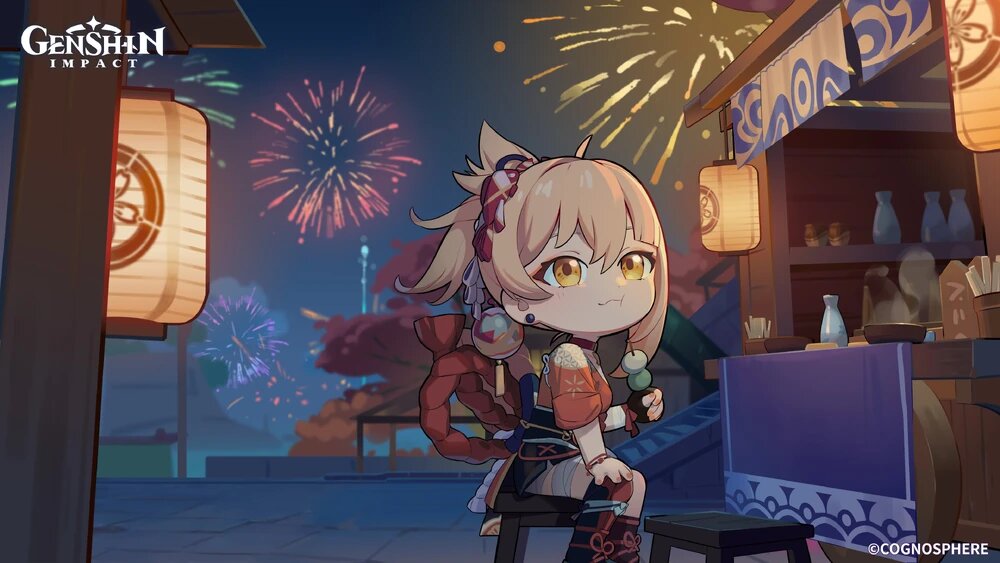
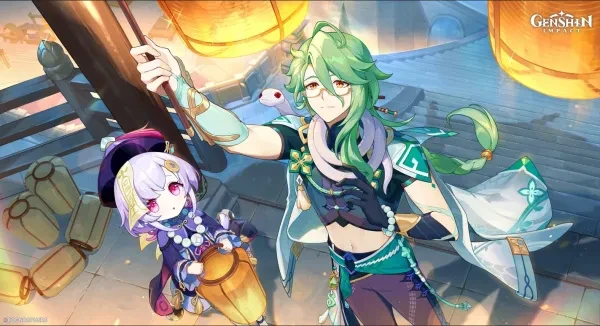
Two little healer besties filling their tummies before they get to work keeping everyone alive.


After 3 years in the running, Genshin Impact’s list of playable characters remains ever growing, and with new units means new healers. Like in many other RPGs, healers are essential units that are often quite versatile, offering party-wide healing, buffs, or debuff cleansing—among other abilities.

For the most part, healers that have the ability to provide buffs to other characters are favored over the others, even more so when the healer is a 5 star, meaning their healing and buff scaling is higher than a 4 star’s.

But if you’re looking for a good healer to invest in or pull for, then you’ve come to the right place. In this list you’ll find out who the current 10 best healers in the game are as well as a breakdown of their abilities and what exactly they have to offer.


10. Sayu (Good)


This lazy little ninja loves sleep so much she’ll do it on the job.

She may be a sleepaholic, but 4 star character Sayu is actually quite the versatile unit. As an Anemo character, she can make use of the Viridescent Venerer’s set and act as a support with the 4 piece artifact set bonus that decreases enemies’ elemental RES when the Swirl reaction is triggered.

But even if you choose not to equip her with said set, Sayu still offers her heals and is also a perfect fit on your exploration teams. With her Elemental Skill, the little Tanuki can roll around at fast speeds for a lengthy duration, giving her the ability to travel long distances quickly and help you cover more ground.

Another plus is that after getting Sayu’s 1st and 4th ascensions, she unlocks passive talents that do additional healing when her skill or burst is used. However, her Elemental Burst has a high energy cost, meaning that unless you have a battery or another Anemo character on your team, you’ll need to focus on Energy Recharge along with ATK, Elemental Mastery, and a Healing Bonus circlet( if you’d prefer that over ATK), which makes it harder maximize her overall healing capabilities.


Healing Abilities

  • Yoohoo Art: Mujina Flurry (Elemental Burst) – The other super special technique of the Yoohoo Ninja Arts! It summons a pair of helping hands for Sayu. Deals Anemo DMG to nearby opponents and heals all nearby party members. The amount of HP restored is based on Sayu's ATK. This skill then summons a Muji-Muji Daruma.
    Muji-Muji Daruma
    At specific intervals, the Daruma will take one of several actions based on the situation around it:

    • If the HP of nearby characters is above 70%, it will attack a nearby opponent, dealing Anemo DMG.
    • If there are active characters with 70% or less HP nearby, it will heal the active character with the lowest percentage HP left. If there are no opponents nearby, it will heal active characters nearby even if they have 70% HP or more.
  • Someone More Capable (1st Ascension Passive) – When Sayu triggers a Swirl reaction while active, she heals all your characters and nearby allies for 300 HP. She will also heal an additional 1.2 HP for every point of Elemental Mastery she has.
    This effect can be triggered once every 2s.
  • The Muji-Muji Daruma created by Yoohoo Art: Mujina Flurry gains the following effects:
    • When healing a character, it will also heal characters near that healed character for 20% the amount of HP.
    • Increases the AoE of its attack against opponents.


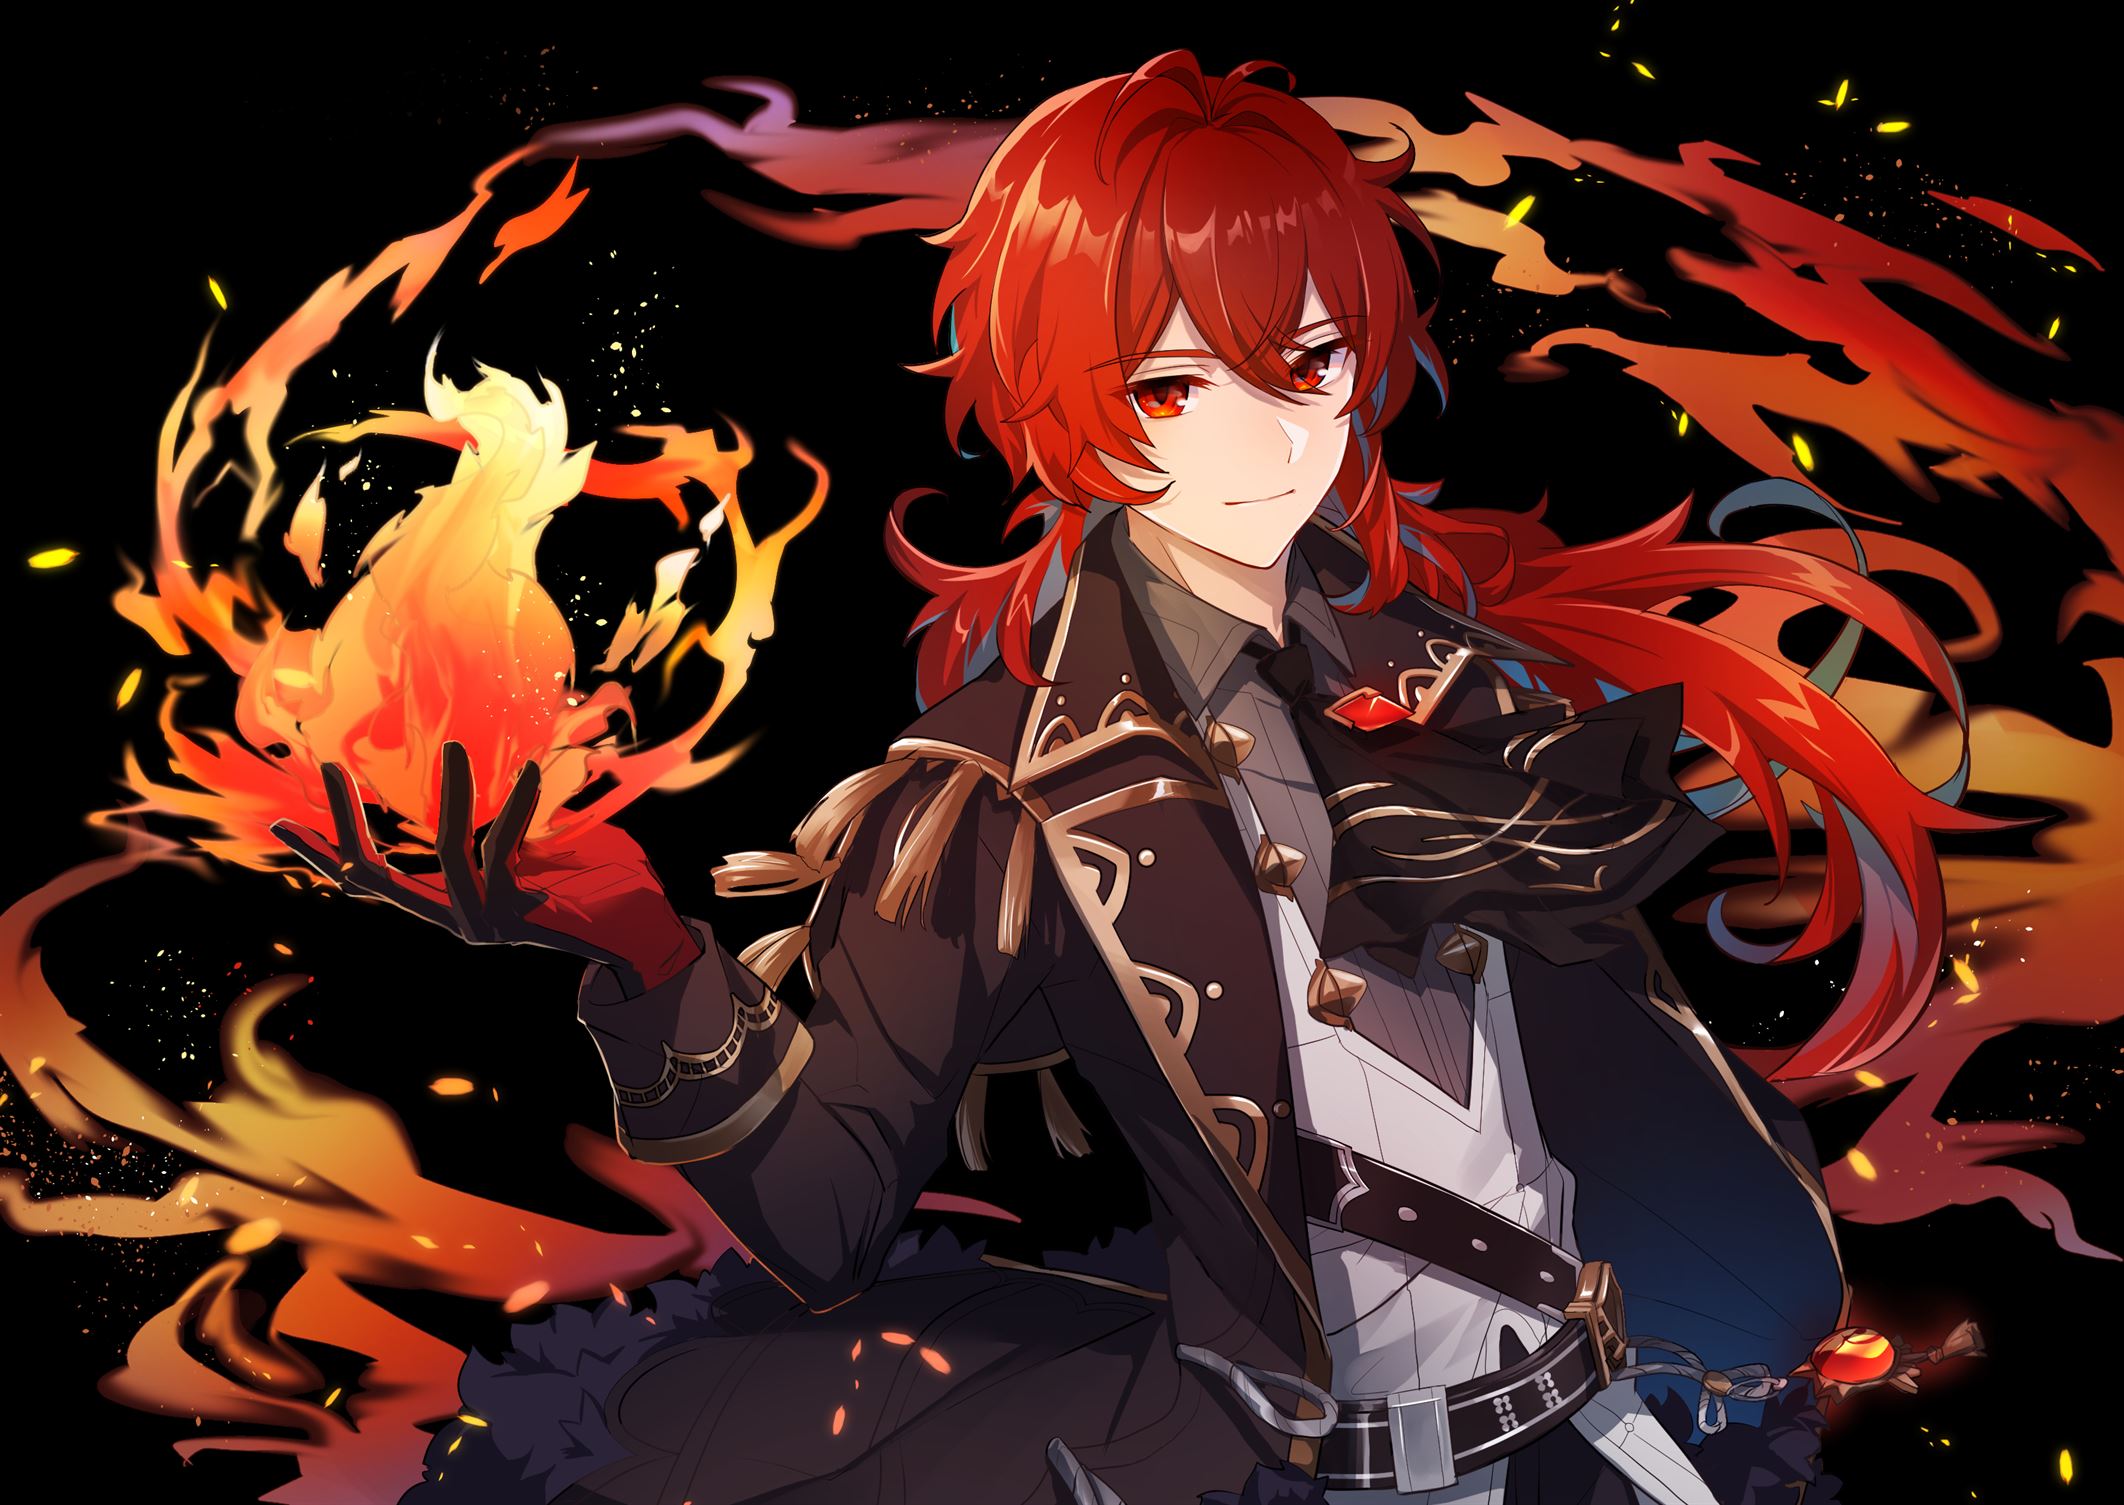
9. Diona (Good)


Diona in her natural habitat: surrounded by fellow cats.

Ah, yes, the wine-industry-hating bartender. Despite her hot temper, this Cryo Vision wielding little girl of Kätzlein origin offers decent support as both a healer and a shielder.

With her Elemental Burst, Diona grants on-field party members continuous healing within an AoE that also deals damage to enemies within said AoE. Unfortunately, the AoE itself is not that big, and the skill only heals the currently active character.

Because of that, if any of your other characters need healing, you’ll have to break your team rotation in order to heal them. This is especially detrimental if you’re tackling the higher floors of Spiral Abyss in which time management and smooth team rotations are crucial if you want to get a full 3 star clear.

Despite that, Diona does offer party members a shield with both short or long durations—depending on if you’re tapping or holding—with her Elemental Skill. What’s more, after unlocking her C2, Diona’s shield will be applied to all nearby teammates in Co-Op Mode.

Another plus is that Diona gives shielded characters a 10% increase in Movement SPD as well as a 10% Stamina Consumption decrease with her 1st Ascension Passive; with her 4th Ascension Passive, enemies in the AoE of Diona’s Elemental Burst have their ATK decreased by 10% for 15s, meaning that on top of her healing and shields, she offers character buffs and enemy debuffs which makes her a valuable and versatile unit. What’s more, Diona’s healing and shield absorption both scale off of her Max HP, making her quite easy to build, and her shield additionally has a 250% Cryo DMG Absorption Bonus.


Healing Abilities

  • Signature Mix (Elemental Burst) – Tosses out a special cold brew that deals AoE Cryo DMG and creates a Drunken Mist in an AoE.
    Drunken Mist

    • Deals continuous Cryo DMG to opponents within the AoE.
    • Continuously regenerates the HP of characters within the AoE.
  • Cat’s Tail Closing Time (Constellation 6) – Characters within Signature Mix’s radius will gain the following effects based on their HP amounts:
    • Increases Incoming Healing Bonus by 30% when HP falls below or is equal to 50%,
    • Elemental Mastery is increased by 200 when HP is above 50%.


8. Barbara (Good)


Waiting for an official Barbara concert. Make it happen HoYo.

Mondstadt’s beloved idol, known for her sweet and helpful nature, is an iconic figure in both the game’s region and its real-life player community. This 4 star unit (originally meant to be a 5 star), is a character given for free upon completing the Mondstadt Chapter of the Archon Quest, and is quite a reliable healer.

Both her Elemental Skill and Elemental Burst heal your entire party, and after unlocking her C6, she can even revive a fallen party member to full health!

However, all characters must have their downsides, and Barbara—sweet as she may be—has quite a few. For starters, while her Elemental Skill has a decent duration, it does have an annoyingly long cooldown (however, with her C2, the CD is decreased by 15%). On top of that, her skill continuously applies the active character with the Wet status, making them vulnerable to the Frozen reaction when facing off against Cryo DMG dealing opponents—a reaction that is the bane of many players’ existence.

Nevertheless, as a free unit, F2P players can get by just fine without needing to go out of their way to spend their Primogems on another healer—except when it comes to the higher floors of Spiral Abyss, where healers are highly recommended to have on both teams. But even then, other F2P friendly 4 star healers suffice just as well.


Healing Abilities

  • Let the Show Begin♪ (Elemental Skill) – Summons water droplets resembling musical notes that form a Melody Loop, dealing Hydro DMG to surrounding opponents and applying the Wet status to them.
    Melody Loop

    • On hit, Barbara’s Normal Attacks heal your own party members and nearby teammates for a certain amount of HP, which scales with Barbara’s Max HP.
    • On hit, Barbara’s Charged Attack generates 4 times the amount of healing.
    • Periodically renegerates your own active character’s HP.
    • Applies the Wet status to the character and to opponents who come in contact with them.
  • Shining Miracle♪ (Elemental Burst) – Heals your own party members and nearby teammates for a large amount of HP that scales with Barbara’s Max HP.
  • Dedicating Everything to You (Constellation 6) – When Barbara is in the party but not on the field, and one of your own party members falls:
    • Automatically revives the fallen character.
    • Fully restores the revived character’s HP to 100%.
      This effect can only occur once every 15 mins.


7. Yaoyao (Good)


After a long wait, Yaoyao has finally been let out of the miHoYo basement.

The very first Dendro healer (teased for nearly 3 years before her release), Yaoyao, is both a cute and highly useful addition to any team revolving around Dendro related reactions. As the element with arguably the most broken reactions, Yaoyao is an excellent choice to both proc the reactions and make up for the destructive nature of the Bloom, Burning, and Burgeon reactions, which can be harmful to on-field characters.

Yaoyao’s Elemental Skill is key in her kit. Not only does it heal your active character, but it also does continuous damage to opponents, which is perfect if she’s equipped with the 4 piece Deepwood Memories set (if you’re using a Dendro reaction based team).

As for her Elemental Burst, rather than healing only your active character, it heals your entire party, making up for her Elemental Skill’s single target healing. Additionally, Yaoyao’s 4th Ascension Passive and her Constellation 6 boost the healing she provides.

Her downsides, however, are that her skill only heals the character with the lowest HP below 70% (unless there are no opponents on the field), her Elemental Burst has a high energy cost, and when using said skill, Yaoyao must remain on-field for a few seconds while you dash in order to maximize its healing.


Healing Abilities

  • Raphanus Sky Cluster (Elemental Skill) – Calls upon "Yuegui: Throwing Mode," a special device created by a certain adeptus to help Yaoyao solve her problems.
    This skill will be used differently in Holding Mode.
    Hold
    Enters Aiming Mode to adjust the throw direction.
    Yuegui: Throwing Mode
    Throws out White Jade Radishes that will explode upon hitting characters or opponents, dealing Dendro DMG to opponents within a certain AoE, and healing characters within that same AoE based on Yaoyao's Max HP. If a radish does not hit either an opponent or a character, the radish will remain where it is and explode on contact with a character or opponent, or will explode after its duration expires.
    Yuegui: Throwing Mode will choose its radish-throw targets.

    • If all nearby characters have more than 70% HP remaining, then it will throw the radish at a nearby opponent.
    • If nearby characters have 70% or less HP remaining, it will throw the radish at the character with the lowest HP percentage remaining. If no opponents exist nearby, Yuegui will throw White Jade Radishes at characters even if they all have more than 70% HP remaining.
      A maximum of 2 instances Yuegui: Throwing Mode can exist at any one time.
  • Moonjade Descent (Elemental Burst) – At the enjoinment of a certain adeptus, Yuegui's full potential can be unleashed in an emergency, dealing Dendro DMG to nearby opponents and entering an (in some sense) unsurpassed Adeptal Legacy state.
    Adeptal Legacy

    • White Jade Radishes generated will be changed to heal and deal DMG according to this skill. Explosions will heal all nearby party members, and the Dendro DMG that they deal will be viewed as Elemental Burst DMG instead.
    • Summons “Yuegui: Jumping Mode” at intervals until their limit has been reached. The behavior of this version of Yuegui is the same as that of “Yuegui: Throwing Mode” in the Elemental Skill, Raphanus Sky Cluster. A maximum of 3 Yuegui: Jumping Mode can exist at any one time.
    • Yaoyao’s Movement SPD is increased by 15%.
    • Yaoyao’s Dendro RES will be increased.
      The Adeptal Legacy state will end once Yaoyao is off-field, and all remaining Yuegui: Jumping Mode will be cleared once this state ends.
  • In Others’ Shoes (4th Ascension Passive) – When White Jade Radishes explode, active characters within their AoE will regain HP every 1s based on 0.8% of Yaoyao's Max HP. This effect lasts 5s.
  • Beneficent (Constellation 6) – For every 2 White Jade Radishes Yuegui: Throwing Mode throws out, it will also throw a Mega Radish that will have a larger AoE than the standard White Jade Radish and have the following effects upon exploding:
    • Deals AoE Dendro DMG based on 75% of Yaoyao’s ATK.
    • Restores HP for the active character based on 7.5% of Yaoyao’s Max HP.
      Every Yuegui: Throwing Mode can throw out a maximum of 2 Mega Radishes.


6. Qiqi (Excellent)


The adorable duo we all needed.

Though this forgetful zombie child might be arguably the most hated character by the playerbase, Qiqi is actually quite the adept healer.

Not only is she able to provide party-wide healing, but her Constellation 6 has the ability to revive all fallen party members—a step up from our old friend Barbara. However, Qiqi’s revival only heals your characters to 50% HP, as opposed to Barbara, who restores a single downed character to 100%. But with her healing, Qiqi can easily make up for the team’s missing HP.

Naturally, Qiqi has a few drawbacks. First, her Elemental Skill has a rather long cooldown, and if you want party wide healing, Qiqi has to stay on-field to attack opponents, otherwise her skill only heals your active character periodically. Then there’s the fact that her Elemental Burst has a high energy cost.

On the upside, however, Qiqi’s healing scales off of her ATK, making her relatively easy to build, and if there’s another Cryo character on the team, her energy problem isn’t as big of a deal either.


Healing Abilities

  • Adeptus Art: Herald of Frost (Elemental Skill) – Using the Icevein Talisman, Qiqi brings forth the Herald of Frost, dealing Cryo DMG to surrounding opponents.
    Herald of Frost

    • On hit, Qiqi’s Normal and Charged Attacks regenerate HP for your own party members and nearby teammates. Healing scales based on Qiqi’s ATK.
    • Periodically regenerates your active character’s HP.
    • Follows the character around, dealing Cryo DMG to opponents in their path.
  • Adeptus Art: Preserver of Fortune (Elemental Burst) – Qiqi releases the adeptus power sealed within her body, marking nearby opponents with a Fortune-Preserving Talisman that deals Cryo DMG.
    Fortune Preserving Talisman
    When opponents affected by this Talisman take DMG, the character that dealt this DMG regenerates HP.
  • Rite of Resurrection (Constellation 6) – Using Adeptus Art: Preserver of Fortune revives all fallen party members nearby and regenerates 50% of their HP.
  • This effect can only occur once every 15 mins.


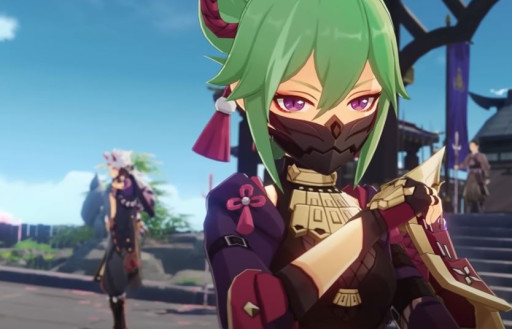
5. Kuki Shinobu (Excellent)


Kuki Shinobu, once again being dragged along to babysit her man-child boss as he goes about his daily shenanigans.

After the arrival of playable Dendro characters, along with the corresponding Elemental Reactions, Kuki Shinobu quickly rose to become a central unit within teams composed around said reactions—more specifically, Aggravate/Spread and Hyperbloom.

With her Elemental Skill, Kuki Shinobu offers your active character continuous healing at the cost of her own HP; the skill itself creates a ring made of Electro that also deals Elemental DMG periodically. Since the ring applies opponents within the AoE with Electro, Kuki Shinobu makes for a perfect unit to proc Dendro related reactions.

Though her Elemental Skill has a lengthy duration, unless you have her C2, it still has a 3s cooldown, which creates a window of time when Kuki Shinobu is unable to apply Electro. Additionally, since she sacrifices her own HP upon use of her Elemental Skill, this window makes her vulnerable and can be deadly should she be hit by an opponent at low HP. The (somewhat) good news, however, is that with her C6, Kuki Shinobu will not be knocked down if she takes lethal damage.

And when it comes back down to Dendro reactions, Kuki Shinobu’s 4th Ascension Passive gives her healing a boost based on her Elemental Mastery, the core stat that makes Dendro reactions so powerful; so it essentially boosts the damage of the reactions she procs.


Healing Abilities

  • Sanctifying Ring (Elemental Skill) – Creates a Grass Ring of Sanctification at the cost of part of her HP, dealing Electro DMG to nearby opponents.
    Grass Ring of Sanctification
    Follows your current active character around. Deals Electro DMG to nearby opponents every 1.5s and restores HP for the active character(s) within the ring's AoE based on Kuki Shinobu's Max HP.
    The HP consumption from using this skill can only bring her to 20% HP.
  • Breaking Free (1st Ascension Passive) – When Shinobu's HP is not higher than 50%, her Healing Bonus is increased by 15%.
  • Heart’s Repose (4th Ascension Passive) – Sanctifying Ring's abilities will be boosted based on Shinobu's Elemental Mastery:
    • Healing amount will be increased by 75% of Elemental Mastery.
    • DMG dealt is increased by 25% of Elemental Mastery.


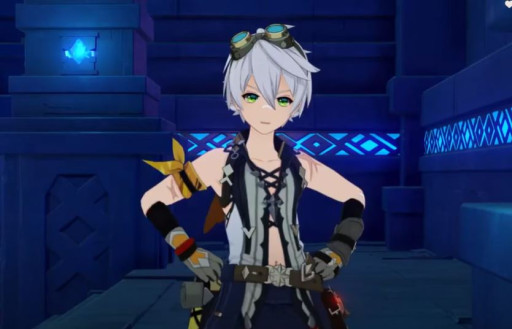
4. Bennett (Excellent)


Others might refuse to team up with him, but he is always welcomed on most players’ teams with open arms.

Everyone’s beloved Benny Boy, here to save the day with his extraordinary bad luck that, incidentally, ended up carrying many of us through some of our toughest battles in the game. Considered a cracked unit, Bennett not only has the ability to heal your characters, he can also provide significant buffs to boost your characters’ DMG.

As a healer, Bennett’s relatively easy to build, as his healing scales off of his Max HP. Added to that the fact that his Elemental Burst isn’t high-cost means you don’t have to pile him up on Energy Recharge, though an Energy Recharge sands is still recommended if you want to spam his burst in Spiral Abyss.

Bennett’s buff, on the other hand, scales off of his Base ATK, contrary to popular belief, so stacking him up on Flat ATK and ATK% is essentially useless; instead, it’s recommended to equip him with a weapon that has a high Base ATK. When it comes to Bennett’s buffs, if you want to beef them up, it’s best to put him on the 4 piece Noblesse Oblige set which buffs your entire party.

Although he is a character with many benefits, Bennett still has his cons. For one, his Elemental Burst only heals and buffs your current active character within his skill’s AoE. Then there’s the fact that his Elemental Burst only heals the active character if they are at less than 70% HP, so once they have been healed up to 70% or more, the skill will no longer heal the active character, meaning that most of the time, they won’t get back up to full health.

Overall, however, Bennett is a worthwhile investment that brings a lot to the table. Just be sure not to activate his Constellation 6 if you plan on using him with physical characters or characters with infused Normal/Charged Attacks that can be overridden.


Healing Abilities

  • Fantastic Voyage (Elemental Burst) – Bennett performs a jumping attack that deals Pyro DMG, creating an Inspiration Field.
    Inspiration Field

    • If the health of a character within the AoE is equal to or falls below 70%, their health will continuously regenerate. The amount of HP restored scales off Bennett’s Max HP.
    • If the health of a character within the AoE is higher than 70%, they gain an ATK Bonus that is based on Bennett’s Base ATK.
    • Imbues characters within the AoE with Pyro.


3. Sangonomiya Kokomi (Excellent)


Kokomi walked so Furina could run—on water, that is.

This mermaid-esque military strategist who was once a unit many deemed “worthless” has since then risen through the ranks to become one of the best and most desired healers. Sangonomiya Kokomi, like Barbara, is a Hydro healer wielding a Catalyst; similarly, both her Elemental Skill and Elemental Burst also have healing capabilities.

As with most other healers, Sangonomiya Kokomi’s healing scales off of her Max HP, making her an easy-to-build character. With her Elemental Skill, she summons a Bake-Kurage that continuously heals the active character at certain intervals; the skill itself provides massive heals and has a decent uptime along with a not-too-terribly-long cooldown.

Kokomi’s Elemental Burst, on the other hand, resets the duration of her Elemental Skill (with her 1st Ascension Passive) and heals all party members when she hits opponents with her Normal and Charged Attacks. Since she offers a mix of on/off-field healing, it makes her a well balanced unit.

On the negative, however, in exchange for a 25% Healing Bonus, Kokomi has -100% CRIT Rate. Yes, sorry folks, but unless you want to put yourself through unnecessary hardship, DPS CRITkomi is but a pipe dream.

Another somewhat-downside to Sangonomiya Kokomi is her Elemental Burst. She only heals your party on hit, meaning she must stay as the active character until you either feel she’s healed everyone enough or the duration of the skill ends, which can be a bit of a problem if you’re using her in Spiral Abyss. Additionally, if Kokomi leaves the field and you swap to a different character, the effects of her Elemental Burst will end.

Still, her healing abilities are exceptional—some of the highest in the game, if built right—and definitely worthy of investment.


Healing Abilities

  • Kurage’s Oath (Elemental Skill) – Summons a "Bake-Kurage" created from water that can heal her allies.
    Using this skill will apply the Wet status to Sangonomiya Kokomi.
    Bake-Kurage
    Deals Hydro DMG to surrounding opponents and heal nearby active characters at fixed intervals. This healing is based on Kokomi's Max HP.
  • Nereid’s Ascension (Elemental Burst) – Summons the might of Watatsumi, dealing Hydro DMG to surrounding opponents, before robing Kokomi in a Ceremonial Garment made from the flowing waters of Sangonomiya.
    ​Ceremonial Garment

    • Sangonomiya Kokomi’s Normal Attack, Charged Attack and Bake-Kurage DMG are increased based on her Max HP.
    • When her Normal and Charged Attacks hit opponents, Kokomi will restore HP for all nearby party members, and the amount restored is based on her Max HP.
    • Increases Sangonomiya Kokomi’s resistance to interruption and allows her to walk on the water’s surface.
      ​These effects will be cleared once Sangonomiya Kokomi leaves the field.
  • Flawless Strategy (Passive) – Sangonomiya Kokomi has a 25% Healing Bonus, but a 100% decrease in CRIT Rate.
  • The Clouds Like Waves Rippling (Constellation 2) – Sangonomiya Kokomi gains the following Healing Bonuses with regard to characters with 50% or less HP via the following methods:
    • Kurage’s Oath Bake-Kurage: 4.5% of Kokomi’s Max HP.
    • Nereid’s Ascension Normal and Charged Attacks: 0.6% of Kokomi’s Max HP.


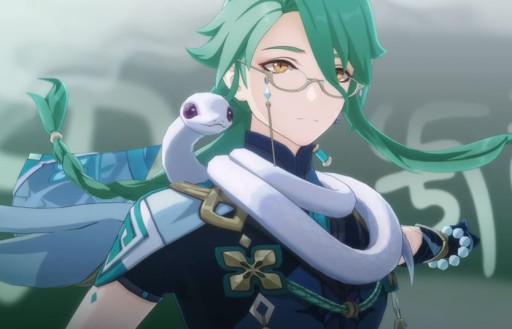
2. Baizhu (Excellent)


Gone are the days when we believed Baizhu would be the first playable Dendro character…

As Liyue’s most renowned physician, it’s only fitting that Baizhu be one of the best healers in the game. Added to that the fact that he uses the most cracked element makes him an ideal support for Dendro related teams. He can even secure a good spot on your exploration teams if you’re in need of quick healing out in the open world, as his Utility Passive heals your active character whenever they interact with certain harvestable items.

Again, Baizhu’s healing scales off of his Max HP, so he’s easy to build. With his Elemental Skill, he sends out a Sprite that deals damage to opponents and heals all party members—and we’re talking big heals here, almost (if not as good as) Kokomi level healing. With his Elemental Burst, on the other hand, Baizhu provides a shield that continuously heals your active character and deals damage to enemies at the same time.

However, there are a few downsides to his abilities. First off, Baizhu’s Elemental Skill has a rather long cooldown, and since it only provides one instance of healing per use, you might end up in a bit of a bind if you’re up against a particularly tough opponent that hits like a truck.

Then there’s Baizhu’s Elemental Burst. Not only does it have a high energy cost, it also only heals your active character, not including the active characters of any Co-Op teammates (unless your Baizhu is equipped with Prototype Amber). Plus, to put it simply, his shield isn’t all that great, so it’s best not to rely on it too much for protection.

In the end, it’s undeniable that he’s a great healer, and the fact that he can easily proc Dendro reactions as a catalyst makes him all the more valuable—certainly a unit worth investing in.


Healing Abilities

  • Universal Diagnosis (Elemental Skill) – Controls a Gossamer Sprite that cruises and attacks nearby opponents, dealing Dendro DMG.
    After it performs 3 attacks or if there are no opponents nearby, the Sprite will return, healing all nearby party members based on Baizhu's Max HP.
  • Holistic Revivification (Elemental Burst) – Enters the Pulsing Clarity state, creating a Seamless Shield that absorbs Dendro DMG with 250% effectiveness.
    While in this state, Baizhu will generate a new Seamless Shield every 2.5s.
    ​The Seamless Shield will heal your own active character based on Baizhu’s Max HP and attack opponents by unleashing Spiritveins, dealing Dendro DMG under the following circumstances:

    • When a character is under the protection of a Seamless Shield and a new Seamless Shield is generated.
    • When the Seamless Shield’s effects expire, or when it is shattered.
  • Herbal Nourishment (Utility Passive) – When Baizhu is in the party, interacting with certain harvestable items will heal your current active character for 2.5% of Baizhu’s Max HP.
  • Attentive Observation (Constellation 1) – Universal Diagnosis gains 1 additional charge.
  • Incisive Discernment (Constellation 2) – When your own active character hits a nearby opponent with their attacks, Baizhu will unleash a Gossamer Sprite: Splice.
    Gossamer Sprite: Splice will initiate 1 attack before returning, dealing 250% of Baizhu’s ATK as Dendro DMG and healing for 20% of Universal Diagnosis’s Gossamer Sprite’s normal healing.
    DMG dealt this way is considered Elemental Skill DMG.
    This effect can be triggered once every 5s.


1. Xianyun (Best)


At long last, playable Cloud Retainer.

As one of the newest additions to Genshin Impact’s character roster, Xianyun has taken the meta by storm with her unique playstyle and kit centered around Plunge Attack support and healing.

Xianyun is a well balanced character that offers a game-changing opportunity with her ability to essentially turn any DPS into a Plunge DPS, or buff existing units centered around Plunge DMG like Xiao and Gaming, who was released alongside her.

But of course, aside from her busted buffs, Xianyun doubles as an excellent healer. With the use of her Elemental Burst, she will periodically heal all party members, the healing of which scales off her ATK, another easy-to-build stat.

Of course, if you don’t plan on using any of the characters on your team for Plunge DMG, Xianyun probably isn’t the best pick for the healer position, making her a somewhat niche unit. Her Elemental Burst also has an energy cost that’s a little on the high side, and even if she’s paired on a team with Xiao, he also has a bit of an energy problem, so unless you have a character like Faruzan or another battery, you’ll have to invest in Energy Recharge stats on top of ATK.


Healing Abilities

  • Stars Gather at Dusk (Elemental Burst) – Brings forth a sacred breeze that deals AoE Anemo DMG and heals all nearby characters based on Xianyun’s ATK. It will also summon the “Starwicker” mechanism.
    ​Starwicker

    • Continuously follows the active character and periodically heals all nearby party members based on Xianyun’s ATK.
    • Starts with 8 stacks of Adeptal Assistance. While Adeptal Assistance is active, nearby active characters in the party will have their jump height increased.
    • When the active character completes a Plunging Attack, Starwicker will consume 1 stack of Adeptal Assistance and deal AoE Anemo DMG.
  • Only 1 Starwicker can exist simultaneously.
  • Mystery Millet Gourmet (Constellation 4) – After using Skyladder 1/2/3 times during one White Clouds at Dawn Cloud Transmogrification state, when a Driftcloud Wave unleashed during that instance hits an opponent, it will heal all nearby party members for 50%/80%/150% of Xianyun’s ATK. This effect can be triggered once every 5s.


You May Also Be Interested In:


More on this topic:


Up the hills and over the mountains, I've played through many a quest to rack up XP and level up my writing to max level. With versatile sub-skills, my potential is boundless.
Favorite Genre: RPG
Top 3 Favorite Games:, ,


More Top Stories