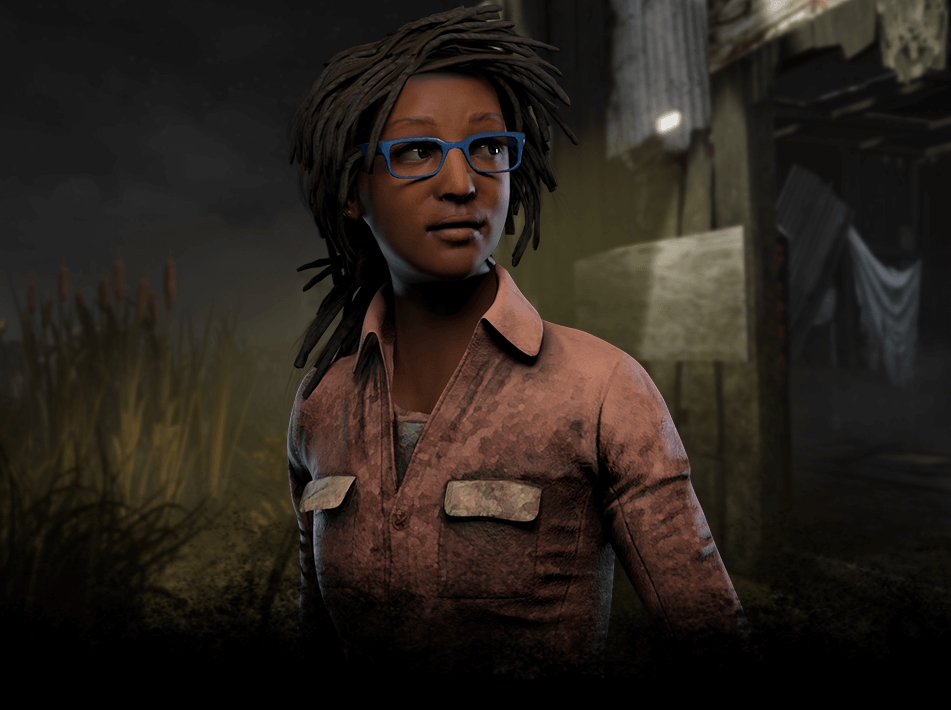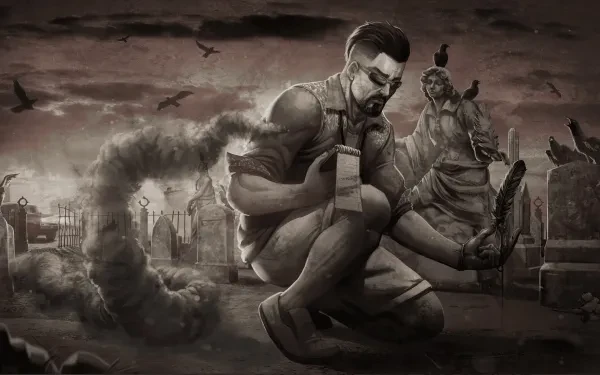
Jonah Vasquez is a fascinating character to look at; as previously a mathematician, his world changed the way he perceived it once he got the numbers:
8, 25, 19, 44, 1; -20.37, -69.85; 13, 2, 26, 11, 1
These numbers were only a distraction until Jonah figured them out after several distressing events.
It was the date of his birthday, and what’s worse, the date of today, the day he solved the puzzle, and the location he was currently at. No one knows there it was a prophecy or if someone led him down this path. The dark fog came across him until that moment, realising that it was too late.
Besides the mysterious and exciting story, let us look at the builds that could change the game.
5. The Anti-Tunnel build
Dead by Daylight gameplay by Schmuckles
The Anti-tunnel build is a build that will make killer stop tunnelling you in a variety of situations.
However, overall when looking at the build, it is a perfect build that does the job, making it harder for the killer to play against a survivor with these types of perks.
The decisive perk strike is the perk that will let the killers down, making it easier to escape; however, there have been situations in this game where the decisive strike is not working as good as it used to due to the fact lagging (ping) from the killer, meaning that the perk is ineffective as it activates in a different time of when the killer picks a survivor up.
Nevertheless, when looking at the other perks, it is a recovery build that will significantly speed up the recovery. With the help of the teammates, it is a strong build that I would recommend for giggles and distraction, especially when the other survivors are doing a generator on the other side of the map, making this build perfect for a cover-up.
What the Anti-Tunnel build Excels In:
- Anti-tunneling: Where this build creates an anti-hooking situation where there are many opportunities where you can get healed from the dying state or advantage of getting only a deep wound status effect by only using soul guardian.
- The combination of Unbreakable and boon: exponential, where you can recover with a maximum of 135% if using maxed out perks.
- Decisive strike: Escaping the killer’s grasp when used as an emergency perk in a ‘tunnelling’ situation.
Build details & Perks:
- Unbreakable: Once per Trial, you can completely recover from the Dying State. The Recovery speed is increased by 25/30/35 %.
- Decisive Strike: After being unhooked or unhooking yourself, Decisive Strike activates for the next 40/50/60 seconds: When being grabbed or picked up by the Killer, succeed in a Skill Check to escape their grasp, stunning them for 5 seconds automatically.
- Soul Guardian: After being healed from or having recovered from the Dying State, Soul Guard grants you the Endurance Status Effect for the next 4/6/8 seconds. Any damage is taken that would put you into the Dying State will instead trigger the Deep Wound Status Effect, after which you have 20 seconds to Mend yourself.
- Boon: Exponential: Survivors inside the Boon Totem's range benefit from the following effects: 90/95/100 % bonus to the Recovery speed.
4. The Killer Recovery Build
Dead by Daylight gameplay by Yerv
First of all, one of the strengths of this build is the ultimate recovery speed which can reach up to 160%, which is amazingly very fast and will let you get up once literally the killer blinks. Another advantage of using the perk no mither is that its grunts of pain can be reduced up to 75%, meaning that you could be in a situation where you can crawl away from the killer. It will be harder for him to find you whilst in the ‘dying state’ and then be able to use other perks' advantages to escape.
Nevertheless, if the killer is very close and you have been recovered, the perk ‘Soul Guard’ is very advantageous as it gives you an endurance effect, escaping the killer whilst getting a second time.
It is a solid build that can easily be put under the “toxicity of builds”. However, it is perceived as powerful, especially when communicating with your teammates, making the perks much more effective.
What The Killer Recovery Build Excel In:
- The overall combination of Unbreakable, boon: exponential and no mither, where you can recover with a maximum of 160% if using maxed out perks.
- No mither: You can reduce the grunts of pain and recover from a dying state at a fast speed of 25%, making it much harder for the killer to pick a survivor up.
- Soul Guardian with the combination of recovery speed perks, making it nearly impossible for the killer to pick you up or down if you recovered before.
Build details & Perks:
- Soul Guardian: After being healed from or having recovered from the Dying State, Soul Guard grants you the Endurance Status Effect for the next 4/6/8 seconds. Any damage is taken that would put you into the Dying State will instead trigger the Deep Wound Status Effect, after which you have 20 seconds to Mend yourself.
- Unbreakable: Once per Trial, you can completely recover from the Dying State. The Recovery speed is increased by 25/30/35 %.
- Boon: Exponential: Survivors inside the Boon Totem's range benefit from the following effects: 90/95/100 % bonus to the Recovery speed.
- No Mither: You suffer from the Broken Status Effect for the entire Trial but benefit from the following effects: Pools of Blood are suppressed. When injured or dying, Grunts of Pain are reduced by 25/50/75 %. Your Recovery speed is increased by 15/20/25 %. You can recover fully from the Dying State.
3. The Hit and Run Build
Dead by Daylight gameplay by AZHYMOVS
The Hit and Run build is a build that is perfect for those who like second chances. It is a build that will protect you from being put into a dying state and being able to escape even faster than usual. Let me give you a quick scenario of how good this build is:
First, you get hit by the killer, but instead of getting put into a dying state, the perk ‘Mettle of Man’ activates, being able to protect you from putting yourself into a dying status. Nevertheless, whilst getting hit, you can run faster for longer while using the perk ‘Overcome’ to escape the killer.
The fun part of this build is that you can repeat the process without wasting your item, as when using the perk built to last, you can replenish your item three times, which means a total of four chances.
Overall, I love this build; however, one of the disadvantages only comes when the killer has brought something to the game, for instance, the killer’s perk ‘Iron maiden’, which reveals the survivor when coming out of the locker, making the perk ‘built to last’ pretty vulnerable.
What The Hit and Run Excel In:
- The combination of the Endurance status effect and Overcome is potent when escaping the killer whilst having a second chance.
- Circle of healing is a powerful perk that can be used with a med-kit for extremely fast recovery.
- Using built to last and circle of healing is a beautiful combination. For instance, you can replenish a med-kit in the area of the boon totem, having to heal yourself almost instantly without looking for another med-kit.
Build details & Perks:
- Circle of Healing: With this perk, you can create a boon totem with a range area of 24 meters. Survivors inside the boon totems range receive a 40/45/50% bonus to all healing speeds, with the ability to heal without a med-kit, with a reduced rate of -50%.
- Built to Last: Going into a locker for 14/13/12 seconds while carrying a depleted item replenishes its charge by 99%. After that, the perk’s effect decreases by -33% for each further activation.
- Overcome: You retain the movement speed burst for two additional seconds whenever you become injured.
- Mettle of Man: After triggering your third Protection Hit, Mettle of Man activates, and the Endurance Status Effect protects you: Any damage taken would put you into the Dying State from the Injured State is blocked, & your aura will be revealed to the Killer whenever you are farther than 12/14/16 meters away when you have healed again.
2. The All-Round Booner Build
Dead by Daylight gameplay by basik gaming
The All-round booner build is a build that is especially recommended for players who love to use boon totems. The three boon totems are extremely powerful when used in the game as they provide the necessary skills required to win the game.
The Circle of Healing is a perk that will boost the healing speeds up to 50%, making it an extremely fast heal, especially when using the medkits. Whilst healed, we can move on to the next boon, the shadow step, which will benefit when trying to lose the killer in this area as it hides the scratch marks. If the killer did eventually find you, and if lucky, in the ‘boon exponential’ area, you can recover at twice the speed, increasing the chances to escape and then eventually repeating the process if the boon totems are alive.
Nonetheless, apart from the boons, there is also dead hard in the build, which can be very useful in a tight situation when in a chase with the killer.
One of the disadvantages is that the boon totems can get destroyed, meaning that it would make the perks useless if there are no totems left on the map.
Overall, however, I would recommend this build, especially when playing with the teammates, as it increases the chances of survival, making it aware for the teammates that the perks are active in the game and making use of it.
What The All-Round Boomer Excels In:
- The ‘Boon’ combination of healing, recovery, and suppression makes it extremely powerful when used with the rest of the teammates.
- The universality of the boon totems, where you can use the boon powers for every situation.
Build details & Perks:
- Circle of Healing: With this perk, you can create a boon totem with a range area of 24 meters. Survivors inside the boon totems range receive a 40/45/50% bonus to all healing speeds, with the ability to heal without a med-kit, with a reduced rate of -50%.
- Dead Hard: Avoid any damage during the Dash when pressing the ability button. Dead Hard causes the Exhausted Status Effect for 60/50/40 seconds.
- Boon: Exponential: Survivors inside the Boon Totem's range benefit from the following effects: 90/95/100 % bonus to the Recovery speed.
- Boon: Shadow Step: Survivors inside the Boon Totem's range benefit from the following effects: Scratch Marks are suppressed. Auras are hidden from The Killer. Both effects linger for 2/3/4 seconds after leaving the Boon Totem's range.
1. The Killer Juking Build
Dead by Daylight gameplay by Classed
The Killer Juking Build is designed especially for juking killers, as described in the title.
The perk Quick and Quiet is a popular perk that many players use because you can perform any action without creating a loud notification to the killer, and this can be great when for instance, going into a locker, for example, making the killer think that the survivor has gone round the loop or has escaped the killer’s vision range.
Nonetheless, with the perk Iron Will, if injured, the grunts of pain can be lowered up to 100%, which can ultimately make the killer go deaf and blind at the same time with these two perks, making the combination extremely powerful.
Another perk combination is iron will and overcome. You can break into a more extended sprint burst without making additional noise, making it much more difficult for the killer to figure out where the survivor went.
Overall, it is a perfect build with these combinations, making it ideal for looping and recovery if needed. In other words, a strategy of looping with the killer whilst in total health and escaping & recover when injured.
What The Killer Juking Build Excels In:
- The combination of overcome and lucky break, when in use, it can make the killer very confused when the scratch marks are suppressed whilst running at incredible speeds.
- Quick and Quiet and Iron Will make the chase an incredibly quiet chase, with many opportunities to escape from the killer.
- With the combination of overcome and iron will, you can break into an additional sprint burst without making any grunts of pain.
Build details & Perks:
- Quick and Quiet: Suppresses both the Loud Noise Notification and the sound effects triggered by rushing to vault Windows, Pallets, or running to enter or exit Lockers. Quick & Quiet has a cool-down of 30/25/20 seconds.
- Iron Will: Lowers the volume of Grunts of Pain by 50/75/100 %.
- Overcome: You retain the Movement Speed burst for two additional seconds whenever you become injured. Overcome causes the Exhausted Status Effect for 60/50/40 seconds.
- Lucky Break: Whenever you are in the Injured State, Lucky Break activates: Bleeding and Scratch Marks are suppressed for a maximum of 40/50/60 seconds, after which Lucky Break is disabled for the remainder of the Trial.
You May Also Be Interested In:
- Dead by Daylight Survivor Guide: Top 25 Tips
- Dead by Daylight Killers Guide: Top 25 Tips
- [Top 10] DbD Best Killer Builds That Are Great!
- [Top 100] Dead By Daylight Best Names
- [Top 10] DbD Best Survivor Builds That Are OP!
- [Top 10] DbD Best Killers And Why They're Good
- [Top 15] DbD Best Killer Perks And Why They're Good
- [Top 15] DbD Best Survivor Perks And Why They're Good
- [Top 10] DbD Best Survivors And Why They're Good
- [Top 10] DbD Best Survivor Builds That Are Great
- [Top 15] Ghost Games To Play Today
- [Top 15] Horror Movies That Were Books
- [Top 15] Best Horror Movies That Were Banned
- [Top 5] Dead By Daylight Most Fun Survivors
- [Top 5] Dead By Daylight Best Jane Romero Builds
- [Top 5] Dead By Daylight Best Meg Thomas Builds
- [Top 5] Dead By Daylight Best Claudette Morel Builds
- [Top 5] Dead by Daylight Best Jake Park Builds
- [Top 5] Dead By Daylight Best Nea Karlsson Builds
- [Top 5] Dead By Daylight Best Laurie Strode Builds
- [Top 5] Dead By Daylight Best Bill Overbeck Builds
- [Top 5] Dead By Daylight Best Feng Min Builds
- [Top 5] Dead By Daylight Best David King Builds

