![Warframe Melee Stances Main Photo [Top 10] Warframe Best Melee Stances That Are Powerful-01](/sites/default/files/styles/responsive_image_600xauto/public/2022-09/top_10_warframe_best_melee_stances_that_are_powerful-01.jpg.webp?itok=pFaVZHNW)
One of the things that makes Warframe’s melee feel incredibly fun and unique is its stance mod system.
Unlike other games where you have to memorize dozens of combo commands to pull off various moves and attacks with your melee weapon, Warframe decided to take another route. Instead, there are only a handful of combo commands you need to memorize. You equip your weapon with a stance mod and the combos that you’ll be able to perform with those commands will be determined by that mod.
For example, neutral attacks performed with the stance “Iron Phoenix” on your sword will differ from when the “Crimson Dervish” stance is equipped instead.
Apart from that, stances also increase your weapon’s mod capacity instead of lowering it like all the other mods.
Here’re the best stances that you can get in the game. I considered which ones are the most effective in battle. But that’s not all, how cool they feel and how fun they are to use are also huge factors since that’s a big part of what people look for in these mods.
10. Cleaving Whirlwind (Heavy Blade Stance)
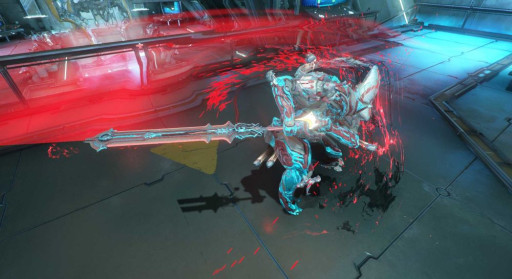
I’ll be completely honest, there’s one reason and one reason alone why I put this mod on the list. Its forward combo: “Broken Bull”. This combo makes you swing your weapon round and round like a giant bootleg Beyblade with no safety standards. Optimal? Not really. Fun as all Orokin hell? YES!
And for those complaining about the self-stagger at the end of the 5th spin, the stagger is actually interruptible with a roll. So, you can get right back up and renew the cycle of death.
What Cleaving Whirlwind excels at:
- Broken Bull (forward combo):
This is the main reason why I, and a ton of other players, pick this stance. There’s just nothing like gliding through the battlefield like a majestic spinning flower of blades. The other combos are alright but this stance is designed with meme-iness and mindless fun in mind rather than practicality and min-maxing.
How to get Cleaving Whirlwind:
This stance mod drops from the following enemies:
- Ancient Disruptor - 0.03% drop chance
- Deimos Therid - 0.03% drop chance
- Tar Mutalist MOA - 0.03% drop chance
You can also get it from the Spy mission on Pavlov, Lua. It has a 2.01% drop chance when you successfully hack all Vaults in the mission.
Cleaving Whirlwind Details
9. Stinging Thorn (Dagger Stance)
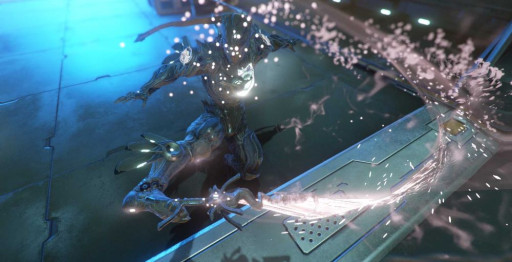
Stinging Thorn focuses on violent stabs and slashes. Its neutral and forward combos are great for ripping through singular, tough enemies while the blocking and blocking-forward combos make use of AOE attacks that will damage multiple enemies at once.
This is another stance mod with a specific combo that I really really like. Stinging Thorn’s Lacerating Spine (blocking-forward combo), has a move where you place the dagger between your toes and spin it around before doing a summersault and plunging it down for the kill.
What Stinging Thorn excels at:
- Versatility:
Whether you’re looking for a single-target combo or fending off multiple surrounding enemies, Stinging Thorn has a combo for you.
- Lacerating Spine (blocking-forward combo):
The long-reaching thrust followed up by the toe slashing gives me Metal Gear Rising Revengeance flashbacks and those are always good. Exquisite even.
How to get Stinging Thorn:
This stance mod drops from the following enemies:
- Narmer Thumper - 1.87% drop chance (currently bugged and impossible to encounter)
- Narmer Thumper Bull - 1.87% drop chance (currently bugged and impossible to encounter)
- Tusk Thumper - 1.87% drop chance
- Tusk Thumper Bull - 1.87% drop chance
- Eidolon Vomvalyst - 0.05% drop chance
Stinging Thorn Details
8. Atlantis Vulcan (Nunchaku Stance)
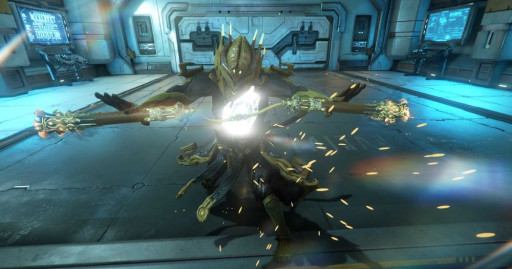
Atlantis Vulcan is the only stance mod for Nunchucks currently in the game. An easily-overlooked weapon type, nunchucks really give you that martial arts master feels. And the Atlantis Vulcan stance only enhances the experience.
All of this stance’s combos not only look good but perform really well too. Concentrating on fast-paced beatdowns and flashy movements, your enemies will stare at you, mesmerized as you whack their skulls to oblivion.
What Atlantis Vulcan excels at:
- Rapid strikes:
Watch your combo count soar as each attack deals multiple hits from different directions. This gives you the opportunity for a lethal heavy attack once the combo stacks up high enough.
- Critical hits and status effects:
Since you’ll be dealing multiple hits per second, you’ll be able to deal tons of critical hits and status effects even when your nunchaku’s critical and status chances aren’t super high.
- Other stacks:
Critical hits and status effects aren’t the only things that benefit from quick, multiple hits. Mods like Shattering Impact will also be amazing in stripping armor when paired with Atlantis Vulcan.
How to get Atlantis Vulcan:
This stance mod drops from the following enemies:
- Orphid Specter - 21.05% drop chance
- Ghoul Devourer - 0.37% drop chance
- Aurax Baculus - 0.11% drop chance
- Guardsman - 0.11% drop chance
Atlantis Vulcan Details
7. Bullet Dance (Gunblade Stance)
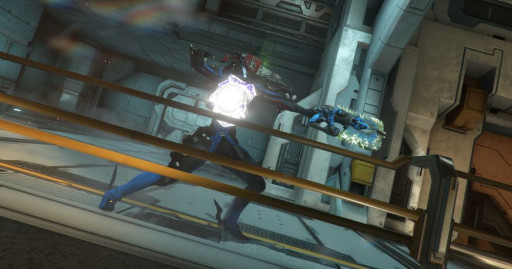
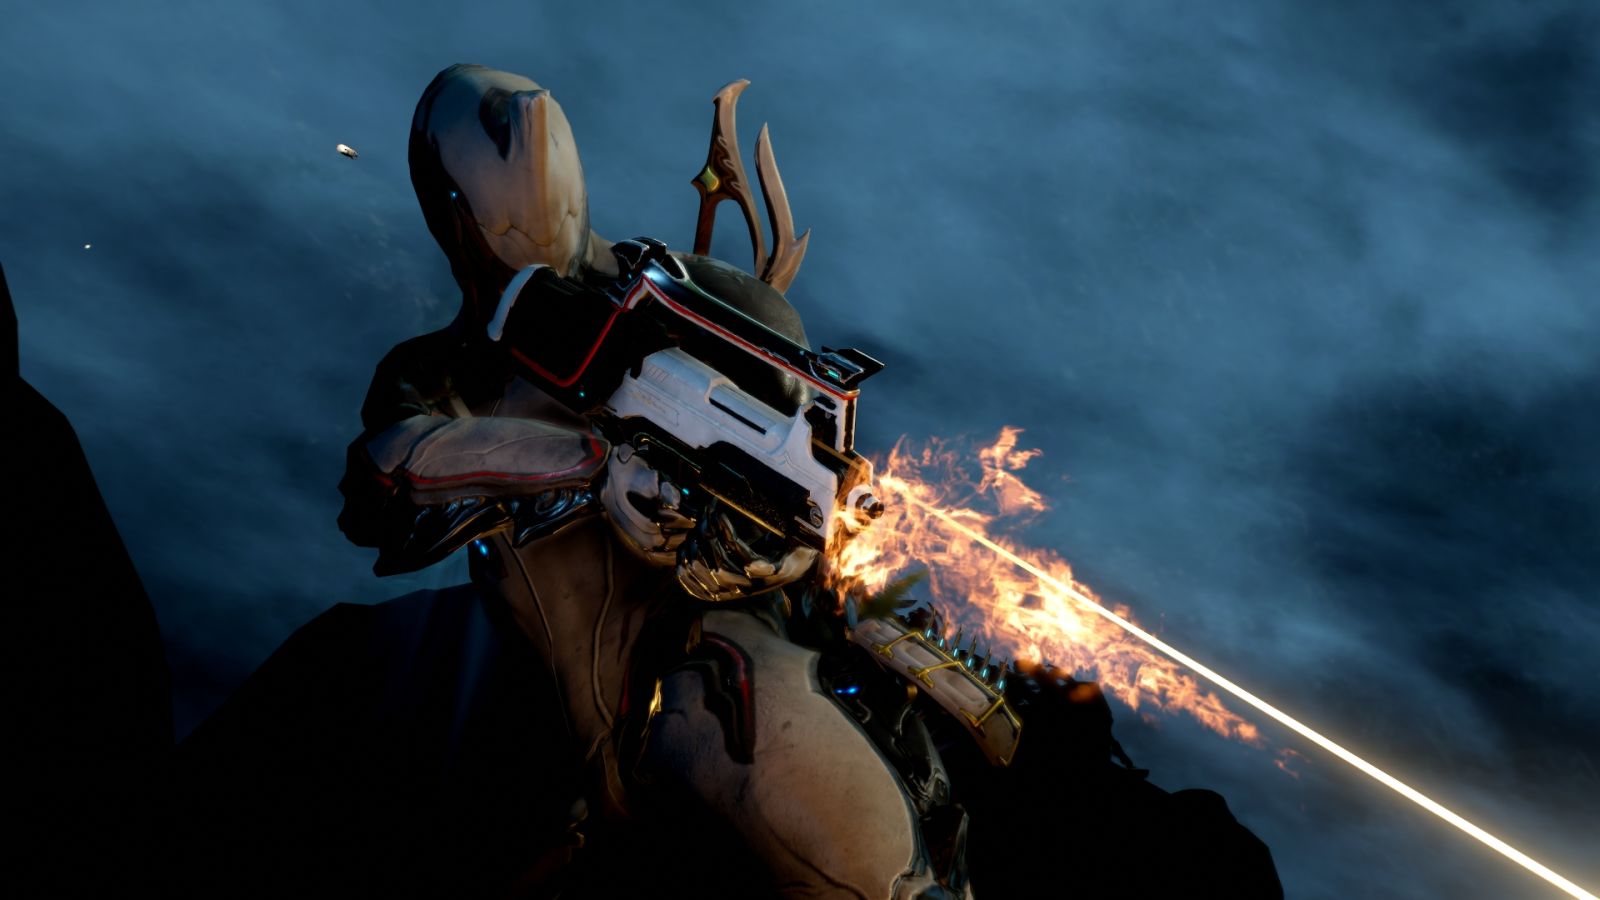
Gunblades arguably benefit from stances more than any other weapon type. The difference in effectiveness between a stanceless Gunblade and one with a stance is just huge. Either of the stances allows you to make use of its long-range capabilities so much more. I highly advise you to grab a stance mod for your Gunblade before trying it out.
The more user-friendly option between the two Gunblade stances, Bullet Dance may not be as efficient as High Noon, but sometimes you just want to spam the melee button and watch your foes drop.
What Bullet Dance excels at:
- Ease of use:
Each of Bullet Dance’s combos is easily spammable so just pick one you like and mash away your troubles.
- Long-range attacks:
The first attack of all of Bullet Dance’s combos is a gunshot so you can use that to damage enemies from afar without switching to your primary and secondary weapons.
One of the combos, Samba Slash (blocking combo), even consists entirely of shooting attacks.
How to get Bullet Dance:
This stance mod is obtainable from the following Void Sabotage missions:
- Stribog - 3.67% drop chance if all hidden caches are obtained.
- Marduk - 4.42% drop chance if all hidden caches are obtained.
Bullet Dance Details
6. Iron Phoenix (Sword Stance)
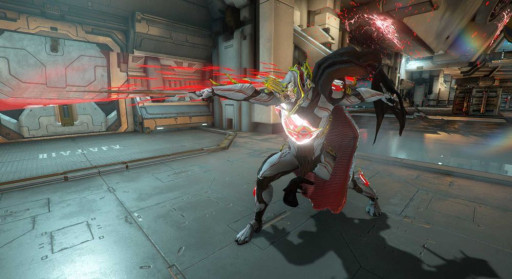
Compared to the other stances in this list, the Iron Phoenix looks a little simple. No fancy maneuvers, flips, or spins. Like the sword, it’s a straightforward and no-nonsense stance.
Make no mistake though, it’s deadly effective and will cut up your targets no questions asked.
What Iron Phoenix excels at:
- Procing innate status effects:
Taking Flight (blocking-forward combo) has an AOE attack that will force proc any innate elemental damage your sword may have. For example, the Mire has innate Toxin damage and will proc the Toxin status effect when performing Taking Flight.
- Mobility:
Double Slash (forward combo) can be continuously performed uninterrupted while walking or sprinting. This means you can constantly dish out damage while on the move without having to stop or slow down.
- Forcing impact, slash, and knockdowns:
Wings and Beak (neutral and blocking combo), will force impact and slash procs in the first attack and will cause the enemy to be knocked down on its last (3rd) attack.
How to get Iron Phoenix:
This stance mod drops from the following enemies:
- Arid Hellion - 0.02% drop chance
- Arid Lancer - 0.02% drop chance
- Coildrive - 0.02% drop chance
- Drekar Scorpion - 0.02% drop chance
- Frontier Hellion - 0.02% drop chance
- Frontier Lancer - 0.02% drop chance
- Hellion - 0.02% drop chance
- Kuva Hellion - 0.02% drop chance
- Kuva Lancer - 0.02% drop chance
- Lancer - 0.02% drop chance
- Narmer Commander - 0.02% drop chance
- Narmer Hellion - 0.02% drop chance
- Narmer Lancer - 0.02% drop chance
- Nightwatch Reaver - 0.02% drop chance
- Tusk Hellion - 0.02% drop chance
- Tusk Lancer - 0.02% drop chance
- Tusk Reaver - 0.02% drop chance
Iron Phoenix Details
5. Shimmering Blight (Polearm Stance)
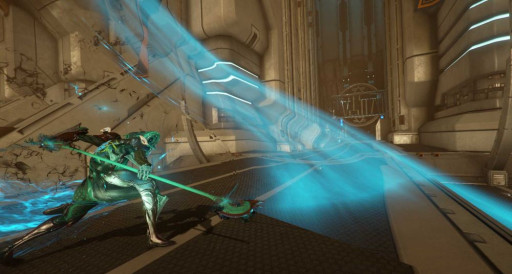
Speaking of easy-to-use stances, here’s a polearm stance with only two combos. Neutral, forward, and blocking combos are all the same combo called Slashing Wind. It’s an alright combo that’s useful for a lot of situations, but the selling point for this stance is the blocking-forward combo: Howling Gale.
And while its limited combos may be a turn-off for some people, the usefulness of Howling Gale more than makes up for it. What makes it so good is that it deals a lot of AOE attacks and it forces slash status effects on enemies.
What Shimmering Blight excels at:
- Causing bleeding:
As mentioned above, the combo Howling Gale forces the slash status effect: bleeding which deals true damage over time and ignores armor,
- Crowd control:
Both Slashing Wind and Howling Gale cover large areas. Making the stance really effective in taking out groups of enemies at once.
How to get Shimmering Blight:
This stance mod drops from the following enemies:
- Arid Seeker - 0.22% drop chance
- Frontier Seeker - 0.22% drop chance
- Kuva Seeker - 0.22% drop chance
- Seeker - 0.22% drop chance
- Tusk Seeker - 0.22% drop chance
Shimmering Blight Details
4. High Noon (Gunblade Stance)
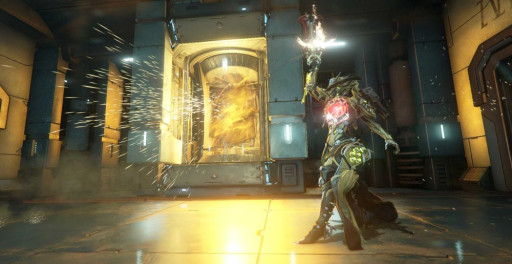
It takes a little more thought and conscious effort to use but once you get the hang of it, High Noon will grant you better results than Bullet Dance, while still being an enjoyable stance.
The reason that this stance is better than Bullet Dance is its Neutral to Forward combo (tap neutral combo once, forward combo once, repeat). It’s widely considered to be the best combo for Gunblades, and High Noon’s is better than Bullet Dance’s.
What High Noon excels at:
- Keeping enemies down:
A lot of the attacks with High Noon cause enemies to ragdoll, making them harmless to you and more vulnerable to follow-up attacks.
- Close encounters:
It sounds silly to say that a melee weapon excels at close range, but this is a Gunblade we’re talking about here. High Noon’s Tomahawk Double-Tap (blocking combo) is composed of only melee combos so you can slice enemies up close should you need to.
- The 1-2 combo:
The best way of dealing the most damage possible with Gunblades is the 1-2 combo of Neutral to Forwards attack. You can do this combo with the Bullet Dance stance too but it’s more effective with High Noon as the Neutral’s first attack fires off 2 100% damage shots (with Bullet Dance it only fires 1 125% damage shot).
How to get High Noon:
This stance mod drops from the following enemies:
- Feyarch Specter - 6.06% drop chance
- Brood Mother - 0.03% drop chance
- Deimos Brood Mother - 0.03% drop chance
You can also get it from the Spy mission on Pavlov, Lua. It has a 1.29% drop chance when you successfully hack at least 2 Vaults in the mission.
High Noon Details
3. Sovereign Outcast (Tonfas Stance)
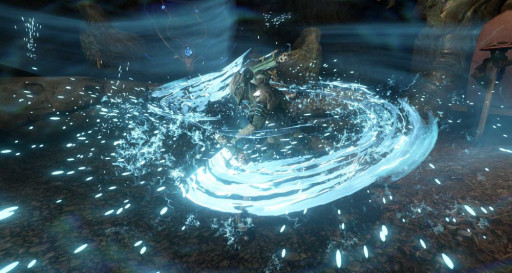
One of the best-looking stances available, Sovereign Outcast combines spinning attacks with quick swipes to stack up tons of combo counts in seconds. Slice/pound your enemies senseless with this beautiful stance.
What Sovereign Outcast excels at:
- Covering all bases:
Vagrant Behest (forward combo) has 6 360° spin attacks meaning that it will hit every enemy surrounding you. The other attacks also feature wide swipes that will also hit multiple enemies, making sure you’re a spinning ball of death from almost every angle.
- Massive combos:
Sovereign Outcast features fast multiple hits per attack, meaning that you can quickly stack up your combo count to ridiculous numbers before unleashing a heavy attack to finish off whatever remains of your opponents.
- Ragdolling foes:
Scout Command (blocking combo) causes ragdoll. Sweep your enemies off of their feet before sweeping your tonfas toward them and ensuring they don’t get back up.
How to get Sovereign Outcast:
This stance mod drops from the following enemies:
- Kuva Heavy Gunner - 0.2% drop chance
- Tusk Heavy Gunner - 0.2% drop chance
Sovereign Outcast Details
2. Vermillion Storm (Claws Stance)
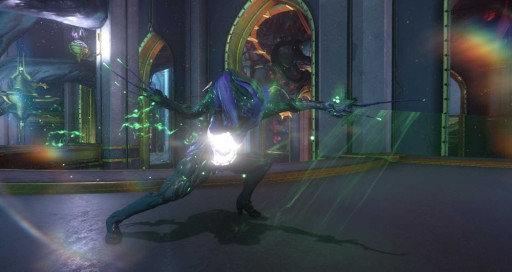
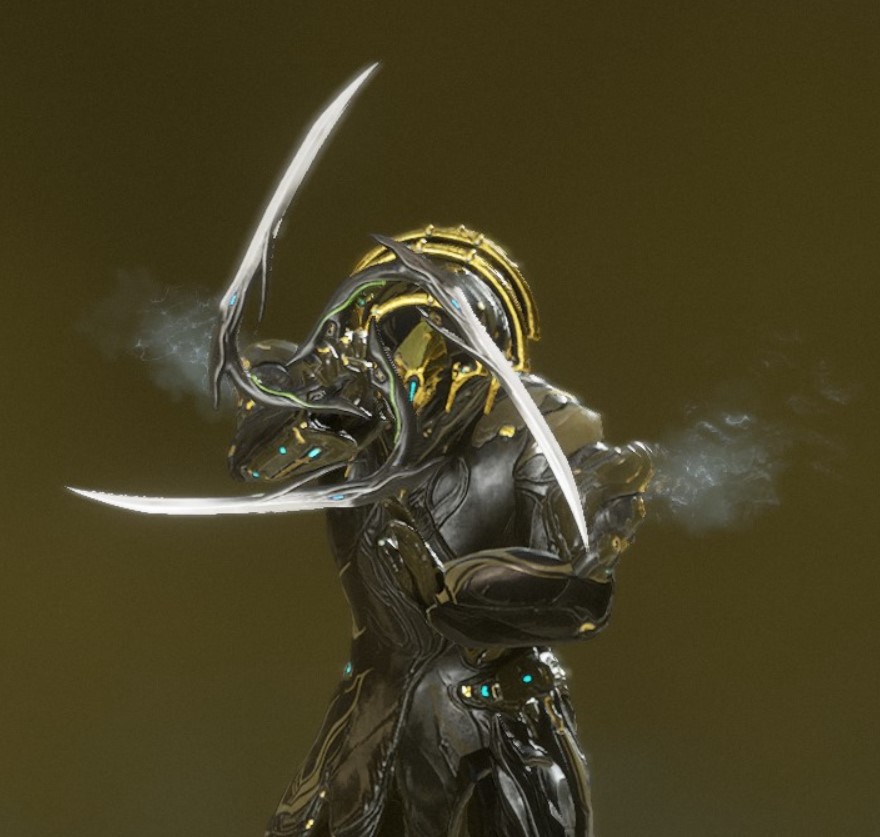
As the name implies, Vermillion Storm focuses on burying your foes in a storm of blades. It uses a lot of spinning attacks that deal with enemies coming from any direction. You could also use these combos to jump right into a battalion and tear your way through them.
What Vermillion Storm excels at:
- 360 attacks:
This stance involves a lot of spinning attacks that deal damage in 360°. Jump right in the middle of a crowd of enemies and start spinning!
- Flurry Rose:
Flurry Rose (neutral combo) is the combo that has the 2nd largest damage multiplier. among all stance combos aside from finishers. It has a total damage multiplier of 2600%.
How to get Vermillion Storm:
This stance mod drops from the following enemies:
- Kuva Guardian - 0.4% drop chance
- Drekar Manic Bombard - 0.27% drop chance
- Manic Bombard - 0.27% drop chance
You can also get it from the Rathuum mission on Nakki, Sedna with a 0.34% drop chance.
Vermillion Storm Details
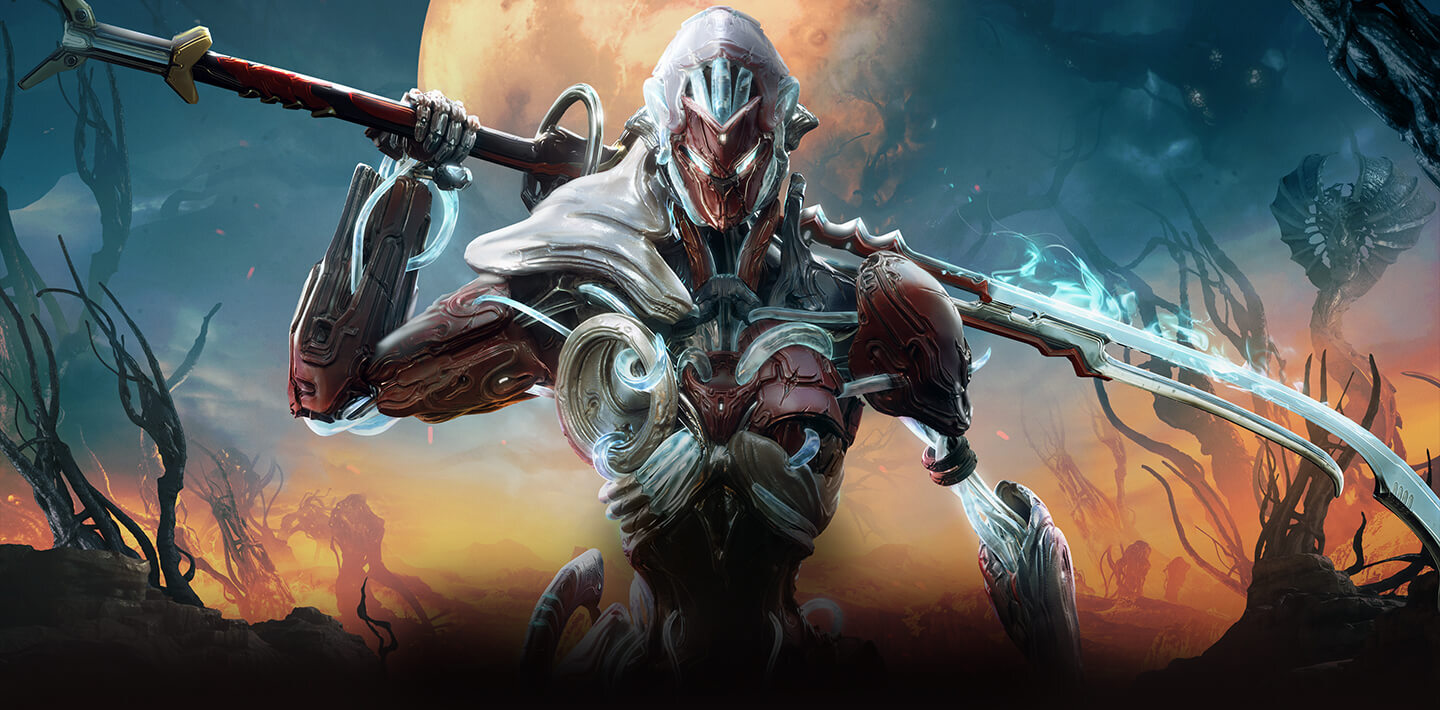
1. Final Harbinger (Sword and Shield Stance)
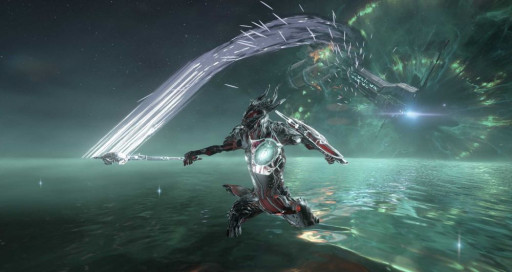
You’d think that having a big, clunky shield makes combat a drag. Well, in terms of Warframe, you’d be wrong. Final Harbinger actually features flips, spins, and even spinny flips in its combos. It makes breaking the laws of physics look effortless. Isaac Newton stans stay mad.
What Final Harbinger excels at:
- Doing the twist:
Most of Final Harbinger’s combos incorporate 360° attacks, making this stance really useful when you’re outnumbered and have enemies coming from different directions.
- Null Warning:
Null Warning (neutral combo) has the highest damage multiplier among all the stance combos not counting finishers. It has a total damage multiplier of 2700%.
How to get Final Harbinger:
This stance mod drops from the following enemies:
- Feyarch Specter - 36.36% drop chance
- Drekar Manic - 0.17% drop chance
You can also get it from the Rathuum mission on Nakki, Sedna with a 0.34% drop chance.
Final Harbinger Details
You May Also Be Interested In:
- Warframe: Best Warframes, Ranked Weakest To Strongest (Warframe Tier List)
- Top 10 Warframe Best Primary Weapons (And How to Get Them)
- [Top 5] Warframe Best Arch-guns And How To Get Them
- [Top 5] Warframe Best Melee Weapons And How To Get Them
- [Top 5] Warframe Best Kuva Weapons And How To Get Them
- [Top 11] Warframe Best Weapons And How To Get Them

