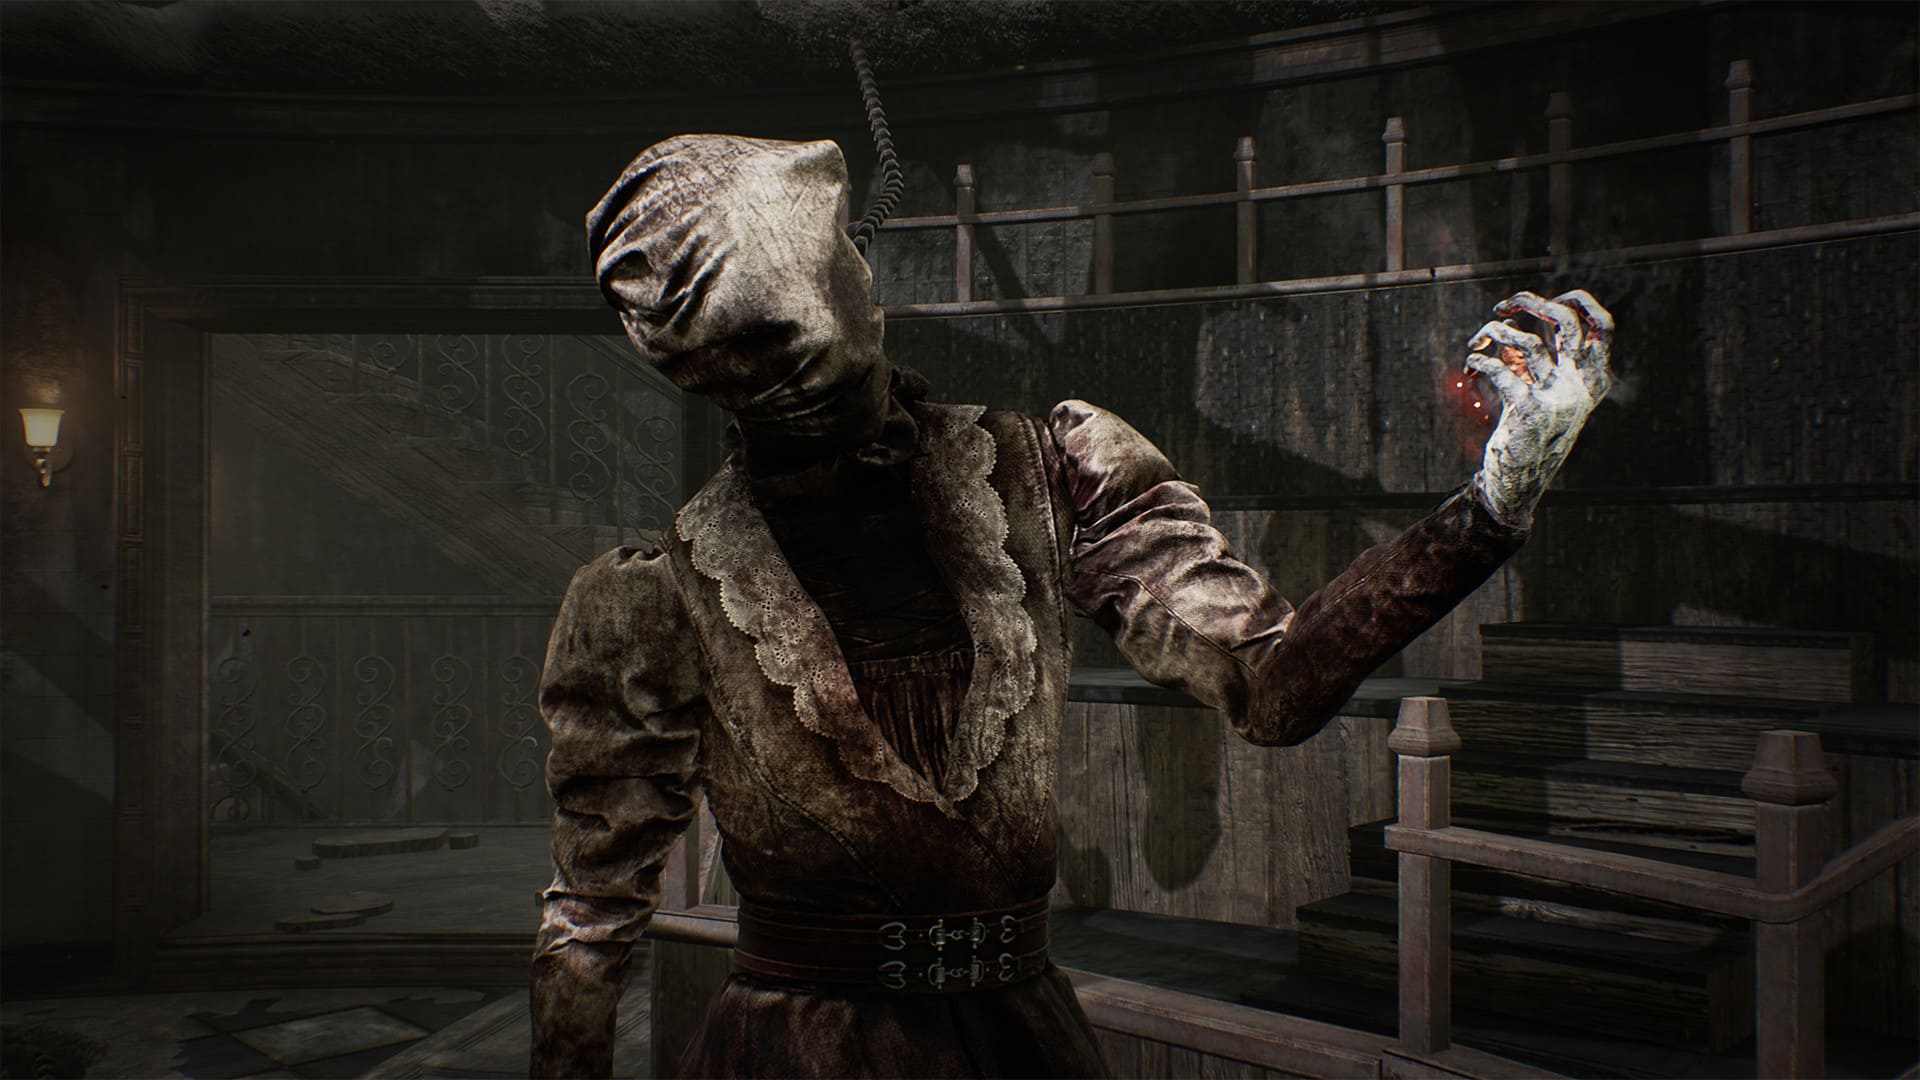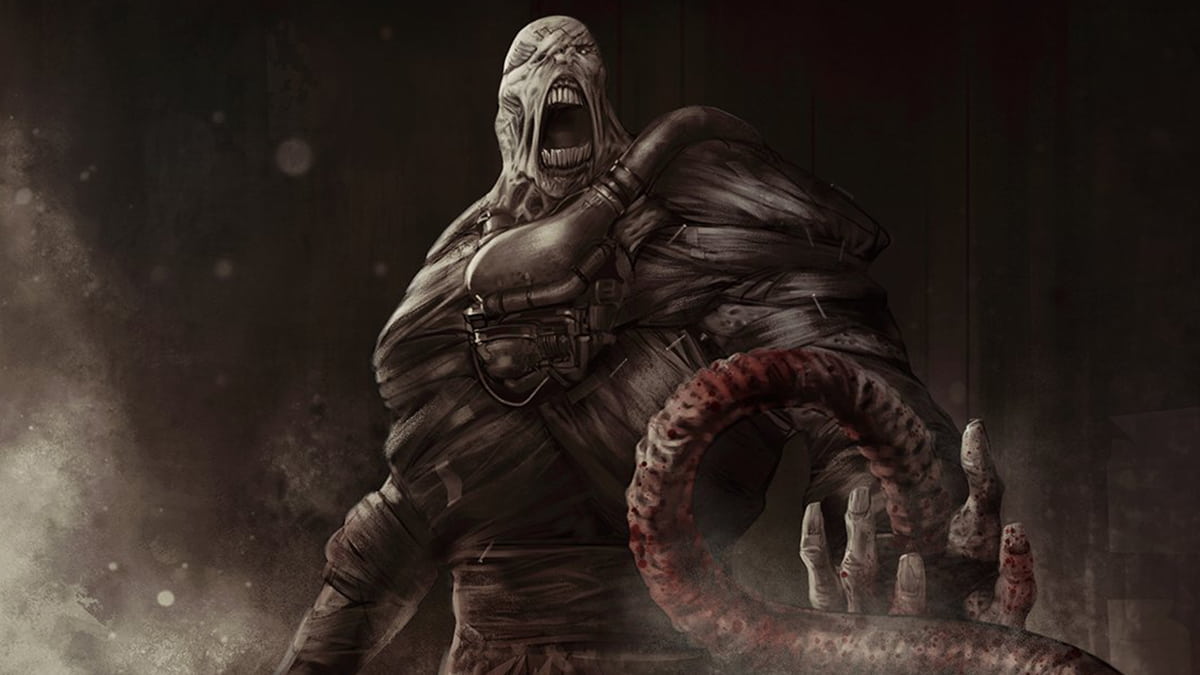
Onryo, also known as Sadaka Yamamura, are one of the newly introduced killers in dead by daylight, introduced in chapter 23: Sadako Rising, which has been released this year on 8 March 2022. As from the visualisation, she is portrayed from a horror novel franchise called "the ring", a famous scene where she is coming out from the well and through the tv screen, a good movie that is recommended by lots of people, especially myself.
In terms of Dead by Daylight, she is seen as a powerful killer, including one of her powerful perks, "call of brine", where after damaging a Generator, the Generator regresses at 150/175/200 % of the normal Regression speed and its Aura is revealed to you. Nonetheless, each time a Survivor completes a Good Skill Check on a Generator affected by Call of Brine, you receive a Loud Noise Notification, which overall is listed as one of the most powerful perks in the game.
Nonetheless, let's look at Onryo's best builds:
5. The Nursed Dark Devotion Build
Dead by Daylight gameplay by SpookyLoopz
The Nursed Dark Devotion Build very powerful build especially with Onryo where her teleporting abilities perfectly suite her needs and the perks in the build. With tinkerer and Nurse's calling the killer is able to teleport to any nearby tv's which are placed on the map, and be able to go there undetected with the use of tinkerer and be able to place a condemned token on the survivor until the moment their tokens are fulfilled having the ability to one shot an exposed survivor and instantly kill them, making it much easier with nurses calling where you are able to see the survivors' aura.
Nonetheless with lethal pursuer, it is a great head start perk which will be a massive advantage when seeing survivors , and having ability collect condemned tokens even earlier, making it a great build.
What The Nursed Dark Devotion Build Excels In:
- With the combination of 'tinkerer' and 'a nurse's calling', you will be able to become oblivious and at the same see the survivors who are healing each other within the 32 metres, making it a surprise attack and a great combination.
- With lethal pursuer, you have the start of the game advantage, and the ability to see all the survivors, therefore having the headstart of injuring survivors and then be able to use the perk a nurse's calling to continue the easy hunt.
Build details & Perks:
- Lethal Pursuer: At the start of the Trial, the Auras of all Survivors are revealed to you for 7/8/9 seconds. Extends the duration of a Survivor's Aura being revealed to you by +2 seconds.
- Dark Devotion: You become obsessed with one Survivor. Whenever the Obsession loses a Health State by any means and thus enters the Injured State, Dark Devotion activates: Your Terror Radius transfers to the Obsession for 20/25/30 seconds, and its radius is set to 32 metres. Grants the Undetectable Status Effect for the same duration. The Obsession with your transferred Terror Radius is also considered to be 'inside the Terror Radius' for other purposes. You can only be obsessed with one Survivor at a time.
- Tinkerer: Whenever a Generator is repaired to 70 %, you benefit from the following effects: Triggers a Loud Noise Notification for that Generator, revealing its location. Grants the Undetectable Status Effect for the next 12/14/16 seconds. Tinkerer can only trigger once per Generator per Trial.
- A Nurse's Calling: Unlocks potential in your Aura-reading ability. The Auras of Survivors, who are healing or being healed, are revealed to you when they are within a range of 20/24/28 metres.
4. The Infected Onryo Virus Build
Dead by Daylight gameplay by RedsGamingGears
The Infected Onryo Virus build is a build that literally acts like a virus , and no survivor can stop it. The virus technique is greatly supported by the perks infectious fright and jolt where you have the ability reveal any survivors within the specified area once putting a survivor into a dying state, and at the same time be able to make generators to explode within the area as well, making it a great 2-in-1 combination, which is particularly powerful as there is no effort required to make this happen but to go with the flow, making it one of the best flawless automatic builds on this list.
What The Infected Onryo Virus Build Excels In:
- With Bamboozle you have the ability to eliminate loops and chases with the simple action, vaulting windows, unabling the survivor to vault as well for 16 seconds, with no choice but continue the run or sacrifice for a hit.
- Infectious is a great perk to reveal the survivors, and immensely terrifying as once Onryo catches up on the survivor, the survivor won't be able to do anything such as loops due to the other perks and therefore get the hit or even the sacrifice.
Build details & Perks:
- Infectious Fright: Whenever a Survivor is put into the Dying State by any means, all other Survivors within your Terror Radius will scream and reveal their current location to you for 4/5/6 seconds.
- Bamboozle: Performing a Vault action is 5/10/15 % faster and calls upon The Entity to block that Vault location for Survivors for 8/12/16 seconds. Only one Vault location may be blocked this way at any given time.
- Jolt: When you put a Survivor into the Dying State with your Basic Attack, all Generators within 32 metres of you instantly explode and start regressing. Applies an immediate 6/7/8 % Progression penalty.
- Save the best for last: Each time you hit a Survivor other than your Obsession with a Basic Attack, Save the Best for Last gains 1 Token, up to a maximum of 8 Tokens: Gain a stack-able 5 % Cool-down reduction on successful attacks per Token, up to a maximum of 40 %. Each time you hit your Obsession with a Basic Attack, Save the Best for Last loses 4/3/2 Tokens. When the Obsession is sacrificed or killed, you can neither gain nor lose any more Tokens.
3. Onryo's "No Choices to Make" Build
Dead by Daylight gameplay by Greyletters
Onryo's "No Choices to Make" is a build that will not let a survivor make a choice in the game, because with this build, they will simply lose, in all areas. One of the perks that make up this build to be extremely powerful is the perk combination of hex: devour hope and hex:undying which will cause the survivor to become really irritated because once a hex totem of devour hope was to be cleansed, it doesn't get removed, but alternatively, it is transferred onto another totem therefore generating more time for the killer to catch the survivors, and at the same time power up the hex until the moment you can kill the survivors by hand.
Nonetheless, apart from the hex combination, the build also consists of the perk make your choice which will leave the survivors exposed at the moment of rescuing a survivor, with another combination of scourge hooks: floods of rage, where when the survivor is unhooked, you will be able to see the aura of the exposed survivor and go for an easy one shot, making it an extremely powerful build with a deserved number three spot.
What Onryo's "No Choices to Make" Build Excels In:
- The combination of Hex: Devour Hop and Hex: Undying is immensely powerful for the reasons that devour hope, which is one of the most powerful perks, has a chance of continuing its life even after the hex was cleansed because with undying it can be transferred onto another totem and therefore keep a closer eye on the hex until the moment where the survivors are exposed and ready to be killer by hand.
- With the perk, combination make your choice, and scourge hooks: floods of rage, you have the ability to reveal the survivors multiple times, especially where they are exposed making sacrificing much easier.
Build details & Perks:
- Scourge Hooks: Floods of Rage: At the start of the Trial, 4 random Hooks are changed into Scourge Hooks: The Auras of Scourge Hooks are revealed to you in white. Each time a Survivor is unhooked from a Scourge Hook, the following effects apply: The Auras of all other Survivors are revealed for 5/6/7 seconds.
- Make your choice: Each time a Survivor is rescued from a Hook when you are at least 32 metres away, Make Your Choice activates: The Rescuer screams and suffers from the Exposed Status Effect for the next 40/50/60 seconds. Make Your Choice has a cooldown of 40/50/60 seconds.
- Hex: Devour Hope: The false hope of Survivors ignites your hunger. Each time a Survivor is rescued from a Hook when you are at least 24 metres away, Hex: Devour Hope receives 1 Token: 2 Tokens: 10 seconds after hooking a Survivor, gain a 3/4/5 % Haste Status Effect for the next 10 seconds. 3 Tokens: Survivors suffer permanently from the Exposed Status Effect. 5 Tokens: You are granted the ability to kill all Survivors by your own hand.
- Hex: Undying: The Auras of Survivors within 2/3/4 metres of any Dull Totem are revealed to you. When another Perk's Hex Totem is cleansed or blessed, its Hex is transferred to the Hex: Undying Totem, including any accumulated Tokens, disabling Hex: Undying instead.
2. The Erupted Dragon Build
Dead by Daylight gameplay by Jave Hunt
The Erupted Dragon Build is a build that is quite impressive in terms of causing everything to be combined and destroyed the same time. The trio perks of eruption, dragon's grip and call of brine makes this combination extremely powerful, especially as the destructions will keep going until the moment it is fully finalised and the survivors will end their misery by being exposed and sacrificed flawlessly by the killer, overall making it a powerful build for the killer to use against the survivors.
What The Erupted Dragon Build Excels In:
- With dragon's grip, it is a perk that is very powerful and also unexpected, as not a lot of killers are using it, but overall, it will be able to suffer from an exposed status effect and scream at the same time, revealing their location making it easier for Onryo to catch the survivor and sacrifice that person.
- The trio combination of eruption, dragon's grip and call of brine, all work after kicking a generator and it has a powerful combination where at the same it will allow for the generator to be regressed, with an explosion of other generators and also allowing the survivors to be exposed and revealed after touching the generator.
Build details & Perks:
- Eruption: After kicking a Generator, its Aura is highlighted in yellow. When you put a Survivor into the Dying State by any means, every affected Generator explodes and starts regressing, removing the highlighted Aura. Applies an immediate -10 % Progression penalty. Any Survivor repairing a Generator when it explodes will scream and suffer from the Incapacitated Status Effect for 15/20/25 seconds. The eruption has a cool-down of 30 seconds.
- Jolt: When you put a Survivor into the Dying State with your Basic Attack, all Generators within 32 metres of you instantly explode and start regressing. Applies an immediate 6/7/8 % Progression penalty.
- Dragon's grip: After kicking a Generator, for the next 30 seconds, the first Survivor interacting with it will scream, revealing their location for 4 seconds, and suffers from the Exposed Status Effect for 60 seconds. Dragon's Grip has a cool-down of 120/100/80 seconds.
- Call of Brine: After damaging a Generator, the Call of Brine activates for 60 seconds. The Generator regresses at 150/175/200 % of the normal Regression speed and its Aura is revealed to you. Each time a Survivor completes a Good Skill Check on a Generator affected by Call of Brine, you receive a Loud Noise Notification.
1. The Call of the lost items build
Dead by Daylight gameplay by lUnforgottenl
The call of the last items build is a build that will cause the survivors to become greatly annoyed, especially with the build that the killer has, and they will only realise this once it is too late. The perk that will cause the frustration of the survivors is the perk 'Franklins Demise' which is a popular featured Bubba perk which causes the survivors to drop the items, and this includes any toxic items such as flashlights, toolboxes or medkits which can remove any frustration for the killer such as a survivor being saved by a flashlight save.
Nonetheless, the rest of the perks concentrate on the generator regression and are extremely powerful when it comes to not making a generator be fully repaired, overall making this build one of the best builds on this list because of its universal generator distraction and item removal toxicity.
What The call of the last items Build Excels In:
- With Franklins Demise, it can remove any unnecessary toxicity within the survivors, especially flashlights where they won't be able to blind you or save their teammates once you pick one of them up, making it an ultimate perk for item rejections.
- With discordance, you will be able to recognise the generator that is being progressed the most, and therefore, be able to use the perk overcharge and make the generator regress even more and be able to watch this generator.
Build details & Perks:
- Franklins Demise: Your vicious Basic Attacks make Survivors drop their Items on impact. If not recovered within 150/120/90 seconds, the lost Items will have their Charges depleted by The Entity. The Auras of lost Items are revealed to you within 32 metres and slowly fade from white to red as the timer elapses.
- Discordance: Any Generator within a range of 64/96/128 metres that is being repaired by 2 or more Survivors is marked by a yellow Aura. When the Generator is first highlighted, Discordance triggers a Loud Noise Notification on the Generator. After the Generator is no longer within range or is being repaired by just 1 Survivor, the highlighted Aura will linger for another 4 seconds.
- Call of Brine: After damaging a Generator, the Call of Brine activates for 60 seconds. The Generator regresses at 150/175/200 % of the normal Regression speed and its Aura is revealed to you. Each time a Survivor completes a Good Skill Check on a Generator affected by Call of Brine, you receive a Loud Noise Notification.
- Overcharge: Overcharge a Generator by performing the Damage Generator on it: The next Survivor interacting with that Generator is faced with a difficult Skill Check. Failing the Skill Check results in an immediate Progression loss of 3/4/5 %. Succeeding the Skill Check grants no bonus Progression, but prevents the Generator from exploding. After Overcharge is applied to a Generator, the following effect applies: Increases the Regression speed from 75 % to 200 % over the next 30 seconds.
You May Also Be Interested In:
- Dead by Daylight Survivor Guide: Top 25 Tips
- Dead by Daylight Killers Guide: Top 25 Tips
- [Top 10] DbD Best Killer Builds That Are Great!
- [Top 100] Dead By Daylight Best Names
- [Top 10] DbD Best Survivor Builds That Are OP!
- [Top 10] DbD Best Killers And Why They're Good
- [Top 15] DbD Best Killer Perks And Why They're Good
- [Top 15] DbD Best Survivor Perks And Why They're Good
- [Top 10] DbD Best Survivors And Why They're Good
- [Top 10] DbD Best Survivor Builds That Are Great
- [Top 15] Ghost Games To Play Today
- [Top 15] Horror Movies That Were Books
- [Top 15] Best Horror Movies That Were Banned
- [Top 5] Dead By Daylight Most Fun Survivors
- [Top 5] Dead By Daylight Best Jane Romero Builds
- [Top 5] Dead By Daylight Best Meg Thomas Builds
- [Top 5] Dead By Daylight Best Claudette Morel Builds
- [Top 5] Dead by Daylight Best Jake Park Builds
- [Top 5] Dead By Daylight Best Nea Karlsson Builds
- [Top 5] Dead By Daylight Best Laurie Strode Builds
- [Top 5] Dead By Daylight Best Bill Overbeck Builds
- [Top 5] Dead By Daylight Best Feng Min Builds
- [Top 5] Dead By Daylight Best David King Builds

