[Top 15] Overwatch 2 Best Ultimates that are Powerful
In Overwatch 2, there’s always some excitement when you’re on a ledge or hiding in a corner waiting to use your Ultimate. For me, I love the feeling of falling into the enemy’s center and casting a Reaper’s Death Blossom. But these are the top 15 Ultimates that are sure to do a lot of damage.
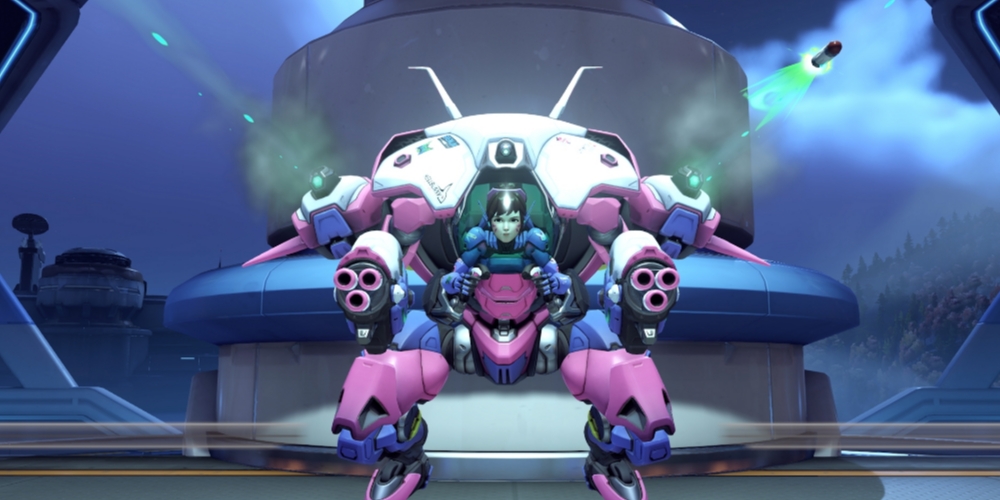
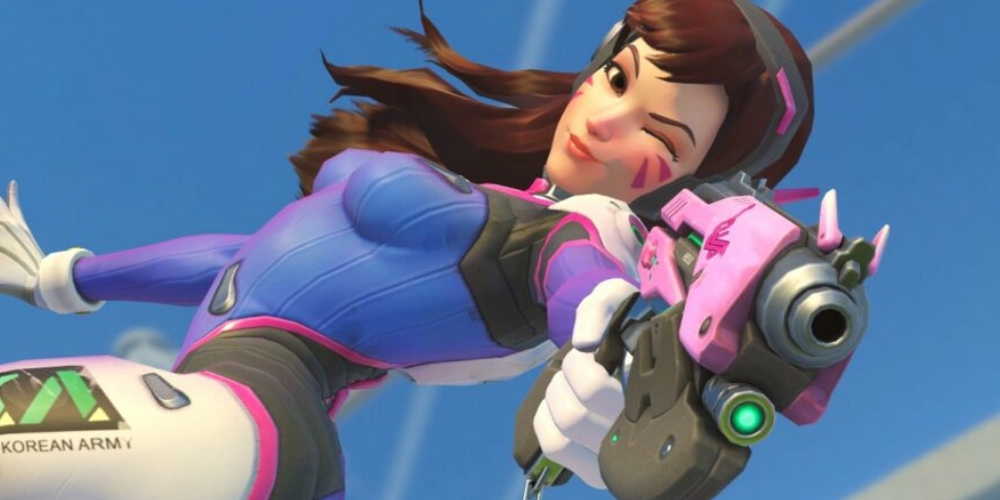
D.va’s Self-Destruct
D.VA for Dummies:
Caption: D.va is being played by "YEATLE"
Start at: 2:30
End at: 3:24
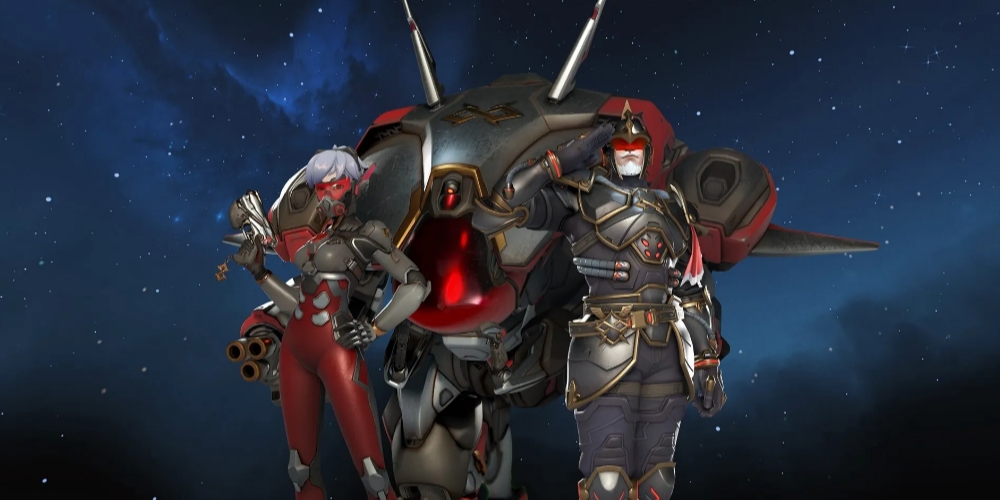
If you’re the enemy team, you hate this ultimate, but not if you’re the one doing it. This Ultimate involves D.va jumping out of her mech as it flies a short distance and then explodes.
Self-destruct is good for when the enemy is huddled together and you want to take them all out quickly, and for maximum effectiveness, send the mech down from a ledge so the enemy team doesn’t see it at first, giving them no time to find cover.
Why Self-Destruct is Great:
- It can instantly clear the point for your team to step in and take it over
- It’s easy to learn and use effectively
- It’s an Ultimate that is great with other Ultimates, like Baptiste's Amplification Matrix or Symmetra’s Teleporter
Self-Destruct Details:
- It can do 100-1000 damage, and the closer the enemy is, the more damage is done
- It only takes three seconds from the start to fully explode
- Its area of effect is up to 20 meters
- It flies the same amount as the rocket boosters ability
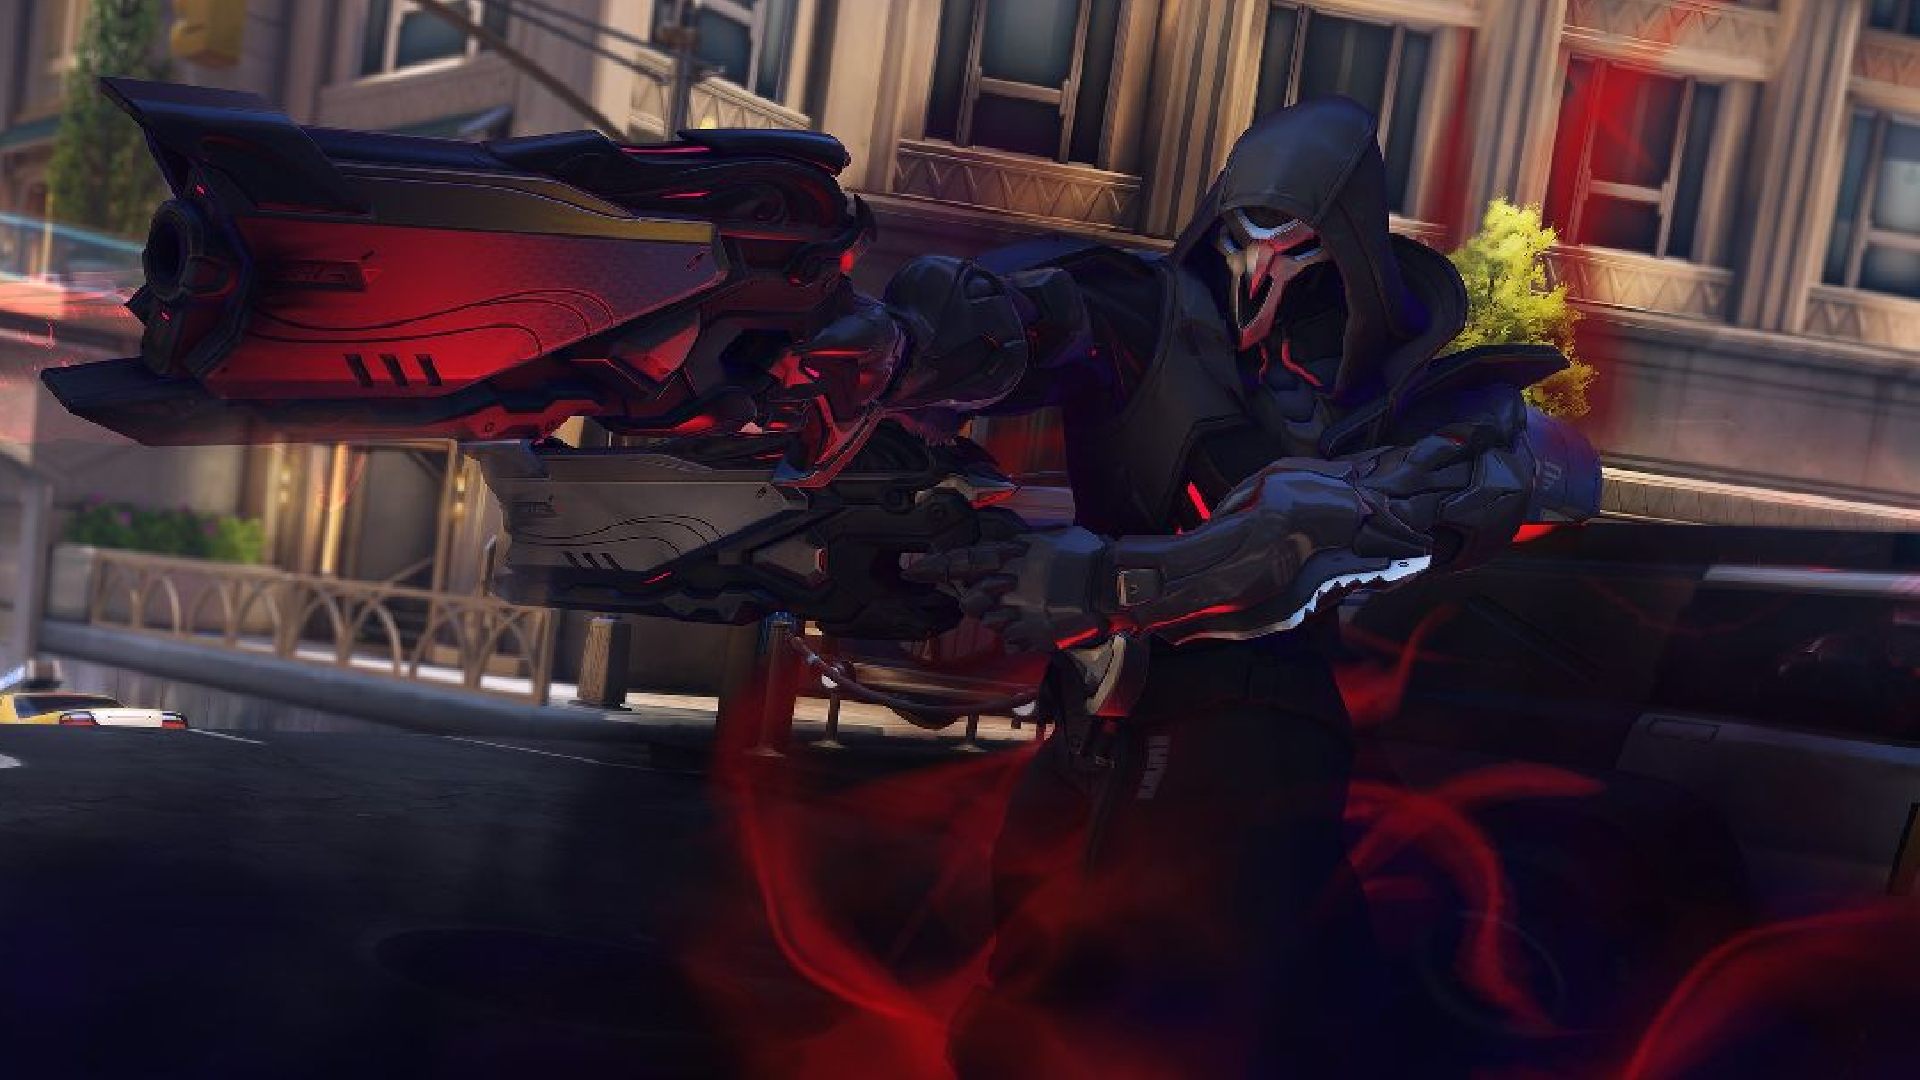
Reaper’s Death Blossom
Reaper Ultimate guide:
Caption: "GameLeap" played Reaper
Start at: 4:52
End at: 6:37
Reaper players everywhere always seem to have the most fun when using their Ultimate and it’s not hard to see why. Death blossom is when Reaper shoots bullets in a frenzy like a bullet storm around him.
This Ultimate is good for when the enemy is crowded around the point or is in a choke point. For maximum effectiveness, jump off a ledge like D.va’s ultimate so that the enemy doesn’t have a chance to see you. Do what you can to get in the middle of the enemy team as the Death Blossom spreads out like a circle.
Why Death Blossom is Great:
- It doesn’t take long to get
- It can potentially kill the entire team if used correctly
- It will turn the tide of the game
Death Blossom Details:
- It does 170 damage per second to each enemy
- It lasts a total of 3 full seconds
- Its radius is up to 8 meters
- It reloads your shotguns, making them combat ready right after you use the Ultimate
Soldier 76’s Tactical Visor
Soldier 76 Ultimate guide:
Caption: "GameLeap" played Soldier 76
Start at: 4:29
End at: 5:34
Tactical Visor is easily one of the most powerful ultimates in the game. It’s where Soldier 76 turns on his visor, and for a short duration, he shoots enemies like normal without having to aim, meaning you do the most amount of damage possible.
It’s good for when you need to get the enemy team to disperse and fall back. For maximum effectiveness, do it next to a corner so you can peek in and out to shoot while also maintaining cover from fire.
Why Tactical Visor is Great:
- You can use your self-heal while it’s happening if you’re low
- It allows you to put enormous pressure on the enemy team
- It lasts for a while
Tactical Visor Details:
- Your rifle is instantly reloaded once it is cast, so you don’t have to reload when it starts
- Your reload time is reduced by half, going from 1.50 seconds to 0.65 seconds
- The ultimate is a full six seconds
Cassidy’s Deadeye
Mccree Ultimate guide:
Start at: 14:54
End at: 16:06
One of the founding members of Overwatch, Cassidy’s ultimate has never changed. It’s where he goes into deadeye mode and locks onto enemies, and when you shoot, you land headshots on all the targeted enemies.
Deadeye is good for when the enemy is spread out in a large field. For maximum effectiveness, put yourself on a ledge so that the enemy doesn’t see you, allowing for enough seconds for you to lock on to as many enemies as possible.
Why Deadeye is Great:
- It has team kill capabilities
- The headshots deal the most amount of damage possible to enemies
- It can be used for both defense and offense
Deadeye Details:
- It has a maximum range of 200 meters
- 130 damage per enemy for the first two seconds of locking on
- 260 damage per enemy for every second afterwards
- It lasts seven seconds in total
Zenyatta’s Transcendence
The Art of Zenyatta:
Caption: "ImVazzi" is playing Zenyatta
Start at: 3:48
End at: 4:35
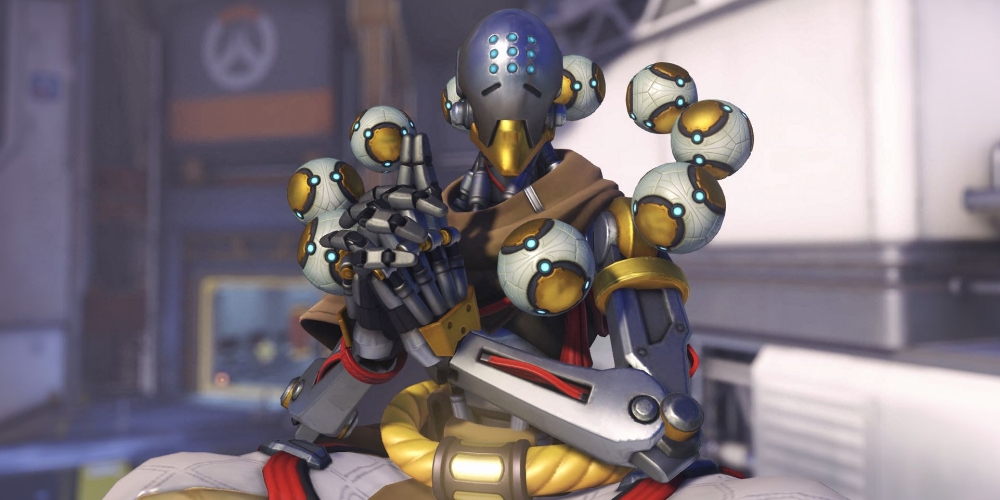
All Overwatch 2 teammates everywhere love this ultimate, for an obvious reason. Once Transcendence is cast, Zenyatta provides invincibility for all teammates next to him for a short duration.
It’s good for when the enemy is putting too much pressure on the point or is doing the final push. For maximum effectiveness, cast it when your teammates don’t have their Ultimates, but need to stay on the point.
Why Transcendence is Great:
- It can be the thing to save your team at the lowest point of the game
- It gives your team some time to deal damage without having to worry about health
- It can’t be stopped once cast
Transcendence Details:
- It heals each teammate for 300 health points per second
- It has a radius of 10.5 meters
- Its duration is a full six seconds
Junkrat’s Rip-Tire
Junkrat Ultimate guide:
Caption: "GameLeap Overwatch 2 Guides" is playing Junkrat
Start at: 4:09
End at: 5:00
If you’ve heard the phrase “Start your engines” during an Overwatch battle, then you know the anger that follows. Rip-Tire is when Junkrat rips an engine inside a tire like a lawnmower and allows you to send it wherever you want and explode it when you want.
It’s good for when the enemy is sitting on the point, defending, as the explosion will kill them, or at the very least, make them retreat and regroup. For maximum effectiveness, sit behind a wall for a couple seconds so that they can’t trace where it’s coming from, and then try to go behind or above them and take them by surprise.
Why Rip-Tire is Great:
- It’s an Ultimate that surprises the enemy
- It can be used at any time to stop the momentum of the enemy team
- It has multi-kill potential
Rip-Tire Details:
- The tire itself has a total health of 100
- The explosion has a 10-meter radius
- You control the tire for up to 10 seconds
- The tire travels at a speed of 12 meters per second
Echo’s Duplicate
Echo's Duplicate Ultimate tips and tricks:
Caption: "Dunmuir" is playing Echo
Start at: 5:50
End at: 7:20
Even though Echo is relatively new to the Overwatch roster, her Ultimate is definitely powerful. Duplicate allows Echo to copy any character from the enemy team, and if she does a small amount of damage, she can copy their Ultimate for herself.
It’s good for when an enemy has used an ultimate to take the lives of multiple teammates as you can copy their ultimate and do the same to them. For maximum effectiveness, combine her ultimate with Anna’s nano-boost in order to do the most amount of damage possible with the duplicated character.
Why Duplicate is Great:
- The Ultimate has 34 possibilities
- It has a wide range of defensive and offensive options, but it depends on the situation
- It gives the enemy team a taste of their own medicine
Duplicate Details:
- You play as the person you choose to imitate for 15 seconds
- You charge the duplicated enemy’s ultimate 6.5 times faster than they do
- Her health bar becomes the enemy’s base HP when you imitate them
Genji’s Dragonblade
Genji Dragonblade guide:
Caption: "OhDough" is playing Genji
Start at: 1:37
End at: 2:34
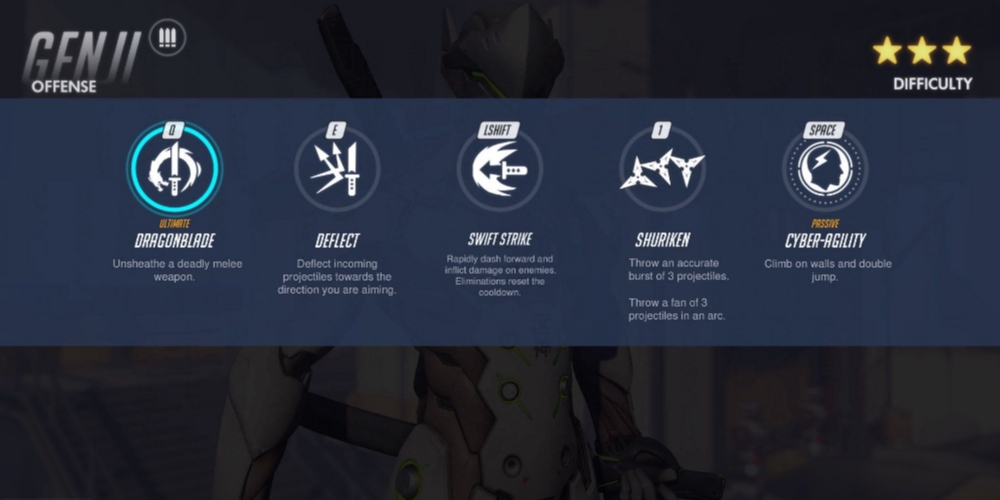
As the Cybernetic Ninja of Overwatch, Genji has proven to be a great DPS since the beginning. . For his Ultimate, you take out your long sword, the Dragonblade, and slice enemies left and right, dealing unreal amounts of damage with each swing.
The ultimate is good for when the enemy is in a straight line or a tight group bunched up together. For maximum effectiveness, jump off a ledge and then cast your ultimate to catch them by surprise.
Why Dragonblade is Great:
- You can clear the field in no time
- It forces the enemy to split up
- It puts a lot of pressure on an enemy team that is pushing too much
Dragonblade Details:
- It lasts six seconds, and you swing once every 0.9 seconds
- While swinging, you have a 30% speed buff
- Each swing you land does 110 damage
Ashe’s B.O.B.
Ashe Ultimate analysis:
Caption: "Dunmuir" is playing Ashe
Start at: 10:12
End at: End of Video
Since her release, Ashe has shown time and time again that she deserves a place on the Overwatch 2 roster. Her Ultimate is when she calls her Robot friend B.O.B. to charge where she points, who then stops and shoots enemies with his turret.
Ashe’s Ultimate is good for when you need to distract the enemy and damage them at the same time. For maximum effectiveness, try to place B.O.B. in a place that’s hard to see , like a ledge or a corner, so he can damage the enemy team, and then run away before he’s found.
Why B.O.B. is Great:
- He has good Ultimate pairing ability, like with Anna’s Nano Boost or Baptiste’s Amplification Matrix
- For a short duration, it takes the enemy’s bullets away from you and your teammates
- He plows through enemies when he charges, doing damage before he shoots
B.O.B. Details:
- He has 1000 health points
- He does 112 damage per second, or roughly 14 damage per bullet
- He shoots for a total of 10 seconds
Ramattra’s Annihilation
Ramattra's Ultimate guide:
Caption: "Your Overwatch" is playing Ramattra
Start at: 2:58
End at: 3:36
The newest addition to the Overwatch 2 roster, Ramattra, is a tank that has a lot of power in his punch. Literally, his Ultimate is where he slowly drains health from nearby enemies while also punching them with his robotic fists.
It’s good for when you need to get onto the point and regain control.. For maximum effectiveness, have a Zarya throw down a graviton orb so that while the enemies are grouped together and stuck, you can deal damage with your fists and drain health at the same time.
Why Annihilation is Great:
- It’s an Ultimate that, on its own, can multi-kill
- It forces the enemy to run away and retreat, and if they can’t, it at least causes panic
- It’s fairly hard to counter
Annihilation Details:
- You drain 30 health points per second
- It only lasts 3 seconds, but if you land your punches, you can pause the timer to make it last longer
- Its area of effect is 13 meters all around
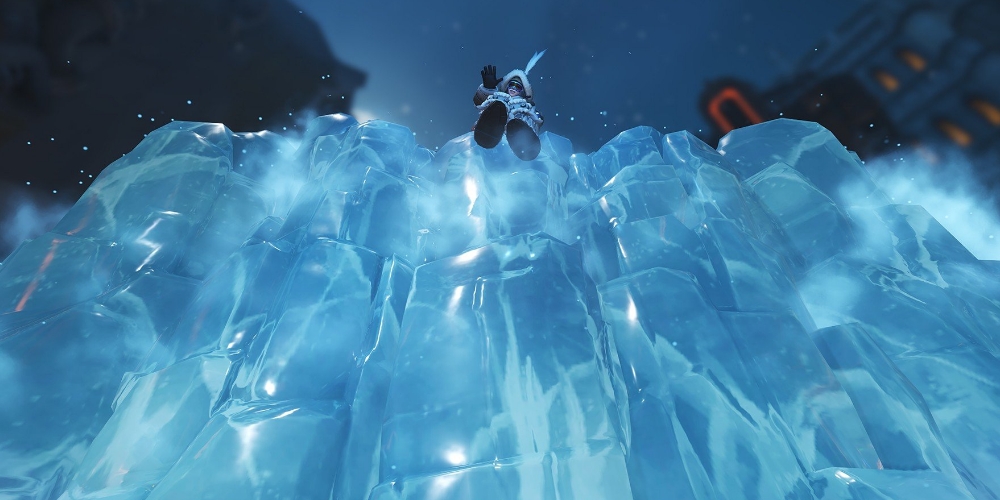
Mei’s blizzard
Mei Ultimate Gameplay:
Caption: "whitey bay" is playing Mei
Start at: 2:57
End at: 5:37
If you’ve ever been inside the circle of Mei’s ultimate, then you know why it is powerful. Mei’s blizzard is where she throws her backpack robot forward, and it creates a large area of frost that freezes all enemies inside the circle it creates.
It’s good for when the enemy is around the point and you want to take it back by stopping them from moving the point altogether. For maximum effectiveness, throw the ultimate in a choke point or room, as the enemies won’t be able to escape or disperse from the circle that’s freezing them in place.
Why Blizzard is Great:
- It leaves the enemy vulnerable and unable to fight back for a short duration
- It can easily turn the tide of the match in your direction
- It lets your teammates push to the point, if the enemy team was keeping them from doing so before
Blizzard Details:
- It takes 2 seconds to fully freeze an enemy, but it causes a 40% slow immediately upon casting
- Its area of effect reaches up to 10 meters
- It lasts for a total of 4.25 seconds
- It does 20 damage per second as well as slow enemy movement speed
Roadhog’s Whole Hog
Roadhog Ultimate gameplay:
Caption: "xBalenciii" is playing Roadhog
Start at: 9:36
End at: 9:43
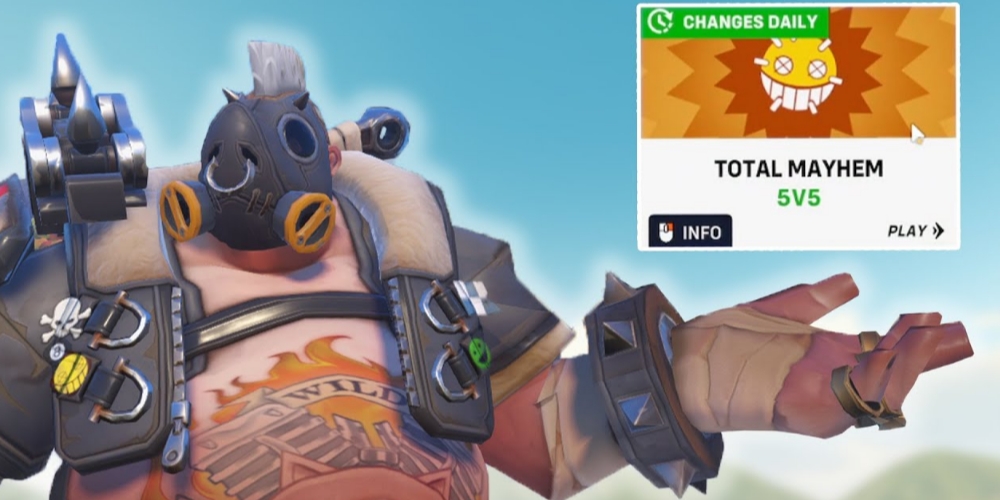
As someone who has been playing Roadhog for many years, Whole Hog definitely deserves a place on this list. When activated, Roadhog turns his scrap gun into a turret that shoots a large and far-reaching pellet spread that damages and knocks back enemies.
It’s good for when the enemy team is pushing into the point and you need to push them back. For maximum effectiveness, do it next to a ledge or cliff that would knock enemies off the map, or, like Ramattra, have a Zarya put down a graviton orb, so that while the enemy is grouped up and vulnerable, you can shoot them all with your pellet spread.
Why Whole Hog is Great:
- It’s hard to counter as you’re damaged and knocked back
- You can still use self-heal while you’re ulting if you need to
- The spread allows you to deal damage to Tanks, DPS, and Support all at the same time
Whole Hog Details:
- There’s 7 damage per pellet, and with 128 pellets per second, you do 4928 damage overall
- It lasts 5.5 seconds in total
- It knocks enemies back at a rate of 14 meters per second
Lucio’s Sound Barrier
Lucio Ultimate footage:
Caption: "Reaper Valoratch" is playing Lucio
Start at: 6:29
End at: 6:37
One of the original members of Overwatch, Lucio hasn’t changed since the beginning, and it’s clear to see why. Sound barrier is when he takes his sonic pulse rifle and slams it into the ground, giving teammates next to him a massive health boost.
It’s good for when the game is ending and you need your team to hold their ground in order to keep the point from moving or being captured. For maximum effectiveness, have Brigitte use her ultimate at the same time to add extra armor to the already massive health boost.
Why Sound Barrier is Great:
- It’s a healing boost that can possibly affect your entire team
- It can be used to defend or push the point
- Because it’s cast in less than a second, it’s very hard for the enemy team to stop it from happening
Sound Barrier Details:
- It gives your teammates 750 points in regular health points, while the remaining becomes bonus healing points that decay
- The extra healing decays at a rate of 125 points per second for a total of six seconds
- Its area of effect is 30 meters
Pharrah’s Rocket Barrage
Pharrah's Ultimate guide:
Caption: "Overwatch Daily" is playing Pharah
Start at: 9:45
End at: 11:50
“Rocket Barrage incoming!” is a phrase that I’ve heard and been afraid of many times. When Pharah uses her Ultimate, she opens her wings, sits in the air, and lays down a swarm of rockets which she directs at the enemies on the ground.
It’s good to use when the enemy team is in a straight line or is in a close huddle. For maximum effectiveness, pair her ultimate with Reindhardt’s Earth Shatter or Mei’s Blizzard, and while the enemy team is down, stunned, or frozen, you can send down a hail of rockets.
Why Rocket Barrage is Great:
- It can kill enemies that are spread out around the point
- It forces the enemy team to leave your line of sight
- Since you’re in the air, it can be fairly hard to be killed once the ultimate is cast
Rocket Barrage Details:
- A direct hit deals 40 damage, while splash damage deals 9-30 damage depending on how close they are
- The rockets fire at a rate of 45 meters per second
- The rate of fire is 30 rockets per second, and the Ultimate lasts 2.5 seconds in total
Hanzo’s Dragonstrike
Hanzo Ultimate:
Caption: "BabyBay" is playing Hanzo
Start at: 2:35
End at: 2:41
Even though Hanzo is at the bottom of this list, don’t count him out just yet. Dragonstrike is when Hanzo shoots an arrow that splits into two massive dragons that spiral around each other, phasing through walls on their destructive rampage.
It’s good for when the enemy team is in a line or when they're grouped together pretty close. For maximum effectiveness, try to cast behind a wall so the enemy can’t shoot you, and the dragons will pass through the wall and catch the enemy by surprise as they emerge from the wall charging towards them.
Why Dragonstrike is Great:
- They don’t have a maximum range and go forever
- It causes the enemy team to flee, potentially leaving the point open for your team to step in
- If you hit someone with the arrow itself, that also deals damage
Dragonstrike Details:
- Each dragon deals 150 damage to each enemy per second that they’re hit
- They travel at a speed of 20 meters per second
- Their radius is roughly 4 meters
You May Also Be Interested In:
[Top 10] Best Overwatch DPS For Beginners
[Top 10] Best Overwatch Heroes For Competitive Play
Overwatch DPS Tier List [Overwatch Best And Worst DPS Revealed]
[Top 5] Overwatch Best Heroes For Solo Carry
[Top 10] Best Overwatch Heroes For Beginners That Are Powerful

