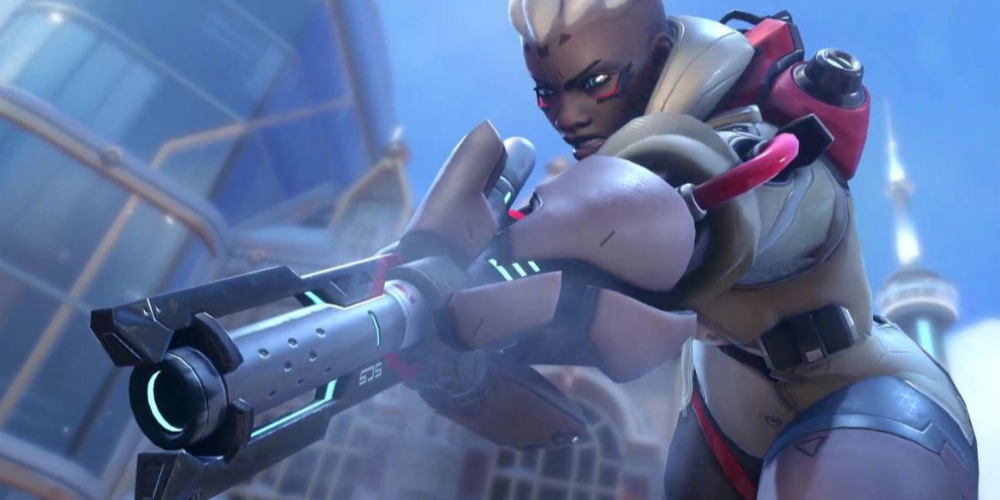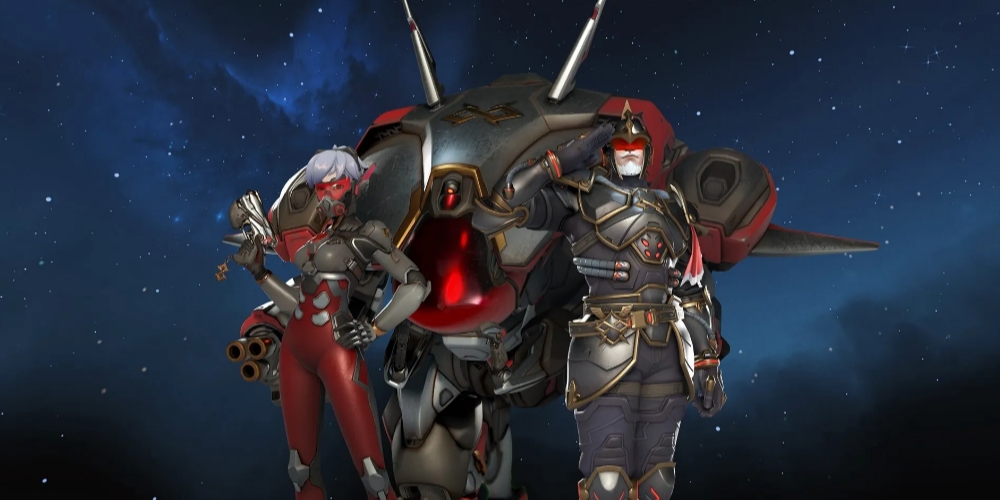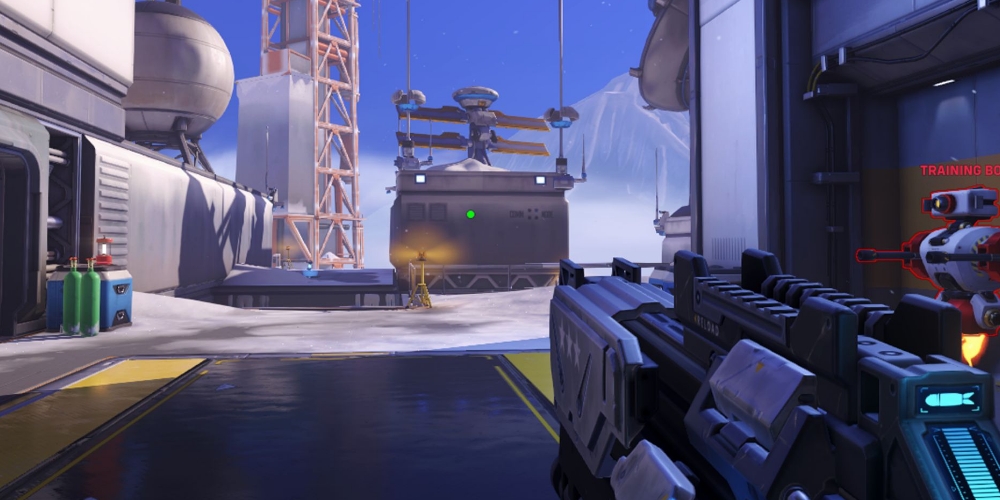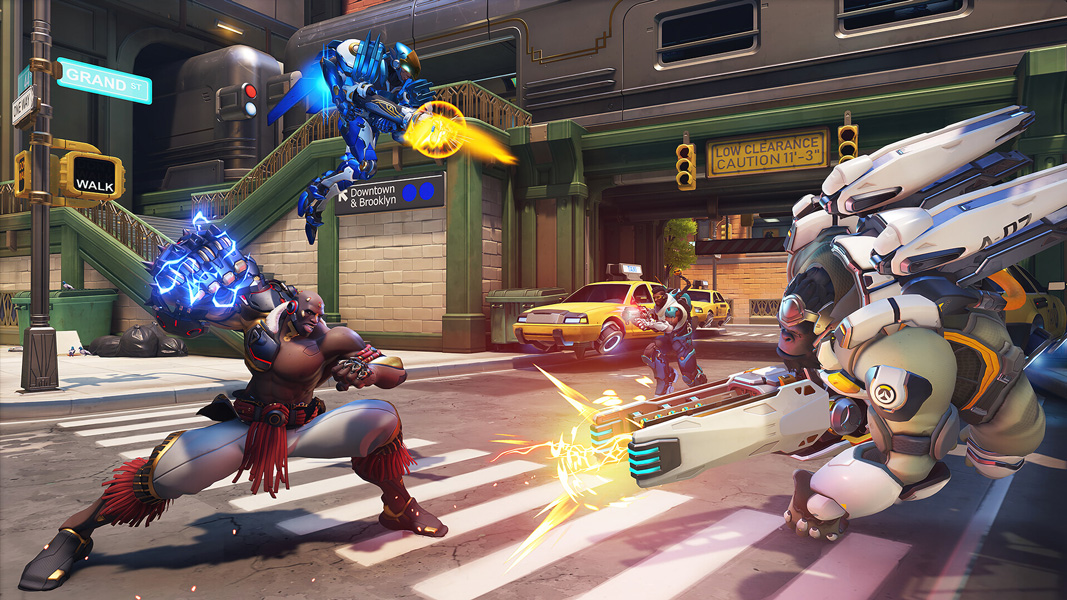
Overwatch 2 has been out for quite some time now, attracting both new players and veterans back to the franchise. With over 25 million at its peak player count, now is a great time more than ever to be a fan.
With the new 5v5 adjustment as well as an encyclopedia of changes to nearly all heroes, new players could be overloaded with information as to what heroes excel in which category, who are the meta picks for now, and what heroes they should pick up and master.
This article will cover 10 impactful heroes that a newer player can pick up and master for casual play or to climb the ranked leaderboards.
10. Reinhardt
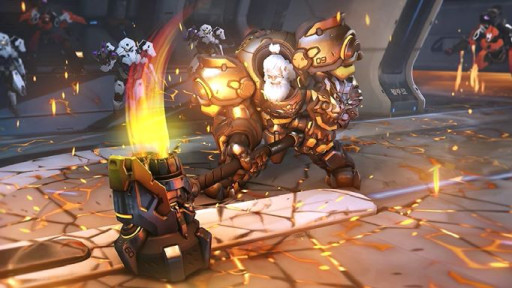
Leading the charge with the largest shield in the game, Reinhardt fills the classical tank role. With a whopping 325 health, 300 armor, and a 1200 shield, he has one of the highest potential to tank incoming damage compared to other heroes. Certain maps have tight corridors, such as Dorado, Junkertown, and Route 66, all of which Reinhardt excels in.
Reinhardt’s Barrier Field is a front-facing shield that starts regenerating its hit points after two seconds at a rate of 144 health per second. His teammates can shoot through the shield, which makes for an excellent push strategy. Utilizing cover to let your shield regenerate or lowering your shield while no active threat is nearby should be taken into consideration when being an effective tank.
Armed with a rocket powered hammer, it deals 85 damage per swing with a fire rate of 1 swing per second. In combination with his Fire Strike which launches a 90 projectile at enemies, Reinhardt is capable of dealing lethal damage to any DPS hero that comes too close. Reinhardt is equipped with an offensive mobility ability in his Charge. This ability is best used to either peel your DPS or Supports, or to initiate a push by targeting an out-of-position enemy.
His ultimate ability, "Earthshatter,” slams his hammer, causing all enemies in front of him in a 20 meter range to be knocked down for 2 seconds, allowing you or your team to quickly eliminate them and push the enemy team.
A solid and straightforward hero for newer players wishing to play as the immovable object in their team.
What makes Reinhardt great
- Best Shield In The Game
Standing at 4.25 meters tall and 6.8 meters wide, with a beefy 1200 hitpoints, Reinhardt is equipped with the tankiest and largest shield in the game.
-
Close Range Lethality
With a hard and fast hitting melee attack and a decent mid-ranged projectile, your teammates can quickly eliminate any enemies you damage.
-
High-Impact Mobility and Ultimate
Against enemies grouped up in one spot, Reinhardt has the potential to eliminate five heroes at once with a well-placed ultimate.
See Reinhardt in action:
9. Bastion
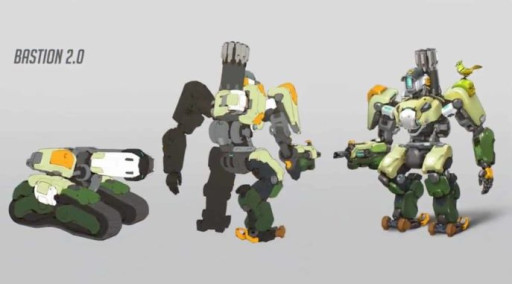
His primary weapon is a slow firing hitscan rifle best suited for chipping away at airborne or low HP targets. It’s fairly underwhelming damage at 7.5-25, with a damage drop off at 30-50 meters. In contrast, his turret form has the highest DPS of any automatic firing weapon in the game at 12 damage per bullet with a fire rate of 30 rounds per second for 6 seconds until he is forced back into his normal form. Not to mention the buff to his tankiness, as he currently has 200 hit points and 100 armor, with a passive 20% damage reduction in turret form.
Transforming to and from his forms has a minor delay wherein Bastion puts away his weapons and is unable to shoot. Thus, switching forms is best utilized when peeking from a corner, or flaking.
Bastion comes with a new, albeit underwhelming ability that fires a grenade that can bounce once off walls. It deals 15 impact damage and 100 splash damage, assuming a direct hit. Best used against low HP enemies behind a corner. The grenade can be used as a jump boost when fired directly beneath Bastion.
Configuration: Artillery is Bastion’s new ultimate. Once activated, Bastion becomes immobile while having a zoomed out view of the battlefield. He gains three artillery shots that deal 200-600 damage depending on how close the enemy is to the 6 diameter blast point. Amazing for flushing enemies out of a key area such as a control point.
What Makes Bastion Great
-
Tank Shredder
In his turret form, Bastion can output a potential of 360 damage per second, which can melt full HP tanks in 2-3 seconds.
-
Flushing Enemies Out of an Area
Both his grenade and ultimate are best used against tightly packed enemies holding a key area of the map.
-
Tankiest DPS Hero
200 hit points and another 100 armor with his 20% damage reduction passive in turret form ensure that he won’t be easily burst.
See Bastion in action:
8. Pharah
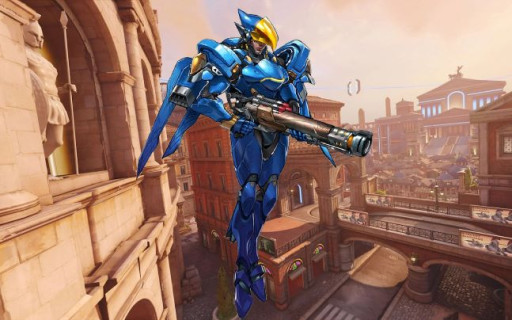
Easy to pick up yet hard to master, Pharah, the "Queen of the Skies” in Overwatch, has the capability to apply pressure and create space like no other DPS hero in the game. She is one of the few heroes who can fly indefinitely on the battlefield while armed with a powerful rocket launcher capable of eliminating backline heroes in two seconds, posing an extreme threat to her enemies.
The only factor that stops Pharah from dominating every match is the fact that being airborne makes for an easy target for hitscan heroes such as Cassidy, Ashe, Widowmaker, Soldier 76, and Ana. The true test of skill is how well Pharah players can play against her counterpicks.
Armed with a slow-firing but hard-hitting rocket launcher, Pharah pilots must aim at the position that their targets will be in rather than where they are currently. A direct hit from a rocket deals a whopping 120 damage, which can be followed up with another rocket or my favorite combo of launching a Concussive Blast and firing a rocket to where they will land. This will take a few minutes in the practice lobby to master, but is well worth the training for a guaranteed kill combo. A quick tip for her primary weapon: engaging in close-range combat is surprisingly effective, both in terms of time to kill and the fact that enemies won't expect a Pharah right on top of them.
Pharah will be in the sky for 90% of the match's duration. To achieve this, utilizing Jump Jets and Hover Jets will keep you airborne as long as you hover in bursts and allow your fuel to slightly replenish before pressing space to hover. Using her Concussive Blast as a mobility tool to escape from a vulnerable space, especially after peeking and firing, can lower your average deaths per match as well.
Her ultimate “Barrage” is a high-risk, high-reward ability. Launching a continuous volley of mini-rockets with enough damage potential and area of effect to team wipe sounds amazing on paper, yet veteran Pharah players often use her ultimate as a guaranteed pickoff for two enemies, or for flanking. This is because Pharah will be hovering in place while her ultimate is active, making her an extremely easy target.
What makes Pharah great
- Potential to Create Pressure and Space
When none of her counters are available, Pharah instills fear in the enemy, preventing them from approaching areas where she can fire.
-
DPS Machine
With 120 damage per rocket and an ultimate that can wipe the enemy team, a Pharah can consistently farm POTG clips.
-
Aerial Mobility
Having the ability to fly indefinitely while equipped with a Concussive Blast as a getaway, she can evade enemy fire while drawing attention away from her team.
-
Zarya and Mercy Combo
A Zarya bubble with Pharah’s Ultimate or having a pocket Mercy supporting can mitigate most of Pharah’s weakness
See Pharah in action:
7. Soldier 76
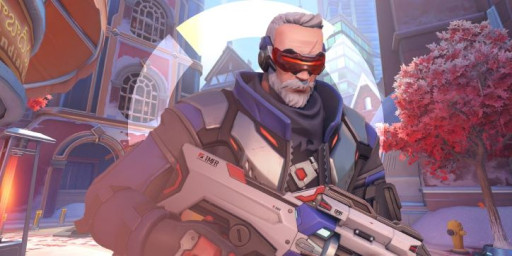
His weapon is a heavy pulse rifle that is fully automatic with a hitscan and has a damage range of 6–18 at a fire rate of 9 rounds per second with a drop-off distance of 30–50 meters. His damage numbers are average for mid-range DPS heroes when combined with a recoil pattern. Soldier 76 won’t be the hero that eliminates enemy heroes unless he is flanking; rather, he will be chunking enemies down to around 70% to 40% of their hit points, which your allies will finish, or the enemy supports will need to heal back.
Soldier 76 is most lethal at close ranges, with Helix Rockets and five bullets dispatching any 200-hit hero. This is ideal for flanking behind enemy lines to take out a key target, then retreating or continuing to fire while deploying his Biotic Field to keep him alive and apply pressure in a specific area of the map. Another playstyle is playing front-to-back and acting as a third support. This playstyle is often used in push or payload maps. His Ultimate is essentially an aimbot that’s best used when flanking or rushing an enemy once their tank has died.
Soldier 76 is a well-rounded DPS hero. He's able to deal both sustained and burst damage at any range, sprint across the battlefield, and provide support through the use of Biotic Field. His real weakness is his lack of specialization and lackluster ultimate compared to other DPS heroes. He’s simple to learn and great for any new Overwatch players.
What makes Soldier 76 name great
-
Self-Reliant
With decent mobility and self-sustainability, Soldier 76 can heal himself on the go.
-
Flanking and Front-To-Back Viable
Sprinting to the backline to use his Ultimate, or being a mid-range fighter protecting his allies are both viable playstyles
-
Ease of Use
CS:GO and Valorant players will have an easier time adjusting to Soldier 76’s kit
-
Burst and Sustained Damage Output
A flanking Reaper or Sombra targeting you or your teammates will be met with a surprising amount of burst damage.
See Soldier 76 in action:
6. Mercy

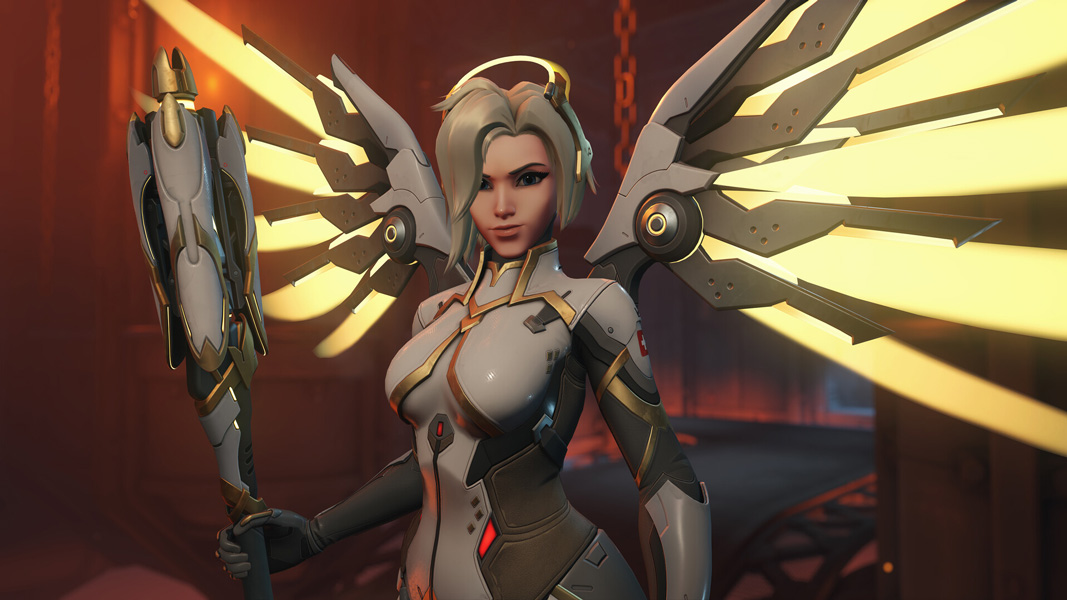
Her support output comes in her Caduceus Staff, which can either heal or boost a single teammate’s damage by 30%. This means that Mercy has two main playstyles. Firstly, the “Pocket” playstyle has her supporting a single DPS or Tank. The more stellar the player the better the win rate you’ll have on her. Secondly, the team support which sees Mercy players zipping across the battlefield healing whoever is low and boosting the damage output of any DPS hero.
Mercy fits well into any team composition, making her viable in every game while allowing the other supports more flexibility to pick a utility or damage oriented hero.
Mercy’s ultimate, named "Valkyrie,” boosts every aspect of her kit. She gains omnidirectional flight, and her Caduceus Staff gains the ability to link to nearby teammates, within 10 meters, which allows for multi-hero healing and damage boosting. Mercy’s healing range increases from 15 to 30 meters as well.
The drawback of playing Mercy is that players often deal under 500 damage or none at all when playing her, making her carry potential entirely reliant on your teammates; in other words, whether or not you win or lose a game is out of your hands. On the plus side, if you’re playing with mechanically gifted friends, Mercy would be the best hero to support and climb the ranks with
What makes Mercy name great
-
Excellent for Pocketing a Carry
The ability to fly and boost a teammate’s damage increases the carrying potential of the recipient hero.
-
Can Resurrect Allies
Reviving an important teammate helps keep the pressure on the enemy.
-
Valkyrie To Turn the Tide of Battle
Healing or boosting the damage of up to 3 heroes while being harder to hit due to free flight makes for POTG moments.
-
Synergistic With Many Heroes
Mercy synergizes well with popular meta heroes such as Pharah, Cassidy, Bastion, D. Va, Zarya, and many more.
See Mercy in action:
5. Orisa
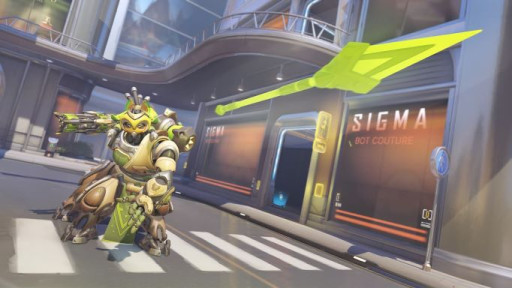
One of those welcome changes is Orisa. She once was a bulky tank with limited mobility and a deployable shield to protect teammates, but Orisa is currently a quicker, attack-focused tank with the ability to block incoming projectiles and stun enemies with her spear.
Adding more offensive and utility skills to her kit follows a decrease in her defensive stats. Orisa currently stands with 275 hitpoints and 275 armor, being on the lower end in terms of stats. Her primary weapon is a heat-based that doesn't require reloading. Dealing 6–12 damage per shot at 10 rounds per second with a damage falloff range of 15–25 meters. Orisa’s damage output is respectable, especially when landing headshots. She can continuously fire for 5 seconds before needing to stop to cool her weapon.
Energy Javelin is Orisa’s right mouse button, which fires a javelin that deals 60 damage and a further 40 if the enemy gets pinned against a wall, which also stuns for 0.3 seconds. Combining this with a melee or headshot will make quick work of any squishy hero.
Fortify does as the name implies. Orisa temporarily reduces incoming damage taken by 40%, gains 125 overhealth, and cannot be affected by movement-impairing effects for 4.5 seconds nor take headshot damage. Her heat generation from firing reduces by 50% when she is active. The ability is a straightforward panic button when taking fire from multiple enemies or used reactively against an ability that can displace Orisa.
Javelin Spin spins Orisa’s javelin to destroy incoming projectiles and block melee attacks, while also dealing 90 damage over 1.75 seconds, pushing enemies, and increasing forward speed by 50%. Javelin Spin functions similarly to D. Va’s Defense Matrix and can block certain heroes' ultimates, such as Hanzo and Reaper’s. This ability can be used offensively to carve a path forward and begin an aggressive push.
Terra Surge is an ultimate with POTG potential. Orisa attracts nearby enemies towards her, gaining the effects of Fortify and charging up a percentage meter to unleash a surge of damage. The ultimate deals 70 base damage, with each percentage being equivalent to 1 additional hit point of damage, up to a maximum of 500%, or 570 damage. Needless to say, this ultimate, in combination with her Javelin Spin to engage, can single-handedly win games.
What Makes Orisa Great
-
Good Mix of Offense, Defense, and Utility
Having a kit that is fit for every situation allows for versatility when dealing with unknown enemies at the start of the round.
-
Can Peel Her Backline
Landing spears is the hard part; in a worst-case scenario, Orisa can use her Javelin Spin to push enemies away from her backline.
-
Easy to Use, Hard to Master
This is great for players who want to pick up a capable tank while having room to improve.
-
Game Changing Ultimate
Pulling in enemies while making yourself nearly invulnerable puts an enormous amount of pressure on enemies to flee and regroup.
See Orisa in action:
4. Reaper
Unlike the rest of the heroes on this list, Reaper has one optimal playstyle that his kit is designed around: flanking. With one less tank, flanking heroes such as Reaper and Sombra have an easier time picking off the enemy backline. Unlike Sombra, Reaper players have to learn the layout of the map to learn the optimal routes, as learning only one route makes Reaper vulnerable to traps or peels such as Ana’s Sleep Dart.
It's important to note that Reaper is a close-quarters assassin. His shotguns deal a maximum of 108 damage per shot at a fire rate of 2 shots per second. Players will see a large drop in damage starting from 10 meters away.
Reaper excels in tight quarters, and his shotguns dish out a ton of damage, while his passive heals himself for 35% of all damage dealt, including environmental and ultimate kills. Reaper has the potential to burst down tanks with headshots and healing, but targeting tanks is only good if the tank is isolated, such as a Reinhardt that missed his charge. Players should put most of their focus into sneaking and teleporting around to pick off enemies with a priority focus on healers.
Which brings us to the next part of his kit. Reaper comes with two abilities to help him teleport to nearby locations and to disengage from a fight. Shadow Step is an excellent repositioning tool to reach high ground or inaccessible areas, teleporting Reaper to the desired location the player directs him to. Wraith Form quickly gets Reaper out of unfavorable situations. Once activated, Reaper turns into a mist of black smoke, unable to shoot but immune to damage for a short duration.
Reaper’s Ultimate, aptly named Death Blossom, is a 3-second channel ability in an 8-meter radius that deals a whirlwind of damage, killing everything in sight unless interrupted with quick reflexes by the enemy team, which is unlikely as Overwatch 2 has less crowd control abilities than its predecessor.
What makes Reaper great
-
Large Damage Output
Two well-placed shotgun blasts can take out 200 hit points in a second.
-
Tankiness
His passive is an underrated part of his kit, allowing him to take longer fights with the likes of Bastion and Mei.
-
In and Out of Combat Mobility
Shadow Step in, Wraith Form out.
-
Death Blossom
A cyclone of destruction.
See Reaper in action:
3. D. Va
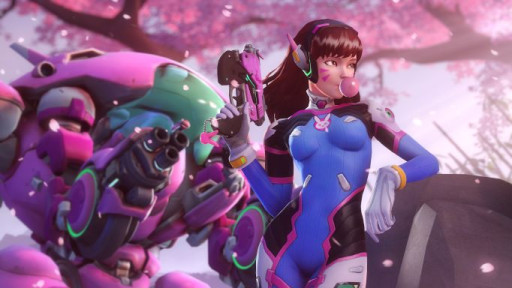
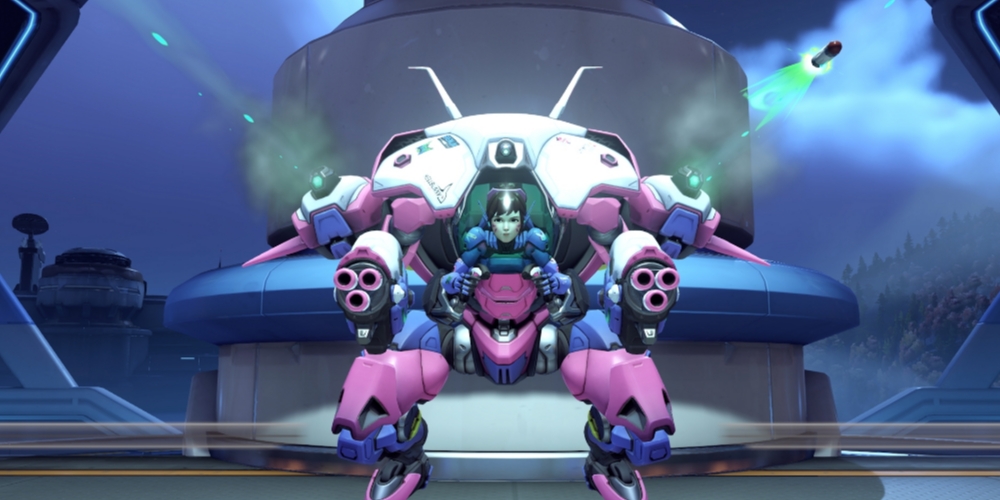
Being largely unchanged in Overwatch 2, D.Va has only gotten minor tweaks to her survivability as she is now a solo Tank. Her mech health has 350 hit points and 300 armor, and her pilot health is 150. As with all Tank roles, she is required to step into the frontline to be the anchor that the team needs, but she excels as a diver to burst down a key target or Self-Destruct on a group of enemies.
Armed with dual shotguns on her mech, Fusion Cannons are D.Va's primary weapon and her main method of dealing damage. Dealing 0.6–2 damage per pellet at 11 pellets per shot, with a 7 round per second fire rate. Approximately 154 damage per second. Damage drop off begins at 10 meters and ends at 20 meters. These twin shotguns never have to reload, but they impose a slight 40% movement penalty when used.
For dealing damage, Micro Missiles can be used alongside her dual shotguns to quickly burst down enemies. Micro Missiles launch 18 explosive rockets at a rate of 11 per second at the player’s crosshair, dealing 7 damage on direct contact and 1-4 splash damage. Roughly 77 damage per second on top of her shotguns and melee attacks.
D. Va’s Defense Matrix projects a visible matrix that destroys all incoming projectiles in front of D.Va. It is toggleable and lasts for a total of three seconds. It is D.Va's alternative fire and can block Pharah and Reaper’s Ultimate, but doesn't work on beam weapons such as Winston's Tesla Cannon or Zarya's Particle Cannon. It cannot also defend against melee attacks.
Her mech comes equipped with Boosters that allow D.Va to fly in the direction that she is facing for 2 seconds. Bumping into enemies while using Boosters deals a small amount of damage while knocking them back. Boosters can be used in conjunction with Fusion Cannons, melee attacks, and Micro Missiles.
Self-Destruct causes D.Va to eject and overload her mech, causing it to explode after a short period. It works best when combined with boosters to launch her mech into the air or into a tight area where it can explode on the enemies. Because the blast radius is deceptively large, this ability has the potential to wipe out a team.
What Makes D. Va Great
-
Defense Matrix Destroys All Projectiles
Aside from the common bullets and ordinance, many abilities and ultimates can be nullified by this defensive tool.
-
Self-Destruct is still Overpowered
Many times, people think that they are a safe distance away from D. Va's exploding mech has caught them off guard.
-
Dive Potential
Activating her boosters and then blasting enemies in point-blank range with her Fusion Cannons, Micro Missiles, and melee attacks ensures that enemy Pharah and Mercy won't be having fun in this game.
See D. Va in action:
2. Winston
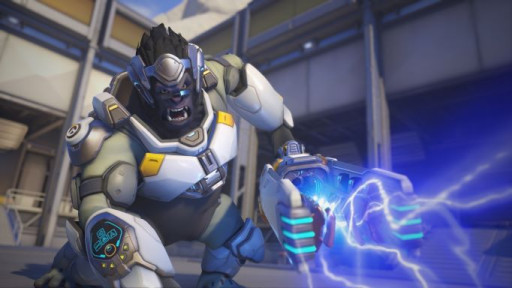
New Overwatch players will enjoy Winston's simple and very effective primary weapon. Dealing 60 damage per second, which automatically targets all enemies in front of him, effectively makes the player’s aiming skill not particularly important. It has a secondary fire that functions as a chargeable beam for targets in mid-range, which can deal 15–50 damage when held down for 1.2 seconds to be fully charged.
Barrier Projector is the name given to Winston’s deployable shield dome. It’s a simple yet effective 700 hitpoint shield that protects Winston or his teammates from threats beyond close distances while allowing projectiles to be shot out of it. With a duration of 8 seconds and a cooldown of 12 seconds that immediately begins once the shield is deployed, Barrier Projector has a fairly long uptime.
Leap launches Winston into the air and damages any enemies he lands on in a 5-meter radius for 1-50 damage. It has a very short 5-second cooldown.
Winston’s ultimate ability is called Primal Rage. When activated, Winston casts off his well-mannered scientist persona and enters his animalistic rage, granting himself a list of buffs that extend his dive-and-disrupt playstyle. Winston’s health instantly fills up upon activation, and his health bar transforms into 850 health and 150 armor. While enraged, Winston can only make melee attacks and use his Leap ability. Landing melee attacks sends enemies flying backwards while dealing 40 damage, and you can swing around twice per second. This ultimate is best used when the enemy’s tank is dead and chasing the fleeing enemies becomes the priority objective.
What Makes Winston Great
-
Ease of Use
Leap in, shield yourself, W + M1, leap out, rinse and repeat
-
Strong Offensive and Defensive Capabilities
Winston can dive the enemy team or constantly deploy his low cooldown shield to protect his allies and deal damage to any close range threats
-
Dive Tank That Causes Chaos
Winston is excellent for finding gaps in the enemy team’s defense and rushing down with his Ultimate.
See Winston in action:
1. Moira
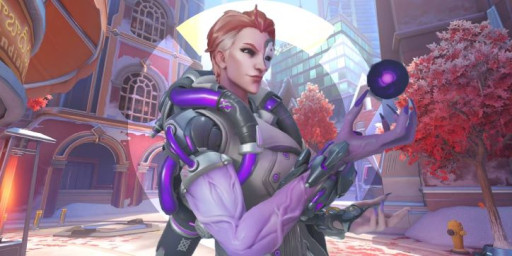
Moira's playstyle remains consistent from the original Overwatch, and she’s still viable for anyone picking her to be a main support despite her healing resources being limited. Moira also has dueling potential due to her Biotic Grasp dealing decent damage while healing her, and having escape options.
Biotic Grasp can either heal her teammates with a left click or damage enemies from afar with a decent range by right clicking. Although Moira’s top priority is to heal allies, due to her limited healing ability, she is forced to use her alternate fire Biotic Energy as a way to replenish her healing resources. This kit is designed to be a near-frontline fighter who heals allies while damaging Tanks or flanking enemies.
Moira’s next ability is named Biotic Orb, and it bounces off any surface it comes across. Similar to her primary weapons, the Biotic Orb can be configured to either heal allies or damage enemies, especially with a well-placed shot in a tight corridor. In open areas, it's best to aim her orb in a straight line towards allies or enemies to avoid the orb from randomly bouncing off environmental objects and becoming useless. It is a fairly long-range ability and can be used to heal allies outside of Moira's Biotic Grasp range by ricocheting the orb.
"Fade" is Moira's movement ability. When activated, she can disappear, becoming invulnerable, and gaining a 250% movement speed buff for 0.75 seconds with a cooldown of 6 seconds. During this time, she cannot use any skills or her primary fire. Players have the option to jump before exiting Fade to gain travel slightly further. Fade is best used to reposition Moira offensively to chase down an enemy, to retreat from a bad engagement, or to cleanse herself of negative effects such as Ana's Biotic Grenade or Mei's Ultimate.
Her Ultimate ability, Coalescence, gives Moira the ability to be a frontline fighter and the potential to dish out large amounts of damage and healing. She fires a beam of biotic energy from both her hands, which passes through both allies and enemies within a 30 meter range. It deals 70 damage per second to enemies and heals all allies for 140 health per second. It will last eight seconds if not interrupted by crowd control abilities. Being a beam-based ability, Coalescence can also pierce through most shields except Zarya's energy barriers.
While channeling her ultimate, Moira gains 50% increased movement speed and regenerates health at a rate of 50 per second, but she cannot use any other abilities like Fade or Biotic Orb. It is best to throw out a Biotic Orb before using this Ultimate to maximize Moira's kit.
What makes Moira great
-
Ability to Escape, Reposition, or Push Aggressively with her Dash
Fade is such an amazing ability that any other Support hero with this ability would be an instant S tier pick due to its versatility and low cooldown.
-
Can Stand Her Ground Against Flankers
Against Reapers and other flankers, Moira can fire a Biotic Orb for emergency healing or damage while using her Biotic Grasp to damage and heal herself. Fade can be used to chase down low HP flankers as well.
-
High Numbers
You will consistently see Moira’s damage and healing stats at the top of the charts in your games.
See Moira in action:

