Why Is Audio Important In Overwatch?
Audio is a key component in gaming, but particularly in Overwatch 2. Overwatch 2 is a first-person shooter that requires good aim, hand-eye coordination, and ears. Without audio, you won’t get cues for the different ultimates, abilities, and movements in the game. You need audio to survive, so you need to make sure you have the best settings.
15. Voice Chat Nameplate Icon: On
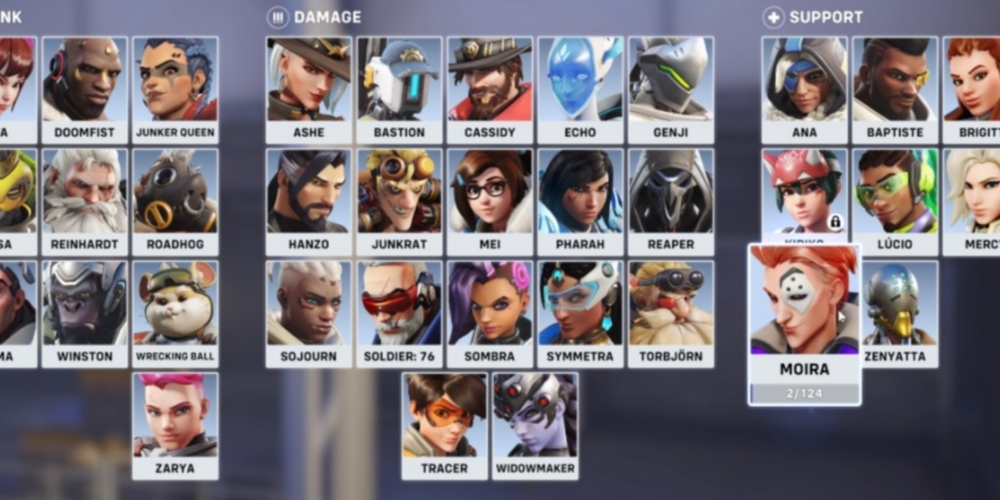
To give yourself an advantage, you should keep the nameplate icon on. What this setting does is show you the icon of the character the person talking is playing. For example, if Hello123 is playing D.Va, when Hello123 talks, D.Va’s icon will show up to show you that Hello123 is talking.
If you don’t know who’s talking, how are you going to help them? For example, what if your support is making a call out? In role queue, you have two support players. Without the nameplate icon, how will you tell them apart? By using the nameplate icon, you can identify your teammates easier.
How best to set it: Go to settings, go to "sound" and the "voice chat" subcategory, then change "Voice chat nameplate icon" to on.
14. Wear Earbuds Or Headphones
If you want to improve, you should wear earbuds or headphones so you can hear better. The closer the sound is to your ears, the more you’ll notice. For example, when I play without earbuds, it’s hard for me to hear the grunts of my teammates when they take damage. When I play with earbuds, I can hear every groan. As a support player, listening for those sound effects is essential since it lets me know who’s taking damage.
Although it’s harder to hear the world around you when you’re wearing earbuds, it’s worth it to get better audio quality. Wearing earbuds helps in every role, not just support. Tanks need to listen so they can better block enemy ultimates, and DPS need to listen so they can counter their enemies.
13. Master Volume: 40
The master volume controls the total general volume of the game. You don’t want this setting to be too loud since it can hurt your ears, especially if you’re playing with earbuds. You’ll want to fine-tune your audio settings so only certain parts of the audio, like sound effects, are loud. The master volume being set at 40 makes it evenly balanced.
Keeping it low but not too low allows you to hear most of the audio in the game while also giving you room to work. You can adjust the more specific audio settings to your liking if you keep the master volume low. If it’s high, it’ll drown out your other settings.
How best to set it: Go to settings, master volume will be the very first audio setting, set it to 40
12. Adjust Your Volume While Playing
Not every game will be the same, which means you’ll have to adjust your audio while playing. Don’t stick to just one setting. For example, if one game your teammates are too loud, turn the voice chat volume down. If your teammates are quiet the next game, then turn the voice chat volume back up.
It’s just like how you need to change your controls every once in a while. As you grow as a person and gamer, you can’t use the same settings all the time. Don’t be scared to adjust while playing; otherwise, you might weaken your gameplay.
11. Music Volume: 40-60
Music volume depends on your personal preference, but you should still keep it lower than your sound effects volume. In my opinion, music only adds two things: 1) cues you when the game is nearing its end, and 2) immerses you in the game. Otherwise, music doesn’t add any gameplay benefits.
If anything, music can be distracting and drown out the rest of the game. You should keep it in the low to mid-range. Anything higher will distract you, and anything lower could detriment you. I can’t count the number of times I didn’t realize the game was ending because the music didn’t play. That’s a glitch where the music won’t play, so that won’t impact your music volume setting.
How best to set it: Go to settings, music volume will be the third setting, set it to a number in the 40-60 zone based on your preference
10. Learn All The Audio Cues
Instead of stressing over which ultimates and abilities are being used, you should learn the audio cues in Overwatch. Although this takes time, you can do it with enough experience. Pay attention to what the characters say when they’re using their abilities and ultimates. Listen closely to both your enemies and your teammates.
If you want to speed up this process, play a variety of characters just so you can learn the audio cues. If you’re a support player, this is especially important because you’re a priority target. Your enemies will use their abilities and ultimates against you.
9. Voice Chat Mode: Preference
You can choose between open mic or push-to-talk, and which one you choose depends on your preference. Still, you should choose it so you can have better communication with your teammates. Open mic means that as long as your mic is unmuted, you can talk freely. Push-to-talk means you have to push a button to talk.
If you have fast gameplay where pushing the extra button is a detriment, then you should enable open mic. If you have a lot of background noise that will distract your teammates, you should enable push-to-talk.
How best to set it: Go to settings, locate “Voice chat mode” in the voice chat settings, set it to either open mic or push-to-talk.
8. Learn From The Pros
When you watch OWL, you’ll see there is commentary on not only the plays being made but also how they came to be. A lot of times, the plays happen because of audio cues and communication. The pros know what they’re doing, so you should pay attention.
When you watch the pros, you’ll notice how they use comms to control their fights. They make calls and listen to each other. It’s never a silent match. Although there are moments of quiet, the team still focuses on winning and guiding one another to reach that goal. You can learn a lot from listening to the way they talk.
7. Voice Chat Volume: 70-100
The voice chat volume is exactly what it sounds like: the volume at which you hear your teammates in voice chat talking. Putting this at max can work for you if you have quiet teammates. However, if you have loud teammates, you should lower it.
What you have your voice chat volume set to depends on the volume of your team. As mentioned earlier, you shouldn’t be scared to change your volume in-game. You can determine your voice chat volume after you enter the game.
How best to set it: Go to settings, find “Voice chat volume” in the voice chat subcategory, then set it in the 70-100 zone based on your preference.
6. Don’t Be Scared To Speak
Part of audio is communication. Speaking is part of communication, too. If you’re playing competitively, you shouldn’t be scared to communicate with your team. It’s one thing if you’re playing quick play, but competitive is a different story.
If your team is struggling, consider speaking more. Try guiding them and helping them prioritize the right targets. I think it goes without saying that you shouldn’t be toxic, but I’ll say it on behalf of all Overwatch players: don’t be toxic.
5. Voice Chat Mic Volume: 70-100
Just like voice chat volume, this setting is self-explanatory. This setting controls your mic’s in-game volume. It determines how loud or quiet you are with your teammates. If you have a lot of background noise, you should turn this setting down. If you’re a quiet speaker, you should turn this setting up.
The best range is the 70–100 zone. 70 for those who have a lot of background noise, and 100 for those who speak really quietly. Anywhere in this zone is a safe bet since you’ll be heard without being obnoxiously loud.
How best to set it: Go to settings, go into the voice chat subcategory, locate the “Voice chat mic volume” and set it anywhere between 70-100 depending on your preference.
4. Listen To Call Outs
Your teammates aren’t making call outs for no reason; listen to them. Listening to teammates is part of the audio component of Overwatch 2. You’re supposed to listen to them, actually. How are you going to help your supports if you don’t listen?
This is why wearing earbuds or headphones is so important. You’ll hear every call your teammate makes, allowing you to react faster and help them out when they need it. No matter what role you’re playing, listening to call outs is imperative if you want the game to go smoothly.
3. Team Voice Chat: Auto Join
When playing competitively, you need to be in voice chat. Even if you’re not speaking, listening will help you succeed and greatly increase your chances of winning. Of course, you should leave if the voice chat is toxic, but if it isn’t, stay and listen.
Having this setting as “auto join” makes your life a lot easier. Instead of having to manually join the chat and waste time, you automatically join every time you enter a new game. That saves you several seconds. That may not sound like a lot, but the beginning of the game matters so you can choose heroes and coordinate with your team about your play styles.
How best to set it: Go to settings, locate the voice chat subcategory, then find the setting “team voice chat” and choose auto join.
2. Use What Feels Comfortable
At the end of the day, the only person who can determine what audio settings are best for you is, well, you! Play around with the settings. Try the recommended settings, and if they don’t work, change them to fit you.
Audio is such a crucial part of gaming, so don’t be scared to change it up and make a choice that fits your play style. Don’t force a different play style just because someone else tells you to. At the end of the day, video games are supposed to be fun. Do what works for you.
1. Sound Effects Volume: 70-100
Sound effects cue you into all the abilities in the game. If you get stuck by Cassidy’s grenade, it’s easier to listen for the sound effect than look at the screen to see "Stuck" on your screen. The sound effects clue you in to what’s happening around you. Without them, you won’t play as well.
That’s why you should have the sound effects volume up. If you’re sensitive to sound, having it all the way up isn’t a good idea. Keeping it in the 70–100 range is a fair zone. Choose a number between 70 and 100 and see if it works for you.
How best to set it: Go to settings, find “Sound effects volume” under the general sound setting, then set it anywhere between 70-100 based on your preference.

