Who Are The Strongest And Weakest Tanks In OW2?
Blizzard made multiple changes to the tank role, including making the damage reduction on armour better and lowering how much damage tanks take from headshots, so let's see who benefited the most from everything.
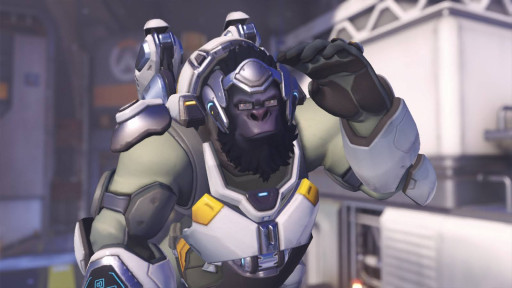
1) Winston
- Tesla Cannon: Left click is an electric frontal-cone weapon. Hold right click to charge, release to fire focused electricity (70 DPS on left click, 15 minimum damage on right click and 50 max).
- Jump Pack: Leap forward into the air. Landing on an enemy damages them (1 minimum damage, 50 max).
- Barrier Projector: Deploy a protective energy dome.
- Primal Rage: Gain immense health, but you can only leap and punch enemies (50 damage per swing).
Hero score: 88.5/100
On maps with lots of high ground, Winston is the best tank to pick. His jump is on a short cooldown, which makes him pretty mobile, and it lets him counter heroes like Ashe or Widowmaker because of how easily he can get to them.
He also has a decent matchup against Orisa. He can jump past her and go for her supports and DPS, or if he does decide to go for her, his left click goes through her spin. His bubble can also block her spear if you time it right.
When he goes for the enemy supports, they’ll almost always have to run away, since his bubble stops the other support from healing them and he has too much health for them to kill him in a 1 v 1. Unless the enemy team has a Brigitte, their backline will need help with Winston most of the time.
2) D.Va
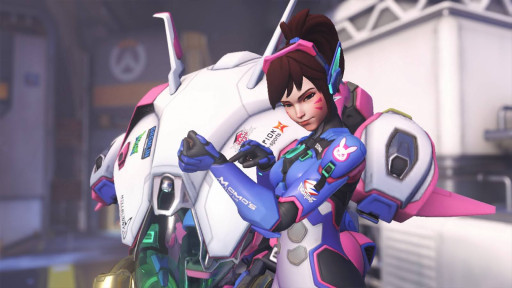
- Fusion Cannons: Automatic short-range spread weapons (146 DPS).
- Light Gun (Demeched): Automatic weapon (98 DPS).
- Boosters: Fly in the direction you are facing (25 damage).
- Defense Matrix: Block projectiles in an area in front of you.
- Micro Missiles: Launch a volley of explosive rockets (93.5 DPS, can do up to 153 damage).
- Self-Destruct: Eject and overload your mech, causing it to explode after a short time (100 minimum damage, 1000 max).
- Call Mech (Demeched): Call down a new mech (250 damage).
- Eject: Eject out of your mech when it is destroyed.
Hero score: 83/100
D.Va’s good for similar reasons to Winston, since they both have high mobility, but she has a lot more burst damage than him because of her missiles. She’s a little easier to counter though, so you can’t run her in as many situations.
She also struggles a bit more on short range maps than Winston does, because she doesn’t have a ranged option, it’s a bit harder for her to play around brawl tanks and her boosters are a little slower to start up than his jump.
If the enemy team are running mobile DPS like Tracer or Sojourn, D.Va is the better option though, because her peel is a lot better than Winston’s. She can hold matrix on flankers to give her team some time to shoot at them or chase them off herself, since she’s a lot quicker at killing them.
3) Sigma
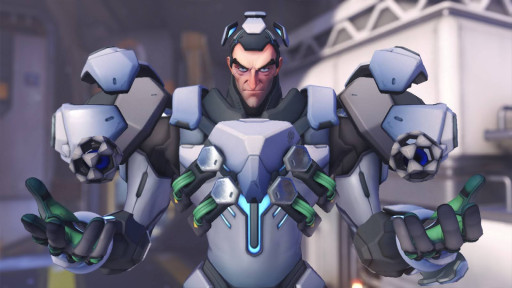
- Hyperspheres: Launch two charges which implode after a short duration, dealing damage in an area (73.3 DPS).
- Kinetic Grasp: Absorb projectiles in front of you and convert them into extra health.
- Accretion: Gather a mass of debris and throw it at an enemy to knock them down (80 damage on direct hit, splash does 12 damage minimum to 40 max).
- Experimental Barrier: Hold to propel a floating barrier; release to stop. Press again to recall the barrier to you.
- Gravitic Flux: Manipulate gravity to lift enemies into the air and slam them back down (50 damage on lift, 50% of max HP on slam).
Hero score: 79/100
Sigma is still the only proper poke tank in the game, so if you want to run a comp that’s best for long range damage, he’s the go to pick. His own range isn’t great, but his mobile shield makes him good at enabling most hitscan heroes.
He can also drop his shield while it’s being shot at and use his grasp to eat the damage, which gives it time to regenerate. If you use your cooldowns properly, it can take a lot of effort to kill Sigma on one of his better maps like Circuit Royal because he can just sit on high ground and spam at the enemy team.
He’s also a threat to low HP heroes up close, since his rock and left click can do a lot of damage if he hits them, so they’ll either die or lose a lot of their health. If the enemy team are running brawl heroes though, it doesn’t matter much, since most can kill him in a 1 v 1 at that range.
4) Junker Queen
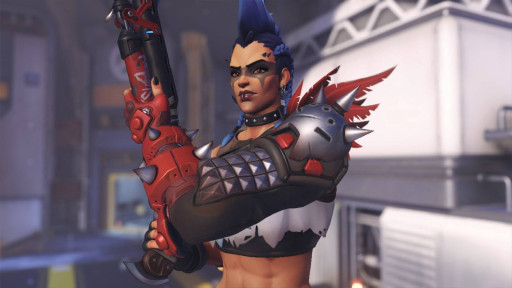
- Scattergun: Pump action shotgun (106 DPS).
- Jagged Blade: When active, throw the blade. Re-activate to pull it back, along with any impaled enemy. Wound enemies hit by Quick Melee or Throw, dealing damage over time (65 direct damage, 30 bleed damage on direct, 15 bleed damage on recall + melee).
- Commanding Shout: Grants temporary health and movement speed to yourself and allies.
- Carnage: Wound all enemies in front of you, dealing damage over time and reducing the cooldown for each enemy hit (105 direct damage, 40 bleed damage).
- Rampage: Charge forward. Wounds enemies, dealing damage over time and preventing them from being healed (40 direct damage, 90 bleed damage).
- Adrenaline Rush: Heal from all damage over time dealt by wounds.
Hero score: 77/100
Out of all the brawl tanks, Queen is probably the best one this season. Her DPS is really high after the damage and cooldown reset buffs to Carnage, along with there being a better bleed on her ultimate.
Her self-sustain is also great if you’re playing her right, since her healing was buffed, Commanding Shout gives her more overhealth and the cooldown of it was reduced. The DPS passive being nerfed a bit on tanks also helps, since her self-heal was a little too low when it was at 20%.
If you play cover properly and don’t get your abilities forced out early, the enemy team has to pay attention whenever you push up, since ignoring a Queen that’s consistently hitting her knives or getting multiple enemies with Carnage is an awful idea.
5) Ramattra
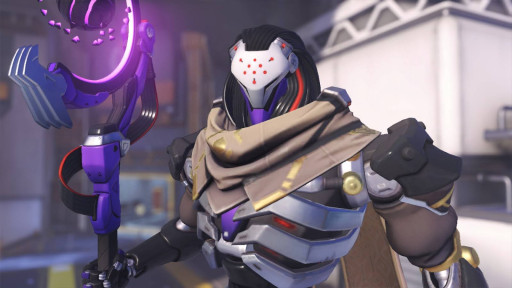
- Void Accelerator: Fire a stream of projectiles (125 DPS).
- Void Barrier: Create a barrier at the targeted location.
- Nemesis Form: Transform into Nemesis Form, changing your attacks and gaining bonus armour.
- Pummel: Punch, creating a wave of piercing energy with every swing (65 damage per punch).
- Ravenous Vortex: Fire a sphere of energy that creates a slowing vortex on the ground, damaging enemies within and pulling them downward (23.3 DPS).
- Block: Significantly reduces damage taken from the front and reduces movement speed.
- Annihilation: Enter Nemesis Form and create a deadly swarm that lashes out at nearby enemies, persisting longer when damaging enemies (30 DPS on the AOE).
Hero score: 75/100
After the nerfs to Orisa and revert to removing his punches going through shields, Ramattra is back to being a pretty safe pick if you want to run a brawl tank. He doesn’t do as much damage as Queen, but he’s more consistent.
His matchup against Reinhardt is back to being decent again, since despite the 2x modifier letting him do lots of damage to shields, being able to damage the other tank or squishies through them instead will always be better. He’s lost the ability to 2 shot Zarya bubbles though, so he doesn’t counter her quite as hard.
He’s also a slightly better pick on long range maps than the other brawl tanks, since his left click has decent poke and he can place his shield wherever he wants. He’ll still need a speed boost to close the distance faster though.
6) Reinhardt
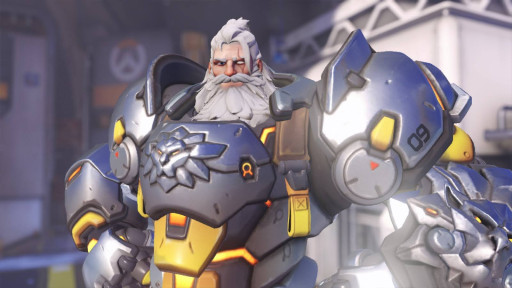
- Rocket Hammer: Devastating melee weapon (100 damage per swing).
- Charge: Charge forward and smash an enemy against a wall (50 damage if no pin, 300 damage against walls).
- Fire Strike: Launch a fiery projectile (120 damage).
- Barrier Field: Hold right click to deploy a frontal energy barrier.
- Earthshatter: Knock down all enemies in front of you (50 normal damage, 150 damage close range).
Hero score: 72.5/100
After all the changes to armour, Reinhardt was already better than before because he felt harder to kill, but having a second support with a speed boost added to the game also helped him out.
Before, Reinhardt felt a little too dependent on Lúcio to get value, but now he can just walk through Juno’s ring and get closer to the enemy team a lot faster. When he’s in range to hit someone with his hammer, they’ll probably die quickly unless they’re getting a lot of healing.
The buffs to Fire Strike and Charge also make it easier for him to get kills on heroes he might have struggled with before, since he can oneshot Mei and Reaper again as well as kill any hero with 225 HP or less with two Fire Strikes.
7) Zarya
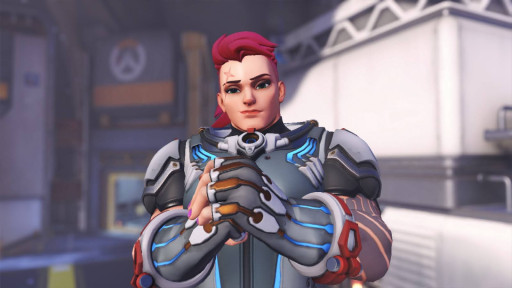
- Particle Cannon: Left click is a short-range linear beam weapon. Right click is an energy grenade launcher (85 DPS minimum + 170 DPS max on left click, 55 DPS minimum + 110 DPS max on right click).
- Particle Barrier: Create a damage barrier around you.
- Projected Barrier: Create a damage barrier around an ally.
- Graviton Surge: Launch a gravity well that pulls enemies to it (5 impact damage, 17.5 DOT).
- Energy: Damage blocked by barriers increases Particle Cannon damage.
Hero score: 70/100
While Zarya can be good if she has a favourable tank matchup on short range maps and she likes Juno’s speed boost, her low range means that she can struggle against heroes like Ashe, Sojourn or Widowmaker.
She also can’t do much against most of the other brawl tanks or Winston. Ramattra and Reinhardt can both break her bubbles really quickly and then out damage her, but Winston can just ignore her entirely. Once he’s put down his shield and jumped in to her backline, the most she can do is bubble one of her supports.
Zarya’s also a particularly good pick against D.Va on some maps, but on ones like Gibraltar, she’ll still not be able to do much unless the D.Va player positions badly. She can technically use her right click to try and get up to the high ground sometimes, but it takes a little too long.
8) Doomfist
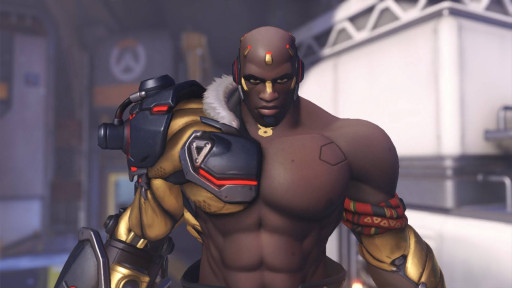
- Hand Cannon: Short-range weapon with spread. Reloads automatically (73.3 DPS).
- Rocket Punch: Hold to charge then release to launch forward and knock an enemy back. Damage increases if an enemy hits a wall (25 minimum + 75 max direct damage, 10 minimum + 40 max damage against walls).
- Seismic Slam: Leap and smash the ground (50 damage).
- Power Block: Protect yourself from frontal attacks. Blocking heavy damage empowers Rocket Punch.
- Meteor Strike: Press Q to leap up into the air. Move the targeting circle, then press ability 3 to strike the targeted area (50 minimum damage, 300 max).
Hero score: 68/100
After Sombra’s rework, Doomfist feels better to play than before, since she can’t just sit in stealth until he dives in and hack him. The shorter silence helps too, because there’s less time for the enemy team to kill him before his cooldowns come back.
He’s still got a few rough matchups though, since D.Va can chase him and matrix his left clicks whenever he tries to kill someone in her backline, so diving against her can be a little risky. Brigitte is also the best support to pick against him, with Whip Shot pushing him out of range and her packs making it harder for him to kill the other squishies.
Since most of the best DPS right now are snipers, he’s also a good pick against Widowmaker or Ashe, since there’s not much they can do once he dives them. His punch can stun them and stop them from running away, on top of how much damage he does up close.
9) Mauga
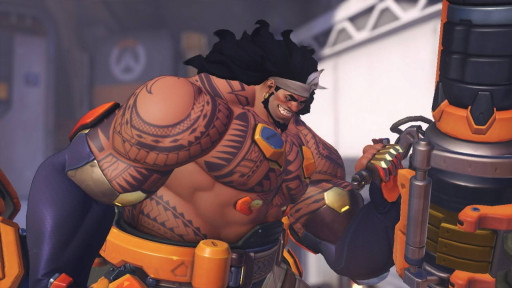
- Incendiary Chaingun: Automatic weapon that ignites enemies on repeated impacts (72 DPS).
- Volatile Chaingun: Automatic weapon that deals critical damage to burning enemies (72 DPS).
- Overrun: Charge forward and stomp to launch enemies. You are unstoppable while charging (30 direct damage, 75 minimum damage and 150 max on stomp).
- Cardiac Overdrive: Nearby allies take reduced damage and heal by dealing damage (20% damage reduction for allies, 40% for Mauga).
- Cage Fight: Deploy a barrier that traps yourself and enemies.
- Berserker: Gain temporary health when dealing critical damage.
Hero score: 62/100
Unfortunately for Mauga, multiple heroes he struggles against are really good picks this season, on top of multiple heroes he doesn’t benefit from playing with. While he can technically benefit from speed boosts, it can be hard to play him without Kiriko’s suzu.
Sigma is one of the worst tanks to play him against because he can outrange Mauga and use grasp to stop his self-healing. Because his entire kit revolves around shooting the enemy tank to heal and get overhealth, it’s harder to try and get value out of him this season.
D.Va and Ana are other heroes he struggles against, since D.Va can prevent his Cardiac Overdrive entirely by eating all the damage and Ana can stop him from healing with her grenade.
On top of all that, the best DPS this season are long range hitscans that can shoot at him for free ult charge and chip away at his health before he can get close enough to do much. You can still play him if the enemy team is running a brawl tank like Reinhardt or Ramattra, but that’s mostly it.
10) Orisa
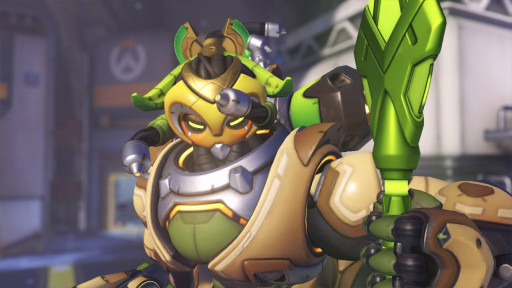
- Augmented Fusion Driver: Automatic heat based weapon (130 DPS).
- Energy Javelin: Launch your javelin at an enemy to stun and knock them back. More effective if the enemy hits a wall (70 initial damage, 40 damage against walls).
- Fortify: Gain temporary health, reducing all damage taken and becoming unstoppable. While active, heat generated by your weapon is reduced.
- Javelin Spin: Spin your javelin to destroy projectiles and block melee attacks, while also pushing enemies and increasing forward speed (20 damage on initial spin, 5 after).
- Terra Surge: Sweep in enemies and anchor them, gaining the effects of Fortify and charging up a surge of damage. Use Q to unleash the surge early (19.5 DPS during charge, 72 minimum damage and 500 max on release).
Hero score: 60/100
After the nerfs to Orisa on the 29th, she’s suffered a little bit. 50 points of her armour were turned in to normal HP instead, so now she’s squishier than she was before, on top of Fortify not slowing down her overheat.
Before, she could spend a while spamming bullets at the enemy tank without letting go of her left click, but now she has to use one of her other abilities or stop shooting entirely unless she wants to be stuck in one of the longest reload animations.
The damage on her javelin was lowered too, which is probably the least impactful of the 3 changes, but it still lowers her burst damage. It takes her a little longer to kill squishies than before, which is a problem since her kill pressure isn’t very high.
11) Wrecking Ball
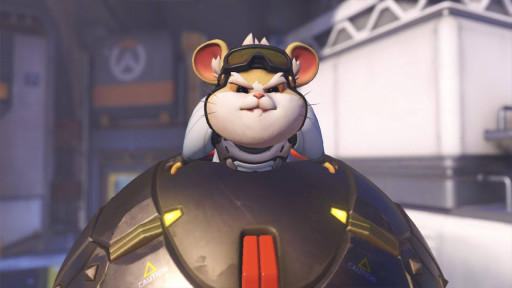
- Quad Cannons: Automatic assault weapons (125 DPS).
- Grappling Claw: Launch a grappling claw to rapidly swing around the area. Enables high speed collisions to damage and knockback enemies (60 damage when high speed).
- Roll: Transform into a ball and increase maximum movement speed.
- Piledriver: Slam into the ground below to damage and launch enemies upward (20 minimum damage, 100 max).
- Adaptive Shield: Create temporary personal extra health that increases with more nearby enemies. Some of the health can be transferred to allies (75 overhealth).
- Minefield: Deploy a massive field of proximity mines (130 damage per mine).
Hero score: 58/100
While Ball is a dive tank, and he probably has the highest mobility out of them all, he doesn’t have the kill pressure Doomfist and D.Va do. He also doesn’t have a shield or ranged poke like Winston does, so it’s easier to punish him than the others.
The Sombra nerfs have helped him a little bit, but he still struggles to do much, especially when Brigitte is one of the strongest supports in the game. His damage is a little too low for him to be a threat without follow up from his team.
He can be annoying to play against, since he has a boop on his claw and a small movement lockout on his piledriver, but that’s the most he’ll be able to do most of the time. His ultimate is also a little weak, since you can just ignore it most of the time.
12) Roadhog
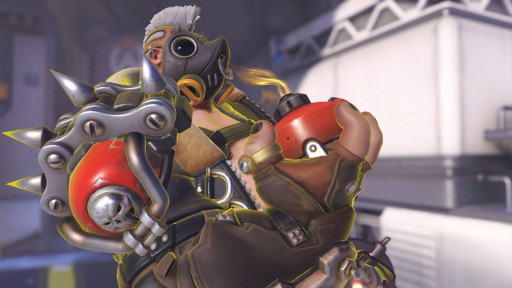
- Scrap Gun: Short-range spread weapon with a medium-range shrapnel volley (200 DPS).
- Chain Hook: Drag a targeted enemy to you (5 damage).
- Take A Breather: Heal yourself and reduce damage taken (160 HPS, 40% damage reduction).
- Pig Pen: Launch a trap that slows and damages nearby enemies (60 initial damage, 45 DPS when standing in trap).
- Whole Hog: Damage and knock back enemies in front of you (768 DPS if all pellets hit).
Hero score: 55/100
Almost all of Hog’s counters are really good right now. D.Va and Ana can all stop him from getting value out of his hook, Ana can stop his self-healing and Orisa can poke at him from range to force out some of his heal early.
There isn’t much he can do against snipers either because his hitbox is massive, he has no shield or armour and his range is pretty bad. If the enemy team’s running Widow, Ashe or Sojourn, all he’ll do is give them free ult charge like Mauga.
He’s also probably the tank that benefits least from speed boosts, since he gets most of his value from taking off-angles and hooking the enemy squishies. If your Juno decides to try and stick with you, her utility won’t get enough use.
