Why Abilities Are Important
Abilities are the driving force in Overwatch 2. These abilities can range from extremely powerful to purely transportation-related. All of these abilities have their own uses, and although some are objectively better than others, the abilities tend to fit the kits pretty well. However, it’s hard to tell which abilities are the best in the game.
20. Moira - Biotic Orb
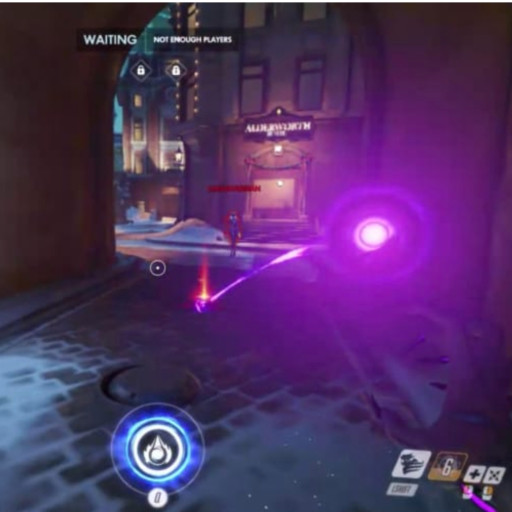
Biotic Orb is one of Moira’s abilities. Regardless of how you feel about Moira, the Biotic Orb is pretty impactful to the game. I can’t tell you how many times I’ve gotten a pick with the damage orb or saved a tank using the healing orb. Although it isn’t the best ability in the game, it’s one of the strongest due to how flexible it is and how it has the potential to turn the tide in your favor.
If you want to use this ability effectively, you need to use it as soon as it comes off cooldown. The cooldown is short enough that you can use it all the time. Don’t be scared to throw a damage orb at the team to initiate a fight or throw a healing orb toward your team to keep the fight going. Make sure you use a balance of damage and healing orbs.
Why Biotic Orb Is Great
- Can do both healing and damage
- Short cooldown
- Can be used at any time
Biotic Orb Details
- Linear projectile sphere
- 50 damage per second; 200 max
- Lasts 7 seconds or until depleted
- 10 second cooldown
- 75 healing per second; 300 max
19. Junker Queen - Jagged Blade
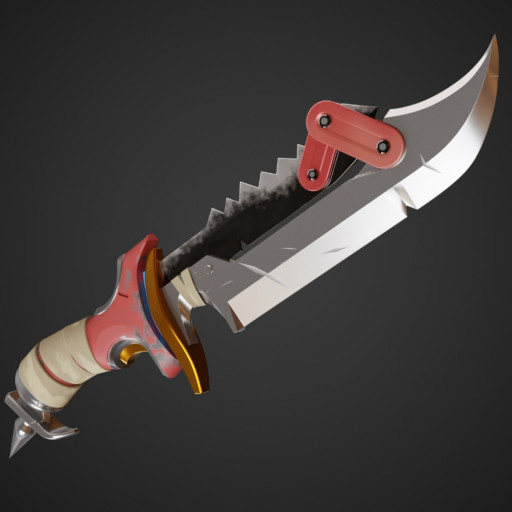
Jagged Blade isn’t an ability that will kill enemies or cause a team wipe. Instead, it can save Junker Queen’s life and force an enemy to reposition themselves. This ability is so good because of its short cooldown. You can throw it in mere seconds, meaning you can get lots of health back and pull enemies toward you. By pulling the enemies toward you, you’re making them vulnerable to the rest of your team.
Throw your blade as often as possible. Junker Queen has plenty of good abilities, meaning you should use this one as much as you can. With a short cooldown, you can throw it all the time and get health back. Be mindful of D.Va’s defense matrix, though. It can block your blade, meaning you should wait until the matrix is down.
Why Jagged Blade Is Great
- Heals Junker Queen
- Has an incredibly short cooldown
- Forces enemies out of position
Jagged Blade Details
- Thrown impact: 50 damage
- Wound, thrown impact: 30 damage over 3 seconds
- Wound, melee and return impact: 15 damage over 3 seconds
- Moves at 30 meters per second
- 6 second cooldown
- 0.11 cast time
18. Genji - Deflect
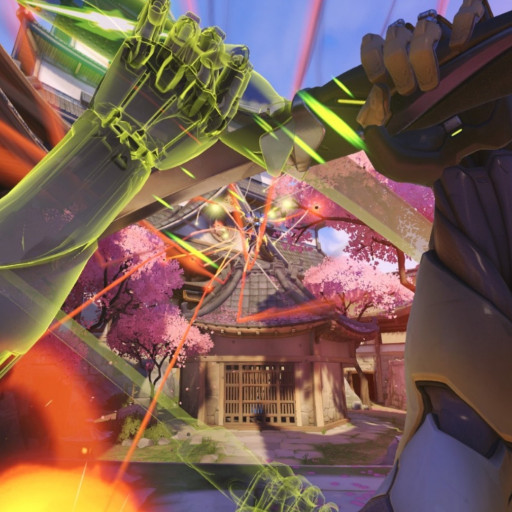
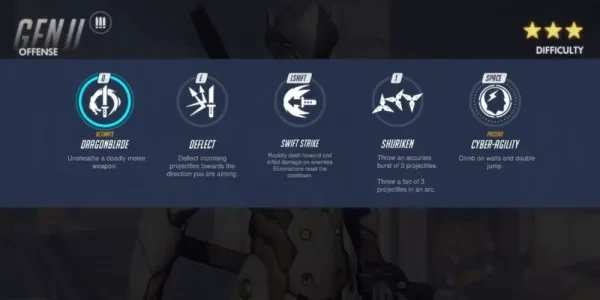
Deflect is perfect for a lot of reasons. For one, although it’s difficult and rare, Deflect can deflect enemy projectile ultimates like Graviton Surge. If a Genji manages to deflect a huge enemy ultimate, the team fight is almost guaranteed to turn in your favor. Deflect does exactly what it sounds like: it deflects any projectile damage. When a projectile gets deflected, it gets thrown back in the direction Genji is aiming.
To use Deflect more efficiently, don’t waste it. This is one of the abilities you can’t waste because it’s vital to how you play. Genji is a flanker who likes to jump in and be aggressive. Deflect is an ability that can save you from trouble. Make sure to save it until you get in trouble or think you can block an enemy ability.
Why Deflect Is Great
- Deflects enemy projectile ultimates
- Can save a Genji’s life
- Can easily kill an enemy with their own fire
Deflect Details
- 1 meter radius, front only
- 2 seconds max duration
- 8 second cooldown
- Deflects all projectiles heading in Genji’s direction
17. Tracer - Blink
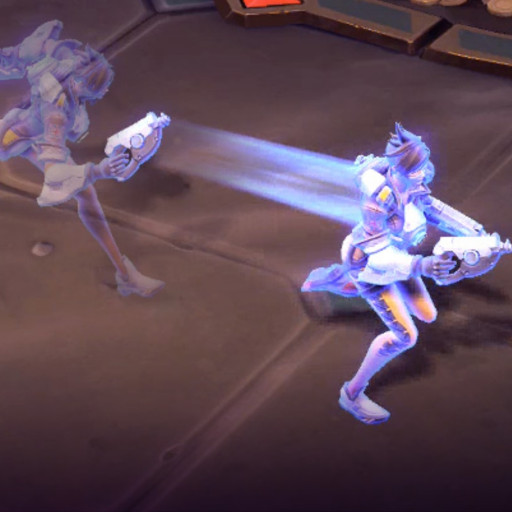
Tracer relies on her blinks to get around. They dart her across the map and give her high mobility. To make up for how fast she is, she has a small health bar. Tracer is a solid flanker because she can zip around the map and recharge her blinks quickly. Her blinks can also help her close the gap on other fast heroes.
To play with Tracer’s blinks more effectively, try not to use them all at once in the middle of a fight. You don’t know when you’ll need an extra blink to save your life. If you have one reserved for escape, you’ll reduce how many times you die. Along with that, don’t be scared to use your blink to jump forward, use your Pulse Bomb, then jump back with another blink.
Why Blink Is Great
- Makes Tracer super fast
- Perfect for flanking
- Recharges quickly
Blink Details
- 3 seconds per charge; 9 seconds for all 3 blinks
- 7.5 meters max range
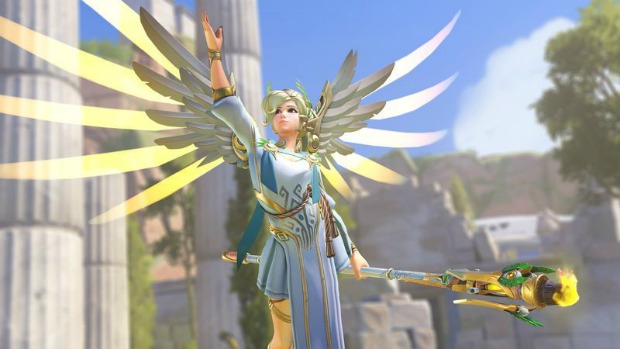
16. Mercy - Guardian Angel
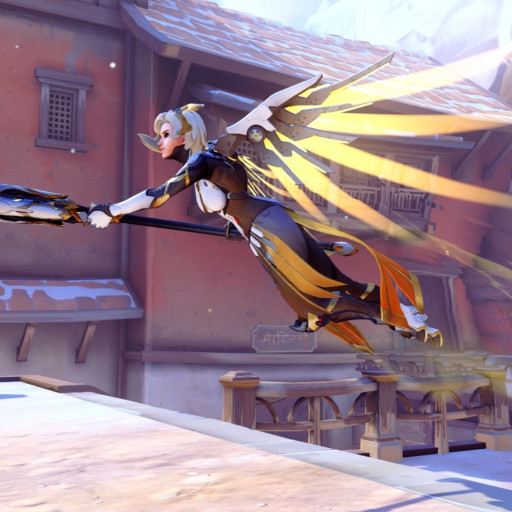
If there’s one thing we can agree on, it’s that Mercy’s movement is interesting, to say the least. If you master Mercy’s movement, you become unkillable. Most of that is thanks to Guardian Angel, her fly ability. The fly can move her up, down, backwards, and so on. It allows her to stay in the sky for a long period of time, and she can even jump backwards to get a quick escape from enemy fire.
To use Guardian Angel more effectively, don’t use it in just one way. If you only fly straight ahead, you’ll be easy to predict, and enemies will kill you. Utilize all the ways you can move with it. Try practicing in the training range or with Mercy Parkour custom games. Also remember that the cooldown is short, so you don’t have to worry about ever being immobile.
Why Guardian Angel Is Great
- Mastery of Guardian Angel makes Mercy extremely hard to kill
- Practically unnoticeable cooldown
- Long range
Guardian Angel Details
- Flies at 17 meters per second
- 30 meter max range
- 1.5 second cooldown
15. Zenyatta - Orb Of Discord
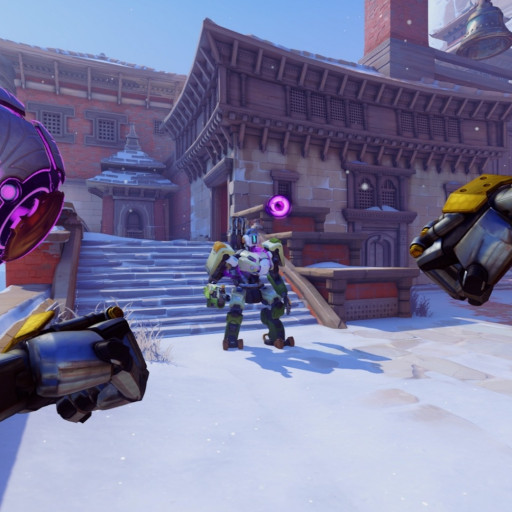
The Discord Orb is a feared ability in Overwatch. The increased damage it gives your teammates is incredibly useful, especially for the targets in the game that are harder to kill. Not to mention Zen doesn’t have a cooldown on it; he can use it whenever he wants. It’s like a better version of Mercy’s damage boost because the entire team reaps the benefits of the extra damage, and Zen can move the orb around fast enough to help you focus on targets.
When playing Zen, make sure both your Harmony and Discord orbs are out at all times. They have no cooldown, so there’s no reason to not have them both active. Along with that, consider carefully which target to place your Discord on. For example, if the team is focusing on the enemy Reinhardt, put it on the enemy Reinhardt even if the Mercy in the back looks tempting. Try to play with your team and put the orb on the target they want.
Why Orb Of Discord Is Great
- Gives Zenyatta a lot of assists
- Increases damage received on one enemy for Zen’s entire team
- Long range
Orb Of Discord Details
- +25% damage to target receiving it
- 90 meters per second
- 40 meter max range
- 2 seconds if out of sight, as long as possible if in sight
14. Junkrat - Concussion Mine
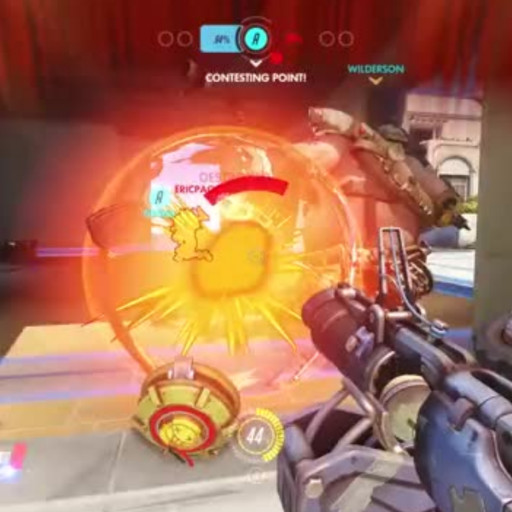
Junkrat’s Concussion Mine is super annoying. It has two charges, meaning he can throw them consecutively and make a support’s life a nightmare. It tears through an enemy’s health, mostly support heroes. Regardless of how annoying they can be to play against, they’re useful for making Junkrat mobile, blocking off certain pathways, and doing high damage quickly.
To better use the Concussion Mine, try comboing it with your trap. This sets up a kill perfectly. If you monitor your trap, put the mine there and fire with your primary as soon as someone gets caught. However, you can use the mine for more than just traps. Try using it to get to high ground or force enemies out of position.
Why Concussion Mine Is Great
- High range and damage
- Combos well with his other abilities
- Charges fast
Concussion Mine Details
- 2 charges max
- 1 charge per 8 seconds
- Has 25 health
- Does 30-120 damage
- 3 meter radius area of effect
- Lasts until destroyed or detonated
13. Ashe - Dynamite
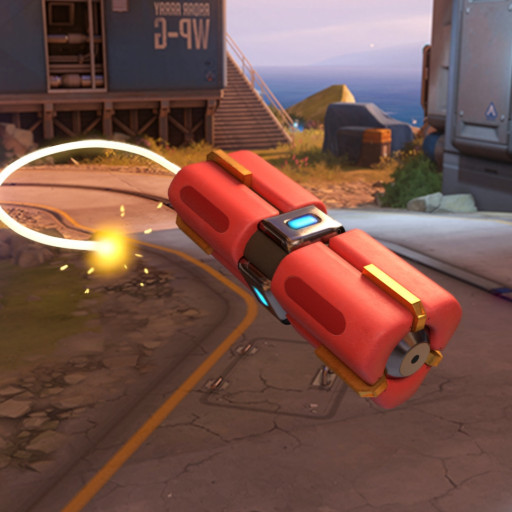
Dynamite may seem like a strange pick, but it’s more useful than most think. It flushes enemies out of certain locations. Along with that, it blocks off pathways because of how far it can be thrown and how quickly you can set it off. The burn damage is dangerous, and if the enemy doesn’t get healing fast enough, they’ll die. Dynamite also makes enemies vulnerable to your attacks since they’re panicking to get rid of the burn effect.
Dynamite is used best when it’s terrorizing the enemy. Throw Dynamite toward the squishies and make them burn; it’ll force them to relocate so they can get away from you and your wrath. Ashe has long enough range to focus the backline; therefore, it’s easy to get on high ground and make the supports suffer. Dynamite is great for blocking pathways, too. Throwing Dynamite near the path the enemy is taking is going to force them to quickly switch their plan of attack.
Why Dynamite Is Great
- Does dangerous burn damage
- Can be thrown far
- Great at flushing out enemies
Dynamite Details
- 20-50 explosion damage, 100 burn damage
- 5 meter radius area of effect
- 5 second burn duration
- 12 second cooldown
12. Orisa - Javelin Spin
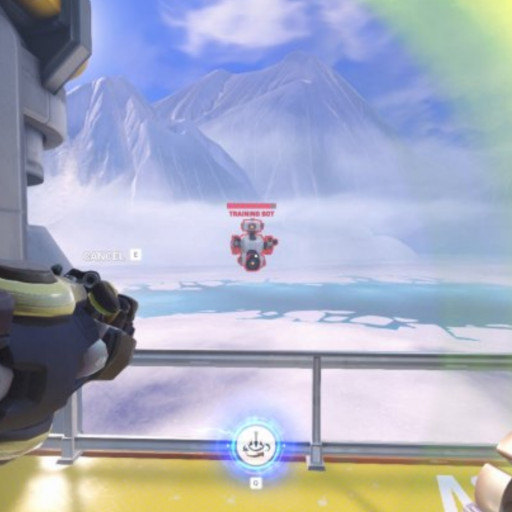
Javelin Spin is a unique ability that makes Orisa a lot more powerful. Her spin blocks damage she takes from the front and increases her movement speed. It’s great for closing the distance and knocking back enemies. It works perfectly on maps with falls, such as the Ilios Well or the gaps at the end of King's Row. Overall, this ability makes Orisa a dangerous foe.
Javelin Spin doesn’t have a long cooldown, meaning you can use it in any way you’d like. The best way would be to knock enemies off the map, but you can also use it to close distances and get to the point faster. If you’re taking too much damage, use your Javelin Spin to mitigate some of that for both yourself and your team.
Why Javelin Spin Is Great
- Knocks enemies back far
- Makes Orisa hard to kill
- Short cooldown for a powerful ability
Javelin Spin Details
- 7 second cooldown
- 100 damage over 1.75 seconds
- Forward movement speed increased by 50%
- 1.75 second duration
11. Sigma - Kinetic Grasp
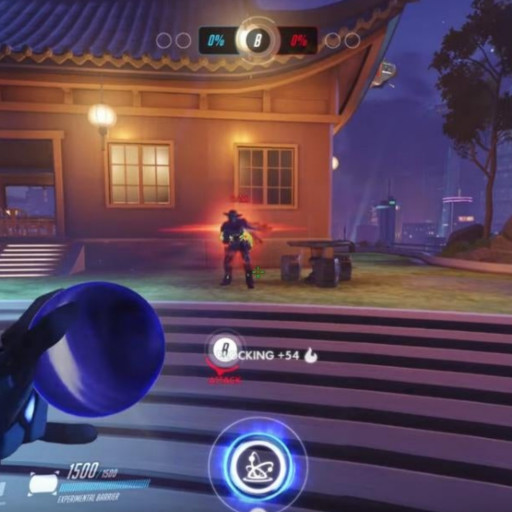
Kinetic Grasp, in my opinion, is underappreciated. Not only does it make Sigma’s health go up, but it blocks ultimates and eats projectiles. If timed well, Kinetic Grasp can eat a Graviton Surge. As seen in the picture, Sigma can block High Noon and other ultimates, which is a great alternative to his barrier.
To properly use Kinetic Grasp, use it after your barrier is down. That will give your barrier time to recharge while still blocking damage. It only lasts for a handful of seconds, but that’s all you need to gain shields and wait for your barrier. Beyond that, you can use Kinetic Grasp to block ultimates. If you see Zarya charging forward, the odds are she has her ult, which means you can use Kinetic Grasp to counter it.
Why Kinetic Grasp Is Great
- Blocks ultimates
- Makes Sigma hard to kill
- Gives him temporary shields
Kinetic Grasp Details
- 2 second duration
- 12 second cooldown
- 60% of damage absorbed converts to shields
- 400 shield max
10. Zarya - Particle Barrier
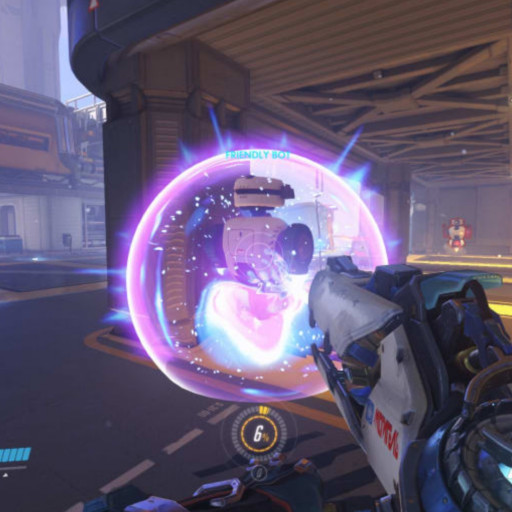
Particle Barrier, nicknamed "bubble," not only blocks damage but also gives Zarya more energy. Zarya’s entire kit revolves around her bubbles because they feed her energy, meaning she does more damage. They have high health and can be used in a variety of ways, like protecting a Mercy who’s resurrecting a fallen teammate. It's a clutch ability that makes enemies want to yank out their hair.
Make sure you're in good position before using bubbles. If you activate your bubble far away from the fight, it’s useless. Charge forward and pop your bubble at an unexpected time so the enemy doesn’t have the reaction time necessary to stop shooting. You’ll have more energy if you play unpredictably.
Why Particle Barrier Is Great
- Protects teammates and Zarya
- Makes Zarya more powerful
- Has high health
Particle Barrier Details
- 200 health
- 11 second cooldown
- Protects either Zarya or her teammates
- 2 second duration
- 1% energy gained for every 5 damage the barrier takes
9. Reinhardt - Barrier Field
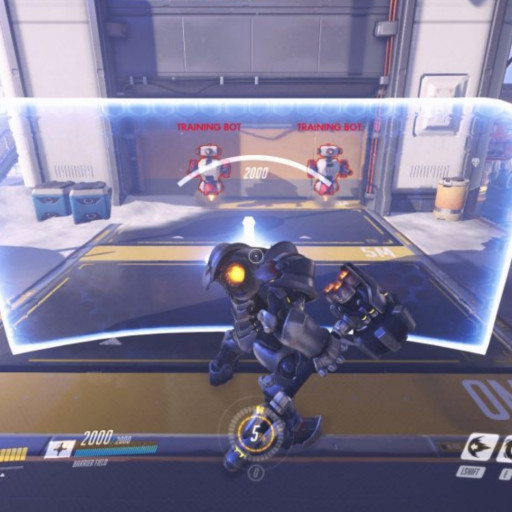
Barrier is an iconic ability that’s a staple of Overwatch. It blocks damage and other ultimates, meaning it’s powerful but not overpowered since it can be destroyed. It’s useful in almost every situation, and Reinhardt’s large body also helps block damage. His entire character is built around protecting his team, which makes him a great tank.
To use your shield effectively, you should call out when your barrier is falling. Your teammates are relying on you for protection, so if you randomly drop your barrier without warning, you can get your teammates killed. The fight revolves around you and your shield. Make sure you take charge of the fight.
Why Barrier Field Is Great
- Protects Reinhardt and teammates
- Helps block ultimates like D.Va’s self destruct
- High health barrier
Barrier Field Details
- 5 second cooldown if destroyed
- After being down for 2 seconds, barrier will recharge 144 health per second
- -30% movement speed
- 1200 health
8. Roadhog - Hook
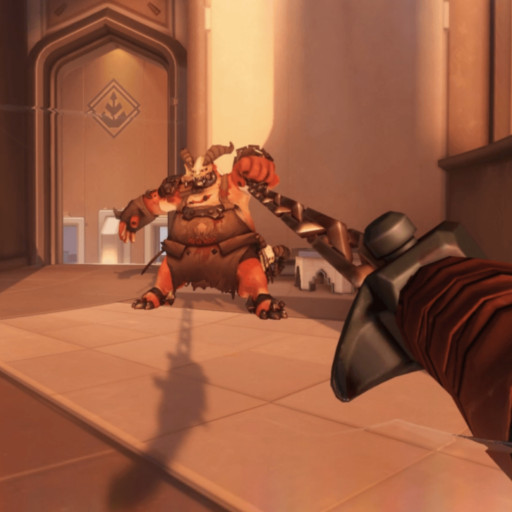
Hook is always broken, to be honest. People say it’s "balanced" only for the hook to do impossible things mere seconds later. I saw a clip of someone getting hooked from behind a streetlight, which is mind-boggling. Hook can grab enemies and pull them toward Roadhog, which pretty much secures the kill instantly, even with the new nerf to his one-shot. Without the one-shot, Roadhog still weakens an enemy and forces them into a new, unfamiliar position.
There’s really no bad way you can use hook. Since it has a quick cooldown, use it as often as possible to grab squishies in particular. Also remember that you can change directions while hooking, so you can hook people off the map if you’re on a ledge. Use that to your advantage and pull people even closer to you.
Why Hook Is Great
- Forces enemies out of position
- Great for killing squishies
- Recharges quickly
Hook Details
- 8 second cooldown
- 20 meter max range
- Moves at 40 meters per second
7. Sojourn - Disruptor Shot
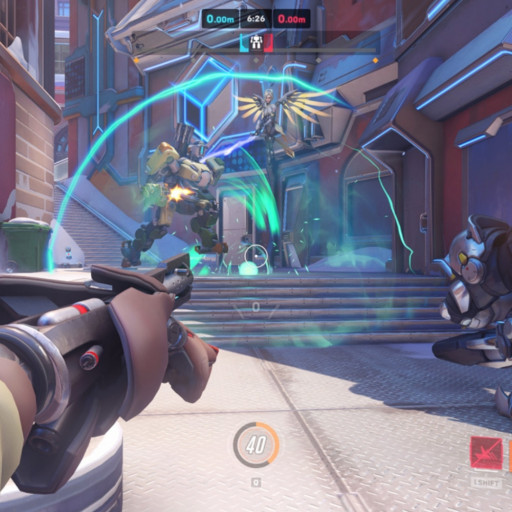
Disruptor Shot is the most annoying ability added to Overwatch 2. Although there are definitely a lot of annoying abilities in Overwatch 2, Disruptor Shot takes the cake for being the one that does too much damage for too long. It can block off entire pathways and cause support players to die in mere seconds. As a support player, I ask you not to play Sojourn, but I also know that plea means nothing considering she’s the most broken hero in the game right now.
To properly use the Disruptor Shot, make sure to use it more strategically. Of course it can work if you just plop it in there, but you should also try to line up a good place to put it. You’ll get more use out of it if you set it up to block a path or force an enemy out of position. Going after support players with it is a great idea since squishies have a harder time running from it.
Why Disruptor Shot Is Great
- It’s extremely annoying for enemies to deal with
- Does over 200 damage
- Lasts for 4 whole seconds and blocks off pathways
Disruptor Shot Details
- 15 second cooldown
- Total 210 damage
- 5 meter area of effect
- 30 meter max range
- 4 second duration
- Moves at 30 meters per second
6. Sombra - Hack
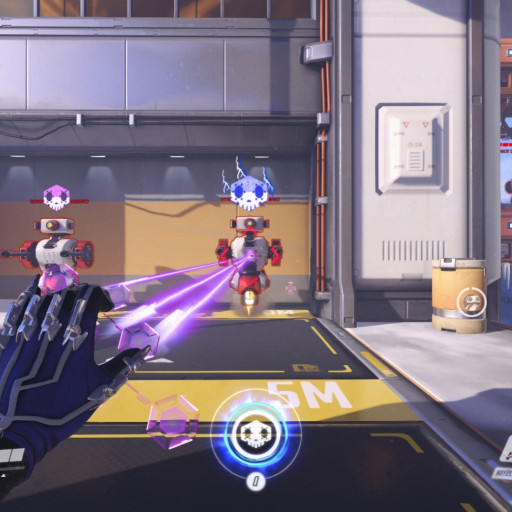
Hack is pretty powerful even after the nerf, depending on how long an enemy is actually "hacked." Hack disables the hacked hero's abilities while also allowing Sombra to deal more damage to them. Seeing as hack has such a low cooldown, it’s a crime not to be hacking all the time. That’s without mentioning how it can hack health packs and turrets, too.
To use hack more effectively, dominate the health packs around the map. Hack has a tiny, insignificant cooldown, which means you get it back in the blink of an eye. Hack all the health packs you can, and it’ll give both you and your teammates an advantage. Be sure to hack enemy squishies as often as you can. It’ll drive them insane.
Why Hack Is Great
- Halts ultimates
- Halts abilities
- Stops enemies from using health packs
- Short cooldown
Hack Details
- 4 second cooldown
- 15 meter max range
- 30 second duration on health packs
- 8 second duration on enemies
- Enemies cannot use abilities for 1.5 seconds
5. Baptiste - Immortality Field
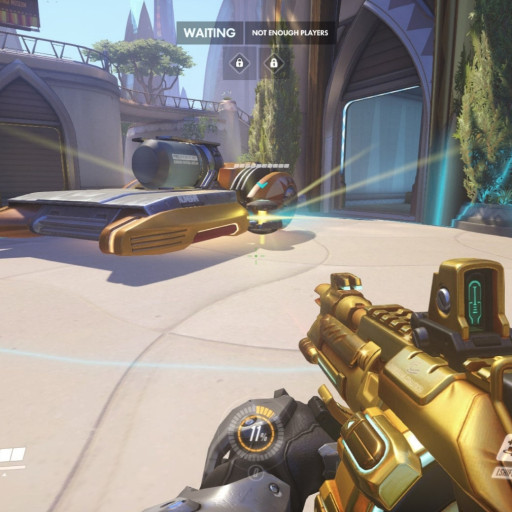
Immortality Field is extremely powerful because of its ability to make a clutch play. It prevents teammates from dying and blocks ultimates. For example, D.Va’s bomb is useless when Bap puts up his field. It stops the nuke from killing the team. Along with that, the field has a long duration for an ability so powerful.
Don’t waste your field. It’s hard to get it back because it has a long cooldown, so don’t go rushing to use it. Use it strategically, like with Sombra’s hack. Use it to block ultimates and a lot of incoming damage. Don’t use it on small things like a Genji’s dash or a Soldier’s helix rockets.
Why Immortality Field Is Great
- Saves teammates from death
- Clutches lots of games
- Prevents deadly ultimates from getting a team wipe
Immortality Field Details
- 25 second cooldown
- 5.5 field duration
- Prevents Baptiste and his teammates from going below 10% of their HP
- If their health was below 10% of their HP, they will automatically get healed to 10% of their HP
- 6.5 meter area of effect
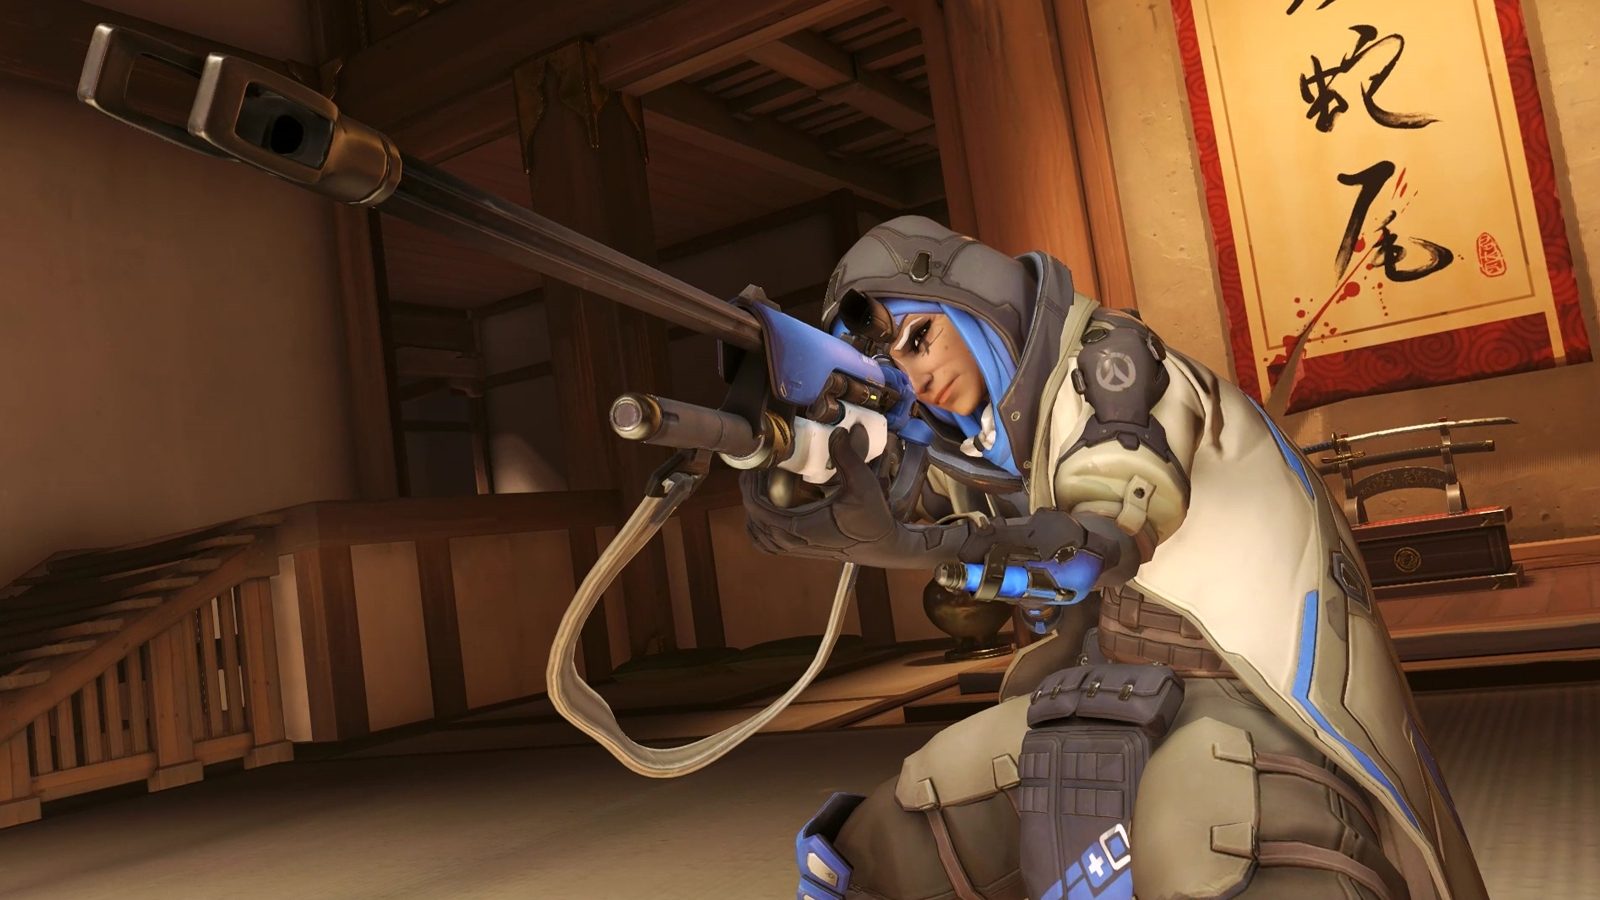
4. Ana - Biotic Grenade
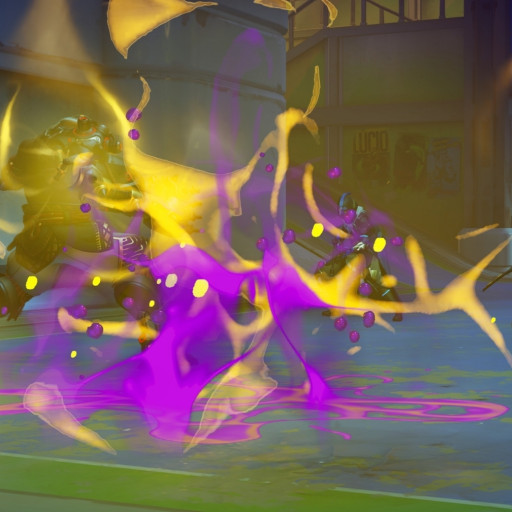
Biotic Grenade is extremely strong because of the anti-healing factor. If you splash this grenade on a group of enemies, they’re now vulnerable for several seconds. It makes the enemy panic. Along with that, it recharges at a decent pace, so you can use it quite often. It’s also great for doing a nice burst of healing for allies.
To use Biotic Grenade effectively, try to balance out how often you’re throwing it at teammates and how often you’re throwing it at enemies. If you only ever throw it at teammates, you won’t get all the benefits of having the ability in the first place. Use it against both teammates and enemies. If the enemy team is low on health, throw a grenade to either finish them off or stop them from getting the healing necessary to survive.
Why Biotic Grenade Is Great
- Prevents enemies from healing
- Gives teammates a healing boost
- Combos well with other heroes, like Roadhog
Biotic Grenade Details
- 10 second cooldown
- 60 damage to enemies, 100 healing to teammates
- 4 second duration
- 4 meter area of effect
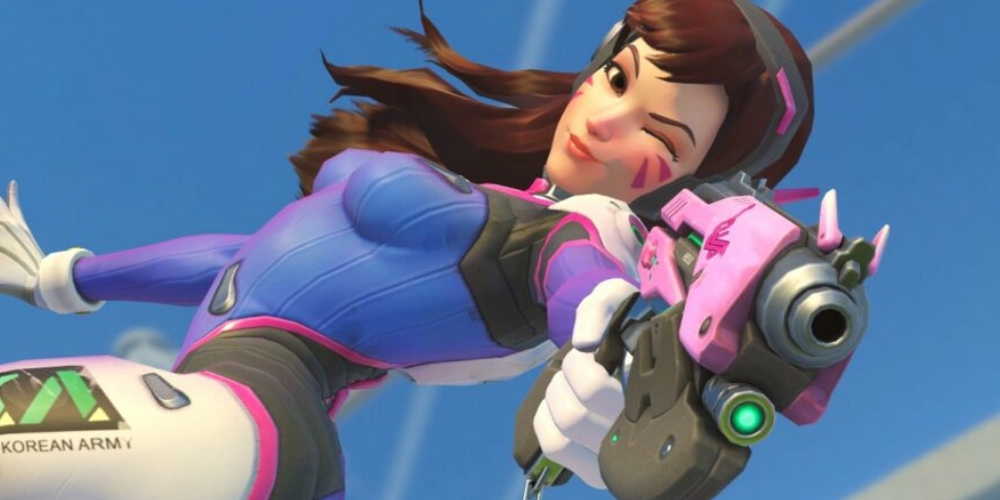
3. D.Va - Defense Matrix
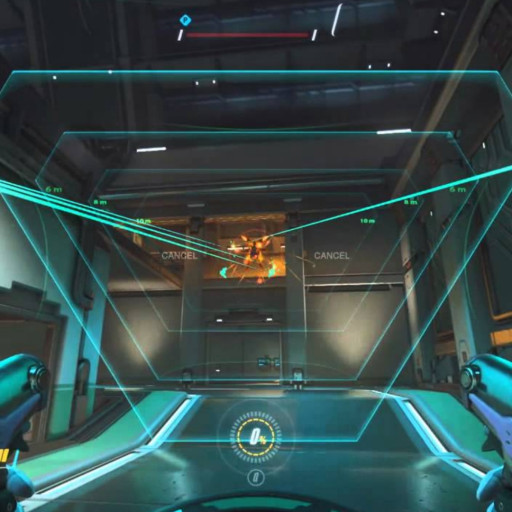
Defense Matrix is extremely powerful because of how long it stays up and how fast it charges back. It can eat all projectiles, including projectile ultimates like Graviton Surge, Barrage, and many more. Since it can be used so often, it’s common to see D.Va eating ultimates, which makes it a game-changing ability.
To use Defense Matrix effectively, don’t waste it. Of course, because it charges quickly, you should use it frequently, but not excessively. Don’t pull up your matrix while fighting a Moira or Zarya; your matrix won’t help you anyway, so you’re just wasting charge. Save your matrix when you know the Zarya, Pharah, or other projectile ultimate hero has their ult.
Why Defense Matrix Is Great
- Eats ultimates
- Protects teammates
- Recharges quickly
Defense Matrix Details
- 10 meter max range
- 1 second cooldown
- 6 seconds to fully recharge
- 3 second max duration
- Eats all projectiles, including projectile ultimates like Graviton Surge
2. Mercy - Resurrect
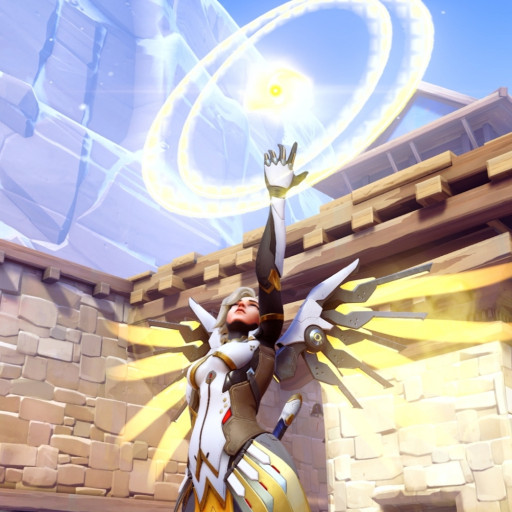
Resurrect is a controversial subject. Some think it’s fine, others think it’s good, and some others think it’s the worst ability in the game thanks to how "unfair" it is. I am on the side that Mercy is in such a bad state that I don’t care if Res is a little unfair. She hasn't played with professionals in a long time, so if she can bring teammates back from the dead, I don't think it's the worst thing in the world.
To effectively use Res, don’t be stupid with it. Don’t Res someone in the middle of the enemy team, or if you’re going to do that, tell your teammates so they can protect you (i.e., Zarya’s bubble or Kiriko’s Suzu). Try and go for stealthy resurrects, such as sneaking around the side and doing it while the enemy is turned around. Try to resurrect as much as possible since you never know when you’ll need the extra teammate.
Why Resurrect Is Great
- Can turn the tide in your team’s favor
- Restores a fallen ally to full health
- Can resurrect people without needing line of sight
Resurrect Details
- 30 second cooldown
- Does not reset upon respawning
- -75% movement speed
- 5 meter max range
- 1.75 second cast time
1. Kiriko - Protection Suzu
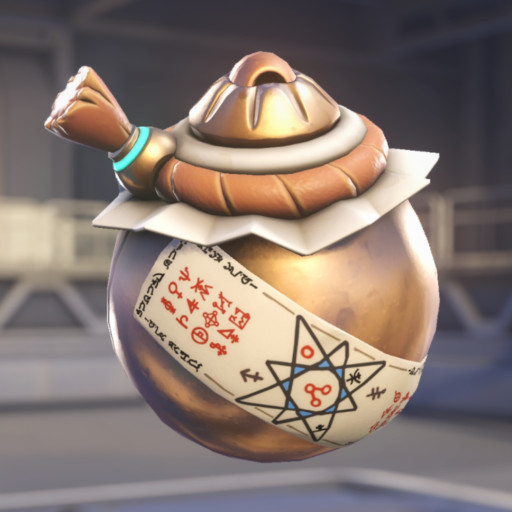
Suzu is arguably one of the most overpowered abilities in the game as of early 2023. It has invulnerability and instant healing, which makes it hard to beat. It counters almost every negative effect in the game and makes Roadhog nearly unstoppable. It can also bail Kiriko out of trouble if she ever gets attacked by the enemy.
Unlike Immortality Field, you don’t need to preserve this as much because the cooldown is much shorter. If you’re teleporting into a dangerous fight, throw Suzu immediately after teleporting. This will save you and your teammate’s lives. Along with that, use Suzu on as many people as possible. Wait the extra second for your team to group up a bit, then use it.
Why Protection Suzu Is Great
- Grants teammates invulnerability
- Automatically does healing
- Cleanses negative effects like Ashe’s Dynamite
Protection Suzu Details
- 14 second cooldown
- Moves at 5 meters per second
- 5 meter area of effect
- Grants players temporary invulnerability
- Cleanses negative effects like Ana’s Biotic Grenade
You May Also Be Interested In:
[Top 10] Best Overwatch DPS For Beginners
[Top 10] Best Overwatch Heroes For Competitive Play
Overwatch DPS Tier List [Overwatch Best And Worst DPS Revealed]
[Top 5] Overwatch Best Heroes For Solo Carry
[Top 10] Best Overwatch Heroes For Beginners That Are Powerful

