Mechwarrior 5 Heavy Mech Tier List [Best And Worst Heavy Mech Revealed]
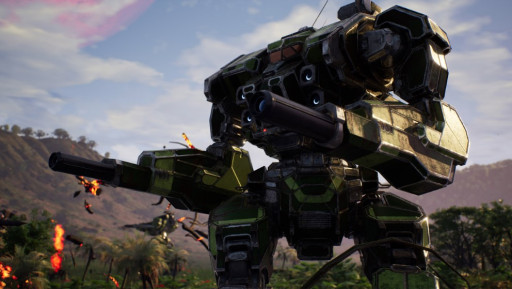
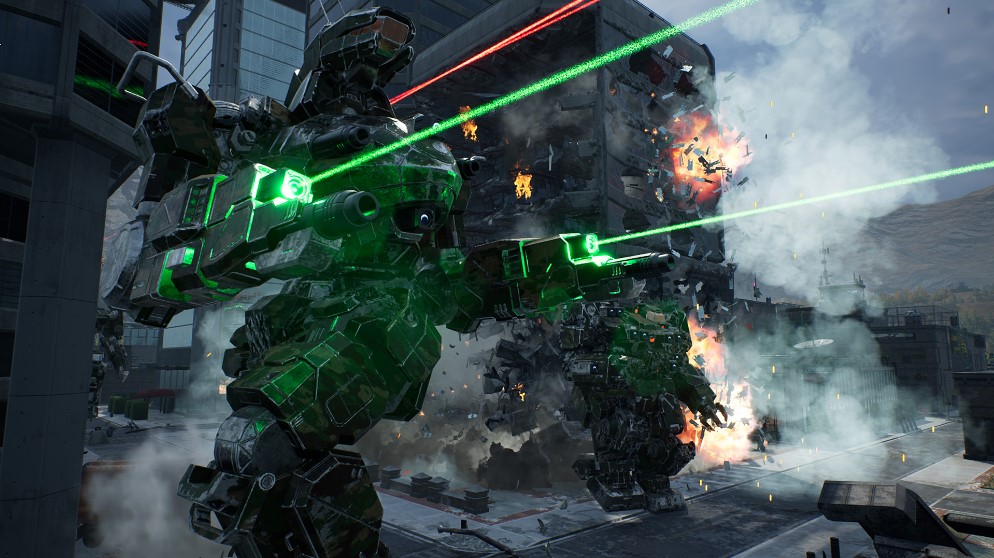
Heavy ‘Mechs are versatile enough to fulfill most combat roles.
One thing I like about Mechwarrior 5: Mercenaries is that the devs over at Piranha Games didn’t skimp out on giving players a lot of different battlemechs to pilot and customize. And each DLC that they’ve released has only added more ‘Mechs to the already abundant roster.
Of course, with so many ‘Mech choices available, players will eventually ask the question, “Which ‘Mechs are the best?” In an effort to answer that question, here’s a tier list for the heavy ‘Mechs of MW5: Mercs.
The ‘Mechs on this list are ranked S, A, B and C, with S being the best thing since sliced bread and C being the trashiest trash to ever grace a trash heap. Now, I know lists like these can be heavily subjective and biased so I’ve tried my best to be impartial and rate the battlemechs according to ease of use, firepower, armor, heat management and overall performance. So let’s get to it. We have a lot to cover.
S Tier
S tier ‘Mechs excel at what they’re supposed to do. They are easy to pilot, require simpler playstyles, have decent weapons & armor. They also have little trouble dealing with enemies their size and have good survivability rates.
S Tier: Agincourt ARC-AGC
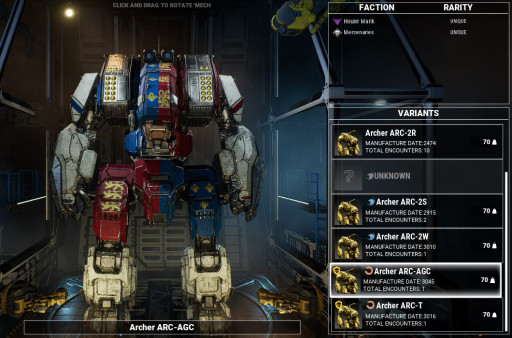
You’d be surprised at how lethal an SRM Agincourt really is.
Agincourt is the best missile boat in the entire game hands down. It is versatile enough to perform admirably as a long range indirect fire support platform with LRMs & as a close range brawler with SRMs.
Strengths:
- It’s one of the heavy class missile boats with the most armor.
- Agincourt comes equipped with a Beagle Active Probe that can spot hostile units faster.
- With an SRM build, Agincourt becomes a Kintaro on steroids. Better speed, armor and ammo capacity.
- It utilizes 4 double heat sinks so players have an easier time with heat management compared to ‘Mechs with just single heat sinks.
- It has the most free tonnage out of all the heavy class missile boats, giving players more customization options.
S Tier: Partisan BL-P-KNT2
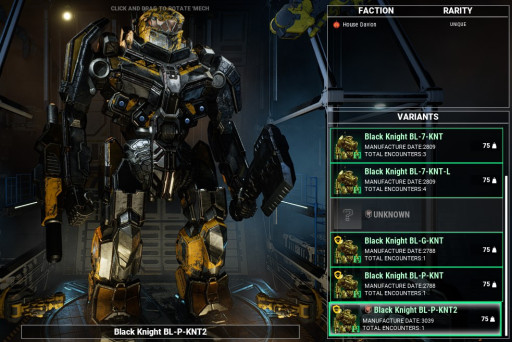
If Partisan’s lasers don’t kill your enemies, its heavy axe will.
Partisan is a ‘Mech that can fit long range laser weapons making it a deadly foe at great distances. While its primary role is that of a laser sniper, Partisan is also an effective melee brawler out of the box thanks to its heavy axe.
Strengths:
- With 3 Large energy critical slots, players can equip the Partisan with 3 large pulse lasers or PPCs, making it a deadly long range combatant.
- Partisan’s heavy axe can destroy any ‘Mech that comes too close in just a few swings.
- Great for prolonged battles since it has predominantly laser weapons that don’t require ammo.
- With 2 large lasers placed in its torso, Partisan can still function as an effective sniper despite having its arms blown off.
- Has 5 double heat sinks that dissipate excess thermal buildup quicker than the Partisan 1 which only has 2 double heat sinks.
S Tier: Yad al-Jauza ON1-YAJ
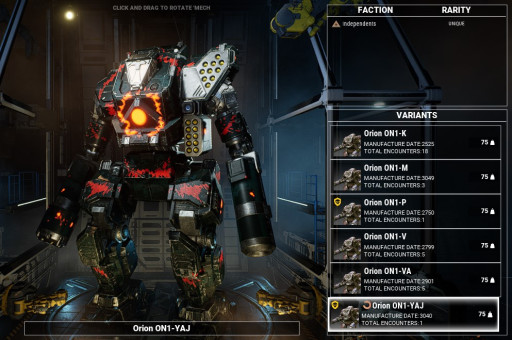
A big ‘Mech with long range lasers can headshot you from a mile away. Scary.
The ON1-YAJ is a sufficiently tanky long range damage dealer. Players just need to keep those large lasers trained on the enemy’s head for an easy kill. YAJ can also function as a good brawler at any range.
Strengths:
- 3 large energy weapon slots can mount 3 PPCs or 3 large pulse lasers, making the YAJ a great sniper.
- It has 3 medium missile slots, 2 of which are in the torso. Put SRMs on those and the ON1-YAJ can shred a foe’s armor in no time.
- Decent armor for either a long range sniper or a close range SRM brawler.
- Has 5 double heat sinks that help dissipate excess heat from those long range laser weapons.
- 37 tons of free tonnage space give players more customization options.
A Tier
A tier ‘Mechs can fulfill their assigned roles adequately. While relatively easy to pilot, these ‘Mechs require some knowledge about heat management, evasive maneuvers and weapon group rotation. With some skill, players can take down hostile ‘Mechs quickly using these bad boys.
A Tier: Tempest ARC-T
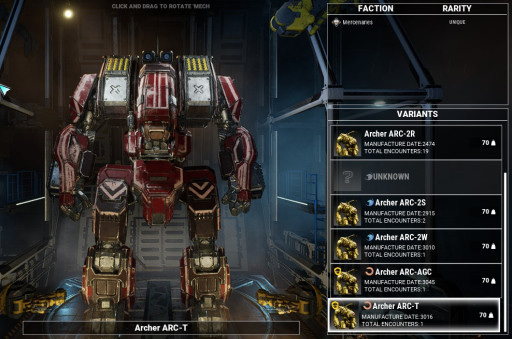
Spam those LRMs till the cows come home.
Tempest is the Archer 2R with ECM and double heat sinks. It only has 1 role and that is as a long range missile platform which it does quite well. It has less armor than Agincourt so being able to bombard enemies with missiles from afar is best for this ‘Mech.
Strengths:
- Its missile slots are mounted on the torso, enabling Tempest to rain down those LRMs even if its arms and a leg get blown off.
- 2 large missile slots can be equipped with LRM 20s or their more advanced versions, making Tempest capable of destroying smaller ‘Mechs and vehicles from afar.
- Has ECM that makes it more difficult for enemies to hit Tempest, increasing survivability.
- 2 double heat sinks cooldown the ‘Mech faster than other non hero Archer variants.
- Its 4 medium lasers are great backup weapons.
A Tier: Black Knight BL-6-KNT, BL-6B-KNT, BL-7-KNT, BL-7-KNT-L, BL-7-KNT-P
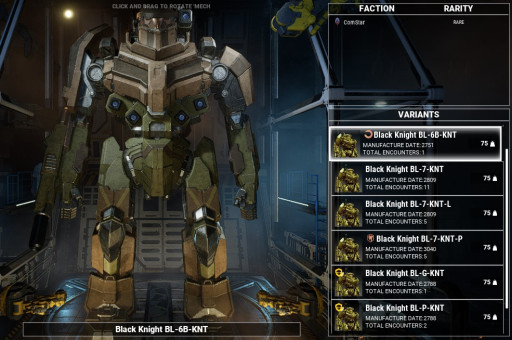
The Black Knight is the very definition of a laser boat.
The Black Knight is often used as a long to mid range damage dealer and sniper, mainly due to its capacity to field 3 large energy weapons like the PPC or large laser. Most of the Black Knight variants don’t have double heat sinks so managing the thermal build up from the energy weapons is important. I suggest getting the 6B variant. It’s the only non hero variant with double heat sinks.
Strengths:
- The 6 and 6B variants sport a Beagle Active Probe that can identify and track hostile forces quicker.
- 3 large energy weapon slots that can carry long range lasers make the Black Knight an exceptional sniper ‘Mech.
- Most of these variants have 4 medium lasers (except for the P which has a melee weapon) which makes the Black Knight a decent mid range brawler.
- 2 large lasers on the torso ensures the Black Knight can continue fighting despite losing both arms and a leg.
- The BL-7-KNT-P can make short work of any hostile ‘Mech that gets too close for comfort.
A Tier: Partisan2 BL-P-KNT
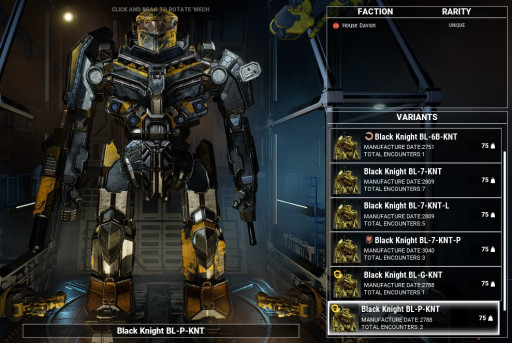
This thing needs more double heat sinks!!!
Much like the Partisan2, this ‘Mech is extremely effective at long ranges. It can also fulfill the role of a mid range brawler if players learn how to cool Partisan effectively. This ‘Mech only has 2 double heat sinks. Add more if you’re planning on spamming those large laser weapons.
Strengths:
- Has 3 large energy weapon slots that can fit the most powerful lasers or PPCs players have in their arsenal, making Partisan a deadly sniper.
- Can work as a mid to close range brawler with Partisan having a medium ballistic slot and a small missile slot. (good for an autocannon and an SRM)
- 2 of the 3 large laser slots are in the torso, which means Partisan can still be a decent sniper despite losing both arms and a leg.
- Has more customization options compared to Partisan2 due to more free tonnage.
- It has a predominantly energy-based weapon loadout that doesn’t require ammo, which is good for protracted battles.
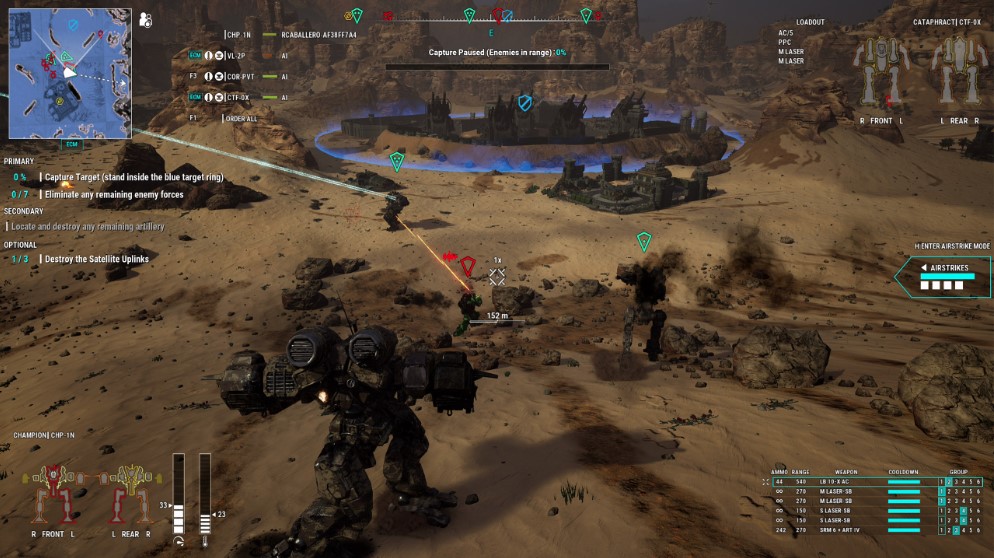
A Tier: Cataphract CTF-0X, CTF-0XP
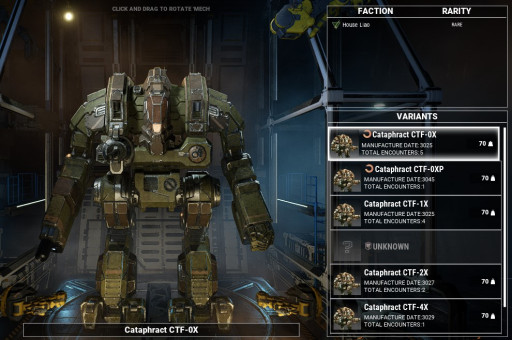
These Cataphract variants are great for messing with advancing enemies.
What the 0X and 0XP variants lack in firepower, they make up for in battlefield control and support. These ‘Mechs aren’t meant to be frontline assault units. Instead they are used to scope out and disrupt an enemy’s advance. So mechwarriors shouldn’t be charging head first guns blazing into battle with these guys. These ‘Mechs are mainly for support and should be piloted as such.
Strengths:
- Both variants have a Beagle Active Probe that identifies and reveals hostile forces on the map. Useful for lances that have missile boats in them.
- ECM disrupts the opposing force’s sensors, giving your lance the advantage on the field.
- With both variants having a medium ballistic slot, they can equip LBX autocannons that deal more damage than standard AC/10s.
- Varied weapon loadout enables both variants to adequately handle enemies from all ranges.
- Adequately armored for a support ‘Mech.
A Tier: Butterbee CLPT-BB
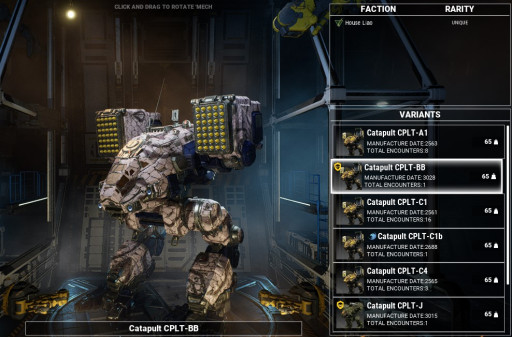
It may not look like it but Butterbee is deadly up close.
Butterbee can destroy most ‘Mechs with a salvo from its 4 SRM6 launchers, making it a very deadly short range brawler. This requires getting near enough to use those SRMs, however. So closing the distance and not getting blown up are requirements to use BB effectively.
Strengths:
- Equipped with 4 jump jets to tackle rough terrain and get within striking distance.
- Has 4 SRM6 weapon systems that can wipe out all but the heaviest of enemies.
- BB has 4 medium lasers that are decent back up weapons which don’t require ammo.
- Low squat profile ideal for ambushing unsuspecting targets.
- Great ‘Mech to use for urban demolition missions.
A Tier: Jester CPLT-J
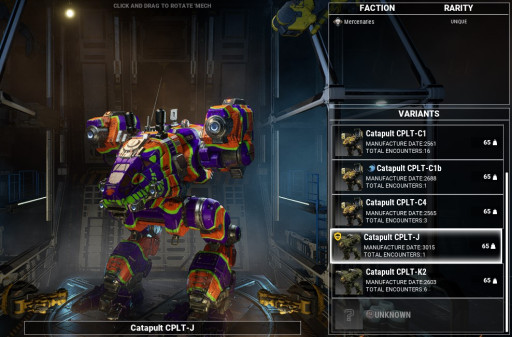
Anti-missile systems are vastly underrated.
When piloting the Jester, players won’t have to fear incoming LRMs since this ‘Mech has 2 anti missile systems. Mechwarriors can focus their attention on killing hostile forces from afar with the Jester’s large lasers or PPCs if they have those equipped.
Strengths:
- 2 large energy weapon slots that can field PPCs or large lasers that deal good damage from long range.
- Has 8 double heat sinks that cool down the ‘Mech faster. (Very good for those using dual PPCs)
- 2 anti missile systems make the Jester virtually immune to long range missiles.
- Jump jets help players navigate rough terrain, making finding that perfect sniping spot easier.
- Decently armored for a heavy ‘Mech.
A Tier: Catapult CPLT-K2
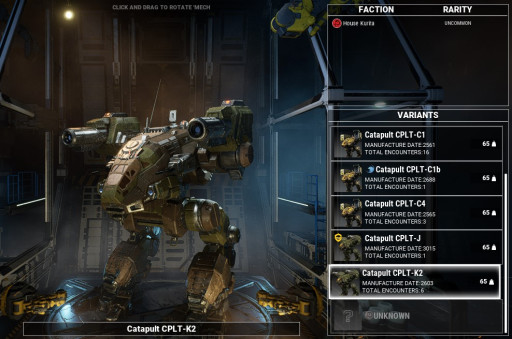
Outfit the K2 with dual PPCs to deal some serious damage.
The K2 is like the better version of the Rifleman and the non hero variant of the Jester. It functions well as a laser sniper but also performs admirably as a long to mid range brawler if equipped with dual PPCs. Just watch out for the heat these weapons generate. The K2 only has single heat sinks by default.
Strengths:
- Devastating as a PPC platform if players swap out the large lasers for PPCs.
- Low squat profile makes it harder for enemies to hit the K2 especially in rough terrain.
- Performs well as a sniper due to its 2 large energy weapon slots that can mount the biggest lasers available.
- 2 medium lasers and 2 machine guns on the torso become adequate backup weapons in case enemies get too close.
- Great for assassination missions where the K2 can take out targets from a safe distance.
A Tier: Mjolnir GHR-MJ
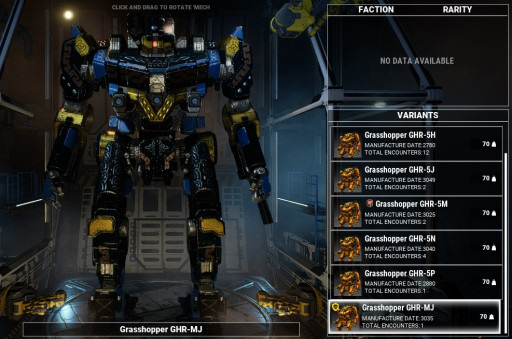
The GHR-MJ can use those jump jets to get in & out of battle quickly.
Mjolnir plays very similar to a Black Knight as they are both laser based ‘Mechs with 1 major difference: Mjolnir has jump jets that make it more mobile. Out of the box, the GHR-MJ is a deadly long to mid range combatant. Players need to use this to their advantage.
Strengths:
- Has a large ballistic slot that can mount a Gauss rifle, making the Mjolnir a lethal sniper.
- 2 large laser slots that can be equipped with the biggest lasers enable Mjolnir to take out enemies from far away.
- 4 jump jets make negotiating rough terrain easier. Perfect for a mobile sniper ‘Mech like the Mjolnir.
- Equipped with double heat sinks to cool down the ‘Mech faster.
- Has good customization options thanks to having the most free tonnage out of all the other GHR variants.
A Tier: Marauder MAD-2R, MAD-3D, MAD-5D
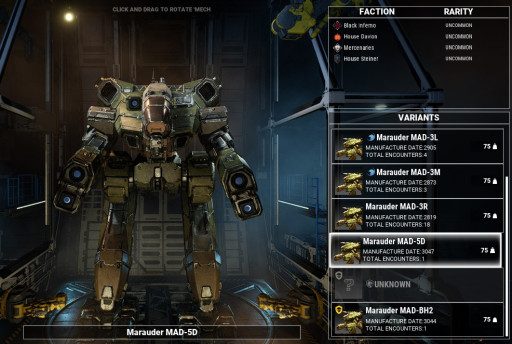
One of the most famous ‘Mechs of all time, the Marauder is sleek as it is deadly.
The Marauder is a fairly versatile long range damage dealer, with some variants able to mount an autocannon for closer ranges. Players need to keep an eye on the damage to the Marauder’s arms since those are where the DPS comes from.
Strengths:
- Can equip dual PPCs that not only deal good damage, but also scramble the enemy’s sensors.
- The 5D variant has jump jets that make it more mobile. Perfect for players that use the 5D as a sniper.
- The 5D & 2R come with 6 double heat sinks by default which cools down the ‘Mechs faster.
- 3 large energy slots that can equip 3 PPCs make the 3D a very dangerous ‘Mech at longer ranges.
- Low squat profile makes it harder to take out the Marauder with a headshot.
A Tier: Bounty Hunter MAD-BH2
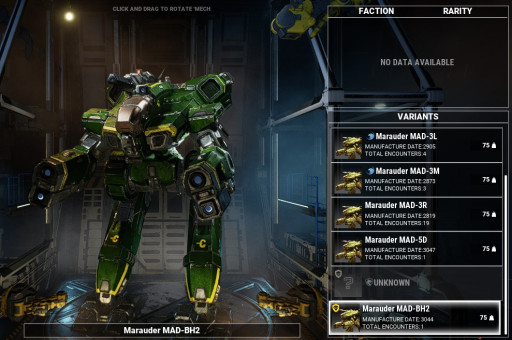
The Bounty Hunter2 can fill you full of holes from far away.
Like the other Marauder variants, the BH2 is a formidable long range attacker. While slower than other Marauder models, it has the most armor which makes it tankier. Proper aim and some degree of piloting skill is required to maximize the BH2’s potential.
Strengths:
- Comes equipped with a torso mounted Gauss rifle that helps make the BH2 an exceptional sniper ‘Mech.
- 2 PPCs on either arm can destroy lighter ‘Mechs with ease.
- Very well armored for a heavy ‘Mech.
- Has 6 double heat sinks that flush excess heat faster.
- 3 jump jets make the Bounty Hunter2 able to navigate treacherous terrain with little difficulty.
A Tier: Orion ON1-M
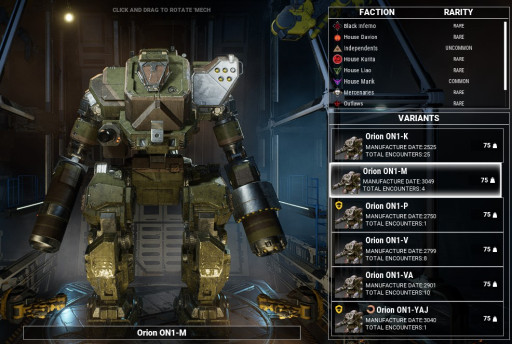
Equip SRM6 launchers on this thing to give it more punching power.
The M is a tanky mid range brawler that players can use to divert an enemy’s aggro, especially if the target of said aggro is a light or medium ‘Mech on your lance. While sturdy enough to soak enemy fire, the M can also dish out some decent damage. More so if players equip them with SRMs.
Strengths:
- Can equip 2 SRM6 launchers that will destroy lighter ‘Mechs with a well placed salvo.
- Has a NARC beacon that turns any enemy into a missile magnet. Great for lances that have at least 1 missile boat.
- Capable of using an LBX 10 autocannon that can shred the armor of a hostile ‘Mech.
- Good customization options since it has the most free tonnage out of all the other non hero Orions.
- Has sufficient armor to tank hits from hostile ‘Mechs for a period of time.
A Tier: Protector ON1-P
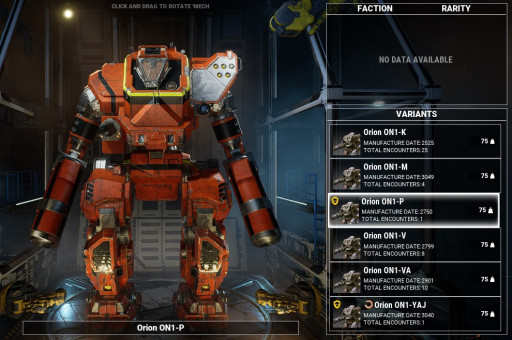
That Gauss rifle on its torso can be deadly in the right hands.
Protector is aptly named since it can tank and soak up aggro for a limited time. With its default weapon loadout, the P can sufficiently handle enemies from all ranges. Although, I prefer using this ‘Mech as a long range damage dealer that can soften up targets before they get within striking distance of my lance mates.
Strengths:
- Has a large ballistic slot that can mount a Gauss rifle to make the P a passable sniper.
- Can equip a PPC or a large laser to complement its Gauss rifle for more damage at long range.
- Adequate armor to tank hits for a limited time.
- Has good customization options thanks to having decent free tonnage.
- Weapons don’t generate too much heat.
A Tier: Quickdraw QKD-5K
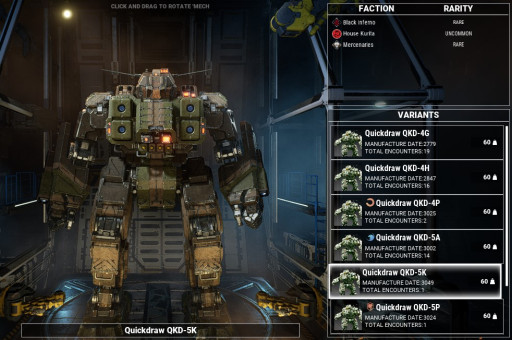
Lasers don’t require ammo and that makes the Quickdraw very sustainable in battle.
The 5K is surprisingly a great mid range laser brawler. It has the speed and firepower to take down lighter and even some ‘Mechs its size with ease. The 5K is also fast enough to outflank larger enemies. As with all brawlers and flankers, good piloting skills is a plus when using this ‘Mech.
Strengths:
- 6 medium lasers make it an outstanding mid range brawler.
- Has 7 double heat sinks that dissipate waste heat and cool down the 5K faster.
- 5 jump jets and a top speed of 81 km/h make the 5K mobile enough to flank hostile forces.
- 4 medium lasers situated on the torso enables the 5K to continue fighting despite getting both its arms blown off.
- Has the most free tonnage out of all the non hero Quickdraw variants, giving players more customization options.
A Tier: IV-4 QKD-IV4
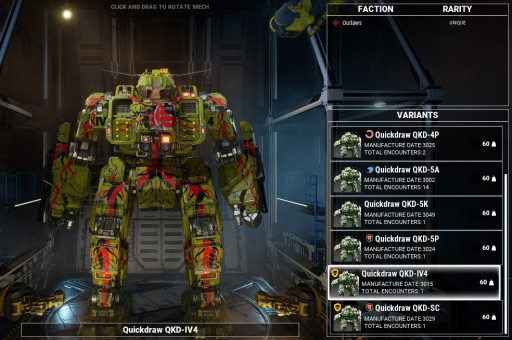
Its dual SRM6s can wipe out light ‘Mechs without breaking a sweat.
IV-4 can delete enemies its size thanks to its superior weapons. It can fulfill the role of a brawler with little difficulty in early to mid game missions and even some late game content, provided it has some backup. While slower than other Quickdraws, it does have better armor which is a plus since it is a brawler/skirmisher at its core.
Strengths:
- IV-4 can use its dual SRM6 weapons to fire a salvo that can take down most ‘Mechs its size or smaller.
- Has 2 medium pulse lasers that deal damage faster and better than normal lasers.
- 2 jump jets enable IV-4 to quickly jump in or out of battle.
- Comes with 2 double heat sinks to help flush excess heat faster than single heat sinks.
- Has the most armor out of all the Quickdraw variants which is essential for close to mid range brawling.
A Tier: Top Dog TDR-5S-T
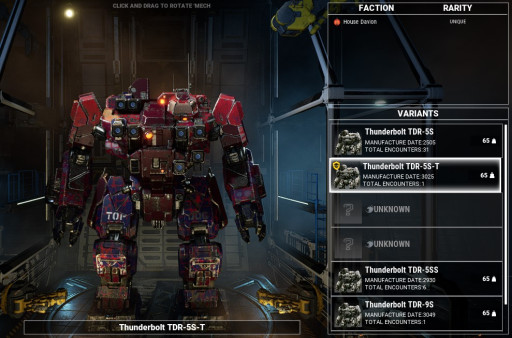
8 medium lasers on the torso makes Top Dog a perfect zombie ‘Mech
An excellent mid range laser brawler that can wreck opponents fairly quickly. Aim those lasers at an enemy’s weak points and watch them go bye-bye. Players need to watch out for the heat buildup since it has 9 lasers and only single heat sinks. Heat management is key.
Strengths:
- 9 lasers make the Top Dog a bonafide mid range killer.
- 8 medium lasers situated in the torso means players can continue fighting despite losing both of Top Dog’s arms and a leg.
- Decent armor for a 65 ton ‘Mech.
- Irregular cockpit location makes it harder to headshot the Top Dog.
- Equipping pulse lasers and double heat sinks will make this ‘Mech deadlier than it already is.
A Tier: Black Widow WHM-BW
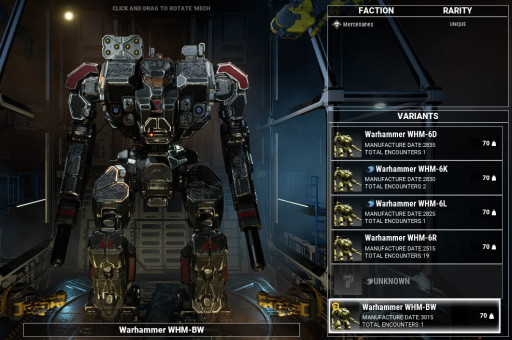
Those ER PPCs can reach farther than normal PPCs but generate more heat.
The Black Widow is a very capable long to mid range brawler. It has the speed, armor and firepower to take down ‘Mechs its size or smaller. And with 4 machine guns, it can shave off a hostile battlemech’s armor fairly quickly.
Strengths:
- 2 ER PPCs make the Black Widow a very deadly long range DPS unit.
- Has 8 double heat sinks that rapidly vents waste heat from the ‘Mech.
- Better customization out of all the other Warhammer variants thanks to it having the most free tonnage.
- Great for demolition and raid missions since those 4 machine guns can wreck enemy structures really fast.
- Decent armor for a 70 ton ‘Mech.
B Tier
B tier ‘Mechs are the average performing ‘Mechs. Most of the time, these guys either lack firepower or armor or just suffer from poor weapon placement. While certainly capable of finishing missions, it will be up to the pilots of these machines to use tactics and skill to accomplish this with little damage taken. Additionally, most of these ‘Mechs don’t have double heat sinks so heat management can be a chore.
B Tier: Archer ARC-2K, ARC-2R, ARC-2RB, ARC-2W, ARC-2P, ARC-2S
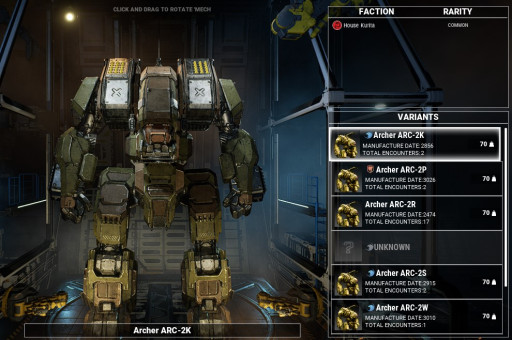
LRMs… LRMs everywhere…
The non hero Archers are still good enough to fulfill the role of a long range indirect fire support ‘Mech but are mediocre when put in other roles since some of them have less armor than normal.
B Tier: Cataphract CTF-1X, CTF-2P, CTF-2X, CTF-4X
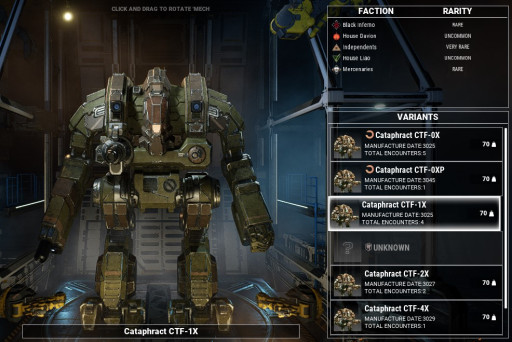
These CTF variants can be a bit underwhelming but they get the job done eventually.
These Cataphracts are good mid range brawlers but they have trouble finishing off enemies on their own.
B Tier: Ilya Muromets CTF-1M
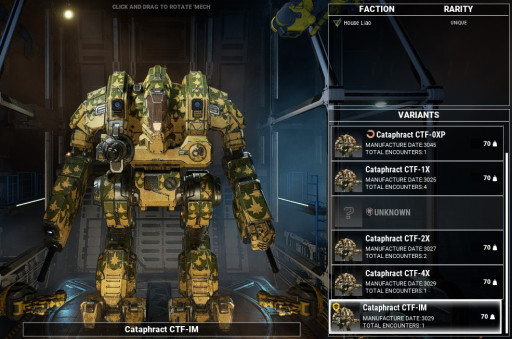
Ilya’s pretty average for a hero ‘Mech.
Ilya is a great mid range brawler if outfitted with LBX autocannons. Its weakness is that it performs poorly in prolonged engagements where there are many enemy waves due to its mostly ballistic weapon loadout.
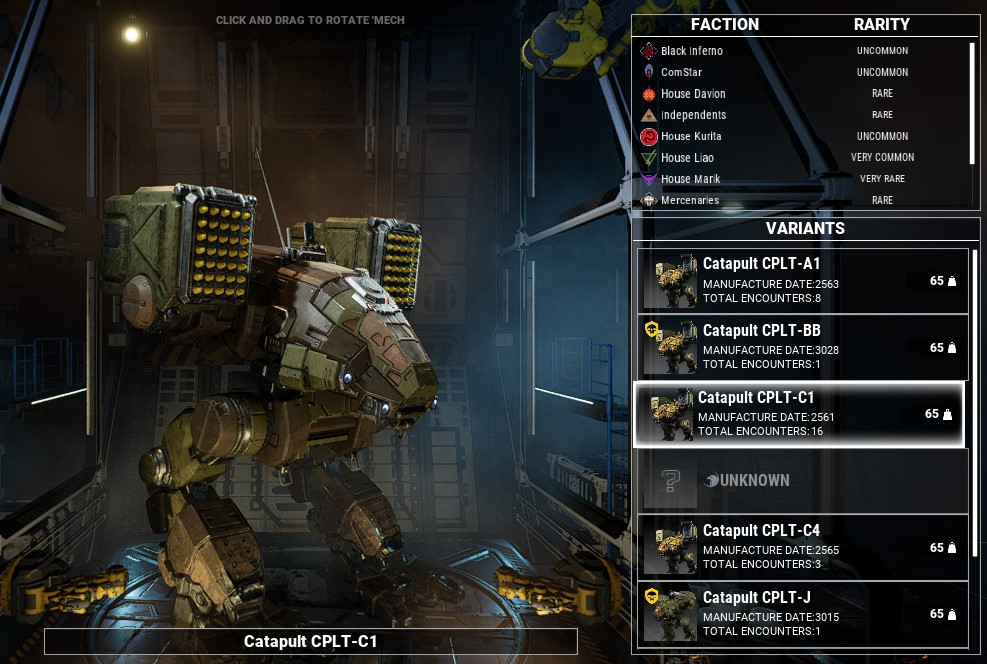
B Tier: Catapult CPLT-C1, CPLT-C1B

Decent missile boats, these are.
These Catapults perform well as long range missileers but have less armor than Archers, making them more susceptible to flanking enemy ‘Mechs.
B Tier: Dragon DRG-1G
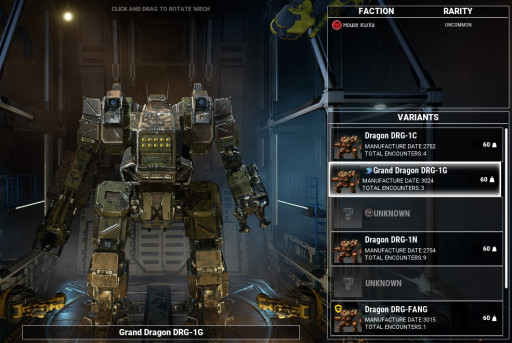
2 Large Energy Weapons slots can be outfitted with the best lasers available to the player.
The 1G can become a pretty good PPC ‘Mech with 2 PPCs. The problem is those PPCs will be on the arms and since the 1G doesn’t have much armor, players will need to hang back while allies act as shields and aggro magnets.
B Tier: Flame DRG-FLAME
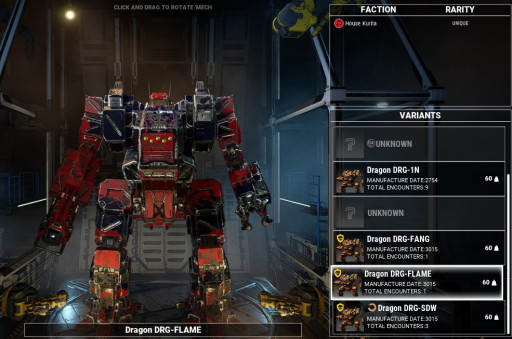
Flame’s default weapon loadout leaves much to be desired.
Flame can function as a passable long range damage dealer if you put 2 large lasers (or large pulse lasers) on it. Better yet, swap those out for dual PPCs. Drop the AC/2 and add double heat sinks instead.
B Tier: Sidewinder DRG-SDW
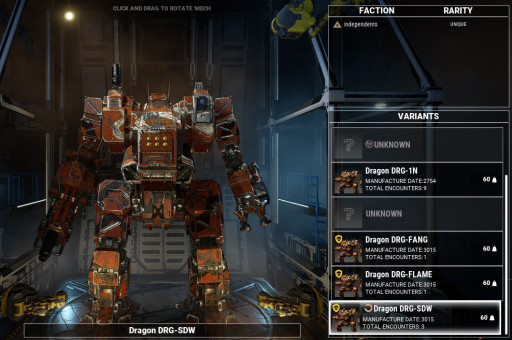
An autocannon 20 or a Gauss Rifle on this ‘Mech is scary.
The Sidewinder has a large ballistic slot that can fit a Gauss rifle. It also has a large energy slot that you can use for a PPC. Add these 2 together and you get a ‘Mech that can do decent damage from far away.
B Tier: Grasshopper GHR-4P, GHR-5H, GHR-5J, GHR-5M, GHR-5N, GHR-5P
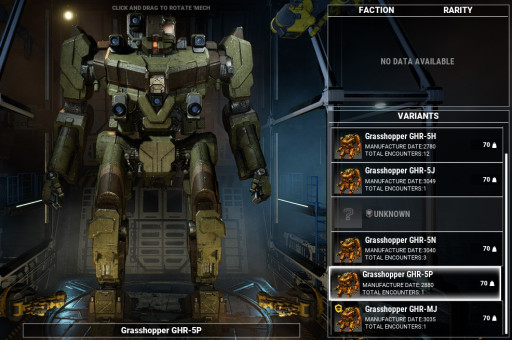
Jump jets… the Grasshopper’s main asset.
These Grasshopper variants are okay-ish laser boats & players can use them to practice proper heat management, as well as jumping.
B Tier: Marauder MAD-3L, MAD-3M, MAD-3R
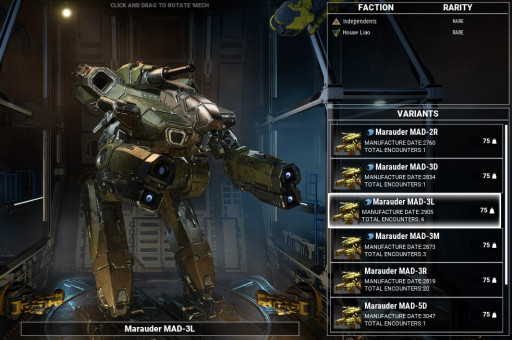
These Marauder variants are not extraordinary in any way.
These Marauders work better as mid range damage dealers. They don't have double heat sinks and are equipped with less armor than their other counterparts. Still they can get the job done.
B Tier: Orion ON1-K, ON1-V, ON1-VA
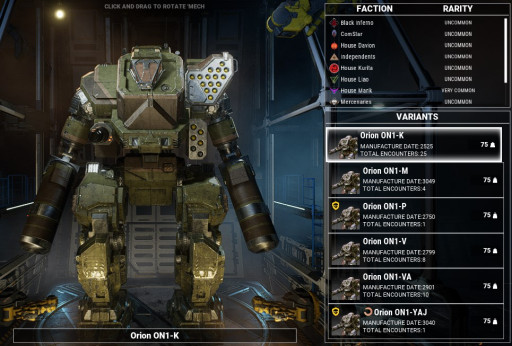
Both the K and VA have the most armor out of all the Orion models.
These variants are heavy ‘Mechs capable of soaking up enemy fire. They can be called the poor man’s Atlas, mostly used to divert aggro away from more damaged allied ‘Mechs.
B Tier: Firebrand JM6-FB
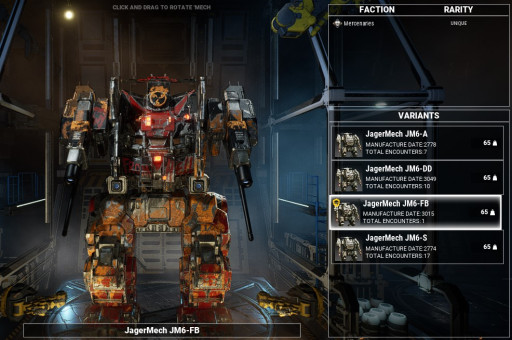
Players need to learn to take out enemies from range if they want to use ‘Mechs like Firebrand.
Firebrand can be a decent ranged attacker if it has 2 PPCs on its arms and 2 pulse lasers on its torso. Removing the AC/2s and adding heat sinks improves the FB’s performance. Just don’t go charging in without backup from your allies.
B Tier: Quickdraw QKD-4G, QKD-4H, QKD-4P, QKD-5A, QKD-5P
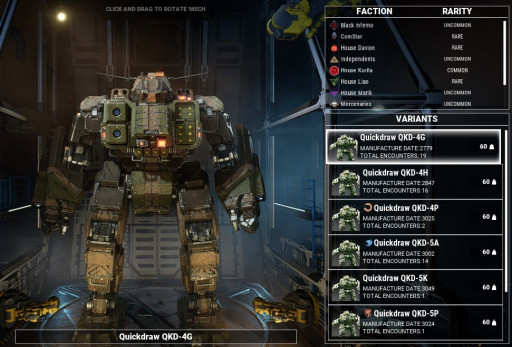
Quickdraws are fairly good brawlers and skirmishers.
These Quickdraws can fulfill the role of a skirmisher or short range brawler adequately since they have a number of medium lasers and can be fitted with SRMs (or a melee weapon in the case of the 5P.) They also have 5 jump jets that make them quite mobile.
B Tier: Scrapper QKD-SC
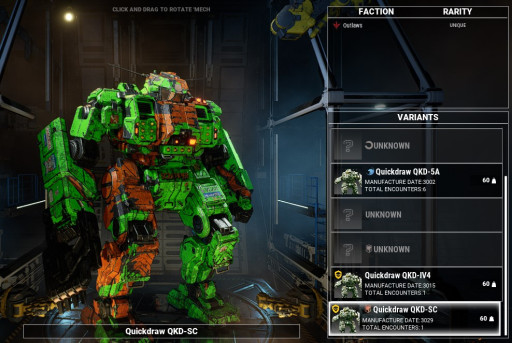
Use the Scrapper's speed to flank and hack enemies to death.
Scrapper is a formidable close range ‘Mech since it can wreck opponents with its heavy trench blade. It can be killed pretty quickly by heavier ‘Mechs though, so players need to stay away from enemy groups and just focus on solitary enemies.
B Tier: Dao Breaker RFL-DB
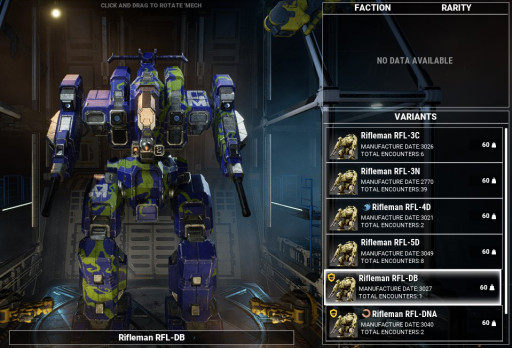
I wish these Rifleman models had more armor by default.
The Dao Breaker, like most Rifleman variants, is great at long range. The trade-off is these guys have less armor than ‘Mechs of comparable weight. Use Dao Breaker from a safe distance and equip it with dual PPCs for best results.
B Tier: Diana RFL-DNA
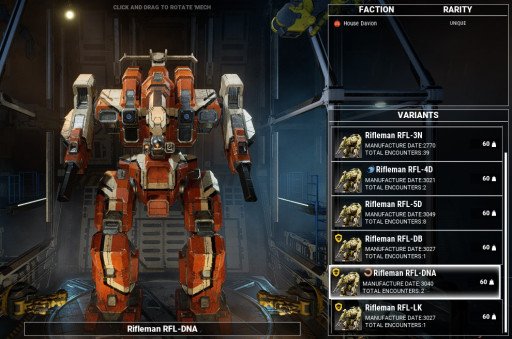
Those dual Gauss rifles can do major damage… if enemies don’t blow them up first.
Diana is a great sniper ‘Mech. And while it has the most armor out of all the Rifleman variants, enemies can still easily destroy those arm mounted Gauss rifles, leaving you with no way to deal substantial damage. Let your allies take the brunt of the enemy fire while you snipe hostiles from a safe distance.
B Tier: Legend Killer RFL-LK
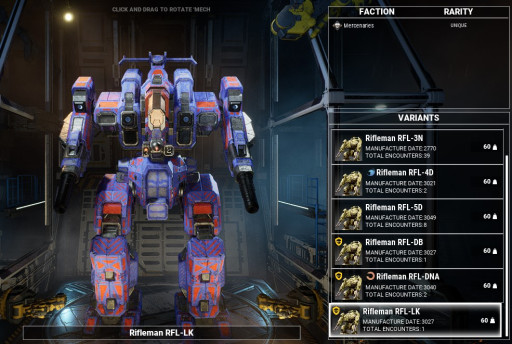
Arm mounted weapons have the unfortunate honor of getting blown up first.
Dual LBX 10s on both arms can shred enemies in no time. Just make sure to keep your distance since the LK has even less armor than Diana. Use your teammates to draw the enemy’s aggro while you pick off opponents from range.
B Tier: Thunderbolt TRD-5SD, TRD-9SE
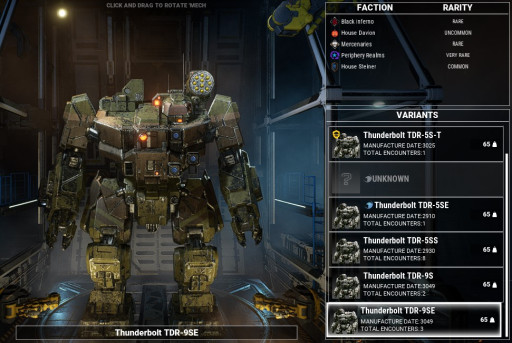
The Thunderbolt’s lasers are mostly situated in the torso, which is a good thing.
Both variants come equipped with double heat sinks that disperse heat from their lasers. The 5SD & 9SE can do a marvelous job as mid range brawlers thanks to their many medium lasers.
B Tier: Warhammer WHM-6D, WHM-6K, WHM-6L, WHM-6R, WHM-6RB
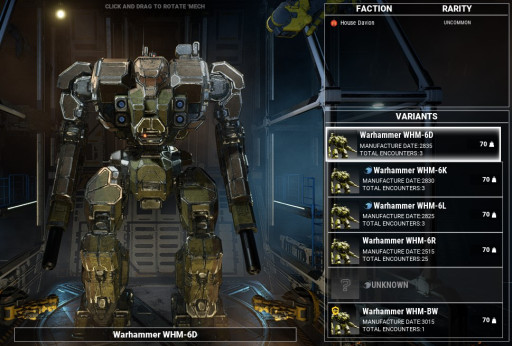
Be careful not to get the Warhammer’s arms blown off. They’re your main source of damage.
These Warhammer models offer superb damage at longer ranges thanks to their arm mounted lasers or PPCs. They can soften up hostiles before finishing them off up close with a variety of mid to short range weapons.
C Tier
C tier ‘Mechs are better than nothing. Use these only if you have no other options. These guys do subpar damage or have poor armor. Maybe, even both at the same time. Chances are, you will finish the mission either with most of them being severely damaged or destroyed completely.
C Tier: Catapult CPLT-A1, CPLT-C4
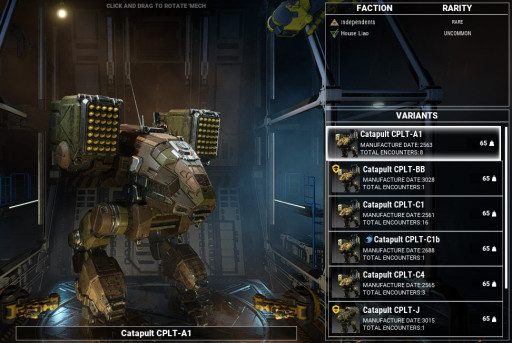
Those LRMs won’t save you when your enemies get inside your minimum range.
These Catapult models don’t have any other substantial weapons aside from LRMs, which makes them niche and easily replaceable.
C Tier: Champion CHP-1N, CHP-1N2, CHP-1NB, CHP-2N
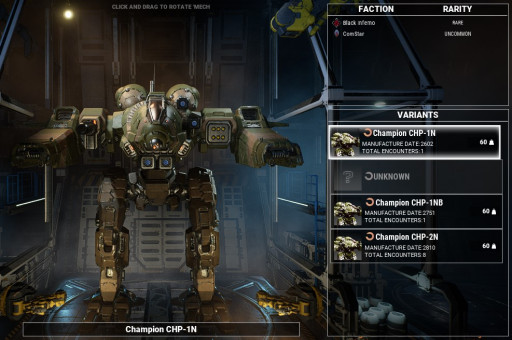
Those large arms are just begging to be blown off.
The Champion can be a good mid range attacker early in the game since most of its variants have 4 medium lasers on the torso with some being able to use Gauss rifles and AC/20s. But they are quite fragile and underpowered for late game missions.
C Tier: Dragon DRG-1C, DRG-1N, DRG-5N
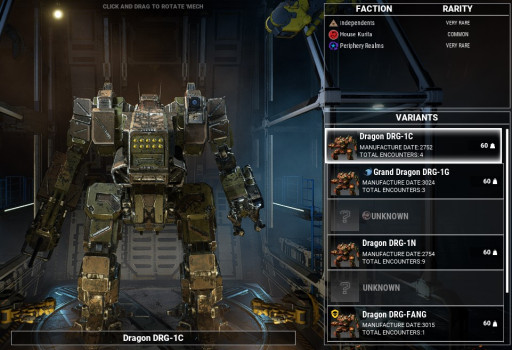
This Dragon is pretty useless late game.
The 1C is severely lacking in firepower and it isn’t advisable to bring such a ‘Mech from mid game onwards. It’s better to just sell it and get a better ‘Mech.
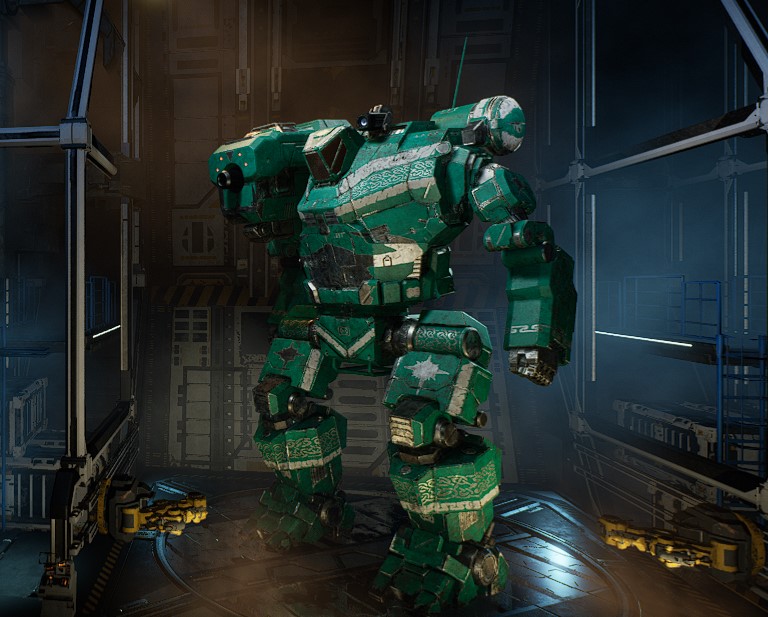
C Tier: Fang DRG-FANG
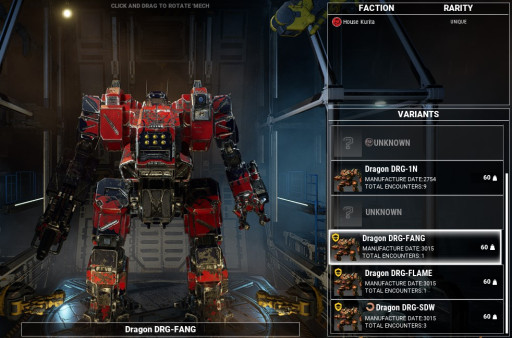
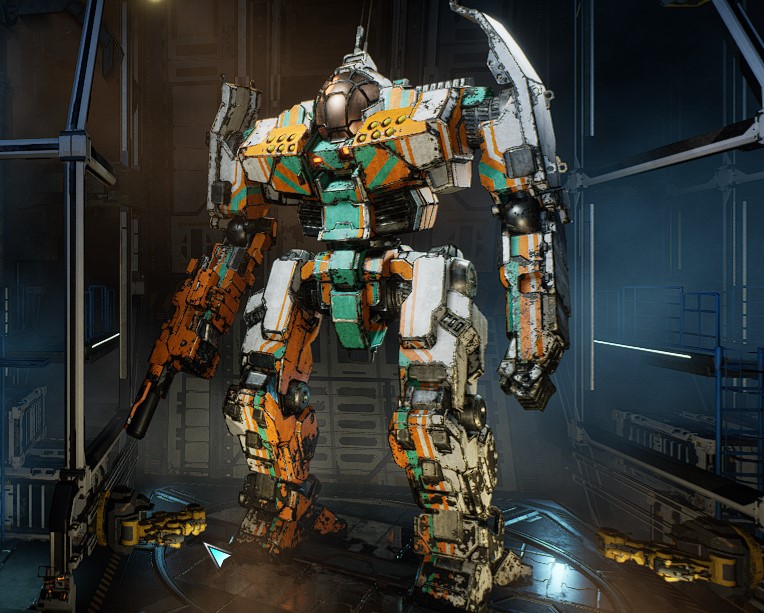
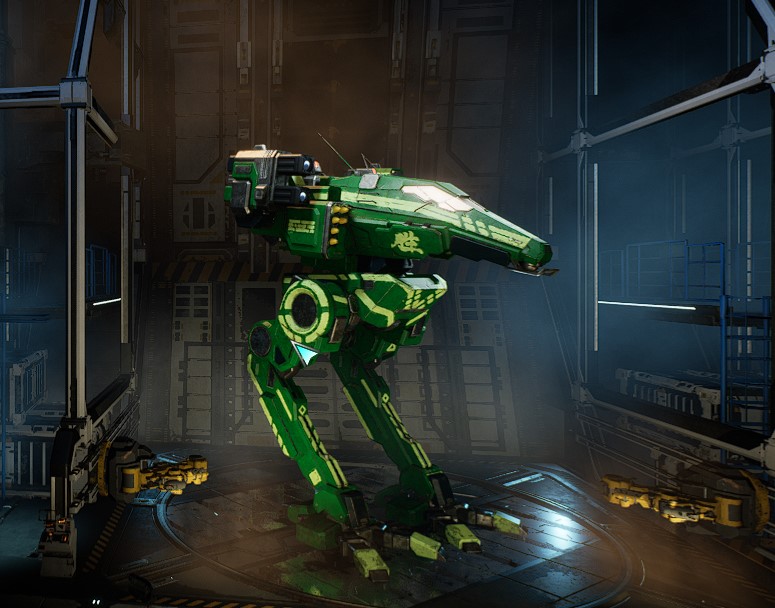
Nice color scheme, bro.
Fang might’ve been decent in the early game, but it is easily outclassed from mid game onwards. Most players will just probably keep this ‘Mech in cold storage as part of the collection.
C Tier: Jagermech JM6-A, JM6-DD, JM6-S
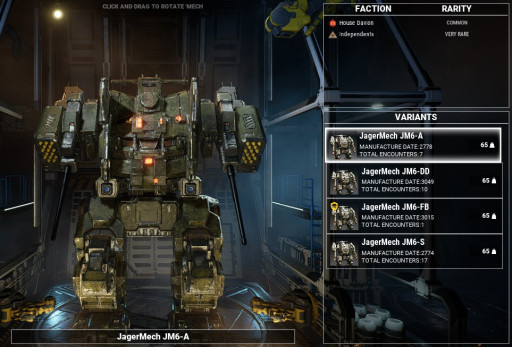
Jagermechs may look beefy, but they’re really not.
The Jagermech suffers from the same problem as the Rifleman. Poorly armored, its arms can be easily destroyed, leaving it without any way to deal significant damage to the enemy.
C Tier: Rifleman RFL-3C, RFL-3N, RFL-4D
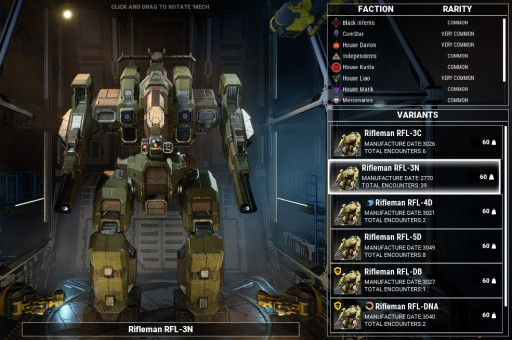
The Rifleman’s weakness is that its main weapons are in the arms, which are poorly armored.
With inferior armor and poor weapon placements, these Rifleman models can easily end up as burning wrecks if you’re not careful.
C Tier: Thunderbolt TDR-5S, TDR-5SE
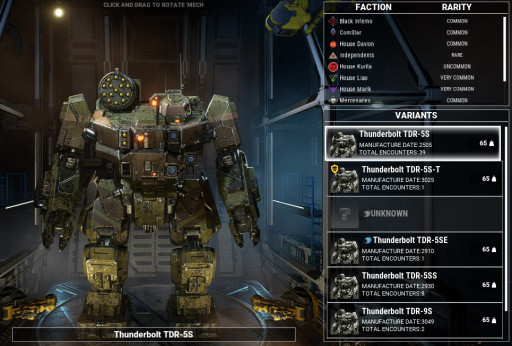
These Thunderbolts will need T5 weapons to even have a chance of winning late game.
Don’t bother bringing these guys to the late game missions. They are poorly armed and will be burning wrecks before you know it..
Hopefully, this tier list gives players an idea of which ‘Mechs to invest in. But as with all tools, the best way to use them is through practice. So keep practicing those piloting and aiming skills. I’d love to know your thoughts and your tier lists, as well.

