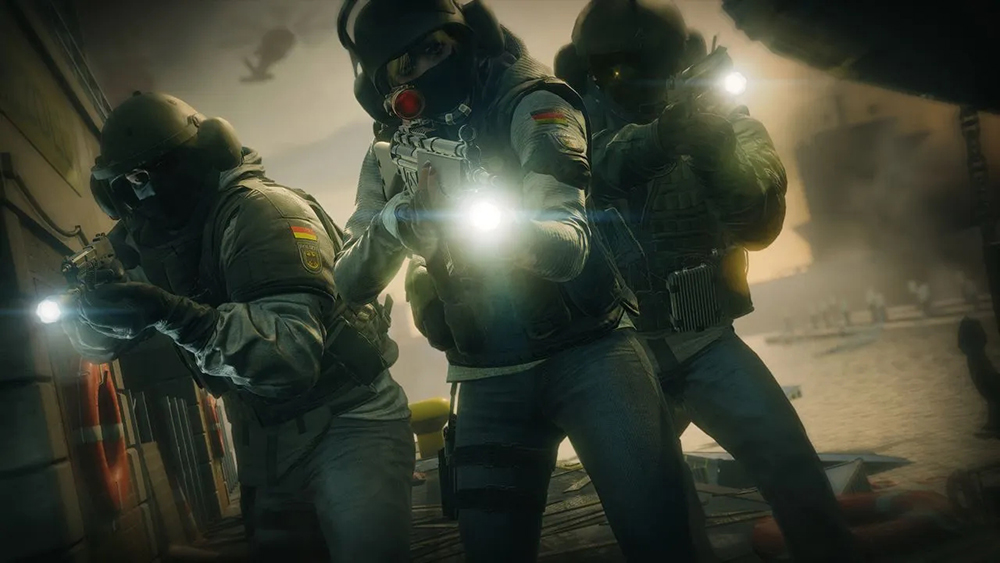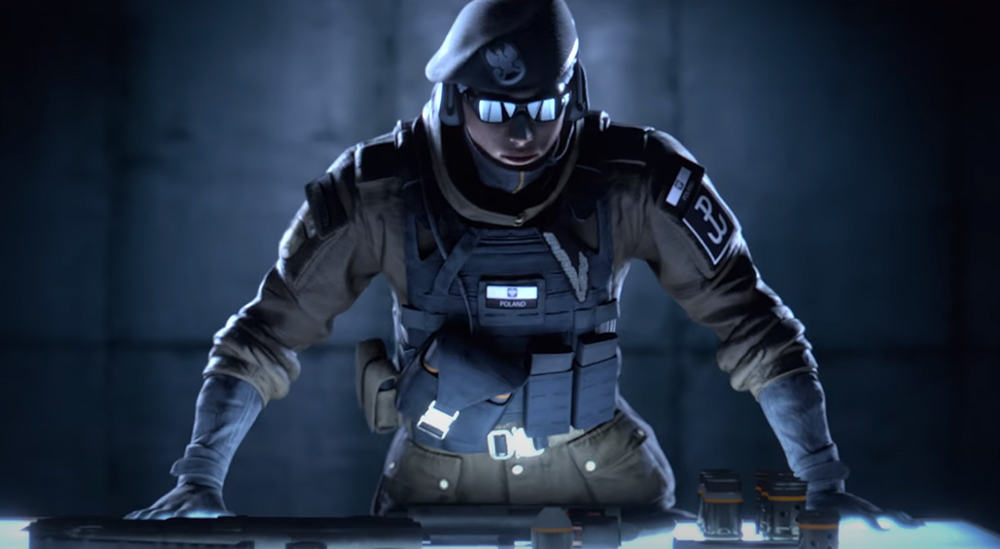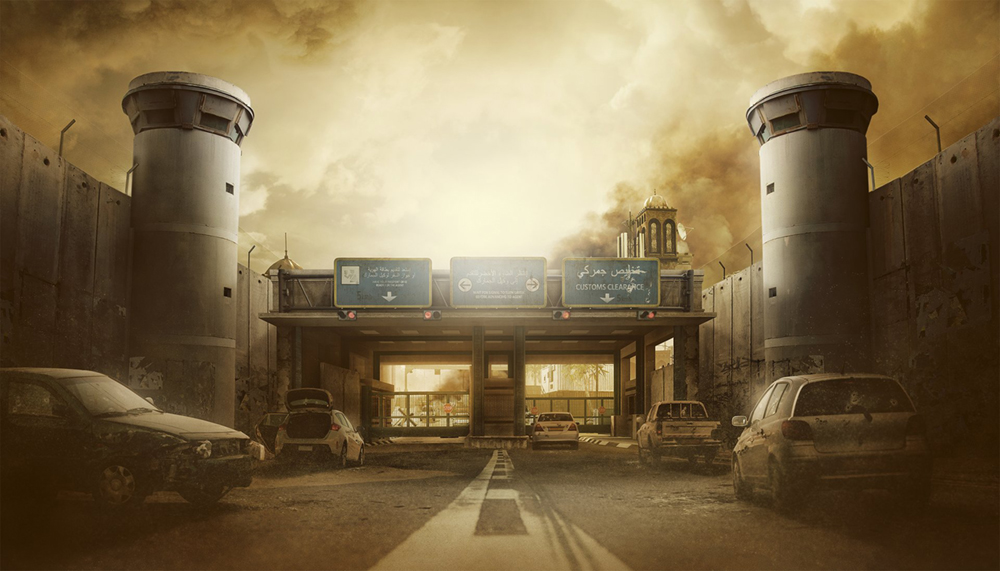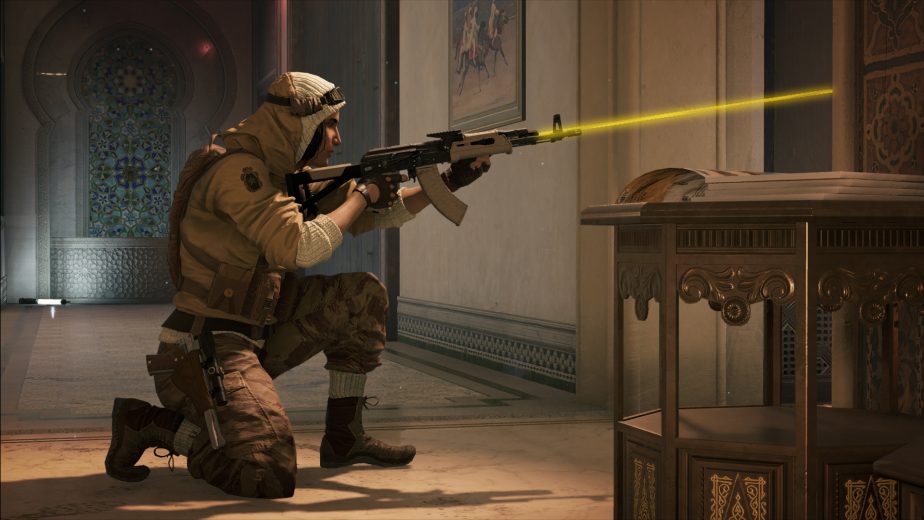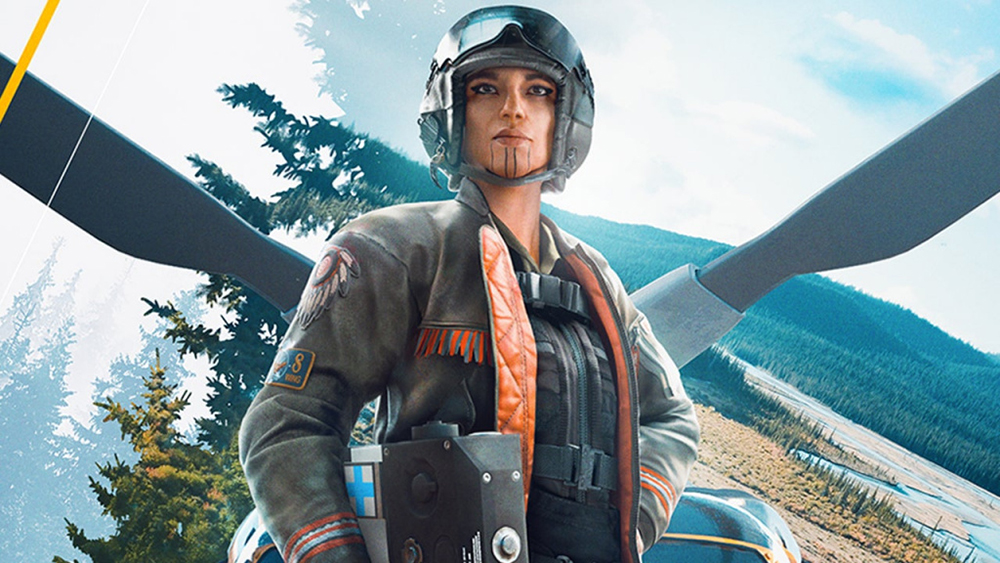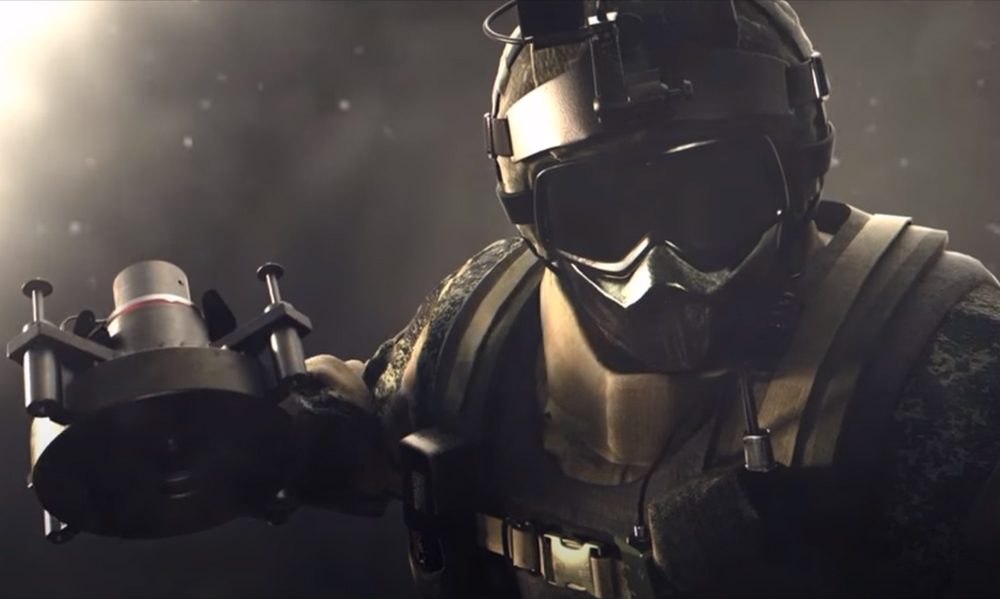
The tactical, realistic shooter with invisible gadgets and sonic defences, Rainbow Six Siege has come a long way since launch. One thing that has remained throughout is that the smartest players always win.
A game just as much about brains as it is about guns, Rainbow Six is a hostile environment, where the enemy is always trying something sneaky to beat you. Which is why, to win the Siege, you need every advantage you can get.
Here are our top twenty-five tips on settings that will give you the edge over your opponent.
25. Music – why is it so loud?

One of the most overlooked aspects of Rainbow Six Siege is its soundscape. Hearing the enemy player through the wall or around the corner could be the difference between life or death.
The last thing you want while carefully tracking an enemy’s footsteps is blaring music, ruining your whole operation.
Luckily, the sounds of Rainbow are fully customisable. Simply:
- open settings on the home screen
- navigate to audio
- use the slider to select how loud you want the game music to be
For an immersive, relaxed gaming experience keeping the music may be fine, but there’s a reason almost every pro player turns their music off.
24. Voice Chat: What Room?

Your teammate gives you a callout: “They’re in lounge”. Or did they say Lobby? Well, it doesn’t matter, because you’re dead. There’s nothing more annoying than not being able to hear your teammates, or for those rare solo players, there’s nothing more annoying than hearing your teammates.
A core part of Rainbow is that it is a team game, and by communicating clearly with your team, you will almost certainly have a better shot at victory. By turning up the voice chat volume and talking to your team, you have an instant and often overpowered advantage over an enemy with poor or non-existent communication.
Just as with the music, the voice chat volume is fully adjustable in the audio section of the settings menu. All you need to do is:
- open settings on the home screen
- navigate to audio
- use the slider to select how loud you want the voice chat volume
We recommend setting it to around 80 on the slider, though feel free to tinker with it until it’s perfect for you.
23. Resolution: Is that a shadow or a player?
Practically everyone playing Siege has shot at what looked like an enemy, only to realise it was nothing but a pan, a vase or a shadow on the wall. Or even worse, discovered only in the killcam of your death that the flowerpot you aimed at was, in fact, the non-existent hitbox of Ash’s head.
The best way to solve this problem is to buy a new monitor, or possibly some new glasses, but there is a much cheaper way to fix the problem.
In order to select the game resolution:
- open settings on the home screen
- navigate to the display bar
- Scroll to the appropriate resolution
Though it may seem counter-intuitive, higher is not necessarily better here. To achieve the clearest image on your screen, the best thing to do is make sure the game resolution matches whatever resolution your monitor is.
22. Stretched Screens: The Aspect Ratio
Equally as important as a resolution to ensure your vision is as best as it can be is the aspect ratio. Just like the resolution, the best aspect ratio you can pick is whatever best matches your monitor, and to change it you need to:
- open settings on the home screen
- navigate to the display bar
- Scroll across for the correct aspect ratio
By ensuring you have the correct ratio, the game should appear more natural and fit better on your screen, making sure you have the best setup to spot and eliminate the enemy.
21. FOV: An in-game cheat code
One of the biggest advantages you can give yourself in Rainbow is a higher FOV, allowing you to see more of your surroundings and react faster to incoming threats. Though the setting is locked on console, for PC players you simply need to:
- open settings on the home screen
- navigate to the display bar
- Move the slider to the highest FOV (90)
There are some minimal trade-offs: close quarter combat and tracking targets can get a little trickier, and jumping from a low to a high FOV can be temporarily disorientating. But, there is no doubt that using a high FOV gives you a clear visual advantage, fitting more of the environment onto one screen.
If the jump is too steep, try a FOV of 70 to begin with, and slowly expand as you play to get used to it.
20. Points: Who needs them?
The default setting for Rainbow Six Siege is for your points to be displayed whenever you acquire some. This, however, serves only as a distraction, covering a part of your screen and dividing your attention while providing no actual value (Unless you care more about points than kills).
The good news is, they are actually an optional feature of the HUD, and we recommend removing them ASAP. To do so simply
- open settings on the home screen
- On the general tab, select Interface/HUD preferences
- Find the option that reads “Show Scoring” and toggle it off
While other players have an entire section of their screen blocked by useless score notifications, you will be able to eliminate the enemy with focus and a clear, uninterrupted view of the environment.
19. Shadow Quality: medium vs high
Rainbow Six is all about intel, and having more of it than the enemy. To really get the edge on the wider player base, you need to see further and know more, and a great way to do this is with shadows.
Every player model casts a shadow, however these dynamic shadows are only visible to players with shadows set to medium or higher. To change this setting, simply
- Go to settings from the home screen
- Head onto the graphics section
- Find the shadows setting (you may need to scroll down) and select medium or any option higher
After a few games, you’re almost certain to get a kill or avoid a death because you could see the enemy’s shadow, before either of you could actually see each other. This creates a major advantage, especially when watching a well-lit hallway or entrance.
18. ADS speed
There’s nothing worse than aiming at an enemy running across your screen, only for your sights to move to slow to catch up. It’s important in Rainbow Six that every aspect of your character’s movement is in your control, and this applies to aiming as well.
To change your ADS speed, simply
- Go to settings from the home screen
- Head onto the controls section
- Open the ADS sensitivity box
- Here you can select the ADS speed for every form of scope
To maximise your advantage, it is best that you mess around with these settings yourself to find what works for you. To begin with, we recommend around 40 for the 1x scope, around 100 for the 12x, and between 60 and 70 for everything else.
17. Aim Toggling & Achy Fingers
After hours of playing, holding down keys or the left trigger to aim can be tiring. It’s intensely frustrating when your finger slips, and suddenly the enemy in your sights slips away. Luckily, this can be avoided by toggling your aim, instead of holding it.
To change your aim from hold to toggle, simply
- Go to settings from the home screen
- Head onto the controls section
- Scroll down the menu to “Aim” and select toggle
This may take a few games to get used to, but almost certain to give you an advantage if you play for large chunks of time.
16. Lean Toggling
Similarly to aiming, having to hold down a key to lean can be frustrating and finicky at times. This is why we recommend also turning your lean to toggle rather than hold. Just like aim, to change the setting
- Go to settings from the home screen
- Head onto the controls section
- Scroll down the menu to “Lean” and select toggle
15. Other Movement
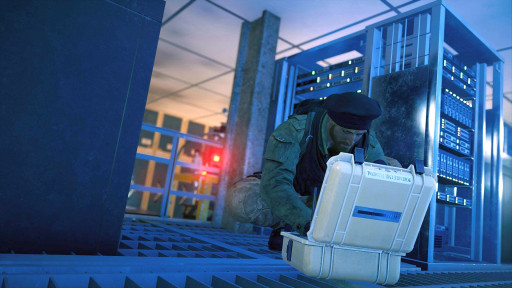
With aiming and leaning, toggle is almost definitely the best choice. Other actions such as crouching, going prone and sprinting all also have the option to be toggle and hold, but come down more to personal preference than a clear advantage for a specific option.
We recommend whilst in the controls section messing around with these on both toggle and hold to see which suits you the best. Many players will go their entire life without even touching settings, so making sure you have yours customised to your playstyle will create a significant advantage over the general player base.
14. Optic Colour and Opacity
A relatively new addition to Siege in the grand scheme of things, the ability to adjust your optics colour and opacity can be a small but important advantage to have over your opponent.
To find this setting, simply:
- Go to settings from the home screen
- Head onto the accessibility section
- Scroll and use the slider to pick the colour and adjust the opacity
There is no set choice that is better here, but there is a general direction that is best to head in. A higher opacity is of course better – we recommend 100, but anything above 70 should be fine. As for colour, this is almost completely personal preference, though it’s probably a good idea to choose a bright colour such as green, purple, or yellow. And definitely don’t choose black, as this is going to blend in with every wall, floor, and corner in the game.
13. Match Preferences
Is there a map you know like the back of your hand? Or perhaps one that you always seem to lose on? Well, luckily you can choose which maps to play and which to not play in your matchmaking settings. It is important to note that the real-world effect this has on your matchmaking is not properly understood e.g. turning off everything apart from Bank doesn’t necessarily mean you’ll only get Bank.
But, if there is a chance turning off certain maps decreases their probability of being picked, we say it’s worth taking. To do this:
- Go to settings from the home screen
- On the general screen, select Matchmaking Preferences
- On Matchmaking Preferences, scroll through and toggle off the maps you don’t like
They may still appear, but it should make it more likely that you can avoid the maps that you play worse on.
12. Turn VSync Off!
VSync is the setting that synchronises you game to your monitor’s refresh rate. This is designed to stop tearing, but at the cost of FPS. We recommend turning VSync off, giving you better Frames Per Second and a greater chance of quick reaction times.
In order to turn it off,
- Go to settings from the home screen
- Scroll to the “Video” section
- Toggle the VSync setting off
If after doing so you experience tearing in your game (frames not lining up properly), it may be worth turning VSync back on, but for most systems operating without it should be fine.
11. Prioritise Performance (Of Course)
Siege can look amazing, but if you want to win, performance always trumps appearance. This is why we recommend prioritising performance in the settings, ensuring that you always have the best frame rate possible. Luckily for us, Siege provides one simple button to create this,
- Go to settings from the home screen
- Scroll to the “Video” section
- Toggle the “Graphic Mode” to Prioritise Performance
Though prioritising resolution certainly makes the game look good, by prioritising performance you will increase the smoothness of your game, making gaming a more relaxing experience.
10. Drone and Gadget Deployment Settings
When playing siege, having full control of your player is a vital element needed for victory. There’s nothing more annoying than throwing a drone out, only to see an enemy in your peripheral as the game forces you into the drone screen.
There is an easy fix for this: simply turn drone and gadget deployment to manual. To do this,
- Go to settings from the home screen
- Scroll to the “Controls” section
- Scroll through and set both drone and gadget deployment to “advanced” rather than “standard”
This will allow you cancel the action should your situation change, giving you more control over your actions and an advantage in reaction time against any sneaky enemies.
9. Low Textures, Elite Gamers
While it may seem that having your textures on high would improve your gaming performance, this is not the case. The texture setting only applies to objects, not players, and by lowering the texture of the environment, you actually increase the contrast between the game world and the players. This means that lower quality textures will give you an advantage as you can more easily spot enemy players.
To lower your texture settings,
- Go to settings from the home screen
- Scroll to the “Graphics” section
- Scroll through and set your textures to low
8. Optimise Windows
Sometimes in life, you have to think outside the box. Or in this case, look outside the game. Having a smoother running game than others is a clear advantage, allowing your reactions to be swifter and more effective.
To ensure you get the best performance out of your game, you should aim to optimise windows (if you’re on windows) which should transfer to a smoother gaming experience.
Search for “Performance” in the windows search bar (bottom left)
Select the “adjust the appearance and performance of Windows” option
The performance options window should pop up. On which, select “adjust for best performance” and click ok
7. Turn Off Background Programs!
On the topic of increasing performance, another step you can take to increase your PC’s performance playing Rainbow – or any game – is to turn off any background programs. This is a fairly simple one, though to double check exactly what programs are running in the background, you can open task manager (Ctrl, Alt Delete all pressed at the same time).
This should also give the amount of RAM, disk and memory each program is taking up, so you can identify exactly what may be slowing down your game performance.
6. Refresh Rate
To maximise performance, make sure your game’s refresh rate is set to the highest it can handle. Doing this will make the game run smoother, and is likely to improve your accuracy as your shots will correspond more directly to pulling the trigger.
- Go to settings from the home screen
- Go to the “Display” section
- Find the refresh rate and set it to 144 Hertz or higher
Higher is generally better here, but you may need to select a lower option if your system starts to struggle.
5. Brightness
It’s important to have every aspect of the game calibrated to your personal preference, and one that is almost entirely circumstantial is brightness. To change this,
- Go to settings from the home screen
- Go to the “Display” section
- Scroll down and open the brightness tab. Here you can use the slider and the visual aid beneath to set it to your liking
There is no set “best brightness” that will give you an advantage, but ensuring this is set up to best match the light levels in your room, the graphics of your monitor and your own eyesight will help in any game.
4. Aim Assist: Turn it off
This one is only for those on console. Aim assist, even on console, doesn’t exist in online multiplayer, however it is often turned on for terrorist hunt. If you use terrorist hunt to practice with your game awareness and more importantly, aim, it’s possible that this practice is wasted due to aim assist.
To turn it off and ensure practice is closer to the real thing,
- Go to settings from the home screen
- Scroll to the “Controls” section
- Scroll down to “Aim Assist” and toggle it off
3. Outlines & Who Needs Them
Though they can sometimes be distracting, they can also be a great tool for new players, or players prone to teamkilling. We advise trying out Rainbow with outlines both on and off, to see what’s best for you. Newer players will most likely benefit from having them on, but Siege veterans may find them more an annoyance than anything else.
To change this setting,
- Go to settings from the home screen
- On the general page, open interface preferences
- Scroll down to “Show teammate outlines” and change depending on your preference
2. Threat Indication
A must have setting is threat indication. As any experienced player will know, threat indicators appear when getting shot at, and give you an idea of the direction of said shots, providing immediate tactical information that could save your life.
To make sure your threat indicator is on,
- Go to settings from the home screen
- On the general page, open interface preferences
- Scroll down to “Show threat indicator” and make sure it is set to “on”
1. Drones after Prep
A very minor advantage, but one that can provide critical info before you attack, is the ability to stay on your drone after the prep phase is done. For most players, the end of the prep phase means an instant kick back to reality, an often frustrating one if you were just seconds away from finding the bomb or getting your drone to safety.
Luckily, you can stay on your drone for as long as you like once prep is done; all you need to do is:
- Go to settings from the home screen
- On the general page, scroll down to “Drones after prep” and set to manual
This will make you have to manually exit the drone after prep, rather than the game forcing you out, giving you the extra time you always needed to save your drone.
You May Also Be Interested In:
- Rainbow 6 Siege Attachment Guide (R6 Best Attachments For Every Weapon)
- [Top 25] Best R6 Settings That Give You An Advantage
- [Top 15] Rainbow 6 Siege Best Graphic Settings
- Rainbow 6 Siege Best Weapon Attachments
- Rainbow 6 Siege Best Operators 2021
- [Top 7] Rainbow 6 Siege Best Defenders
- Rainbow 6 Siege Roles Explained And How To Play Each One
- [Top 10] Rainbow 6 Siege Best Players

