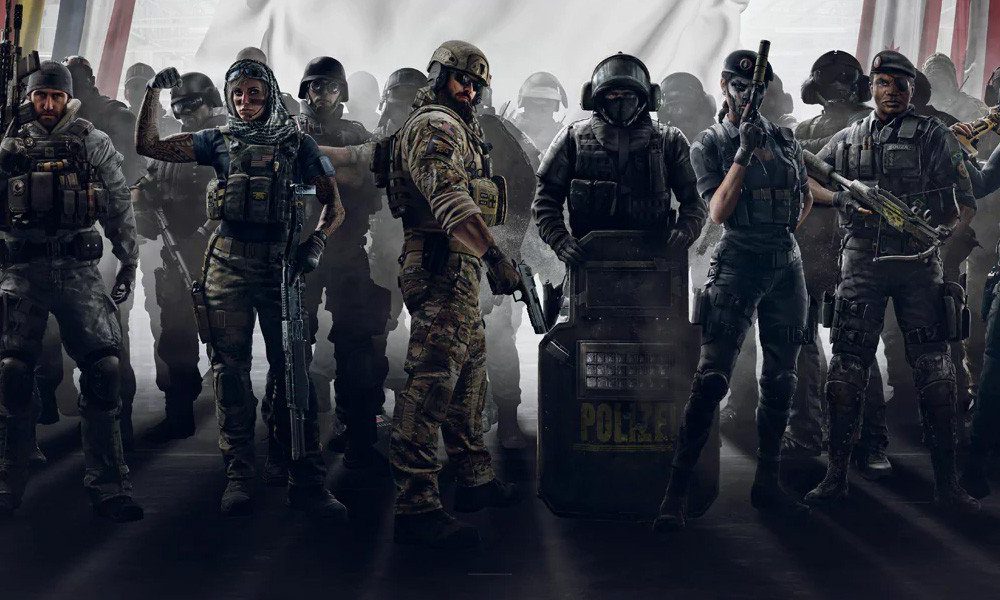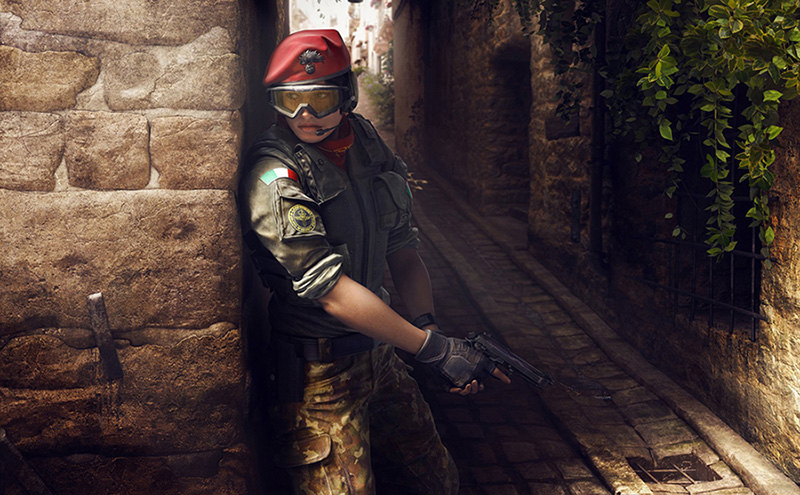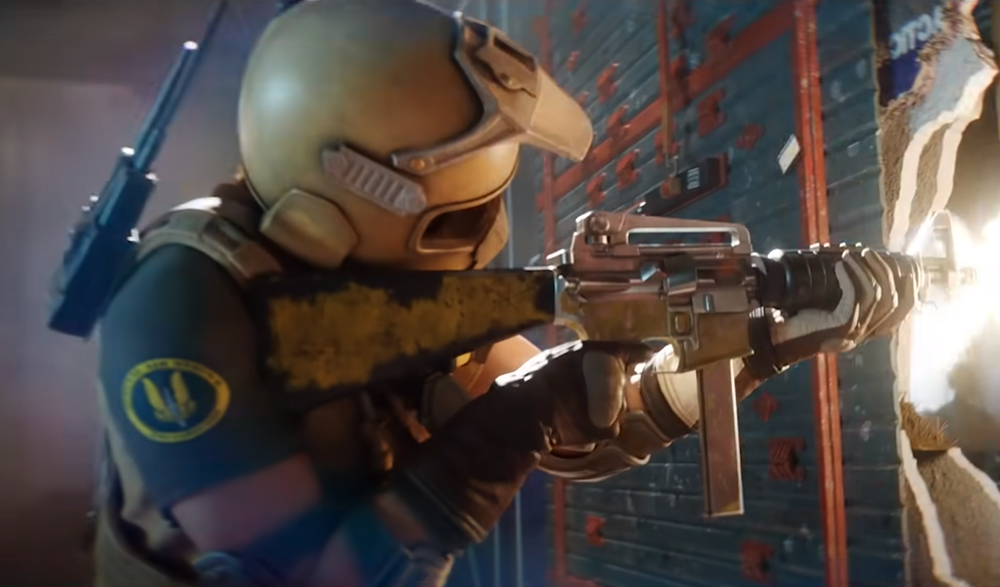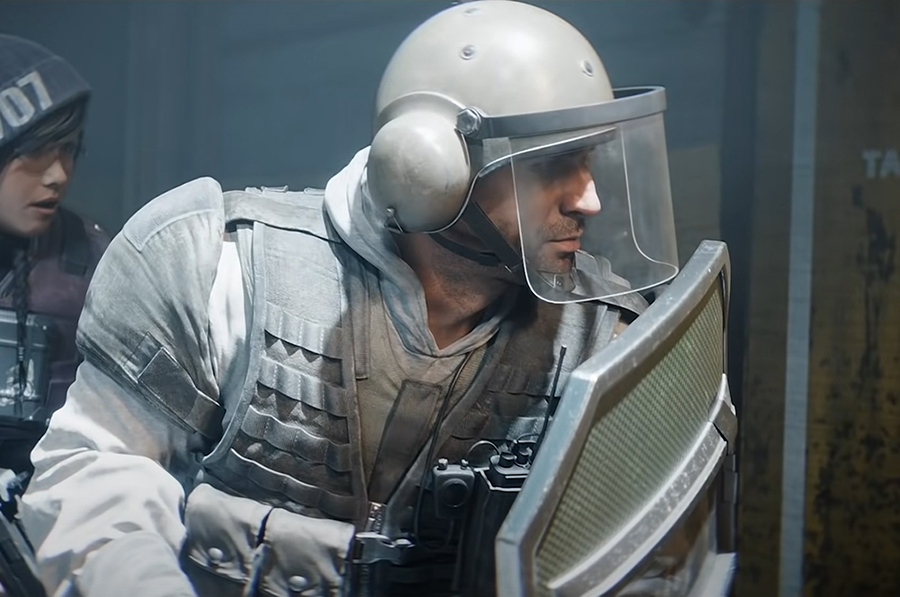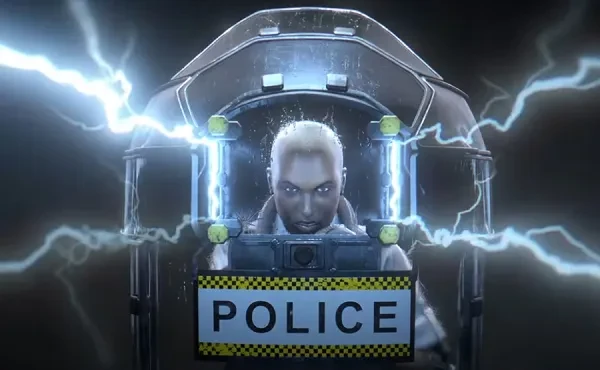
The massive Year 9 update came with a lot of huge changes and one of them is the rework on how shield operators work. That’s why in this article, we’re going to review the best loadout setups for Clash and analyze how they will play into how shields work in the current meta of the game.
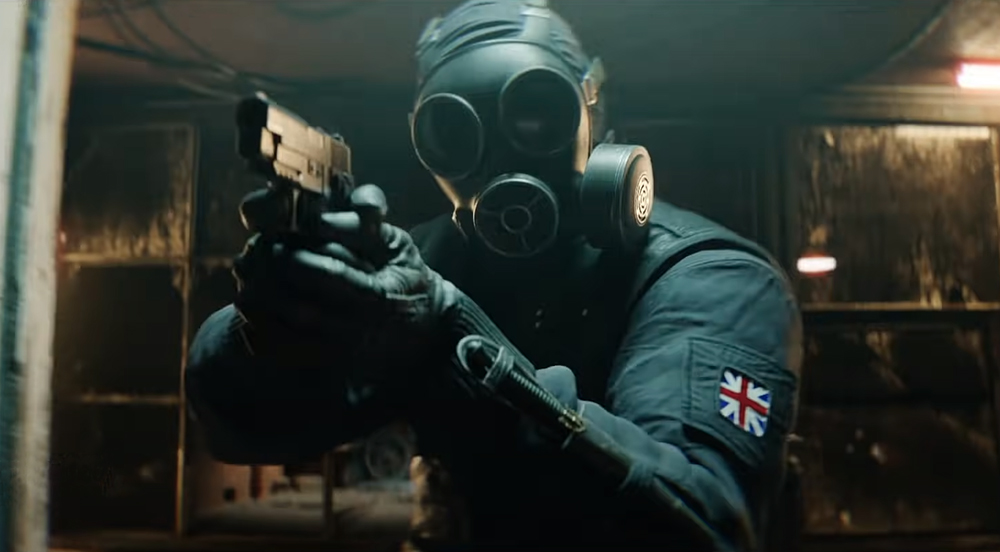
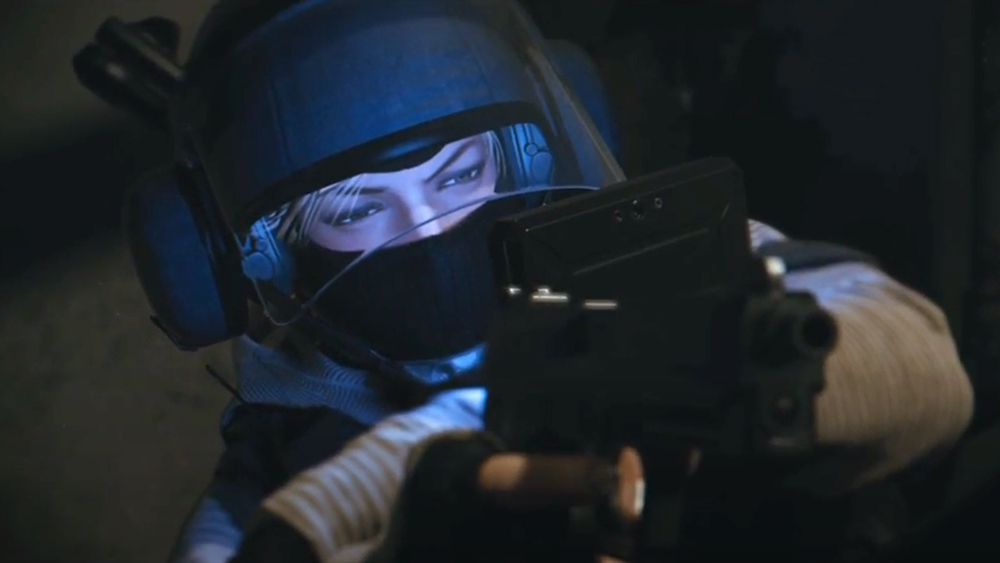
To this day, Clash remains the only shield operator on the defending side, and she brings a very unique dynamic to the match whenever she’s present. Especially when she’s being played in a coordinated team, she can bring so much to the table, mostly defensively, but with the proper loadout setup, players can maximize her offensive potential.
5. CCE Shield + P-10C with Muzzle Brake and Laser + Barbed Wire
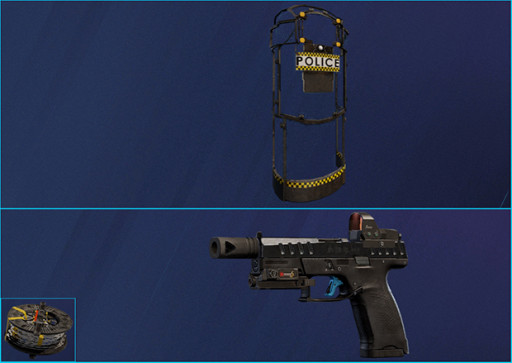
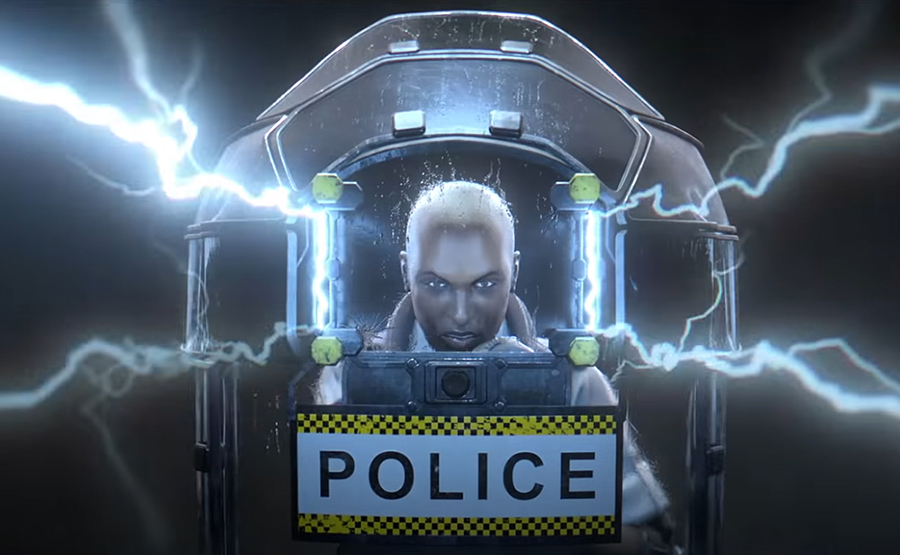
Being a shield operator, the CCE Shield is the only primary weapon available to operator Clash. It’s basically her special gadget, but to those who are not familiar with it, it’s basically the largest shield in the game as it covers most of her body, as well as the sides. This makes Clash very hard to kill, and essentially, the only way to shoot her is from the back. On top of that, she can also shoot electric charges from it which can severely slow down enemies depending on the distance, and damage them over time.
Now that slow effect is important to keep in mind, because when Clash and her teammates are well coordinated, they can easily kill enemies that are being slowed by the CCE Shield. But that slow effect also presents a chance for Clash to score kills by herself. That’s because especially when they’re alone, most enemies will turn their back and run away from Clash when they meet her as Clash can be very hard to kill alone. And an opponent turning away their back on Clas presents her an opportunity to switch to her secondary weapon and shoot them. And when it comes to that, the P-10C handgun is no slouch.
Excels in:
- The muzzle brake on the P-10C handgun will greatly lower its vertical recoil as it specializes in lowering the recoil of single shot weapons like handguns and designated marksman rifles
- The laser attachment on the P-10C handgun will provide Clash with a +10% aim-down-sight speed boost which will up her gameplay a lot since it’s important for her to be able to aim as fast as she can after switching to her secondary weapon from holding her shield
- The P-10C handgun will also provide Clash with great accuracy regardless of the range due to its excellent 1.0x default sight which features a simple center dot reticle
- The two barbed wires in Clash’s arsenal can slow down enemies even more and they can ruin the enemies’ momentum when they’re trying to push through the flanks or straight to the objective spot
Build Details:
- Primary weapon - CCE Shield
- Secondary weapon - P-10C with Muzzle Brake and Laser
- Generic gadget - Barbed Wire
4. CCE Shield + SPSMG9 with Holo A, Flash Hider, and Laser + Impact Grenade
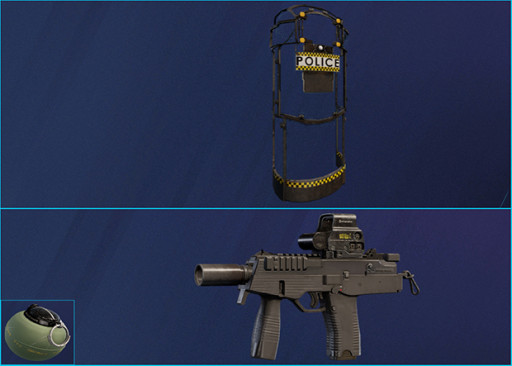
Most Clash players, including me, prefer the SPSMG9 machine pistol as our secondary weapon. That’s because unlike the alternatives, it’s a fully automatic weapon, and fully automatic weapons are obviously more convenient to use as you only need to fire once and hold it. It does come, however, with the drawback of a strong recoil. But compared to most machine pistols, the SPSMG9’s recoil is very manageable, especially when you attach a flash hider to its barrel.
The flash hider barrel attachment specializes in lowering the overall vertical recoil of weapons, and that’ll make it very easy for the Clash player to manage its weapon kick. That usually translates to better accuracy, which, of course, is always great. The impact grenades on the other hand as Clash’s secondary gadget will provide her with the capability of reworking the map to the defending team’s advantage, as she can use them to quickly create rotation holes or destroy unreinforced hatches.
Excels in:
- The SPSMG9 machine pistol with a flash hider on its barrel will have a very manageable vertical recoil as the flash hider attachment specializes in lowering the overall vertical recoil of weapons
- The laser on Clash’s SPSMG9 machine pistol will provide her with a +10% ADS speed boost which will allow her to aim at enemies faster than normal, and that’s great help for her especially since she usually shoots right after switching from holding her shield
- The holo A 1.0x sight will be a great sight for the SPSMG9 machine pistol as it’ll provide Clash with a good reticle for targeting opponents with a rapid firing weapon as well as a +5% ADS speed boost
- The two impact grenades as Clash’s secondary gadget will allow her to create rotation holes on unreinforced walls and hatches. They’re also great for countering other shield operators like Blitz and Osa.
Build Details:
- Primary weapon - CCE Shield
- Secondary weapon - SPSMG9 with Holo A, Flash Hider, and Laser
- Generic gadget - Impact Grenade
Recoil pattern test on the 552 Commando in this setup with the author’s own recoil control applied:

3. CCE Shield + Super Shorty with Laser + Barbed Wire
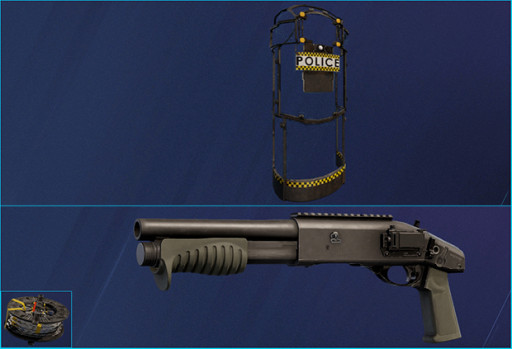
This loadout setup for Clash can be a real menace at close range, and that’s obviously because of the Super Shorty shotgun. The Super Shorty can down an enemy with just one shot from its optimal range, especially if the enemy has light or medium armor. This is a very viable secondary weapon for Clash because as mentioned before, with her CCE Shield, she can greatly slow enemies down, and all she has to do is to switch to her secondary weapon quickly and shoot the slowed enemy with her secondary weapon to score a kill.
With the Super Shorty shotgun as her secondary weapon, she can do that with one shot. Now of course, the danger with that is that the enemy can also counter Clash when she’s putting her CCE Shield to her back. However, the trick where you, as the Clash player, just need to quickly turn around as you switch to your secondary weapon still works. That can prevent the enemy from shooting Clash’s exposed side while she’s switching to the Super Short shotgun.
Excels in:
- Clash having the capability to down an enemy with just one shot through the Super Shorty shotgun which works very well in conjunction to the slow effects from the electric charges from her CCE Shield
- The Super Shorty shotgun will also allow Clash to rework the map to the defending team’s advantage because it has a high destruction rate per shot and can create rotation holes on unreinforced walls and destroy soft hatches
- The laser attached to the Super Shorty shotgun will allow Clash to go into aim-down-sights stance 10% faster than normal with it, which will be very helpful when she’s switching from holding her CCE Shield
- The two barbed wires as Clash’s generic gadget will help prevent the defending team from getting caught off guard by flanking attackers. They’re also excellent utilities for ruining the enemies’ momentum.
Build Details:
- Primary weapon - CCE Shield
- Secondary weapon - Super Shorty with Laser
- Generic gadget - Barbed Wire
2. CCE Shield + SPSMG9 with Holo A, Extended Barrel, and Laser + Impact Grenade
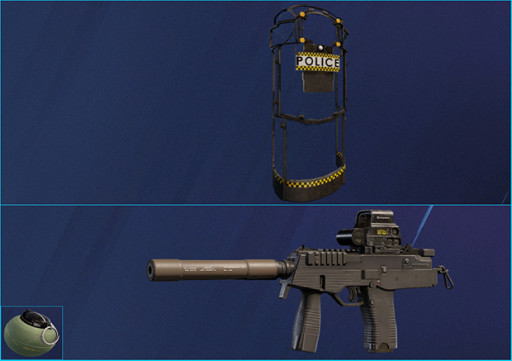
For players who value damage more than anything, this would be the best loadout setup for Clash. That’s because the extended barrel attached to her SPSMG9 machine pistol will increase its base damage as well as decrease its range damage drop-off. That means Clash will be inflicting higher damage with it regardless of range. That goes very well with her gameplay too, because usually, when she switches from holding her shield to her gun, there’s only a small window of opportunity to frag her target.
The increase in damage from the extended barrel is a great way to make the most out of that small window of opportunity, because it greatly increases Clash’s chances of downing the target. Of course, the laser attachment will also be of great help when it comes to that, because it will provide Clash with a +10% aim-down-sight speed bonus that will help her aim her SPSMG9 faster after switching from holding her CCE Shield. The holo A on the other hand will also provide a +5% ADS speed boost which will make Clash’s aiming speed even faster.
Excels in:
- The extended barrel on Clash’s SPSMG9 machine pistol will increase its firepower and reduce its range damage drop-off, allowing Clash to inflict more damage per shot from it.
- The laser attachment on the SPSMG9 machine pistol will allow Clash to go into aim-down-sight stance faster than normal with the weapon by 10%, and that’s very handy when Clash finds the opportunity to frag an opponent with the weapon
- The holo A 1.0x sight is a great sight for the SPSMG9 machine pistol as its reticle is perfect for rapidly firing guns. It’ll also add a 5% ADS speed boost which will make Clash’s aim speed even faster.
- The two impact grenades as Clash’s secondary gadget will allow her to quickly create rotation holes which are great for outmaneuvering enemies. They’re also great for countering shield operators, especially Osa and Blitz.
Build Details:
- Primary weapon - CCE Shield
- Secondary weapon - SPSMG9 with Holo A, Extended Barrel, and Laser
- Generic gadget - Impact Grenade
Recoil pattern test on the 552 Commando in this setup with the author’s own recoil control applied:

1. CCE Shield + SPSMG9 with Holo A, Compensator, and Laser + Impact Grenade
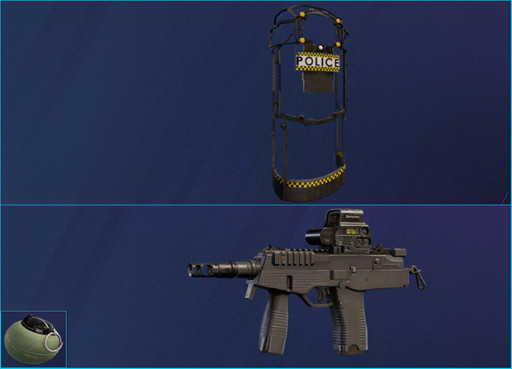
As mentioned before, the SPSMG9 machine pistol is among the machine pistols in the game that has an actual manageable stock recoil. However, the massive recoil progression overhaul that came a few seasons ago made it so that it can be quite rough to handle its weapon kick without a proper attachment that adds more recoil control. So for those looking to have the best recoil control over the SPSMG9, this is the best loadout setup. Because the compensator barrel attachment will be providing that.
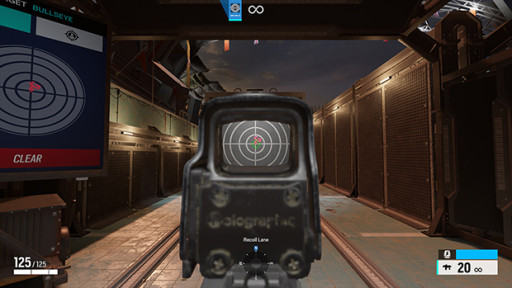
The compensator barrel attachment greatly weakens the horizontal recoil of weapons, and that generally results in a more stable firing experience, especially during long sprays. So with this loadout setup, Clash will have great accuracy when trying to frag opponents with her SPSMG9 machine pistol. As you can see from the recoil test image below, one can empty a whole clip from the SPSMG9 in this setup without losing much control of their aim. The holo A 1.0x sight also helps with that, because its reticle design gives the illusion of more control for the player.
Excels in:
- The compensator barrel attachment will provide the best recoil control for Clash’s SPSMG9 machine pistol because it will make it very easy for her to control the weapon’s horizontal weapon kick
- The laser on the SPSMG9 machine pistol will allow Clash to go into aim-down-sight stance 10% faster than normal, which will greatly up her effectiveness when trying to frag enemies right after switching from her CCE Shield
- Along with the laser on the SPMG9, the holo A 1.0x sight will add another 5% ADS speed for Clash when she’s aiming the weapon. Its reticle is also great for rapid firing guns like the SPGMG9 because it ensures that the user doesn’t lose track of their aim.
- The two impact grenades as Clash’s generic gadget will be great for creating rotation holes for outmaneuvering enemies. They’re also great for finishing off enemies that are in a down-but-not-out state.
Build Details:
- Primary weapon - CCE Shield
- Secondary weapon - SPSMG9 with Holo A, Compensator, and Laser
- Generic gadget - Impact Grenade
Recoil pattern test on the 552 Commando in this setup with the author’s own recoil control applied:
Attention operator, please be advised. There is a new directive from Six. Read up on these related articles, and prepare for deployment:

