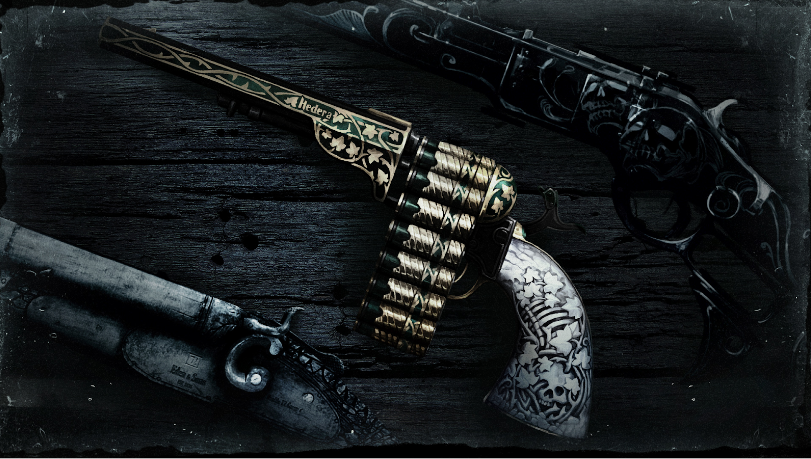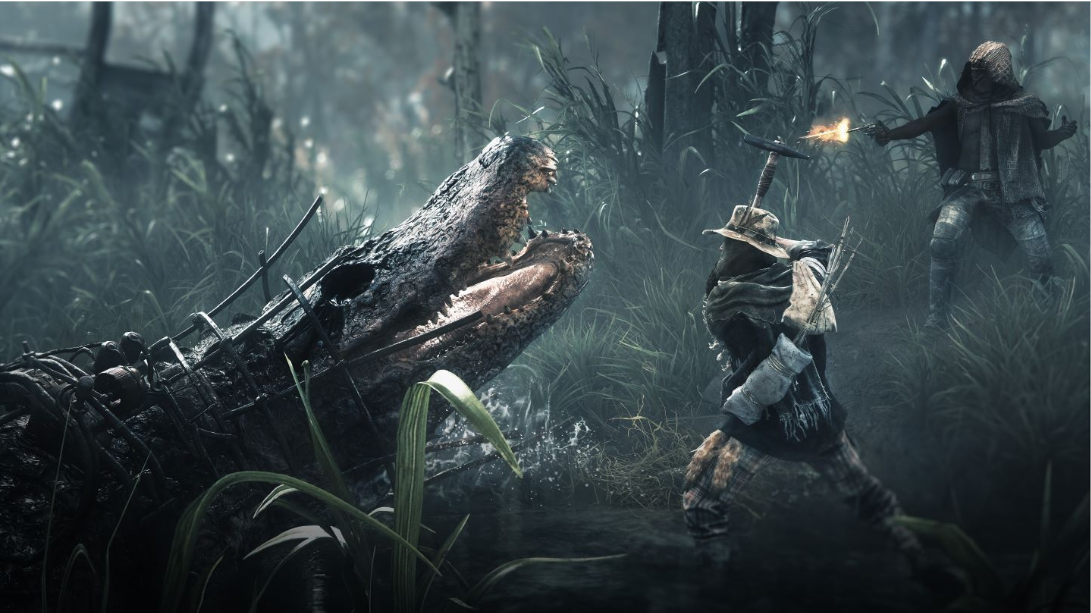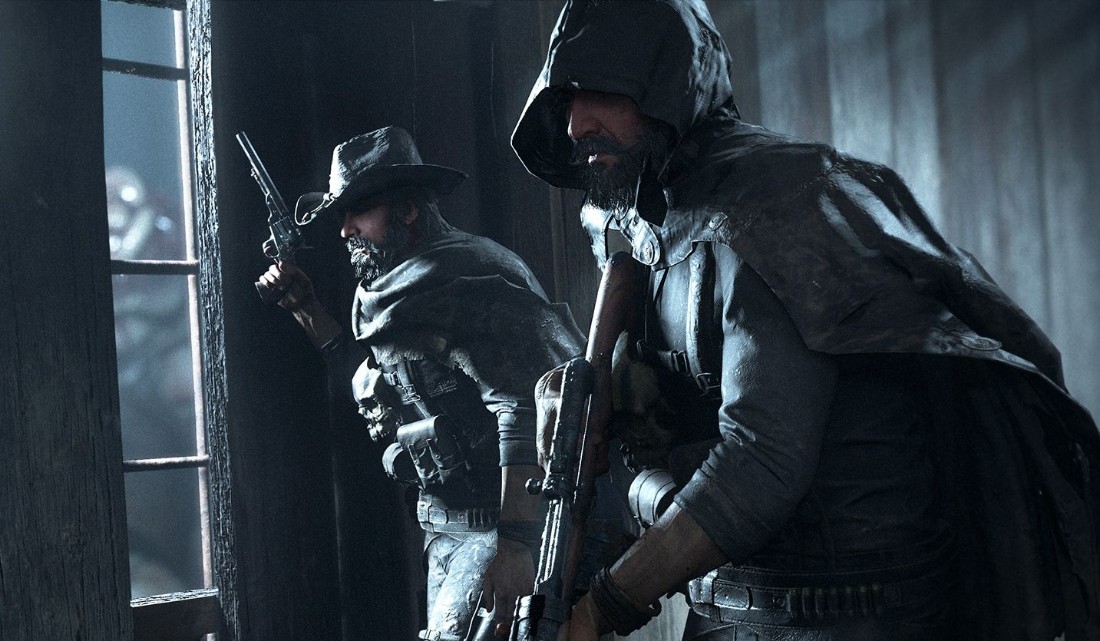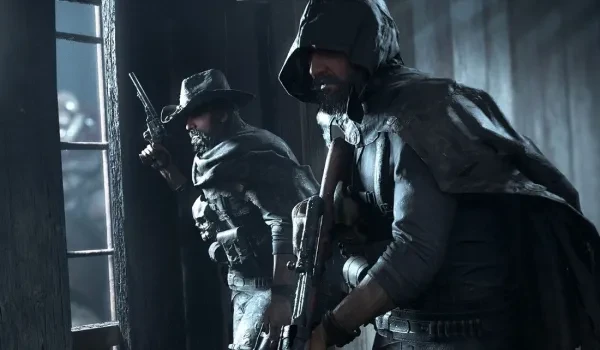
What Are The Best Loadouts in Hunt Showdown?
Hunt: Showdown is all about careful planning and perfect execution. The wrong move, or the wrong tool, can mean the difference between extracting with your limbs intact and being left for dead in the zombie-infested bayou. The necessity of picking a loadout that works for you is crucial to long-term success.
As you develop some skill andget an idea for what the game is all about, you will be naturallydrawn to the complexities of your loadout. It doesn't matter whether you’re a newbie, whose just learned that you can customize your equipment, or a hardened veteran who’d like to learn a couple of new tricks. In this list of the best loadouts for every level in Hunt: Showdown I have distilled my knowledge and experience down to a few useful tidbits that everyone at every skill level can appreciate.
I have put in the time and effort into playing and prestiging. I’ve gone through the challenge of being on top and then suddenly being thrusted to the bottom. It’s a great way to learn more about how to play at different levels, and it made me appreciate the effort I put in to get to where I am now. That being said, my methods may not work with or be agreeable to everyone, so I’ve tried to cover a diverse range of playstyles from my experimental phases to my tried-and-true methodology. With that out of the way, let's dive in.
6. Beginner's Loadout For Newbies (Level 1-15)
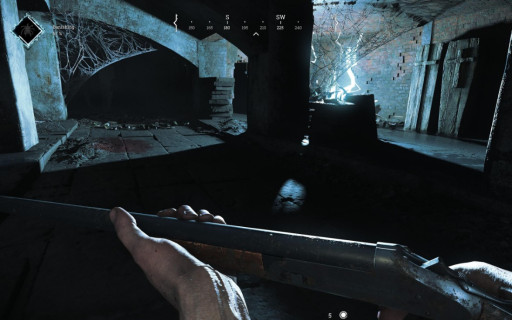
Pictured above, the Romero 77 standard variant.
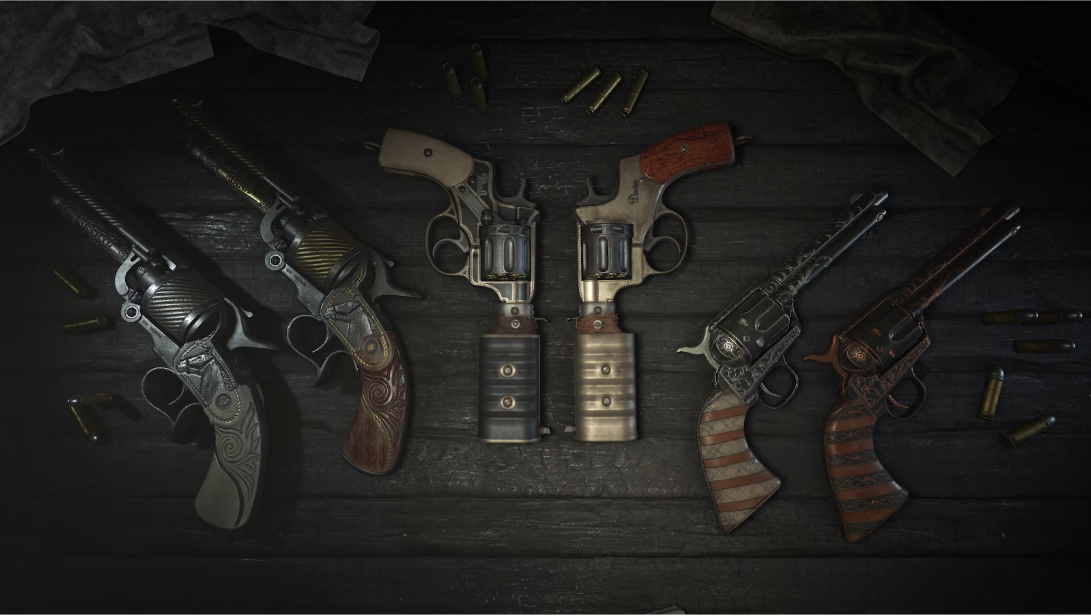
When the game was younger and less developed, new players were thrown into the mud and left to fend for themselves. If you died, you lost your hunter, even though you were brand new. Now they afford the player a 15 level immunity from permadeath. My advice, take this opportunity to really explore. In terms of guns you have access to the Caldwell Conversion pistol, the Nagant M1895 Officer and standard, The Romero 77 standard and handcannon variant, the Winfield 1873C and standard, and besides those, some tools and consumables.
Don’t go overboard and waste all of your money. You will need that later. However, don’t feel limited. The Winfield is a great beginners weapon and has seen me through some rough times. This is the only level I would ever suggest trying out a Romero bar, the Romero Hatchet, which I’ll talk about down the line.
The loadout that has always offered me the most versatility, practicality, and power has been the Winfield 1873-Nagant M1895 Officer pair. In order to stay alive and win with this loadout you need to know when to hold ‘em and know when to fold ‘em. Balance is key, attack and defense in equal measure. Aggressively pushing another hunter will work at medium range until you run out of ammo, so strategic shot placement and running from cover to cover is a must.
Don’t be afraid to run from a fight you think you can't win. The reload time for the Winfield is somewhat poor, and the Nagant is worse. The worst case scenario is that you get caught in a building with an enemy hunter wielding a Romero. Avoid that situation at all costs. Also, you shouldn't expect to compete at longer ranges, but at this level everyone basically has the same mindset as you so instead, be prepared for close encounters and brutal forest fights. The Winfield works at close range in a pinch but the Nagant M1895 Officer will give you the edge there.
As a foreword, although this list is specifically about equipment, I will talk about traits at the very end of each loadout. Basically I’ll tell you what's available and what’s worth it. Traits are, of course, unlocked by winning and specifically not losing your hunter. When he survives, he gets XP and eventually levels up.
Each level gives you one trait point, and each trait has an associated cost. Each trait gives you a unique ability or buff, and when combined with specific playstyles and equipment may lead to special variations on loadouts, or unique loadouts in and of themselves. That’s it in a nutshell, for any new players reading this first loadout intro section.
The exact loadout is as follows:
- Large Slot- Winfield 1873, fast and practical
Why? Because the Winfield has the best rate of fire, range, and situational practicality of any large weapon at this level. The only comparison at this level in the Romero 77 and Romero 77 Handcannon. Both are only useful in two situations: inside a building, or when you’ve successfully rushed someone. This makes it a limited and high-risk gun.
- Small Slot- Nagant M1895 Officer, best sidearm option at this level
Why? A sidearm should be something practical that you can trust to deliver when you really need it to. At this level, the Nagant Officer is worlds above the Caldwell Conversion. It has a higher capacity, rate of fire, and melee damage output, and it has better control.
- Tools- First Aid Kit, Knife, Fusees
Why? First aid should always be in your equipment list. However, you unlock it at level 9 so get used to finding health recovery boxes on the map until then. When you get the first aid kit for the first time it will be like a breath of fresh air. You can heal 50 points of health quickly, DURING a firefight (although I don't necessarily advise that).
The knife is for dispatching mobs like zombies and Hives quickly and quietly. You can unleash your inner Solid Snake here, sneaking up behind those mobs that could ruin a potential rush or ambush, and enemy hunters will (generally) be none the wiser.
Fusees are optional. They act as a kind of distraction and may be used in certain situations to keep the enemy from seeing you clearly. They work much better at setting off explosive barrels without wasting ammunition, and also as the perfect tool for setting Armoreds on fire silently. Hit them dead on and watch them go up in a puff of smoke.
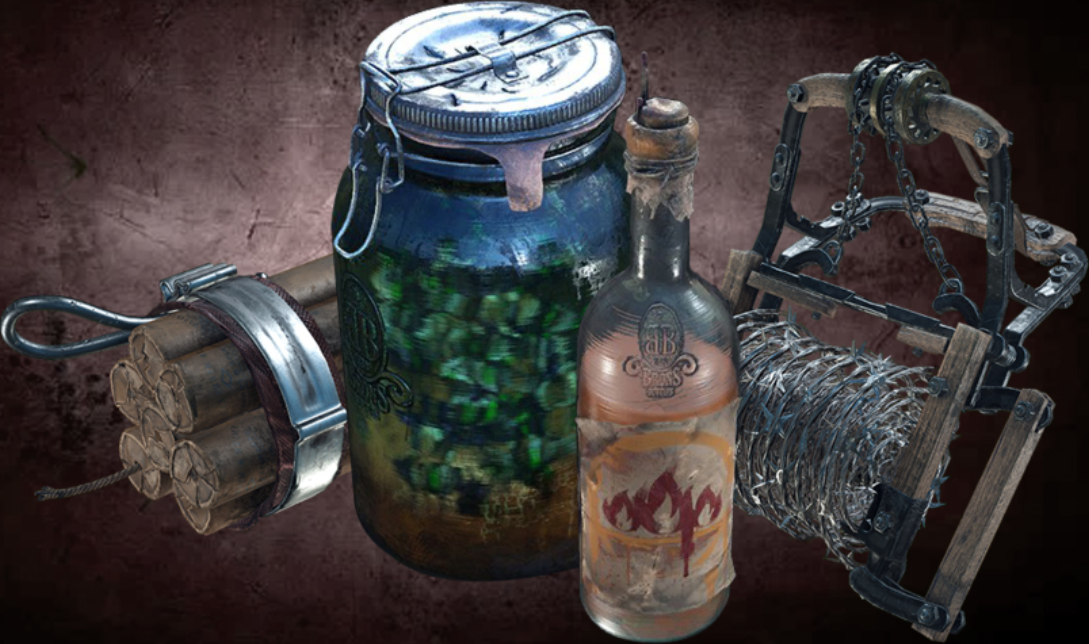
- Consumables- 2 large vitality shots, firebomb or dynamite
Why? Some people in the community are torn, everyone agrees (in general) that you should take a vitality shot with you, but the argument is whether you should take one or two, and if they should be the large or small one. It really depends on your preferred playstyle and your combat sense.
I take two large ones because I play very aggressively, I prefer to rush my opponents and gain the element of surprise by showing up suddenly where they least expect. It doesn't always work, and so I need the powerful shot to keep me going through the fight.
Others prefer longer ranges, or the low and slow approach, and prefer to bring another dynamite or fire bomb instead of another shot. In terms of large versus small shots, it depends on how much you’re willing to spend. You may find yourself not even needing to use the large ones if you are adept at finding health boxes, but they may save your life in a situation where a small shot wouldn't.
Now, whether you choose to bring the dynamite or the fire bomb is up to you. The dynamite is a great tool to bust up a well defended position if you're close. The firebomb acts as a great area denial weapon but is better suited to burning the hunter you’ve just killed.
In case you’re reading this list as a brand new player, you can set dead hunter bodies on fire to prevent their buddy from getting them up. This puts the pressure on the guy who is still alive, who might panic and will be easier to kill as a result. His dead buddy also can't be revived, so even if he isn't phased by it you’re still in a great position. Just make sure he burns until he stops burning. Otherwise he’s not fully dead.
- Traits- Determination, Salveskin, Physician
All three of these are useful, and even though you don't have to deal with permadeath at this level, if your hunter dies he doesn't get any XP so it’s a good idea to try and stay alive so that you can get these ASAP. Determination is the first to unlock and costs 3 trait points, equivalent to a decent match’s worth of XP and then some. It causes stamina recovery to start sooner, which is a huge plus in a tight situation.
Salveskin causes damage done to your health bar chunks to heal faster. Getting set on fire is a big deal, and it happens often especially at this level. Parts of the health chunk burned away by the fire take much longer to heal than a normal injury. This is a crucial trait at this level.
Finally, Physician reduces the time needed to bandage. The first aid kit allows the player to use up to three bandages that heal 50 points of health, but they take time to use. They’re more convenient than random health boxes, but take longer to use. This trait significantly decreases their use time, making them more useful in an assault role and in general.
So there you have it, the best of the basics for those greenhorn freshies hitting the Louisiana trail. Like I said, this was the playstyle that worked best for me. Try it out, and try out a few other while you still can. Think of this period of your experience in the game as a training period.
5. The ‘Now You’ve Learned Something’ Loadout (16-30)
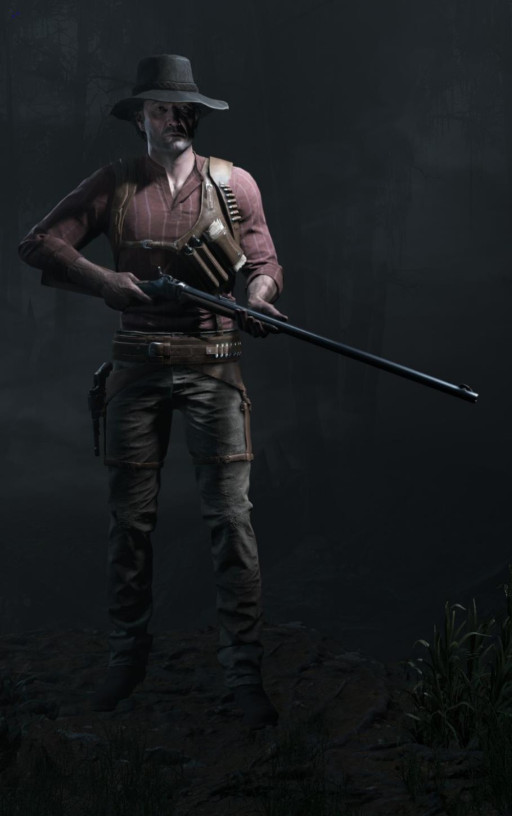
A tier 1 hunter outfitted with a Sparks LRR and a Nagant M1895 Brawler.
Next we’ll explore the late beginner level. At this point you’ve passed through the realm of immortals and fallen prey to the moral coil. You will lose many, many hunters. I did,so don’t be discouraged, but I would also suggest you don’t get too attached to the hunter, his look, and especially his name. I used to come up with little backstories for my hunters, and when I would play with my buddies we would give them funny little voices and personalities. Those days are long gone, but we’re still playing and we probably will until the day we die.
At this level you should understand all the basic mechanics and know a few of the little tips and tricks to having a more successful hunt in general. You get access to a couple of Nagant variants, the Brawler, the Precision, and Silenced. You also get access to the Sparks LRR, one of the better guns in the early days of development which has waned in practicality with new updates. You also get access to the Romero 77 Hatchet, the only good Romero and in my humble opinion one of the best guns in the game.
Now I’ll be honest, I’m a sucker for the Sparks. Back in the day, the Sparks was something to legitimately fear, especially in the hands of a skilled player. The Sparks forced me to learn how to lead, where to aim and overall improved my accuracy and precision at long ranges. At higher levels it is outcompeted in its niche by the Mosin-Nagant, but at this level it would be dishonest of me to not recommend you carry this gun out as often as possible.
The price may put some off, and it isn't a good gun to take if you’re struggling for money because it requires the user to conform to its quirks. For instance, it's a single shot gun like the Romero, so you have to unlearn the rapid follow up habits you learned with the Winfield. This is more a gun about patience and practice than storm and speed. It also needs a good complementary sidearm in order to be a part of a balanced loadout. At this level, your best bet is the trusty machete. Use it often with a variety of loadouts to get a feel for its range and damage, and you will find it rarely lets you down.
As an aside, although it isn't going to be featured in this loadout, the Romero 77 Hatchet is also a great gun for this level. You get the power and close-range destructive power of the Romero 77 handcannon combined with the same damage output and speed of use as the machete, making it a lot more versatile up close. Although it finds itself stuck as a purely rush option, don't let that run you off. It may be combined with the Brawler or the Silenced, but I have had surprising success with two Hatchets filling two medium slots.
Without further ado, let's take a look at the loadout in more depth:
- Large Slot- Spark LRR, high damage output, good range and forces you to work on your accuracy and precision
Why? As I have repeatedly stated, these loadouts reflect my experiences in the game, and are not going to be for everybody. That being said, I have had better luck with the Sparks in all my hours playing this game than I have had with any other gun, period. I find that the sway is easy to manage, even when standing. It does enough damage at long range to keep a player’s head down, and if you move closer and stick to cover after each shot, you will dominate practically anyone.
Some players at this level prefer the Nagant Officer Carbine. I can appreciate the role that the Officer Carbine plays, and although I agree with the general consensus that it is a headshot machine, it has a very finicky range sweet spot for effective use.This means, unless you’ve played enough to not worry about whether or not you will get the headshot (cough cough, 500+ hours), then you’re going to be disappointed. If you’ve just prestiged, I would suggest swapping the Sparks for this gun when you unlock it, though. By that point you’ll have enough experience to use it effectively even though it suffers a disadvantage against Winfields and the like.
- Small Slot- Machete, high damage close-range destroyer, also silent
Why? You unlock a couple of sidearms at this level. The Nagant Silenced is decent, but only really practical for silent close-range headshots and dispatching most mobs. In accordance with my run-and-gun playstyle, the machete works best when rushing into buildings and tight forest/swamp locations.
One to two heavy attacks is all you need, and as you get better you will learn timing and accuracy, as well as how to consistently dodge enemy attempts to retaliate. It is also silent and needs no ammo, so you may kill as many mobs as you like so long as you’re careful and there isn't an enemy hunter within a few dozen feet of you.
- Tools- First Aid Kit, Knife, Throwing Knives
Why? You don't get any new useful tools except for the throwing knives, so the toolset doesn't change much. Throwing knives has a learning curve, and may end up killing your hunter more than they save your hunter by setting off hives and animal alerts that you intended to hit but missed and aggroed by mistake.
If you practice with them, though, you will find them a suitable replacement for the knife. Until that point I would suggest bringing the knife along with you when you take them out, as their melee attack is much weaker. At this level, brining a knife AND throwing knives is fine, as you aren't really missing out on any other tools.
- Consumables- 1-2 large vitality shots, Hellfire Bomb, Dynamite/Concertina Bomb (if only 1 large shot)
Why? This one is a bit more fluid. I always have at least one large vitality shot, and the Hellfire Bomb is an explosive version of the firebomb that is basically a must have for killing downed hunters and their buddies. It causes bleeding you get within the explosive radius, and obviously causes fire damage as well.
If you prefer another setup for the vitality shot, I would suggest taking a dynamite stick. You get the frag bomb at this level, which causes bleeding damage within its total blast radius, but it does less total damage and has a smaller explosive damage radius.
The concertina bomb is another good option. I originally wrote it off, partly because it took so long to unlock. Now it sits much lower on the progression tree, and it acts as an excellent persistent area denial weapon that causes bleeding damage to players who get caught in it. It also has spindles that extend much further than you might think on first glance, so watch out because the concertina can bite you just as badly as your enemies.
- Traits- Greyhound, Resilience, Kiteskin, Packmule
All four of these traits are decent, and may be used along with the previously mentioned ones. Greyhound allows you to sprint for a longer duration, which is a godsend for aggressive players and helps in general for escaping a bad situation in a pinch.
Resilience allows you to get revived with a full chunk of health. Normally, when your partner revives you, you only have a fraction of your last chunk left. With this trait, you get to be revived with your first full chunk of health full restored, improving your survivability.
Kiteskin is pretty simple, take 50% less fall damage. The immediate usefulness of this trait may not seem apparent at first, but when you’ve done as much rooftop fighting as I have you will come to appreciate it like nothing else. It works equally well as a rapid assault trait and as a last-ditch escape trait (because you don't necessarily want to give up the high ground, but sometimes you have to).
Packmule is the unsung hero of the traits list, allowing you to carry one extra consumable. With this trait, you could carry 2 large vitality shots, a Hellfire bomb, and a dynamite/concertina/frag bomb all at the same time.
That’s all she wrote on this loadout. This build is a mix of extremes, long and super short range, with a good set of traits and consumables to mix and match. You can use it in the low and slow style, as a long range assault loadout, or however else you want. It is more versatile than it first appears.
4. The Intermediate Loadout (31-45)
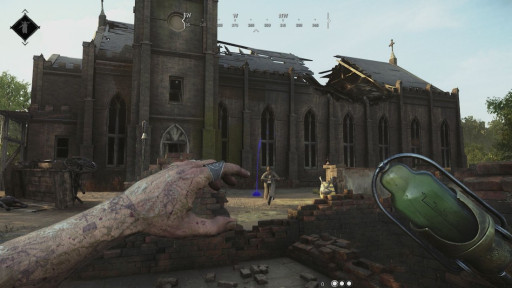
A hunter prepares to throw his newly unlocked poison bomb at an enemy.
At this point, you’ve got a handle on the ins and outs of the game. You should start to win matches consistently, although of course losing streaks still happen so don't give up on it if you lose 5 or 6 in a row. You’re just tired, is all. That’s what I told myself, and look at me now! Anyway, its at this level that you start to unlock some really cool stuff. You also get access to one of the best guns in the game, the Caldwell Conversion Chain Pistol.
At this point you should start to develop and refine your preferred playstyle. Hunt: Showdown has a lot of ups and downs, and if you’re struggling for money you’ll find that this level affords you several good guns that are fairly inexpensive. With that in mind, you can expand or create variants of loadouts you've previously developed, and next we will take a look at that very principle in action.
Enter the Vetterli 71-Chain Pistol combo. This load out is the evolution of the Winfield-Nagant Officer combo, with a few key differences. For starters, the Winfield and the Vetterli are hard to compare. The Winfield is a lever-action that uses compact ammo, meaning that it has an exceptional fire rate and can be used effectively out to medium range. The Vetterli is a bolt-action with a much smaller magazine that uses medium ammo, making it a very useful gun in the medium-long range and somewhat closer if you're accurate.
The Vetterli is the next step up in raw power and range from the Winfield, and sacrifices damage per second and close range usefulness for it. It makes for a good intermediate between the Winfield and the Mosin Nagant. The Chain Pistol, with the fanning trait, is everything good about the Nagant Officer times ten. It's ultra fast and has a 17 round belt capacity. It's basically a close range machine gun.
Now that we've covered the basics, let's take a deep dive into the loadout composition:
- Large Slot- Vetterli 71 Karabiner, high damage output at medium-long range and very versatile
Why? The Vetterli is a decent-capacity medium-long range bolt action that works best to prepare the player to use the Mosin Nagant. At one time the Vetterli was a more practical choice over, say, the Winfield at higher levels but with the new damage mechanics it has gone the way of the Sparks. I have seen a pretty sharp uptick in use among the player base recently, and upon trying it out again I found that they had freshened it up and given it a niche that lies just outside of the Winfield's range. The Vetterli remains one of the best generalist rifles available, and later on some variants like the bayonet attachment allow this gun to shine.
- Small Slot- Caldwell Conversion Chain Pistol (with fanning)
Why? Generally, the large weapon is the centerpiece in a loadout, the bread and butter so-to-speak. The Caldwell Chain Pistol flips the script and offers the hunter a niche weapon that competes with shotgun loadouts and allows them to take a rifle as the side dish. The Chain Pistol, in concert with the fanning trait, is one of the most dominant close range weapons available. It outcompetes shotguns and the Dolch 96, and competes directly with the Cladwell Uppercut with fanning as a classic power versus speed argument. Speed wins, and this gun offers effective use out to short medium range and can effectively suppress in bursts out to medium range. The downside is the reload time, which is what the Veratelli is for, although once you get the Chain Pistol and fanning you can bring whatever else you want.
- Tools- First Aid Kit, Knife, Flare Pistol
Why? Again, there is little to be had in useful tools except the two usual suspects. That being said, the flare pistol is a unique tool that I only discovered the usefulness of relatively recently. It is effectively a silent killer of Armoreds and can set players on fire if aimed properly. It also serves to silently light barrels, and can shoot out lamps hanging over animal cages to silence them. I don't generally play without it.
- Consumables- 2 large vitality shots, Hellfire Bomb or Dynamite Bundle
Why? Again, see the 6th loadout to explore the choice of vitality shots. The best consumable unlocked at this level is the dynamite bundle. The dynamite stick is great way to flush a player out of a small space, and can get two players standing close together in an attic or belltower. The Dynamite Bundle is for clearing whole rooms and modest sized open spaces. You can effectively flush out most building with just one well timed throw. It is a team wiper for sure.
- Traits- Tomahawk, Fanning, Beastface, Iron Sharpshooter, Deadeye Scopesmith, Quartermaster
At this level you suddenly have access to a wide variety of traits that allow you to specialize and buff your advanced hunters. Tomahawk allows you to throw the axes and sledgehammers you find in-game a short distance, doing massive damage if they connect.
Fanning allows you to rapid fire single-action revolvers, as in all the Caldwell Conversion variants and all of the Nagant M1895 variants that aren't Officers, like the Officer and the Officer Brawler. Fanning is essential for the Chain Pistol and it massively boosts the close-range effectiveness of the Uppercut as well.
Beastface reduces the range at which animals can be triggered by you. That means the caged animals, horses, crows, and ducks will act passive near you up to a closer radius than those without this trait. Great for making sneakier loadouts, and useful in general.
Iron Sharpshooter allows you to stay in iron sights between rounds with bolt actions, making follow-up shots easier and faster. Necessary for the Vetterli and Mosin-Nagant if you want to compete at higher levels.
Deadeye Scopesmith allows you to stay in the scoped view after firing with any gun that uses the dead eye scope attachment. The Vetterli has a variant that uses a deadeye scope, and this trait is necessary for prospective snipers.
Finally, Quartermaster allows you to take a large and medium weapon, instead of being limited to a large and a small. This trait increases the variability of a hunter’s loadout and allows you to further experiment.
At this point in your progression you should have the knowledge and experience to truly start experimenting, and at this level you get so many new and unique traits and weapon variants that experimenting shouldn't be a problem. With new equipment and consumables, you can twist and tweak old loadouts as well, making them fresh and relevant at higher levels as you move up to bigger and better things.
3. The Advanced Loadout (46-60)
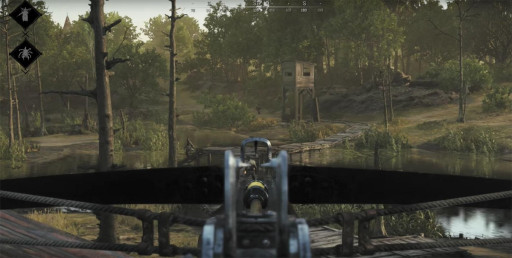
Pictured above is the Crossbow, using poison-tipped ammunition to hunt Grunts in Stillwater Bayou.
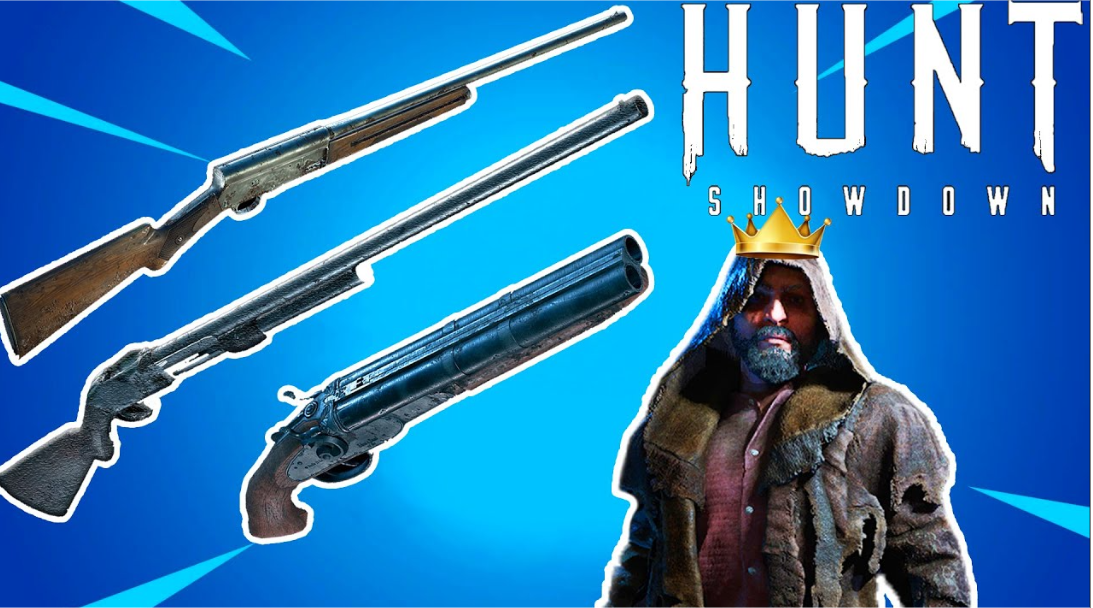
At this stage, I expect that most hunters will be looking for more specialized builds. This level has some really exciting large guns to unlock, and even by the time you reach the end you will be mixing and matching for different results. With the introduction of the Specter 1882, I want to take this opportunity to breakdown a shotgun loadout.
Before you skip this one, hear me out on this. I know that in the general playerbase the Specter underperforms, but I have always enjoyed great success with this as my primary and when I couldn’t find anything but anecdotal evidence for the performance of the Specter, I decided to explore the stats.
As it turns out, the Specter has the same range (25) and damage (64) as all the other full length shotgun except the Crown & King Auto-5, whose range is 5 points less. This means it can be considered superior to the singleshot Romero by design, and is contested by the Caldwell Rival.
The Rival can fire two shots in rapid succession with acceptable precision, while the Specter requires the hunter to undergo a pumping action in order to chamber a shell. In an up-close one-on-one, the Rival wins, but most shotgun fights draw from medium range, allowing the player with the Specter to gain the upper hand by keeping the Rival-wielding hunter at bay with up to 5 shots in quick succession.
If you want to get really down and dirty, the Specter 1882 Bayonet is where it's at. I’ve had great success at arm length range as an all out rush hunter because the bayonet attack is so devastating. However, it reduces the range by 5 points, and so makes the Specter inferior to the Rival and thus not as practical.
As a sidearm, at this level it is possible to use a medium weapon with the Quartermaster trait, and I highly suggest the Mosin-Nagant Obrez as a short-medium range compliment to the Specter. It is king in rushing if you're using the Specter as well because it can reach the medium range spots across a compound that the Specter can touch, and it deals big time damage.
Let’s take a closer look at this loadout:
- Large Slot- Specter 1882, best shotgun at this level, fast and deadly with up to 5 follow up shots
Why? As discussed above, the Specter is the best all-round shotgun available up to this point. You can lay down a level of sustained fire that the Romeros and Caldwell Rivals just can’t. It works especially well at closing the distance and still being able to tag enemy hunters trying to rush you. It is also highly effective against melee wielding enemies because of the forgiving ammo capacity.
- Medium Slot (Requires Quartermaster)- Mosin-Nagant Obrez, a powerful short-medium range gun that compliments the playstyle associated with the Specter
Why? Until you get Quartermaster, replace this with the Cavalry Saber. The Cavalry Saber is the best melee weapon in the game, and its usefulness cannot be overstated. When you get Quartermaster, the Obrez is the way to go. Most compounds are fought over in tight spaces and aren’t close enough to use a shotgun until you get indoors. That’s where the Obrez shines. In those tight medium ranges in compounds, the Obrez is nearly unmatched in raw power. The only trick is that you have to be accurate, unlike with Winfield or Nagant Officer at the same range.
- Tools- First Aid Kit, Knife (or Throwing Knives), Blank Fire Decoys
Why? By this point, you should have at least started learning how to use the throwing knives properly because you will find them supremely useful over a knife later on. You also have access to the blank fire decoys at this level, which is great news for both rush and hit-and-run tactics. You can throw a blank fire decoy a short but acceptably far enough distance away from you. It will make a random gunshot sound, which may be anything from a winfield to a Rival to a Mosin. It is great for getting enemies to guess the wrong angle, then to come in from somewhere they don't expect and take them out.
- Consumables- 1-2 large vitality shots, Hellfire Bomb and/or Dynamite Bundle
Why? This is my favorite and arguably one of the best consumable set ups you can have at this level. You may experiment with the Flash Bomb, Poison Bomb, or Sticky Bomb if you like, but each one has some niche use that doesn't really cover the most practical or realistic scenarios. If you are going to change it up, I suggest using the pitcher perk and taking the Flash Bomb and the Poison bomb.
- Traits- Pitcher, Steady Hand, Frontiersman, Marksman Scopesmith, Doctor
This level offers a few useful traits for further specializing, as well as one of the best traits you can have, Doctor. Let’s go through each one and explore its usefulness or lack thereof in more detail.
Pitcher allows you to throw thing at greater ranges so long as they are thrown with the aim helper, which is the blue line that tells you the trajectory of the throwable object. This is useful in basically every situation, and should be acquired ASAP.
Steady Hand reduces the sway when looking through the scope of a pistol gradually. That means you will have to line up your shot for a little bit longer in order to overcome the sway, which is inconvenient but useful longterm. Considering that I’ve never seen or been killed by a scoped pistol, I’m not sure how much use this will be to anyone. Maybe there is someone who has dedicated his Hunt: Showdown experience to the scoped pistols. If so, then this is a pretty good trait.
Frontiersman allows the hunter to bring a fourth tool, which simply increases the number of niche situations you’re prepared for. This trait is more useful after unlocking the Quad Derringer, but can be useful if there are a few tools that you like but can't use all at the same time.
Marksman Scopesmith allows the hunter to stay in the scoped view in between shots with a gun using the marksman scope attachment. For long range snipers this should be one of the first traits you get after you unlock it, as it is the only way to reliably follow up your shots.
Now we’ve come to Doctor, which doubles the amount of health healed by the First Aid Kit. The First Aid Kit already heals 50 points of health like the small vitality shot, except it has up to three uses, which is great. With the Doctor trait you can health 100 points of health up to three times. 300 points of total health you can health over the normal 150. This makes your First Aid Kit more useful as a team tool, as well, because you don't have to worry about not being able to adequate health your partner in a tight spot.
So there is it, the advanced loadout. As you may be able to tell by now, these loadouts get more fluid and varied as we go down, because it is unwise to have one, or two, or three static loadouts that you never change. It is much better to have two,three, or four fluid loadouts that blend into one another and fill a wide range of niches and playstyles. Even my personal loadouts could do a better job of this.
2. The Expert Loadout (61-75)
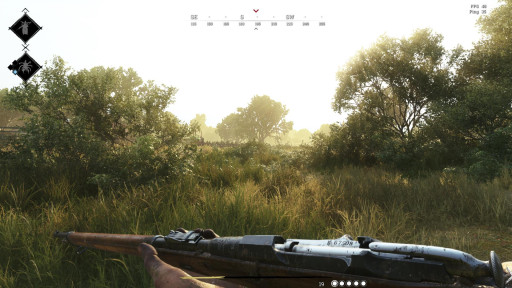
A hunter holds his Mosin-Nagant steady as he admires the in-game lighting.
We have now officially reached the big leagues. At this level, you should be honing your stalking skills and be faring better with every firefight. It is at this level that you unlock what is, in my opinion, the best gun in the game, as well as a lot of other cool stuff that prepares you for the current endgame content (if you can call it that).
At this point, good players will be sharpening their skills with most all weapon types, but many players will have branched off into specializations as well. On my first run through I specialized in shotguns, and ran many a gauntlet with the Crown & King Auto-5 at my side. This time through I’m specializing in long rifles, and have developed a deadly skill with the Sparks. I’m currently working with the Mosin Nagant, and I don't have enough good things to say about this gun.
In the context of a loadout, the Mosin works happily with anything. I started out with Mosin-Saber combo, then graduated to the Mosin-Chain Pistol combo, and now currently playing around with the Mosin-Mosin Obrez combo. Some may find the Dolch or a medium shotgun suits their Mosin, but on this loadout I’m going to focus on the Mosin-Sabre combo, because it was my OG Mosin loadout and rarely failed to get me 3 to 4 kills a game, 5 if my partner was slacking.
The Mosin-Saber loadout is simple, elegant, and combines the two most vicious weapons from two ends of the extreme ranges:
- Large Slot- Mosin-Nagant M1891, powerful long and medium range rifle with a decent shot capacity and rate of fire, as well as a good reload rate
Why? The Mosin covers every situation that the Vetterli and the Sparks could ever hope to, and does it better. I was particularly interested in improving my accuracy with this run, and thanks to the Sparks the transition to the Mosin as my main weapon was painless. Emphasis on good accuracy, as the Mosin is useless in the hands of someone who is used to shotguns or medium range guns like the Winfield or the Officer Carbine.
- Small Slot- Cavalry Saber, the top dog of melee weapons and a good extreme close range compliment to the Mosin’s long range proficiency
Why? The Cavalry Saber is a pretty useful melee weapon to add to any loadout, but in this case it competes with the Chain Pistol for the best complimentary sidearm to the Mosin. In the case of the Saber, it is fast and deadly, and covers the situation when the enemy hunter enters the house you’re shooting from. It doubles as a highly practical anti-mob weapon for everything but the Meathead, unless you and your partner both have one.
- Tools- First Aid Kit, Quad Derringer, Flare Pistol, Throwing Knives (Requires Frontiersman)
Why? The Quad Derringer is a fairly silent stand-in for the knife and throwing knives. It can be heard from the other side of a compound softly, and not much farther. It is highly useful for getting close range headshots on mobs, especially Hives, and is also useful as a last resort against a charging hunter or Armored.
If you can get it, the Frontiersman trait should be utilized to get the throwing knives. Seriously, get good with these. I use them to take out Hives on top of roofs and for silently dispatching hordes of Grunts at a safe distance. I’ve never used them on players, but I imagine they’re effective and silent.
- Consumables- 1-2 large vitality shots, Hive Bomb and/or Dynamite Bundle
Why? The Hive Bomb is not as well known as some other consumable choices. It was only recently that I’ve seen anyone actually deploy one. They are the best room clearing tool by a mile, but they can bite back so it's best to have the Pitcher trait and run after you toss it. When combined with the Dynamite Bundle you will have no trouble clearing people out of your compound, or clearing people out of a compound you want to take.
- Traits- Bolt Seer, Iron Devastator, Gator Legs, Bullet Grubber, Hornskin, Sniper Scopesmith
This level offers a few more specializations and useful buffs, further increasing your options when it comes to developing your hunter. Gator Legs is particularly useful as it lets you run faster in water, giving you better routes of escape and making it easier to cross Water Devil infested swamps and rivers.
Bolt Seer allows you to see crossbow bolts that you fired, as well as throwing knives. This is only useful for people who use crossbows, those guys are a shadowy bunch that us decent folk don’t mingle with (I’m only joking, please don’t kill me).
Iron Devastator allows you to continue to fire a shotgun while aimed down the sights, which is only useful if you are using the Specter or the Crown & King Auto-5. It allows for a more fluid follow-up and better target acquisition.
Bullet Grubber is an extremely useful perk for guns that require you to eject the chambered round or shell before you reload, like the Mosin, Specter, and Dolch. This allows you to save ammo for critical moments. I know if I had purchased this trait I would have won out in a particularly dirty firefight I got into last week.
Hornskin makes you more resistant to blunt melee, which is okay but considering that most players that use blunt melee are in a panic mode and are easy to dodge anyway, this trait can take a backseat unless you really want it.
Finally, Sniper Scopesmith is the pinnacle of the Scopesmith series of traits, allowing the hunter to stay in the sniper scoped view between shots for increased follow-up capability.
That’s all there is to it. This is my favorite current loadout, and it has a lot of room for personalization so if something doesn't work for you, you can swap it out and still rely on that trusty Mosin for consistent results.
1. The Endgame Loadout (76-100+)
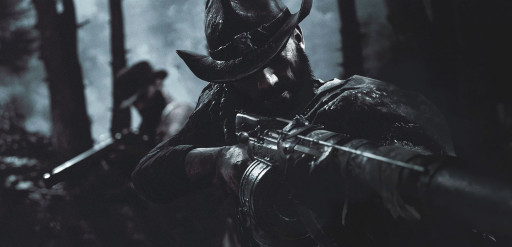
Two manhunters stalker their prey in the silent darkness of Stillwater Bayou.
We have finally arrived. In its current built (Update 4.0) this is what you can expect to build with the endgame equipment. Some will marvel at the awesome power and diversity of weapons available, and some may find that the total list including tools, consumables, and traits is a little bare. Keep in mind that Crytek is constantly updating Hunt: Showdown, adding free content including weapons and equipment, AI, maps, bosses, crafting, and more. Check out their roadmap for more details.
This build is legendary. It features the Nitro Express, a gun from the very early days of this game that is practically the only gun that guarantees a one shot kill. It works best at long and extremely long ranges, and is best complimented by the Specter Compact, an extremely close-range powerhouse of a shotgun. For this loadout, you need Quartermaster.
The Nitro Express can be a tricky gun to get the hang of, but players who have mastered it are demons. They stalk the swamps and river basins, racking up kills left and right before their prey can even react. When backed into a corner, they usually carry some kind of close range weapon, and in this case the Specter Compact provides a serious indoor and general close range advantage.
Without taking up any more time, here’s the full loadout:
- Large Slot- Nitro Express, heavy duty beast of a gun, hard to master but immensely rewarding with high damage and long range
Why? Nothing beats the Nitro Express for range and damage except snipers getting perfect headshots. The Nitro Express works best at Sparks/Mosin ranges, but can extend and potentially kill farther than that. The only downside is the ammo, which you carry little of and is rare to find on the map. You can't get it from ammo boxes.
- Medium Slot- Specter 1882 Compact, great fast paced close ranged shotgun that balances the Nitro well
Why? Honestly, any good close range weapon could go here. Although it is possible, the Nitro isn't really capable indoors or at close ranges and so something that covers that niche is better than something like the Nagant Obrez, which works better at slightly farther ranges.
- Tools- First Aid Kit, Quad Deringer, Flare Pistol
Why? This is the standard toolset that I run with, with the addition of the throwing knives if I have Frontiersman. As long as you have the First Aid Kit, you can basically take whatever else works for you. The Quad Deringer is particularly useful with this loadout as a mob killer, and you may want to swap the Flare Pistol with a knife or the throwing knives if you think they would be a better help.
- Consumables- 1-2 large vitality shots, Big Dynamite Bundle and/or Chaos bomb
Why? Now that you have access to it, the Big Dynamite Bundle is the way to go. It has a slow fuse time, so let it cook for a little bit, then run back as it demolishes the Butcher, Meatheads, and unwary groups of enemy hunters. Best used with Pitcher for maximum surprise effect.
The Chaos Bomb is often overlooked. As you get more experienced in this game your sense of hearing feels like it is heightening. You are attuned to every sound, and the sound of sporadic, continuous gunfire often indicates a firefight. This may either draw hunters in, drive them away, or distract them while you flank around. The possibilities are endless.
- Traits- Mithridatist, Bolt Thrower, Bulwark, Bloodless
The last four available traits are all pretty decent. They mostly increase overall survivability in a variety of situations with the exception of Bolt Thrower, which reduces the reload time for crossbows.
Mithridatist halves the duration of poison effects, making Hive attacks, Poison Bombs and Hive Bombs less effective and increasing survival chance.
Bulwark reduces damage from explosions by 25%, which could be the difference between dying and surviving, and potentially killing the enemy hunter that tried to kill you.
Finally, Bloodless halves damage from bleeding over time. This makes the Frag Bomb, all shotguns, the machete, and cleaver-wielding Grunts less effective and further improves your chance of survival.
And that’s it. Once you’ve reached level 100, you may continue to level up, making $666 every time you do, or you can prestige and start from the bottom of the barrel again. Whether you have just discovered this game, been playing for a while, or are on your fifth prestige, I hope there was something in this list for you. Happy hunting!
