What are Runes?
Runes are permanent upgrades that give you access to unexplored routes, unlock new features, and give you special abilities. There are a total of 8 runes for you to unlock, each one opening up new paths to explore.
You can unlock Runes by finding Rune Trials, or specific locations with an Elite enemy who will drop the rune after being beaten. Once you unlock a rune, you can use it to activate specific objects.
You’ll find these everywhere, and you probably already came across them without realizing it. These can be anything from plants growing on the floor, creepy glowing statues, or symbols etched into the wall.
I’ll be explaining what every rune does, where to find it, and what you can do with them.
1. Vine Rune
Before unlocking, you need
- N/A
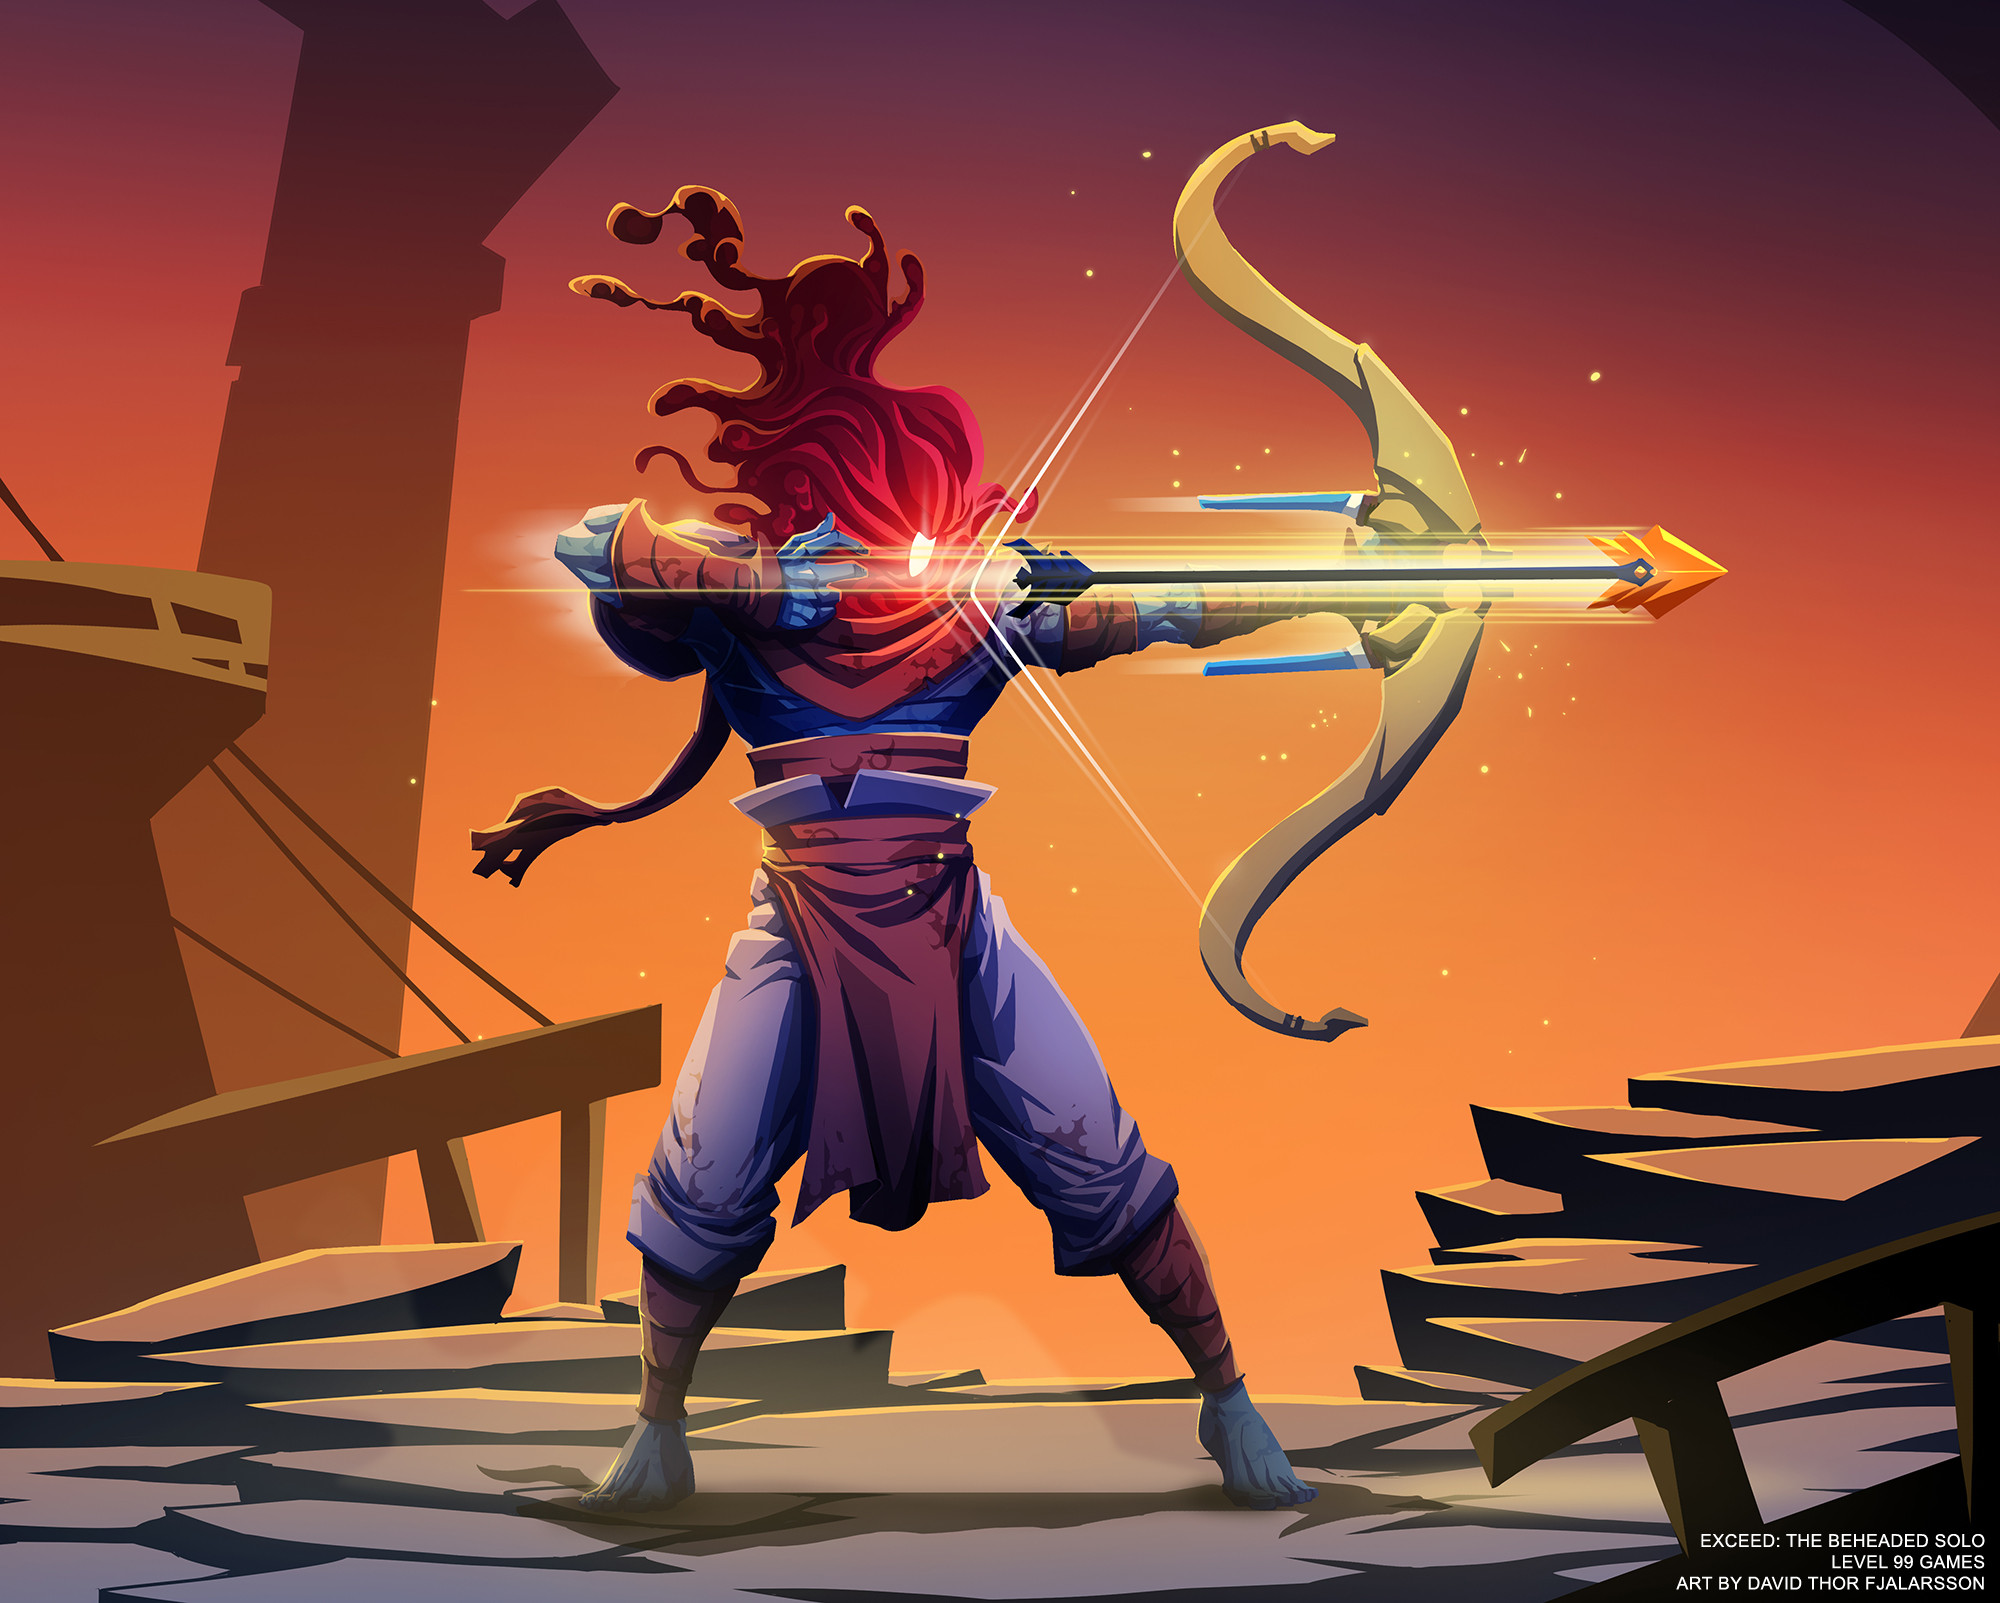
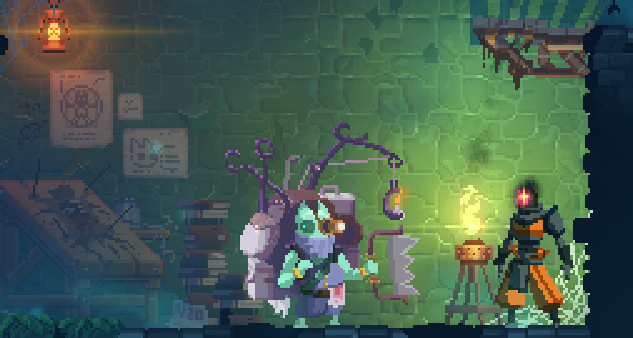
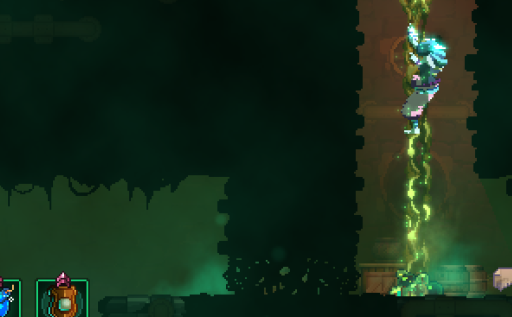
The very first Rune you find is the Vine Rune, once unlocked it allows you to activate those moss-y green blobs on the ground, causing vines to grow and letting you climb them. The Vine Rune lets you reach previously inaccessible areas, allowing you to progress further and discover new parts of the biome
Where to find the Vine Rune
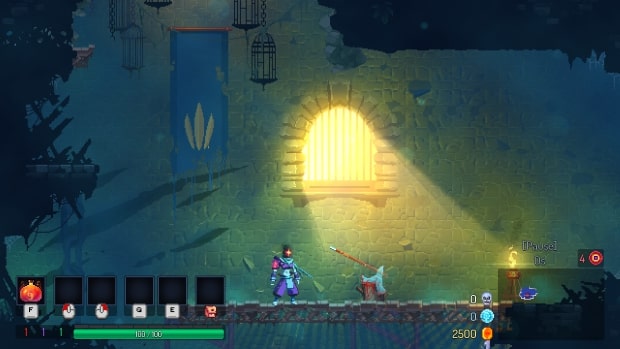
It’s impossible to miss this one. You’ll find the Vine Rune in the Promenade of the Condemned in a room next to a cliff with nowhere else to go (for now). Once inside, you’ll find an Elite Undead Archer who will drop the Rune if you prove worthy. The fight itself is pretty easy, but if you’re having trouble I recommend using items that can lock the Elite in place, such as Frost Blast or Wolf Trap. After you get the Rune, you can activate the green blob outside and go up the cliff
Lets you go to
- Toxic Sewers
- Ramparts
2. Customization Rune
Before unlocking, you need
- Vine Rune
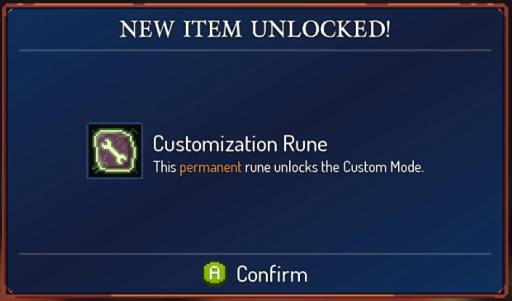
This next rune doesn’t give you any new abilities, instead it unlocks one of the most useful features in the game. The Customization Rune unlocks Custom Mode, which gives you a plethora of ways to change the game. It comes with some presets that shake things up, but you can also go and manually tweak every setting to make your perfect version of Dead Cells
Where to find the Customization Rune
This is another Rune that you’d have to play blindfolded not to notice, you can find it at the very start of the Ramparts, before you even come across anything else in the biome. It’s the same deal as before, fight the Elite enemy who could either be another Undead Archer or a Zombie, and then pick up the Customization Rune
Lets you go to
- Custom Mode
3. Challenger’s Rune
Before unlocking, you need
- Vine Rune
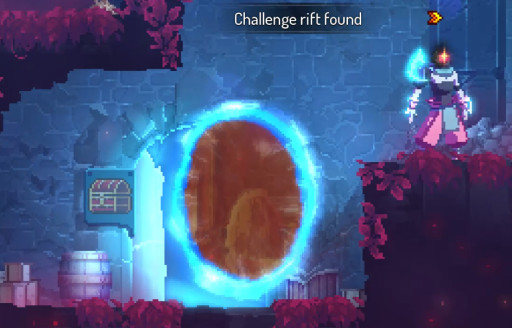
Aptly titled, the Challenger’s Rune is unlocked after overcoming your first big hurdle and allows you to take on many more trials and tribulations. It unlocks the Daily Challenge, a gamemode featuring a unique map that changes everyday, where the goal is to get as many points as possible and beat the boss within the time limit. The Challenger’s Rune also opens up Challenge Rifts, which spawn randomly in biomes and give you a scroll and amulet but forces you to parkour across some traps
Where to find the Challenger’s Rune
You get the Challenger’s Rune after beating the first boss in the game, The Concierge. It can be a tough fight, so here’s some tips. Learn his attack patterns, he has 3 different attacks, each with distinct animations, making it easy to predict what he’s about to do. Just like when you’re fighting Elites, the longer you can keep him stunned the better, and you can do this by parrying his attacks with a shield or using Wolf Trap
Lets you go to
- Daily Challenge
- Challenge Rifts
4. Teleportation Rune
Before unlocking, you need
- Vine Rune
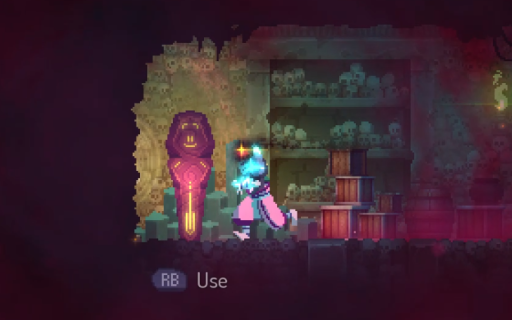
After the last 2 Runes you’re probably hungry for some exploration, well don’t worry, because this next one opens up tons of new passages. The Teleportation Rune allows you to use teleportation monoliths, or those glowing statues that look like a coffin. When activated, they take you to a new area that’s completely blocked off from the rest of the map
Where to find the Teleportation Rune
The Teleportation Rune can be found in the Toxic Sewers, when you enter the biome the very first thing you’ll see is a prisoner asking you to find his Rune and give it back to him, but you won’t be doing that last part. It appears in a random area of the map, so the only advice I can give is to search every last corner. Once you do find it, you’ll fight an Elite Slasher and say “Finders Keepers” to that unlucky inmate
Lets you go to
- Dilapidated Arboretum
- The Ossuary
- Morass of the Banished
- Forgotten Sepulcher
5. Ram Rune
Before unlocking, you need
- Vine Rune
- Teleportation Rune
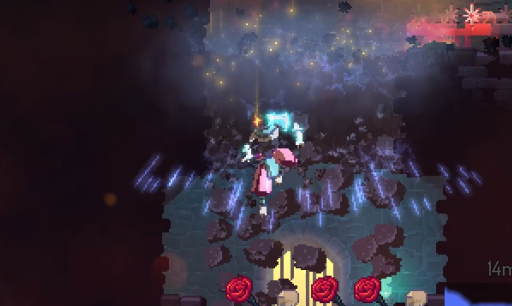
The Ram Rune lets you destroy certain floors with a ground pound. These can be either entire sections of the floor that reveal new areas, or a breakable brick with some goodies inside. It also makes your ground pound significantly stronger! You know, just in case you wanted to try stomping a zombie to death
Where to find the Ram Rune
You can find the Ram Rune in the Ossuary, to get there go through the Promenade and use the Teleportation Rune instead of the Elevator for the next level. Once you’re in the Ossuary you need to search the map for a metal door with some spikes behind it. That’s where you can take on the Rune Trial against an Elite Slasher, and you know the deal by now. Beat him and get the Rune!
Lets you go to
- Ancient Sewers
6. Spider Rune
Before unlocking, you need
- Vine Rune
- Teleportation Rune
- Ram Rune
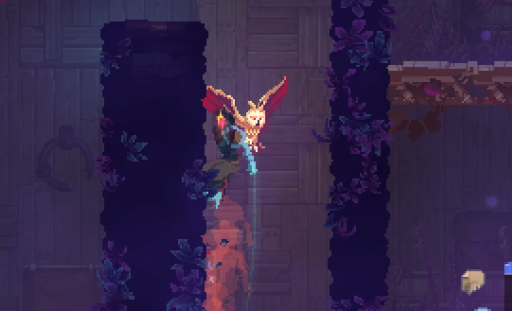
By now you’ve probably noticed a wall or two that looks suspiciously climbable and figured there’s an upgrade somewhere that lets you scale it. Well, this is that upgrade. The Spider Rune lets you cling to, climb up, and jump off walls. Aside from the new areas that this opens up, it’s a massive buff to your overall mobility!
Where to find the Spider Rune
The Spider Rune can be found in the Slumbering Sanctuary, and for now the only way you can get there is by going through the Sewers and fighting Conjunctivius. For that fight I recommend bringing a ranged weapon and a way to deal damage in an AoE, but if you made it this far you got this. Once you’re in the Sanctuary you’ll find the Rune Trial pretty early on, and it’ll be marked by a red flag pointing down. This time you’ll fight an Elite Caster, who can’t be stunned by Wolf Trap. Instead, reflect their projectiles and try to deal damage from a distance
Lets you go to
- Prison Depths
- Corrupted Prison
- Graveyard
- Slumbering Sanctuary (Route through Black Bridge or Nest)
7. Explorer’s Rune
Before unlocking, you need
- Vine Rune
- Teleportation Rune
- Spider Rune
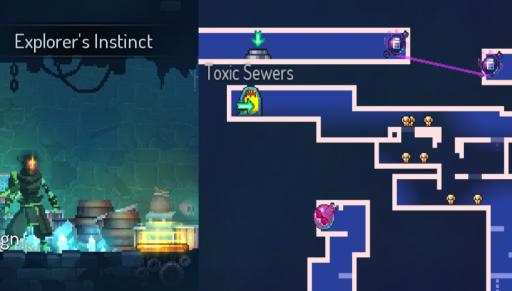
Once you reach the end of a biome you should go back and search any unexplored routes for any loot that you missed, but don’t you wish there was a way to know where all the good stuff is? The Explorer’s Rune reveals the layout of the entire map and highlights any points of interest, enemies, scrolls, or drops that you left behind once you’ve explored most of the level
Where to find the Explorer’s Rune
You can find the Explorer’s Rune in the Forgotten Sepulcher, and you’ll have a way to get there no matter what route you take. However, the Sepulcher is a very difficult biome, packed with tough enemies and shrouded in darkness that kills you if you stray too far from the light. The Rune Trial can be found close to the exit, and in there you’ll fight two Elite Dark Trackers, but just getting there is a bigger challenge than the trial itself
Lets you go to
- N/A
8. Homunculus Rune
Before unlocking, you need
- Vine Rune
- Teleportation Rune
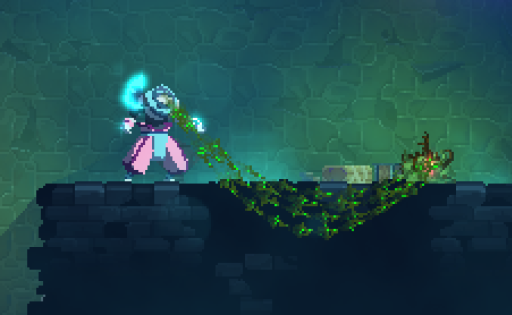
This is it, the final piece of the puzzle, but with how useful everything else is you might be wondering what else there possibly could be! How about detaching your head from your body? The Homunculus Rune lets you leave your body and freely crawl around as a Homunculus, reaching otherwise inaccessible areas to find hidden items and blueprints
Where to find the Homunculus Rune
It’s simple, really, all you have to do is beat the game! Seriously though, the Homunculus Rune drops from the Hand of the King, the final boss. The Hand is a relentless enemy, constantly attacking and dealing damage in a wide area of effect, but you can dodge most of his attacks by jumping so try to stay on the move. The best place to be is behind him, since that’s where you can safely deal damage. Lastly, you won’t have many opportunities to heal, and your best chance is either when he disappears and summons enemies or when he starts to bring down his banners
Lets you go to
- The Cavern (Pick up the key in the Prisoner’s Quarters using the Homunculus Rune and go through the Graveyard)
You may also be interested in

