
The Concierge
 The first boss you’ll come across is The Concierge, the undead warden of the prison you just escaped! You can find him in Black Bridge, which can be entered through either the Ramparts or the Ossuary. As the first boss in the game, The Concierge is the easiest and most straightforward boss in the game, a warm-up for tougher encounters later on
Rewards
- Flint (Weapon, 1st Kill)
- Challenger’s Rune (Rune, 1st Kill)
- Heavy Crossbow (Weapon, 3rd Kill)
- Impaler (Weapon, 4th Kill)
- Melee (Mutation, 5th Kill)
- Ammo (Mutation, 6th Kill)
- Alienation (Mutation, 7th Kill)
- 6 Outfits (One for each Boss Cell level, one for a flawless victory)
How to beat The Concierge
- Each of The Concierge’s attacks have a long and distinct wind up animation. If you can learn his moves you can easily predict what he’ll do next
- Wolf Trap is a very useful skill for this fight. With it, you can keep The Concierge rooted in place, making him vulnerable
- Think of him as just a bigger monster. You can parry and dodge his attacks just like you can with regular enemies
Video Guide
Conjunctivius
Conjunctivius is an alternate first boss fight, a chained-up tentacle monster that feeds on dead prisoners and wants to make you her next meal. “But isn’t The Concierge the first boss?”, you might be wondering, well, yes and no. Some routes lead to different bosses, and if you went though the Ancient Sewers you’ll fight Conjunctivius. She’s somewhat more difficult than the concierge, but with some patience it’s still one of the easier bosses in the game
Rewards
- Tentacle (Weapon, 1st Kill)
- Cursed Sword (Weapon, 3rd Kill)
- Gastronomy (Mutation, 4th Kill)
- Recovery (Mutation, 5th Kill)
- 6 Outfits (One for each Boss Cell level, one for a flawless victory)
How to beat Conjunctivius
- There are two different phases that she alternates between throughout the fight. During the first phase she’ll float around dodging you, and she can attack by charging at you, firing projectiles in a spread pattern, or summoning a damaging aura
- In her second phase you drop down to the ground while she summons tentacles. These behave in the exact same way as the tentacles from the Ancient Sewers, charging at you or attacking you from underneath
- During her first phase she’s wide open to attacks and you should be trying to close the gap between you and her. Ranged weapons are great for this, but you can also use Snake Fangs, Phaser, or Grappling Hook if you’re using a melee weapon
- During the second phase your two priorities should be dealing damage in an AoE and stunning the tentacles. Bombs, turrets, and status effects can deal damage in a wide area, and you can stun the tentacles with items that can freeze or root enemies
Video Guide
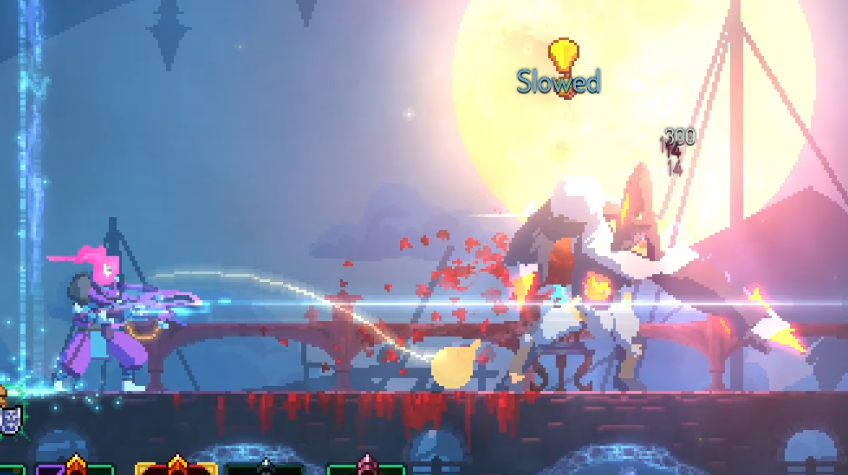
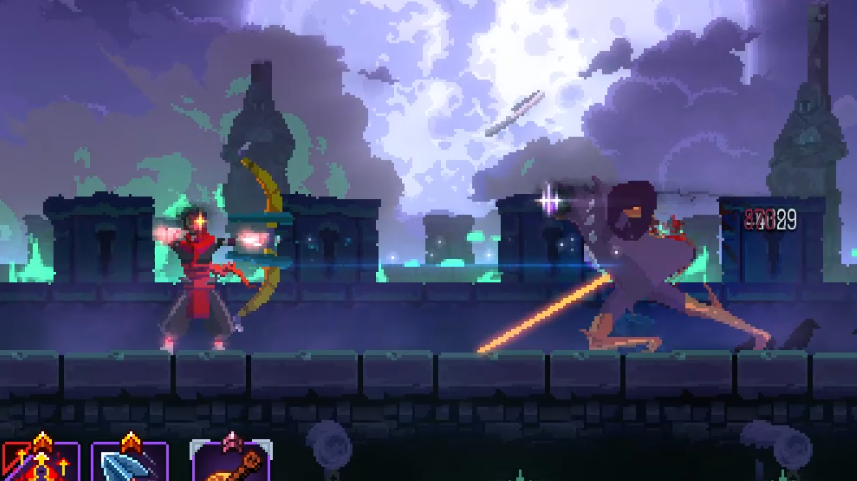
The Time Keeper
For your second boss fight in the run, you’ll face off against the Time Keeper, the island’s executioner and the in-game reason for why everything seems to be in a constant loop. She’s located in the Clock Room, which can be entered through the Clock Tower or Forgotten Sepulcher. The Time Keeper is a much greater challenge than any of the previous bosses, aggressively attacking you with a barrage of slashes and shurikens, but it’s a fair fight if you can keep up with her
Rewards
- Lightspeed (Skill, 1st Kill)
- Ice Shards (Weapon, 3rd Kill)
- Ice Crossbow (Weapon, 4th Kill)
- Velocity (Mutation, 5th Kill)
- Tainted Flask (Mutation, 6th Kill)
- Emergency Triage (Mutation, 7th Kill)
- 6 outfits (One for each Boss Cell level, one for a flawless victory)
How to beat the Time Keeper
- All of her attacks can be parried and her shurikens can be reflected, make sure you bring a shield for this fight
- She’ll fight very aggressively, but she’ll briefly pause in between each of her combos, creating an opening for you to attack
- The Time Keeper is susceptible to slowing and freezing, making ice weapons a viable strategy against her
Video Guide
The Hand of The King
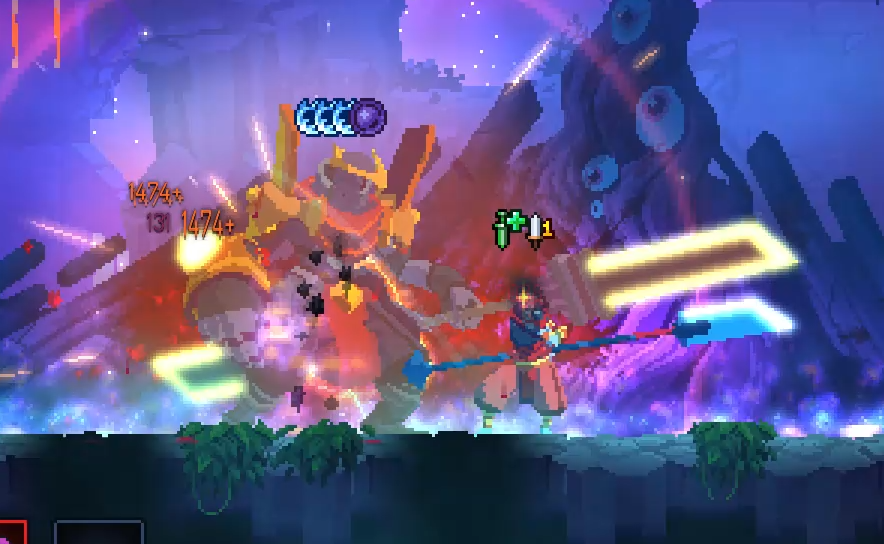
You’ve finally reached the end, and now the only thing standing between you and the king is his guardian, The Hand. He’ll be waiting for you in the Throne Room, and you can go there through High Peak Castle, or the Derelict Distillery if you’re feeling brave (make sure you take the Masochist mutation if you go that route). This is the final boss, and it’s just as challenging as you’d expect. You’ll need to prove yourself to win this fight!
Rewards
- Symmetrical Lance (Weapon, 1st Kill)
- Telluric Shock (Skill, 1st Kill)
- 4 Boss Cells (One for beating him on the previous highest difficulty)
- Recycling Tubes (Upgrade, 1st Kill with a Boss Cell)
- 6 outfits (One for each Boss Cell level, one for a flawless victory)
How to beat the Hand of the King
- The Hand has a variety of powerful moves. He’ll charge at you with his lance, throw bombs at you, bring down explosive banners, and create shockwaves by smashing the ground. All of these attacks deal lots of damage and have a wide area of effect, so know what to expect
- Before you can figure out what works, you need to know what doesn’t work. He can’t be slowed down, frozen, or stunned, but he can be rooted. He also has a shield that blocks ranged attacks from the front, and you can use that to stall him with a turret
- You’ll be fighting in a small arena, but you can use that to your advantage by dealing damage in an AoE. Poisonous gas clouds and the Cleaver skill are particularly good at this
- Try to stay in the air as long as possible. His attacks have a wide enough radius to damage the entire arena, unless you can manage to stay above him. Wings of the Crow is great for this, since it can keep you airborne for an extended period of time
Video Guide
The Giant
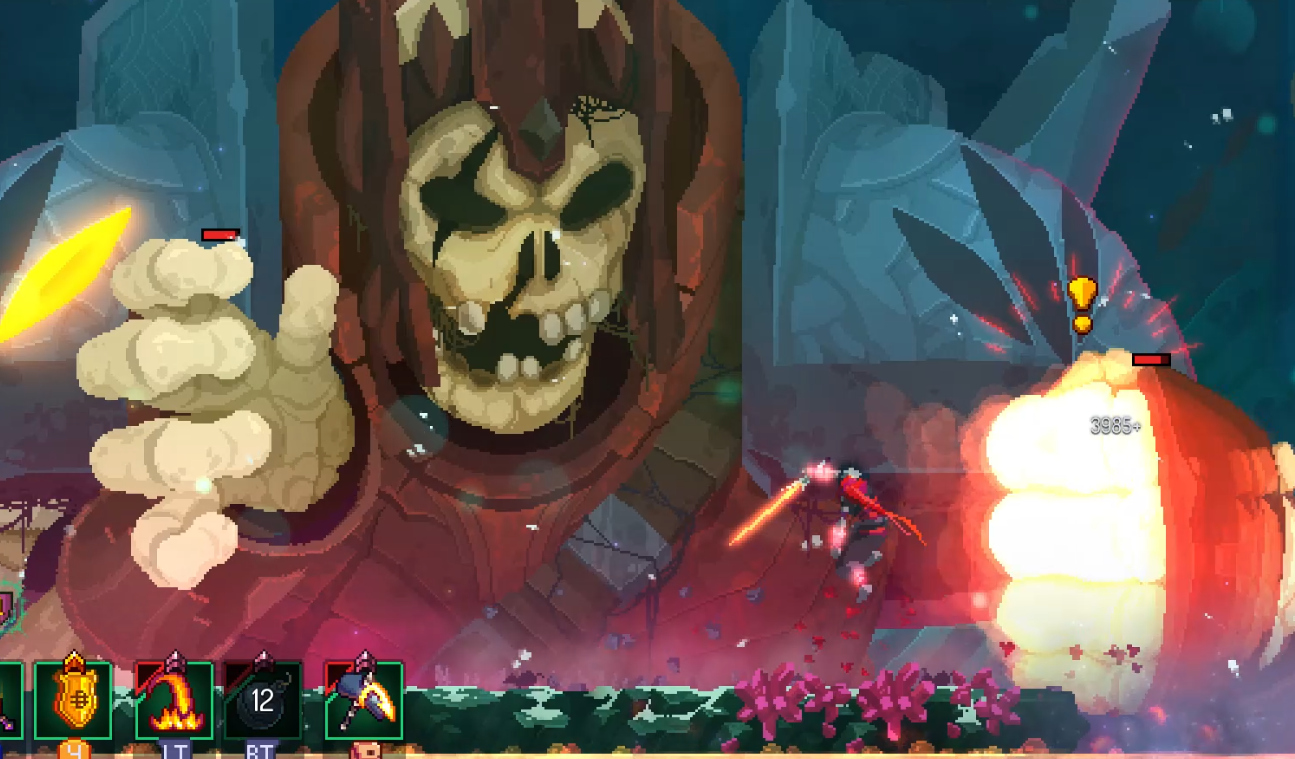
Just because The Hand of the King is the “final” boss doesn’t mean that he’s the last boss in the game! After beating the game and earning your first Boss Cell, the skeleton in the Prisoner’s Quarters will awaken and escape to The Cavern, where you can fight him as the second boss in your run. At first you’ll find him to be more difficult than the Time Keeper, but once you learn his tricks you’ll have an easier time fighting him
Rewards
- Giantkiller (Weapon, 1st Kill)
- Giant’s Whistle (Skill, 3rd Kill)
- The 5th Boss Cell (1st Kill with 4 Boss Cells)
- 6 outfits (1 for each Boss Cell level, 1 for a flawless victory)
How to beat The Giant
- The Giant will attack you with his fists, and cannot be damaged until their health has been depleted. Afterwards, his eye will pop out, which is where you can actually damage him
- He also has a variety of ranged attack, he can restrict your movement and force you to dodge projectiles, target you with his lazer, and cause crystals to fall down from the ceiling
- All of his attacks can be dodged just as easily as they can be parried. Unless you’re using a shield that deals damage in a wide radius, like Punishment or Bloodthirsty Shield, I’d actually recommend using an off-hand weapon instead
- Attacks that deal damage in an AoE can hit both fists at once, and attacks with auto-aim can target the fists while they’re out of range
Video Guide
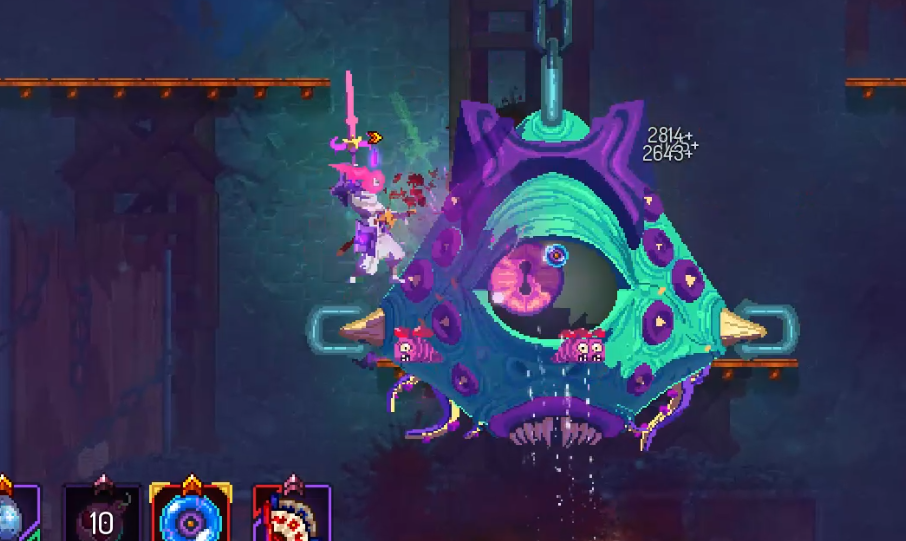
Mama Tick
The first DLC boss of this list, Mama Tick is worshipped like a god by those who have been banished, and she demands sacrifice. You’ll need The Bad Seed DLC if you want to fight her, and if you have it you can reach her by going through the Morass of the Banished and into the Nest. Compared to the other 1st bosses, I’d say Mama Tick is easier than Conjunctivius but harder than The Concierge
Rewards
- Scythe Claw (Weapon, 1st Kill)
- 7 outfits (1 for each Boss Cell level, 1 for a flawless victory, 1 for appeasing her with a sacrifice)
How to beat Mama Tick
- Mama Tick fights in 3 distinct phases. First, only her eye will be above the water and she’ll strike you from below. After that, she’ll disappear and continue attacking from underground. Finally, she’ll reveal her entire body and attack more aggressively
- Before attacking, she’ll display a yellow “!” indicator, making it easy to dodge or parry her attacks
- The arena is submerged in water, making ice and shock extremely effective for this fight, but fire is useless unless you have oil
- You can actually skip this fight altogether by sacrificing Mushroom Boi at the altar in the Morass’s exit. You’re definitely going to hell if you do that, though (and you won’t get any rewards either)
Video Guide
The Scarecrow
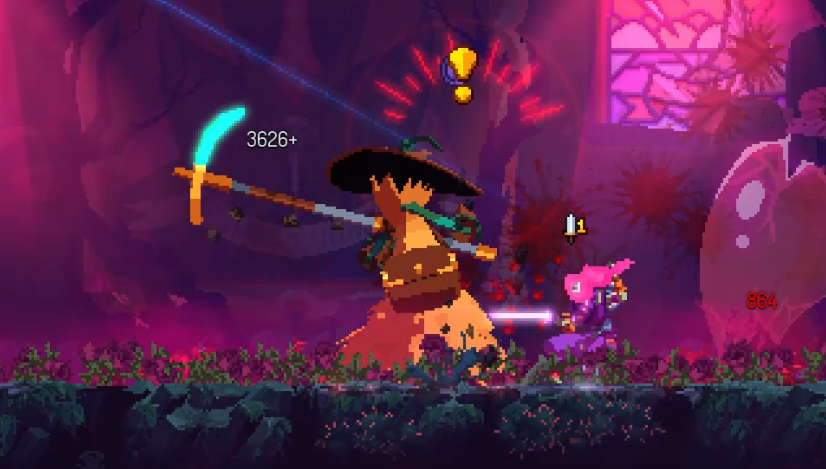
From the Fatal Falls DLC, The Scarecrow is the second DLC boss in the game and can be fought as your second fight in the run. The Scarecrow is a mysterious figure, little can be known from the fight itself but it can be pieced together from lore entries that he’s the malaise-infected zombie of the Royal Gardener. He can be found in The Mausoleum, which can be entered through the Undying Shores. The Scarecrow is a chaotic and unpredictable foe that will either kill you in seconds or die just as quickly!
Rewards
- Scarecrow’s Sickles (Skill, 1st Kill|)
- 6 outfits (1 for each Boss Cell level, 1 for a flawless victory)
How to beat The Scarecrow
- Throughout the fight The Scarecrow will attack you with his scythe, plant explosive mushrooms, summon sickles that float in a figure-8 pattern, and fly in the air and stab down from above or follow you while pouring a stream of acid
- Once he drops below 50% HP he’ll start attacking faster, and he’ll speed up again once he’s below 25% of his health. There’s no indicator for this, but be prepared
- Relative to other bosses, The Scarecrow has low HP and a weak defense. If you can match his aggression and use weapons with high DPS and a fast attack speed you can beat him quickly and easily. Rapier, Sadist’s Stiletto, and Meat Skewer are all very effective
Video Guide
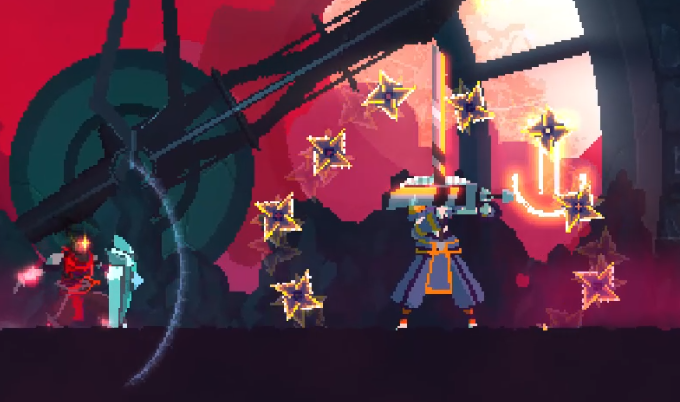
The Servants
One of two bosses from The Queen and the Sea, The Servants are the most unique fight in the game. For one, you’ll be fighting a trio of enemies instead of a single boss, but you’ll also be spending most of the fight trying to climb up the tower while they chase you. If you want to square up against this special encounter, you can find The Servants in the Lighthouse, which can be entered through the Infested Shipwreck. Because of how differently this fight works it’s hard to compare it to other bosses, but make no mistake, it’s very hard!
Rewards
- Wrecking Ball (Kill Calliope last)
- Gilded Yumi (Kill Euterpe last)
- Bladed Tonfas (Kill Kleio last)
- 6 outfits (1 for each Boss Cell level, 1 for a flawless victory)
How to beat The Servants
- While the Servants are chasing you, your priority should be trying to get as far up as possible, but if you manage to get any of them under 30% health they’ll stop chasing you and teleport to the next arena
- Each of the Servants have distinct movesets. Calliope will try to strike you with the Wrecking Ball, Euterpe will charge up and fire arrows at you, and Kleio will dash at you. They all support each other, so if you take out one it’ll disrupt the others
- Unlike any of the other bosses, The Servants don’t have a damage cap, making slow but powerful attacks very effective. A charged up Toothpick strike can take out a massive chunk out of their healthbars!
Video Guide
The Queen
The Queen is an alternate final boss from The Queen and the Sea DLC, not much is known about her aside from the fact that she used to be the island’s monarch, but she bears a strange resemblance to The Beheaded. She waits for you at The Crown, which can only be reached by getting past The Lighthouse. As a final boss, she’s as much of a challenge as The Hand, but takes a more methodical approach at killing you. Depending on your playstyle you’ll either find her more or less difficult than The Hand
Rewards
- Queen’s Rapier (1st Kill)
- 4 Boss Cells (1 for beating her on the previous highest difficulty)
- 6 outfits (1 for each difficulty level, 1 for a flawless victory)
How to beat The Queen
- The Queen is a complex boss with a wide variety of combos and counterattacks. If I were to list everything she could do it would take up an entire page, but know that she responds to the way you fight and the abilities you’re using
- Fighting The Queen is like fighting another version of you, who can counter basically everything you can do. Watch her carefully and react accordingly to her moves
- If you die before her health drops below 50%, she’ll revive you and bring you back to full health using her own HP just to prolong the fight! This is a great way to get a free heal and deal some damage
- There are a handful of items that can interrupt her attacks, namely the Assault Shield, Grappling Hook, Wave of Denial, and Mushroom Boi
- Towards the end of the fight, she’ll use her reality slash attack, which creates lines that spread across the entire screen and hurt you if you touch them. She’s locked in place while doing this, giving you ample opportunity to deal some damage
Video Guide
You may also be interested in
- Dead Cells Rune Guide: Everything You Need to Know
- Top 15 Dead Cells Best Mutations and Why They're Good
- Top 10 Dead Cells Best Melee Weapons


